<center> ¡Mi talentoso Hiver! estoy feliz de saludarte y compartirte **el paso a paso de un trabajo muy especial que realice esta semana.**</center>
> <center> My talented Hiver! I am happy to greet you and share with you **the step by step of a very special work I made this week.**</center>
#
#
<center>.jpg)</center>
<div class="pull-left">El día de ayer celebramos el cumpleaños número 2 de Isabella, para lo cual su mamá quiso que la ayudara con la decoración, así que teniamos un par de semanas planificando qué hacer. Entre las cosas que quisimos realizar, fue una pancarta de "Feliz Cumpleaños Isa" con motivo de Minnie Mouse. Por cierto, Isa es la prima consentida de mi novio y yo la amo mucho, es hermosa, dulce, amable y muy ocurrente; la considero parte de mi familia. </div>
<div class="pull-right">Yesterday we celebrated Isabella's 2nd birthday, for which her mom wanted me to help her with the decoration, so we had a couple of weeks planning what to do. Among the things we wanted to do, was a "Happy Birthday Isa" banner with a Minnie Mouse motif. By the way, Isa is my boyfriend's spoiled cousin and I love her very much, she is beautiful, sweet, kind and very witty; I consider her part of my family.</div>

<div class="pull-left"> La mamá de Isa tenía una idea clara de como quería que fuese el diseño de la pancarta porque encontró una fotografía en internet que le gustó mucho (la colocaré abajo). Decidí compartirte el paso a paso de cómo realicé esta pancarta porque me parece que la idea esta hermosa y puedes recrearla para el cumpleaños de alguna princesa de tu familia:</div>
<div class="pull-right">Isa's mom had a clear idea of what she wanted the banner design to look like because she found a picture on the internet that she really liked (I will place it below). I decided to share with you the step by step of how I made this banner because I think the idea is beautiful and you can recreate it for the birthday of a princess in your family:</div>
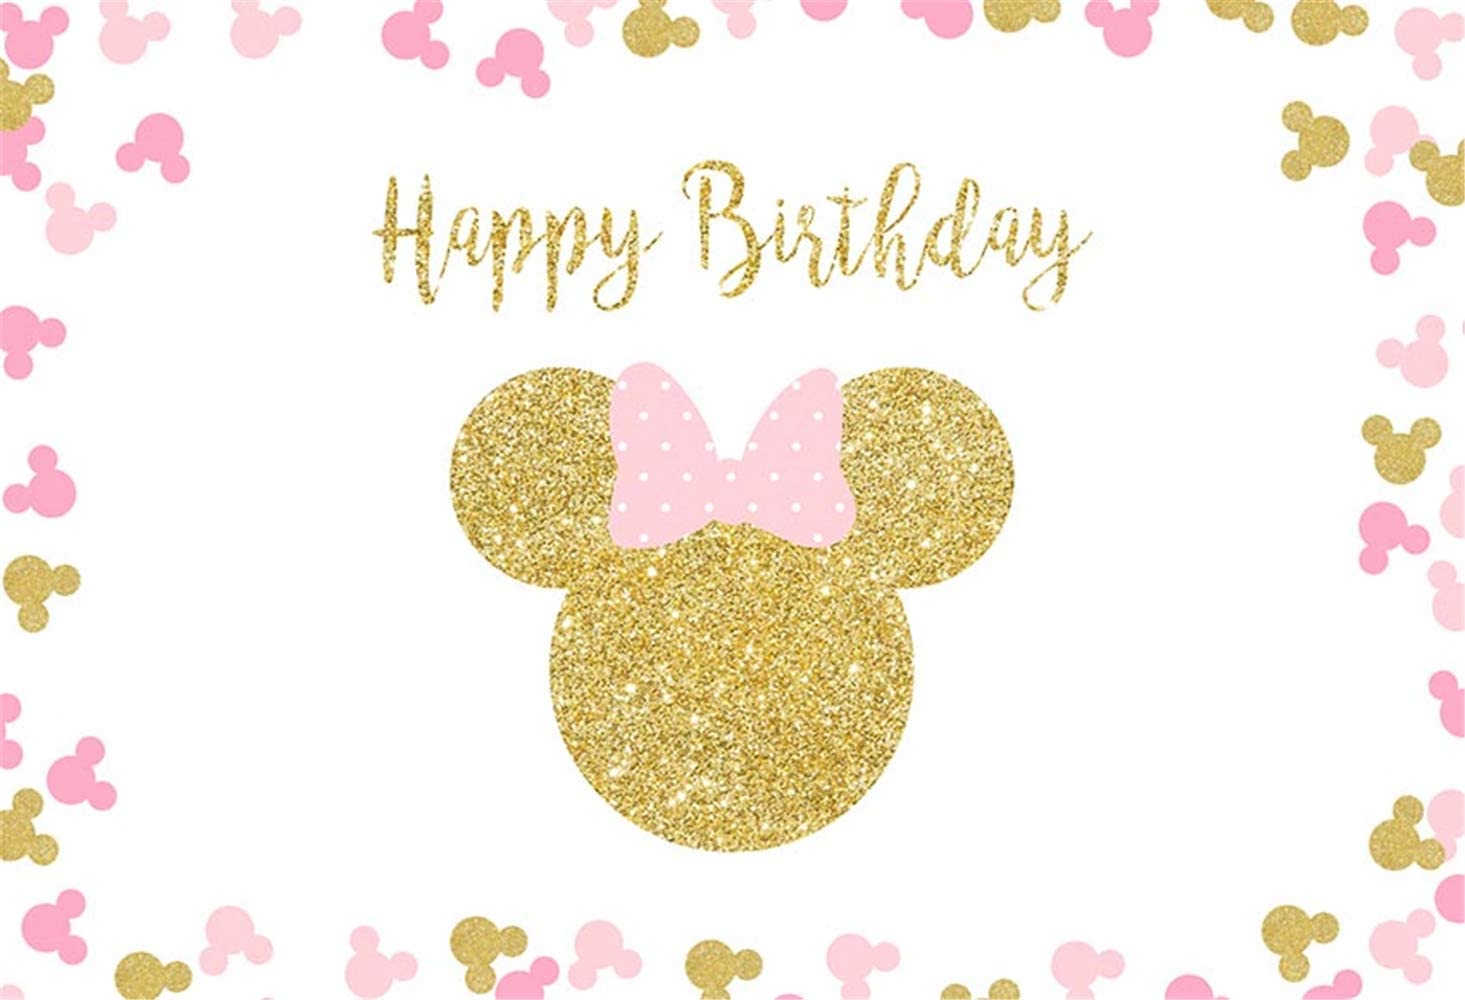
<center>[Fuente de la idea inicial](https://images-na.ssl-images-amazon.com/images/I/61rnu5gMwLL._AC_SL1465_.jpg)</center>
<center>[Source of initial idea](https://images-na.ssl-images-amazon.com/images/I/61rnu5gMwLL._AC_SL1465_.jpg)</center>.

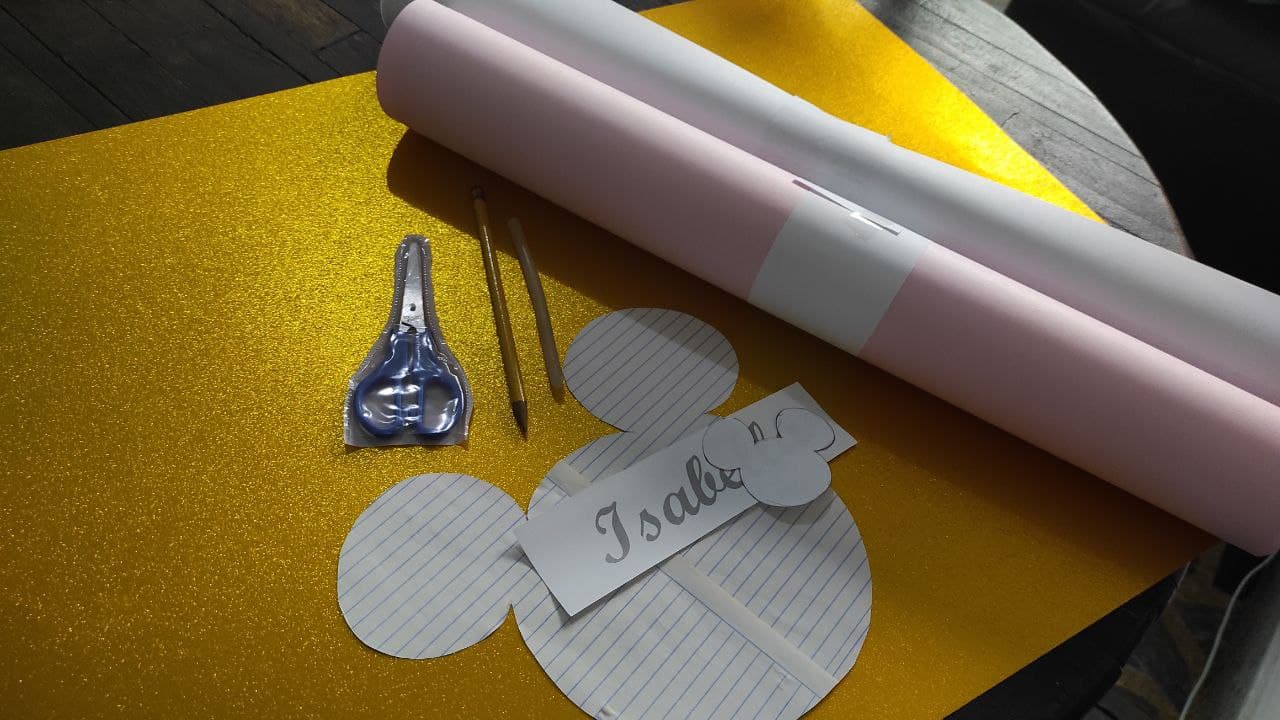
## <center> Materiales // Materials </center>
| Cartulina Dorada | Gold Cardboard |
| --------|---------|
| Cartulina Rosada | Pink Cardboard |
| Silicona líquido | Liquid silicone|
| Papel Bond | Bond paper|
| Tijera | Scissors|
| Lápiz | Pencil|
| Hojas blancas | White sheets |

## <center> Paso a Paso // Step by Step </center>
<div class="text-justify"><div class="pull-left">https://images.hive.blog/DQma5AQr2P5pJR4hrzNLug1FXauPVSSHcsx4qRrz25eLAza/photo_2021-07-10_11-13-58.jpg
</div>
<div class="text-justify"><div class="pull-right">
https://images.hive.blog/DQmeKUVHVXRvrFD27w6YNqELa934QxNwwL9GUvwqonpKMkg/photo_2021-07-10_11-14-05.jpg
</div>
<div class="pull-left">Lo primero que debes hacer, es utilizar una hoja blanca para realizar un molde de 5cm con la forma de la cabeza de Minnie Mouse. Una vez dibujado y recortado, utilizarás el molde para dibujar, aproximadamente, 24 cabezas de Minnie en la cartulina dorada. Yo realicé las marcas por la parte posterior de la cartulina dorada para evitar manchas indeseables en la parte delantera. </div>
<div class="pull-right">The first thing to do is to use a white sheet of paper to make a 5cm mold in the shape of Minnie Mouse's head. Once drawn and cut out, you will use the mold to draw approximately 24 Minnie heads on the gold cardboard. I made the marks on the back of the gold cardstock to avoid unwanted smudges on the front.</div>

<div class="text-justify"><div class="pull-left">https://images.hive.blog/DQmUs62bwHSfKxdHZDs5hCSDGhLnso7dH9LsUYm5eFEXSQC/photo_2021-07-10_13-10-27.jpg
</div>
<div class="text-justify"><div class="pull-right">https://images.hive.blog/DQmaeuMqbJYR4fEcRLt69pDN1zsGTgnubU5wAWDJzscU9XQ/photo_2021-07-10_11-14-57.jpg
</div>
<div class="pull-left">Realiza el mismo procedimiento en la cartulina rosada.</div>
<div class="pull-right">Perform the same procedure on the pink cardboard.</div>

<div class="text-justify"><div class="pull-left">https://images.hive.blog/DQmTnKymPoUieoh4JVcGoLTwXNSzx4daJ46GE422eRemsQH/photo_2021-07-10_11-14-18.jpg
</div>
<div class="text-justify"><div class="pull-right">https://images.hive.blog/DQmXqWa4B6Fz4vk8v1rEH9rVMMEepy6Ymax6BG9qGStVDHN/photo_2021-07-10_11-14-27.jpg
</div>
<div class="pull-left">Luego utiliza otra hoja para realizar un molde de la cabeza de Minnie Mouse de 20cm. Una vez dibujado y recortado, dibuja la forma en la cartulina dorada; recuerda hacerlo por la parte inversa para no ensuciarla. </div>
<div class="pull-right">Then use another sheet to make a 20cm mold of Minnie Mouse's head. Once drawn and cut out, draw the shape on the gold cardboard; remember to do it on the reverse side so as not to get it dirty.</div>

<div class="text-justify"><div class="pull-left">
https://images.hive.blog/DQmTEHyxk193EegsJnWHZ69o4KkXV1hV8xLEyRF7FnoyPqf/photo_2021-07-10_11-15-55.jpg
</div>
<div class="text-justify"><div class="pull-right">
https://images.hive.blog/DQmZyHTbrfZyhS7oeoYVFmjoDPUzgZVkjejJe64qU9925GJ/photo_2021-07-10_11-55-32.jpg
</div>
<div class="pull-left">Una vez dibujadas todas las cabezas de Minnie Mouse, es momento de recortarlas.</div>
<div class="pull-right">Once all the Minnie Mouse heads are drawn, it's time to cut them out.</div>

<div class="text-justify"><div class="pull-left">https://images.hive.blog/DQmPvJdYxQp9mWiGQoP4jSyeYzBhbZLHzxMbNzgnrbkotoj/photo_2021-07-10_11-19-34.jpg
</div>
<div class="text-justify"><div class="pull-right">
https://images.hive.blog/DQmX1XLfQZbWhGpC2yABry8H1cUi63FyfGydAuY6uxCvwtP/photo_2021-07-10_11-18-15.jpg
</div>
<div class="pull-left">Es siguiente paso es un poco más complicado. En una hoja blanca, realiza el molde de las letras de "Feliz Cumpleaños". Yo utilicé como referencia esta tipografía que encontré en internet porque me pareció hermosa: </div>
<div class="pull-right">The next step is a little more complicated. On a white sheet of paper, make the mold of the "Happy Birthday" letters. I used as a reference this typography that I found on the internet because I thought it was beautiful:</div>
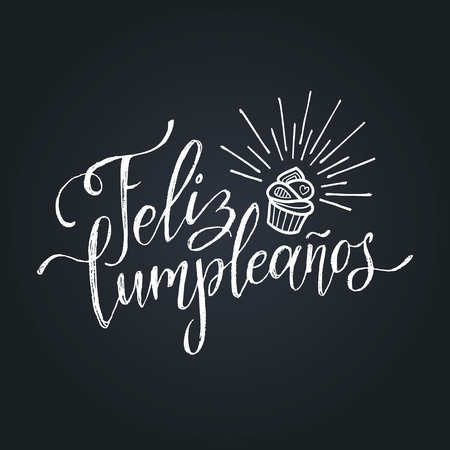
<center> [Fuente](https://us.123rf.com/450wm/vladayoung/vladayoung1706/vladayoung170600220/79995947-vector-feliz-cumpleanos-traducido-dise%C3%B1o-de-letras-feliz-cumplea%C3%B1os-ilustraci%C3%B3n-festiva-con-pastel-p.jpg?ver=6) </center>

<div class="text-justify"><div class="pull-left">https://images.hive.blog/DQmbAkmqcrHE6LikRKYzV8c5sQSx135Hg5VAp5ouVw9ovGy/photo_2021-07-10_11-17-20.jpg
</div>
<div class="text-justify"><div class="pull-right">https://images.hive.blog/DQmVuPhsKVcnp7gjcXHURfhETSV7qWiiv5Hw3kUGUuAbkHS/photo_2021-07-10_11-18-57.jpg
</div>
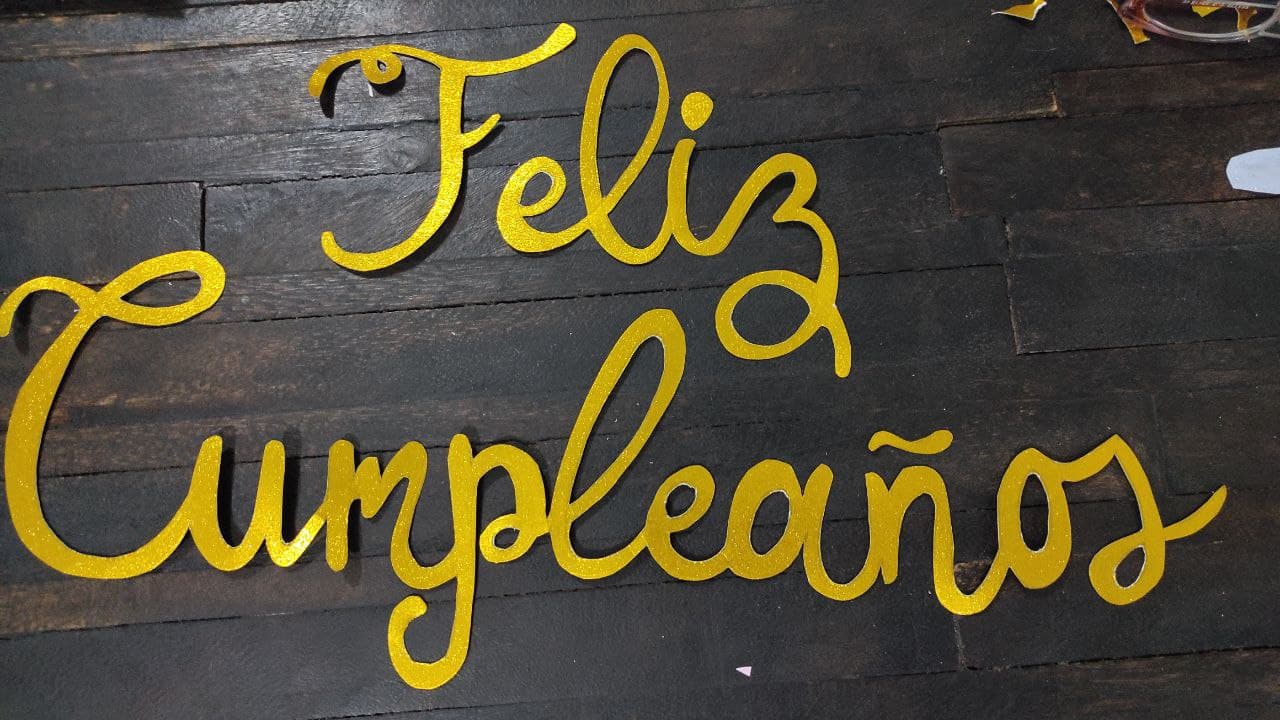
<div class="pull-left">Después de dibujar el molde para las letras, procedes a recortarlas con mucho cuidado, ya que esta tipografía tiene muchos detalles pequeños. Cuando todo esté recortado, traspasa la tipografía a la cartulina dorada, esta vez por la parte delantera con mucha atención para no ensuciarla o dañarla y recórtala. </div>
<div class="pull-right">After drawing the mold for the letters, you proceed to cut them out very carefully, since this typeface has many small details. When everything is cut out, transfer the lettering to the gold cardboard, this time on the front side, being very careful not to get it dirty or damage it, and cut it out.</div>

<div class="text-justify"><div class="pull-left">
https://images.hive.blog/DQmQBBg3x4Jgd42n542Wd5ivXkaT8tVq7CqKfYEZRKcwYkL/photo_2021-07-10_13-34-44.jpg</div>
<div class="text-justify"><div class="pull-right">
https://images.hive.blog/DQmP1WiNM6JdwiMEoor6ZhrKteJtLXV5Dbt5ajnz3EAaAki/photo_2021-07-10_11-20-39.jpg</div>

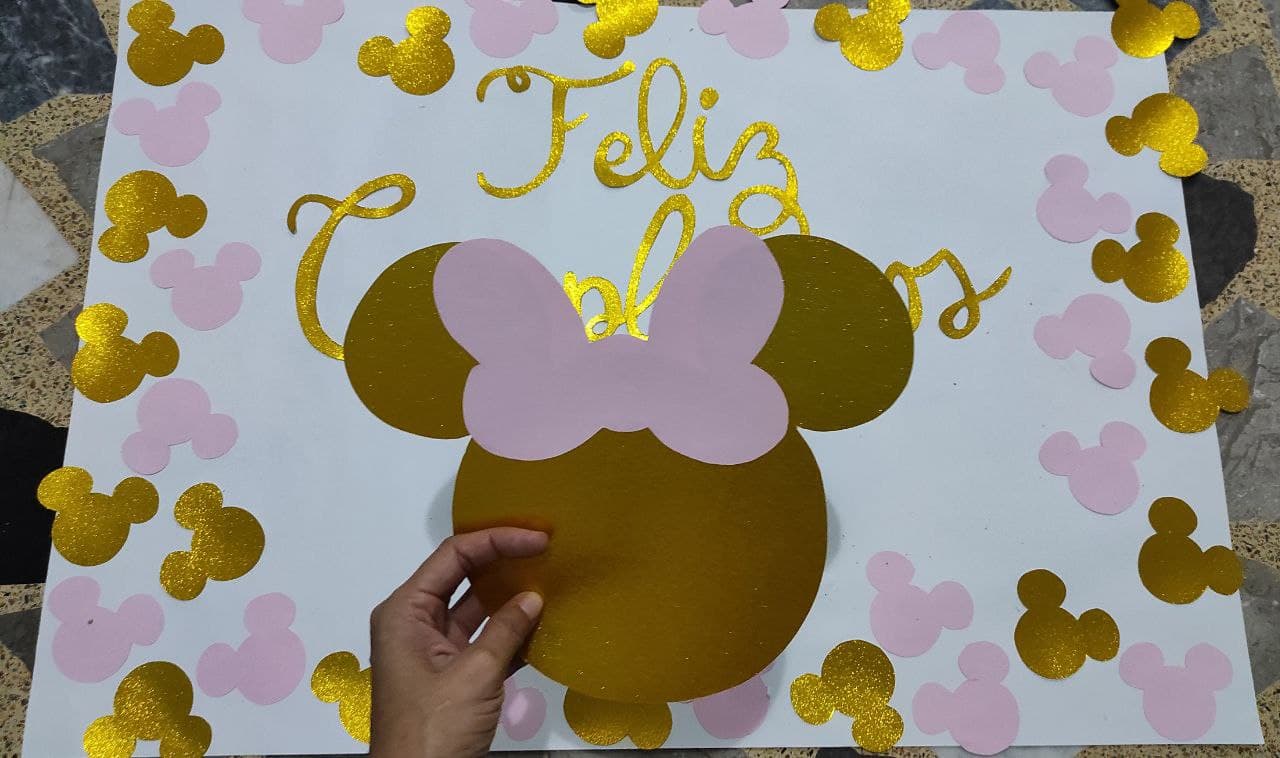
<div class="pull-left">Este paso puedes hacerlo antes, pero yo lo dejé para el final. Toma nuevamente la cartulina rosada y dibuja el lazo que típicamente usa Minnie Mouse, recórtalo y pégalo con la silicona líquida sobre la cabeza de Minnie de 20cm.</div>
<div class="pull-right">You can do this step before, but I left it for the end. Take the pink cardboard again and draw the bow that Minnie Mouse typically uses, cut it out and glue it with the liquid silicone over Minnie's 20cm head.</div>

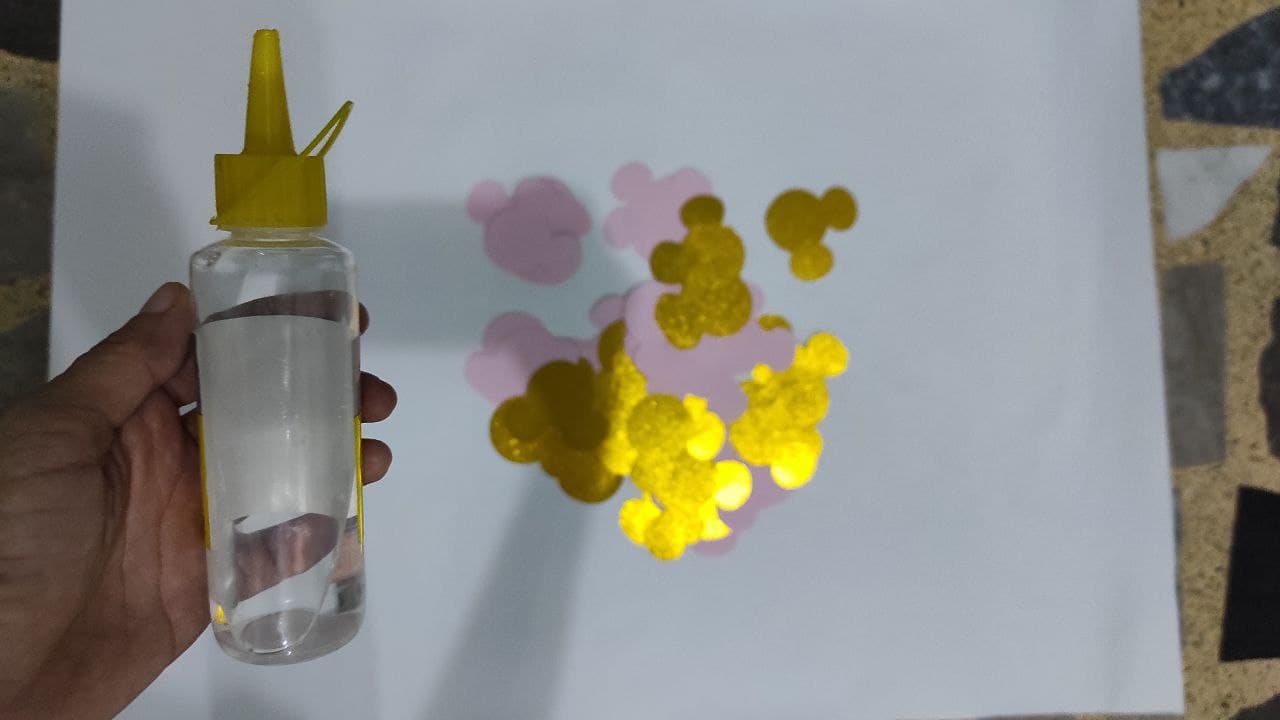
<div class="pull-left">Ahora, para terminar, es momento de pegarlo todo en la lámina de papel Bond.</div>
<div class="pull-right">Now, to finish, it is time to glue everything on the Bond paper sheet.</div>
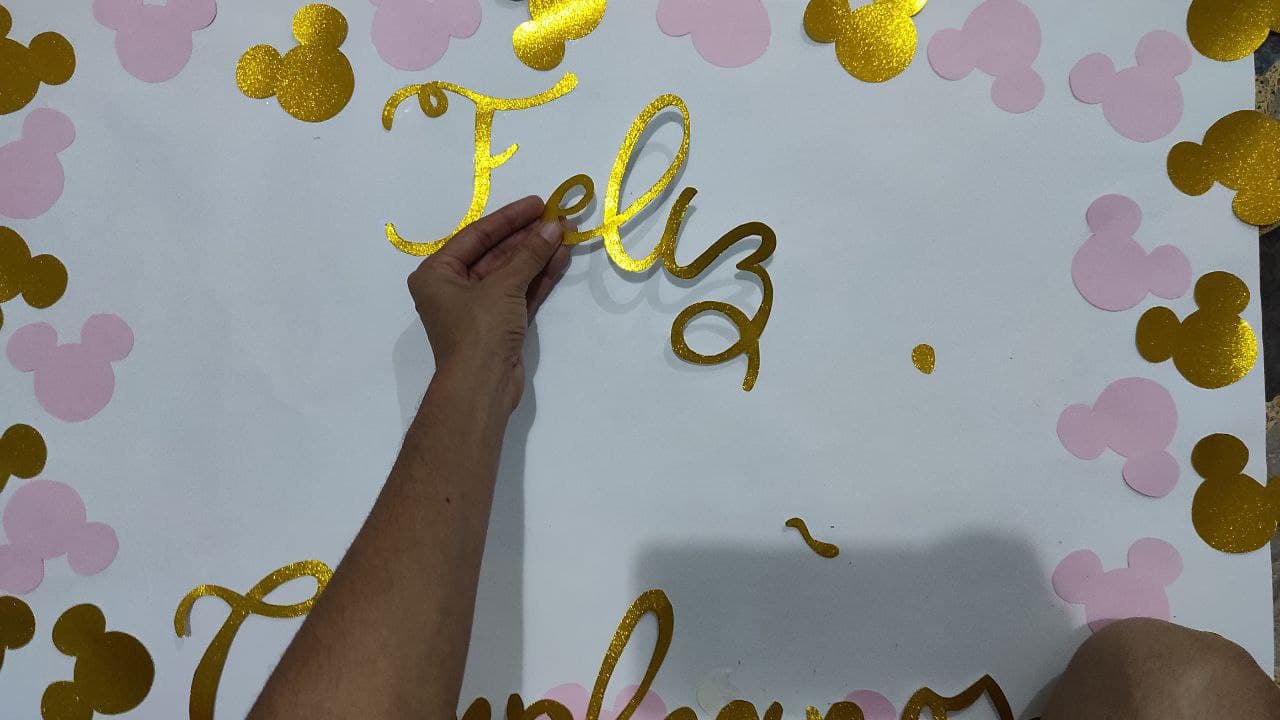

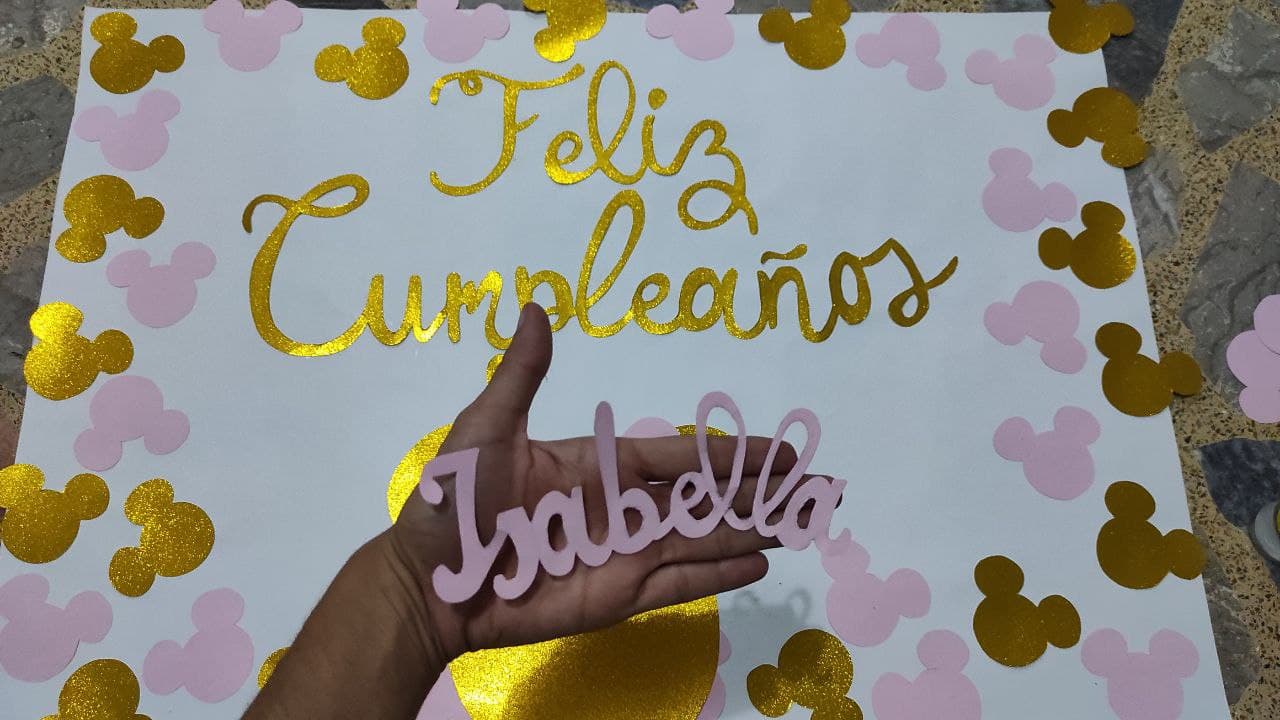
<div class="pull-left">Al final realicé sobre la cartulina rosada las letras del nombre "Isabella" y el número "2" para personalizar la pancarta mucho más y las pegué sobre la cabeza de Minnie Mouse. ¡Y listo!</div>
<div class="pull-right">At the end I made on the pink cardboard the letters of the name "Isabella" and the number "2" to personalize the banner much more and glued them on Minnie Mouse's head. And that's it!</div>

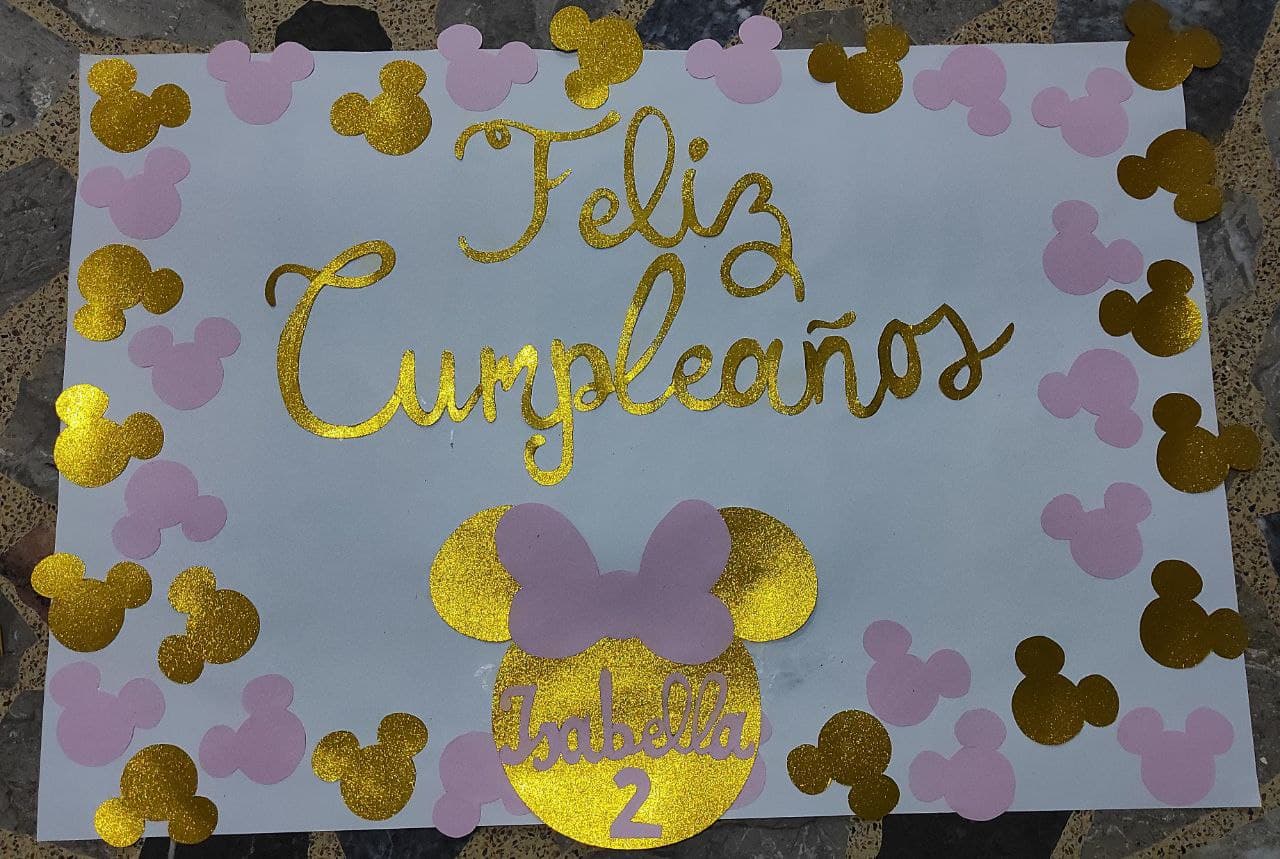.jpg)

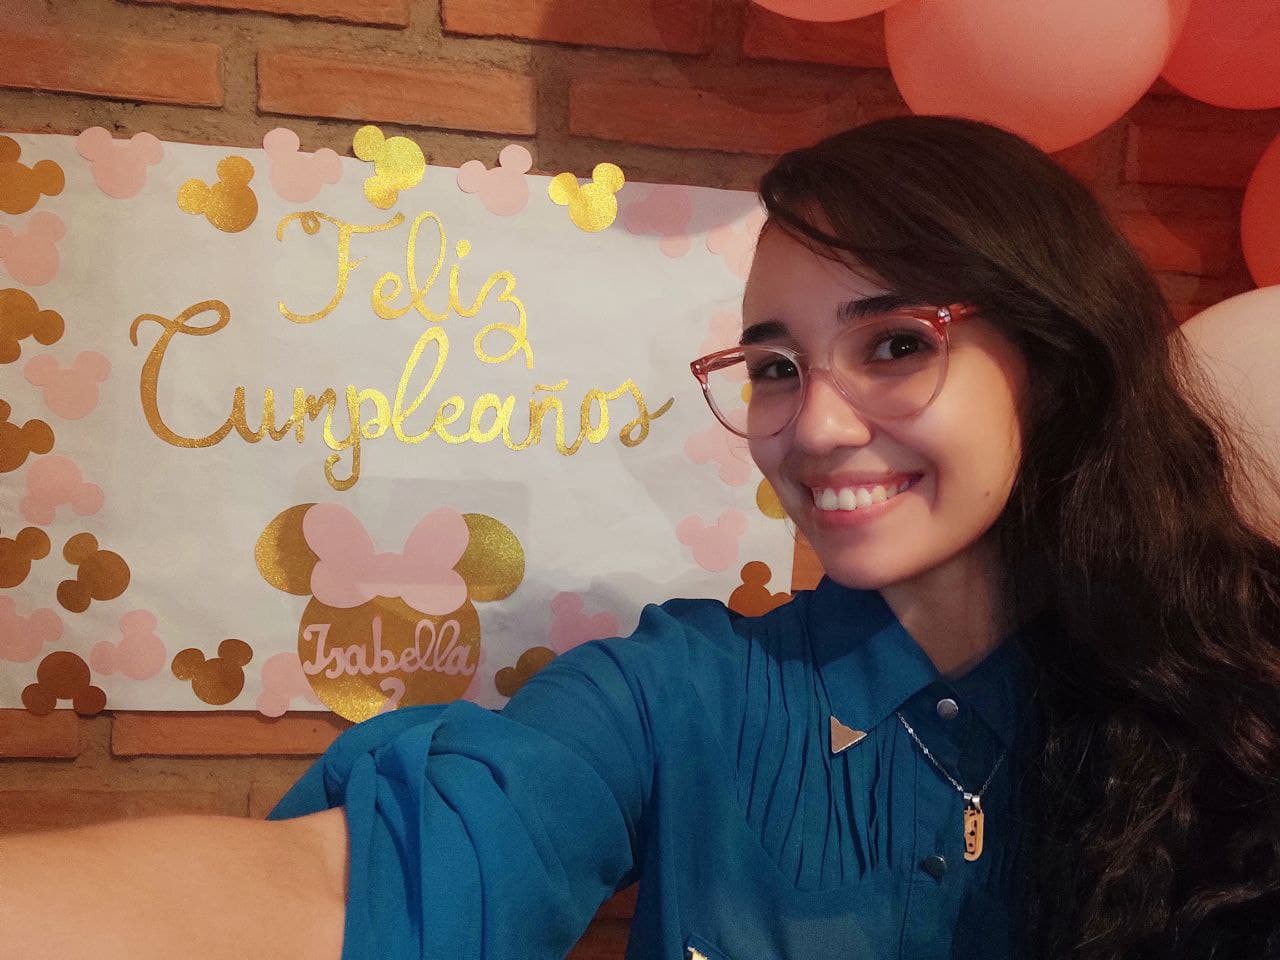
<div class="pull-left">Al finalizar me dolian los dedos de tanto recortar, pero en definitiva, valió el esfuerzo porque según Isa quedo muy "lindooo".</div>
<div class="pull-right">At the end my fingers hurt from so much trimming, but it was worth the effort because according to Isa it was very "cuteee".</div>
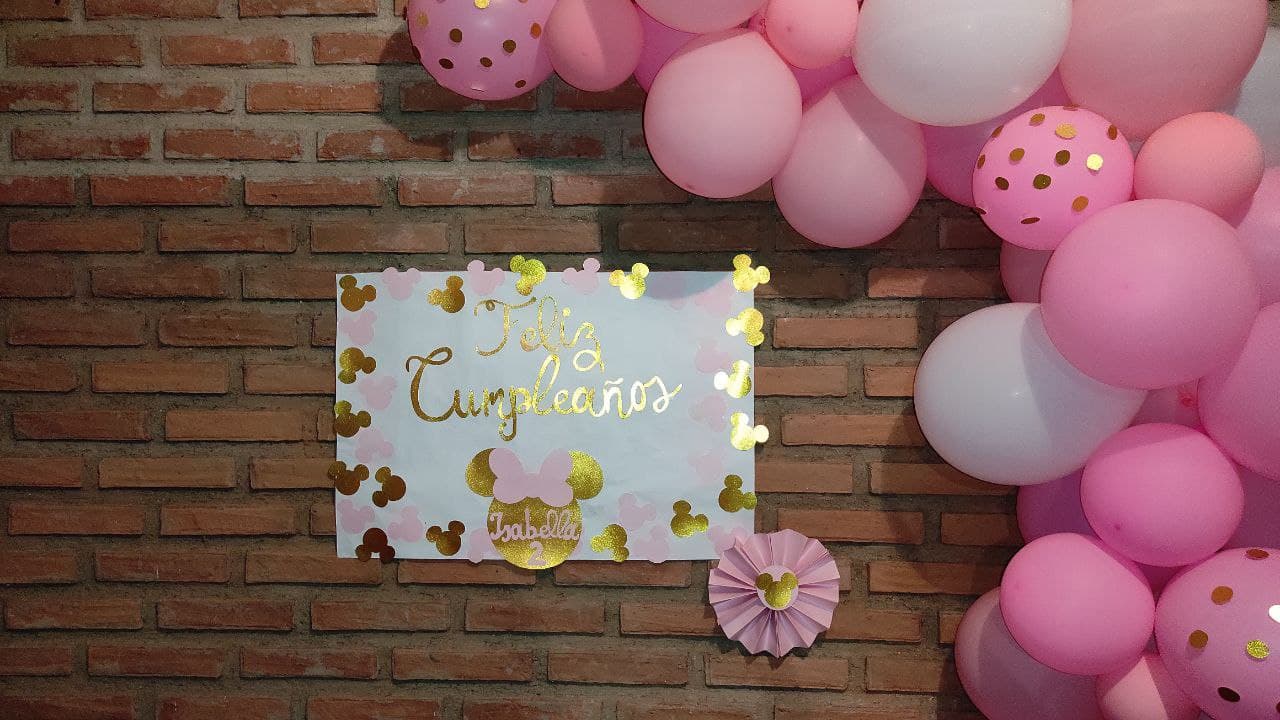
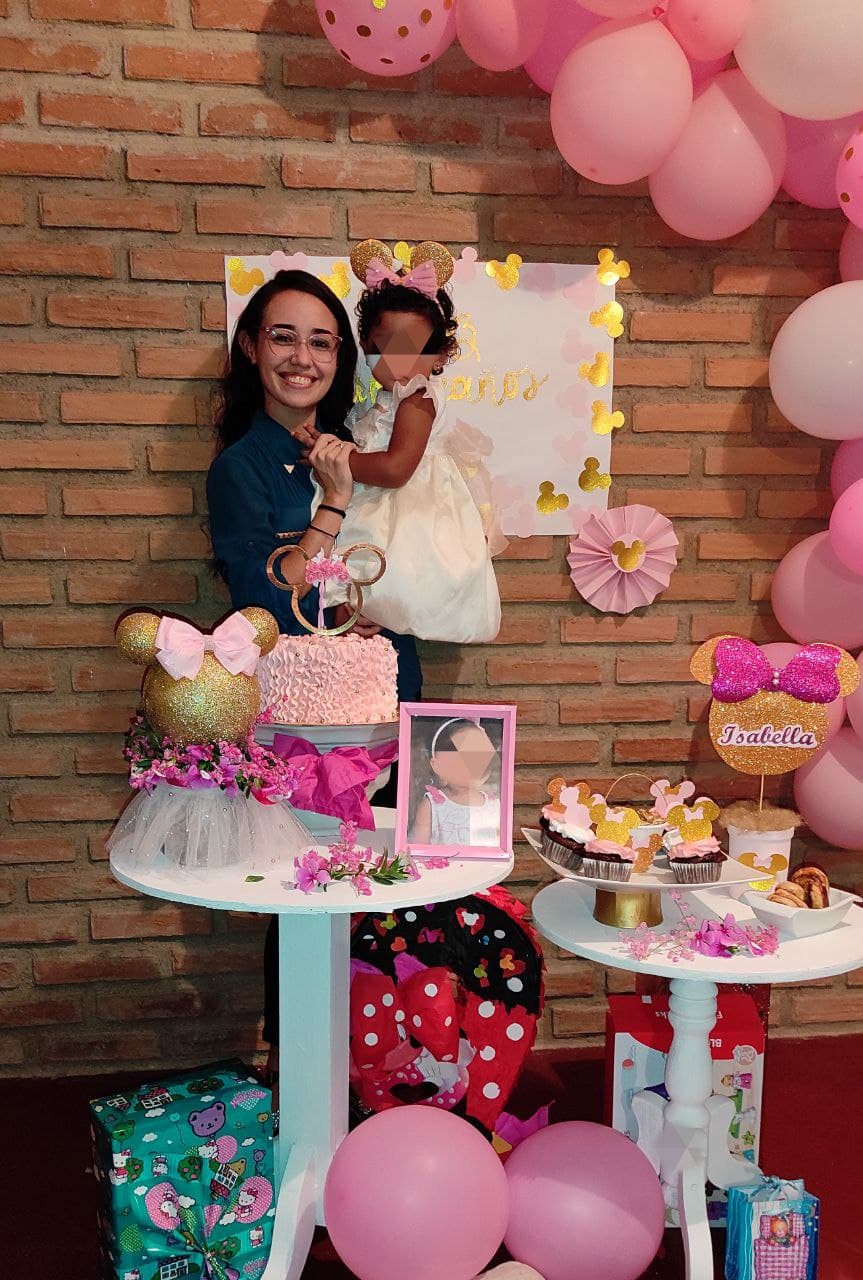
<div class="pull-left">Allí estoy con mi Isa. Disfrutó mucho su cumpleaños y yo estoy muy feliz de haber sido parte de eso. La decoración con los globos también la hice yo. Espero que te haya gustado este paso a paso y te sea util por si alguna vez quieres recrear una pancarta como esta. Te envió un abrazo lleno de luz, magia y amor. Gracias por leerme.</div>
<div class="pull-right">There I am with my Isa. She really enjoyed her birthday and I am very happy to have been a part of it. The decoration with the balloons was also made by me. I hope you liked this step by step and I hope you find it useful if you ever want to recreate a banner like this one. I send you a hug full of light, magic and love. Thanks for reading me.</div>

#### <center>Las fotografías son mi de autoría. Los diseños los realicé en [Canva](https://www.canva.com/) y la traducción al Inglés en [DeepL](https://www.deepl.com/translator).</center>
> #### <center>The photographs are my own. The designs were made in [Canva](https://www.canva.com/) and the English translation in [DeepL](https://www.deepl.com/translator).</center>