Muy buenas noches, amigos creativos que formamos, está hermosa y muy apreciada comunidad Hivediy, reciban de mi parte un fuerte abrazo y Dios los bendiga, como ya faltan pocos dias para celebrar el día del padre, les traigo un divertido tutorial se trata de como mostrarle a realizar un bonito y practico porta-bolígrafo, hecho con foami es un material muy económico y fácil de conseguir. Es un bonito regalo para un padre en su día que regalarle este porta-bolígrafo. Sin más nada que decir, manos a la obra vamos a comenzar con su paso a paso espero les guste.
>Good evening creative friends who make up this beautiful and much appreciated Hivediy community, receive a big hug from me and God bless you, as there are a few days left to celebrate Father's Day, I bring you a fun tutorial it's about how I teach you how to make a nice and practical pencil holder, made with foami, it is a very cheap and easy to get material. It is a nice gift for a father on his day to give him this pencil holder. With nothing more to say let's get to work we are going to start with its step by step I hope you like it.
<center></center>
Para elaborar bonito y practico porta-bolígrafo vamos a utilizar los siguientes materiales y herramientas.
*Foamis de varios colores.
*1 tijera.
*1 regla métrica
*1 lápiz.
*Marcadores punta gruesa y punta fina.
*Pintura al frío color blanca.
*Pistola de silicona caliente.
>To make a nice and practical pencil holder we are going to use the following materials and tools.
>*Foams of various colors.
>*1 scissors.
>*1 metric ruler
>*1 pencil.
>*Thick tip and fine tip markers.
>*White cold paint.
>*Hot glue gun.
<center>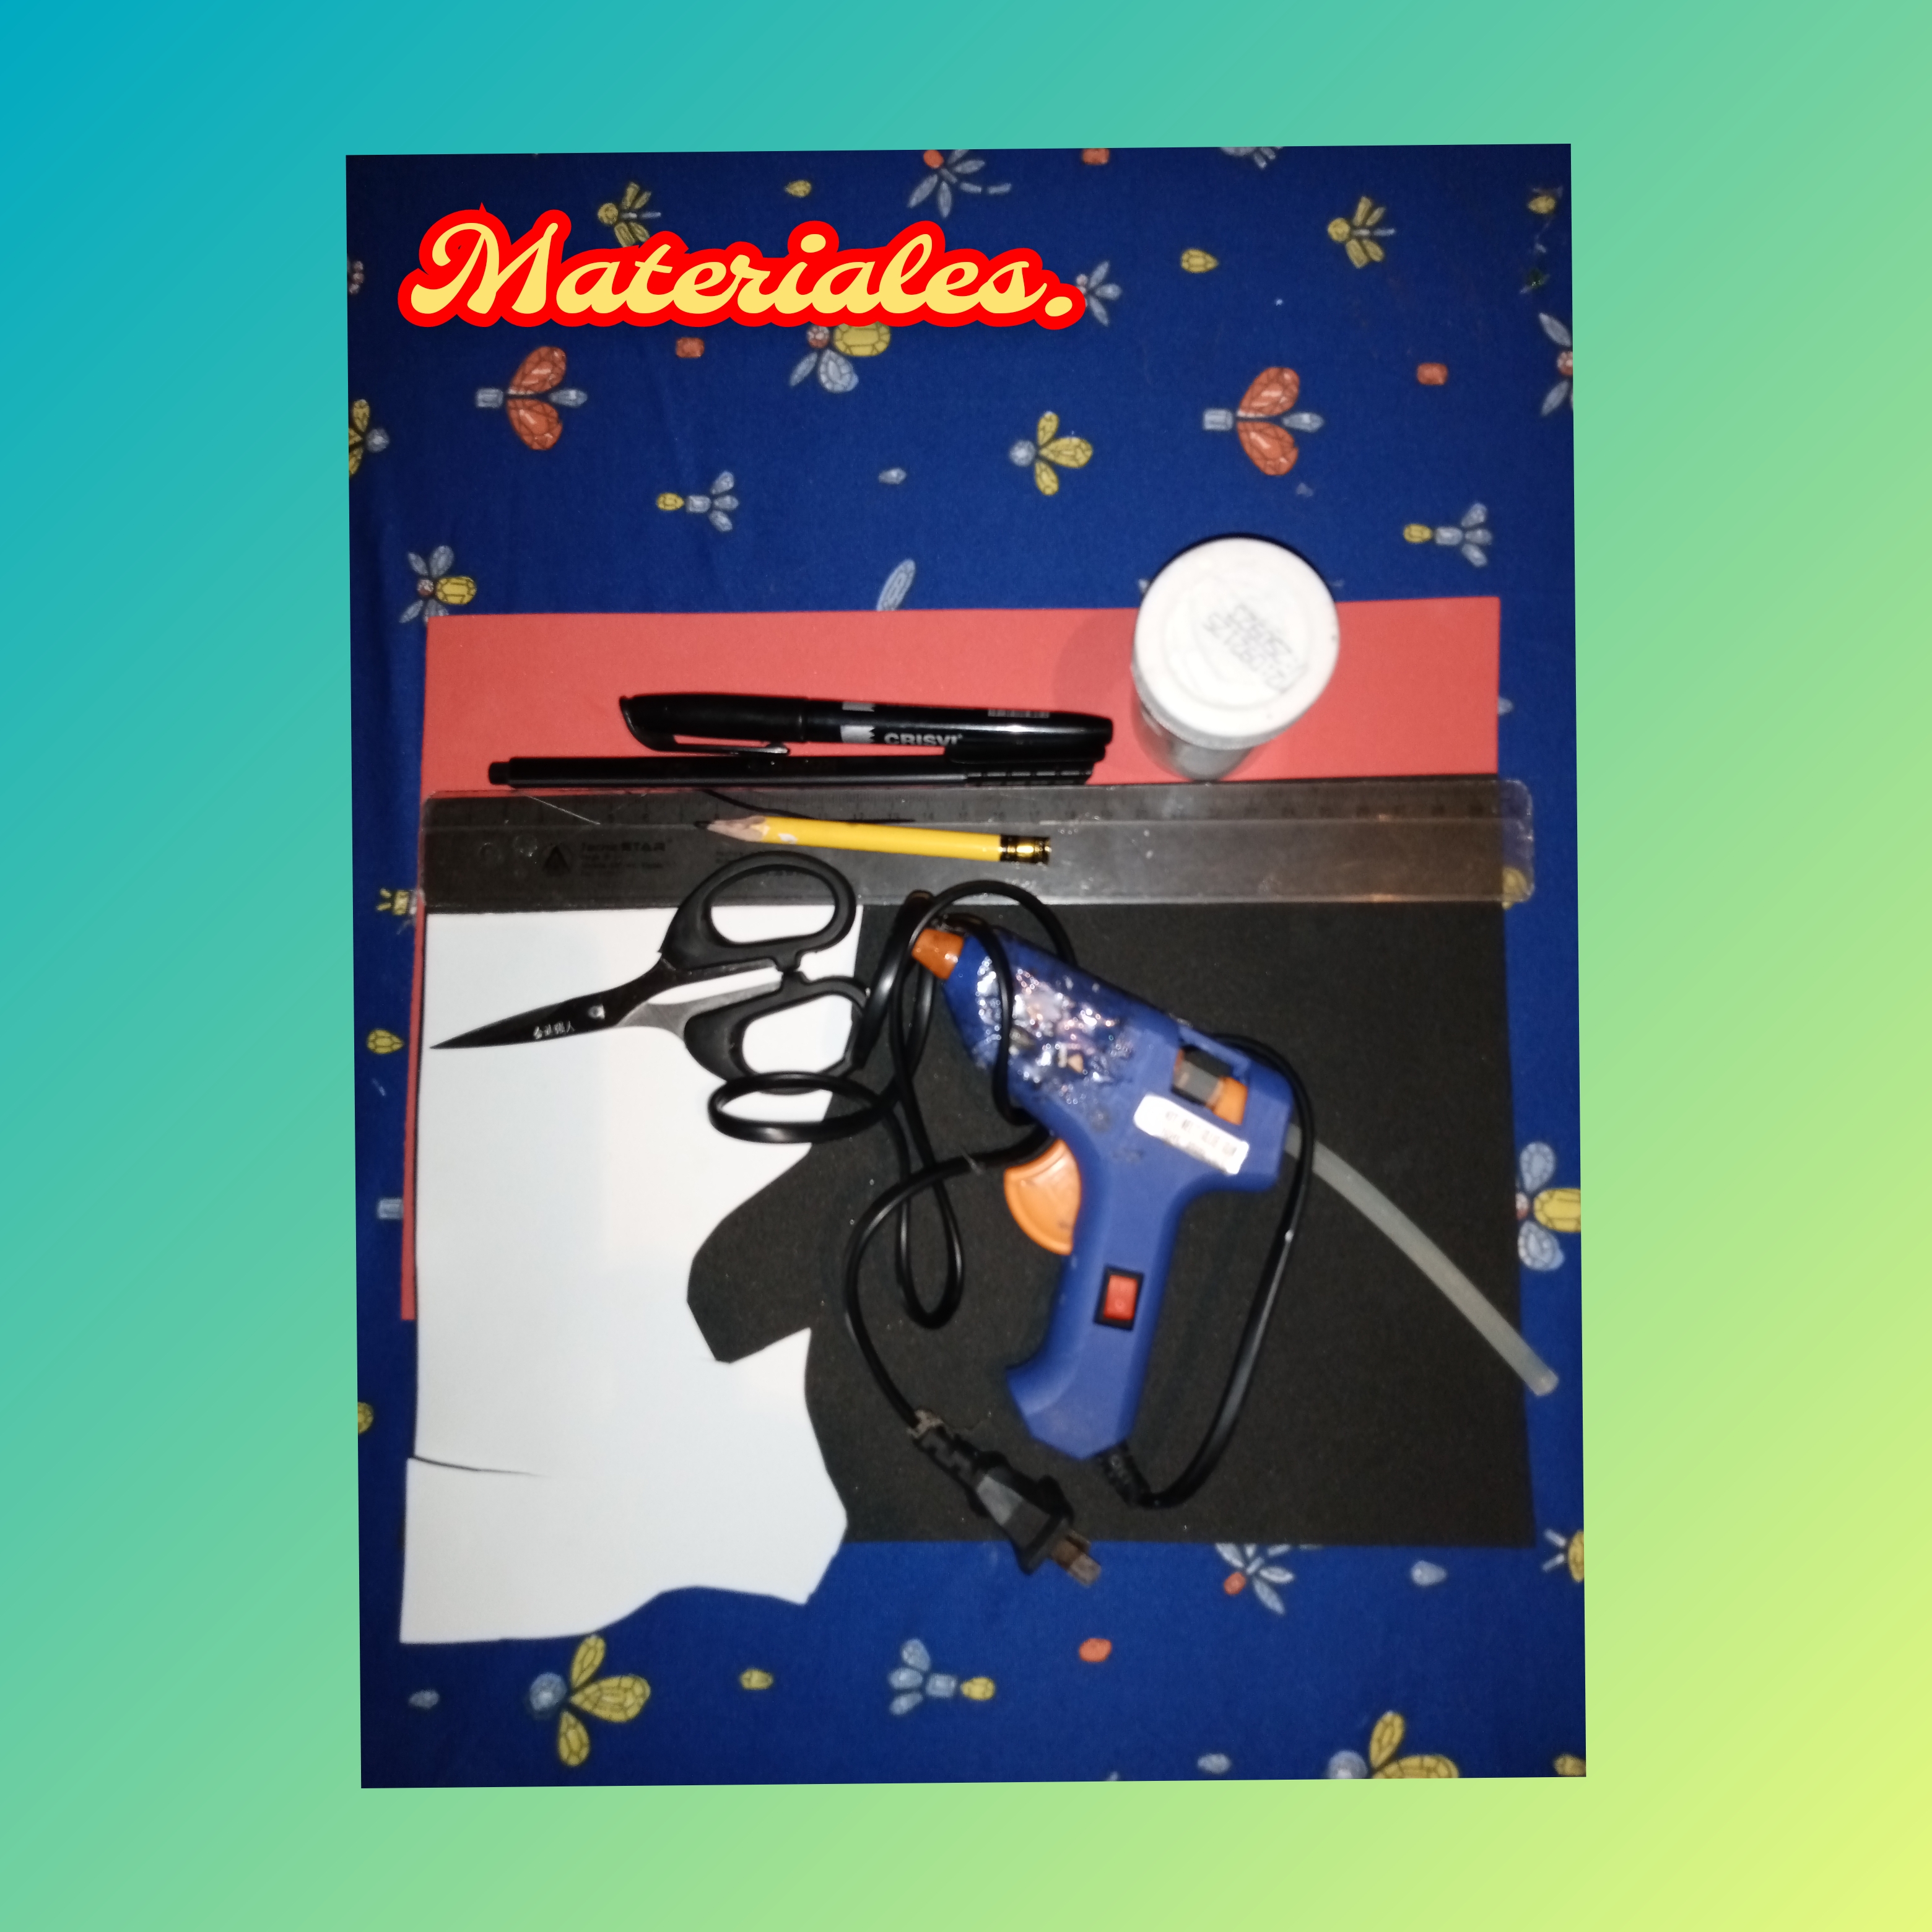</center>
<center> Comencemos con el paso a paso.</center>
><center> Let's start with the step by step.</center>
<center>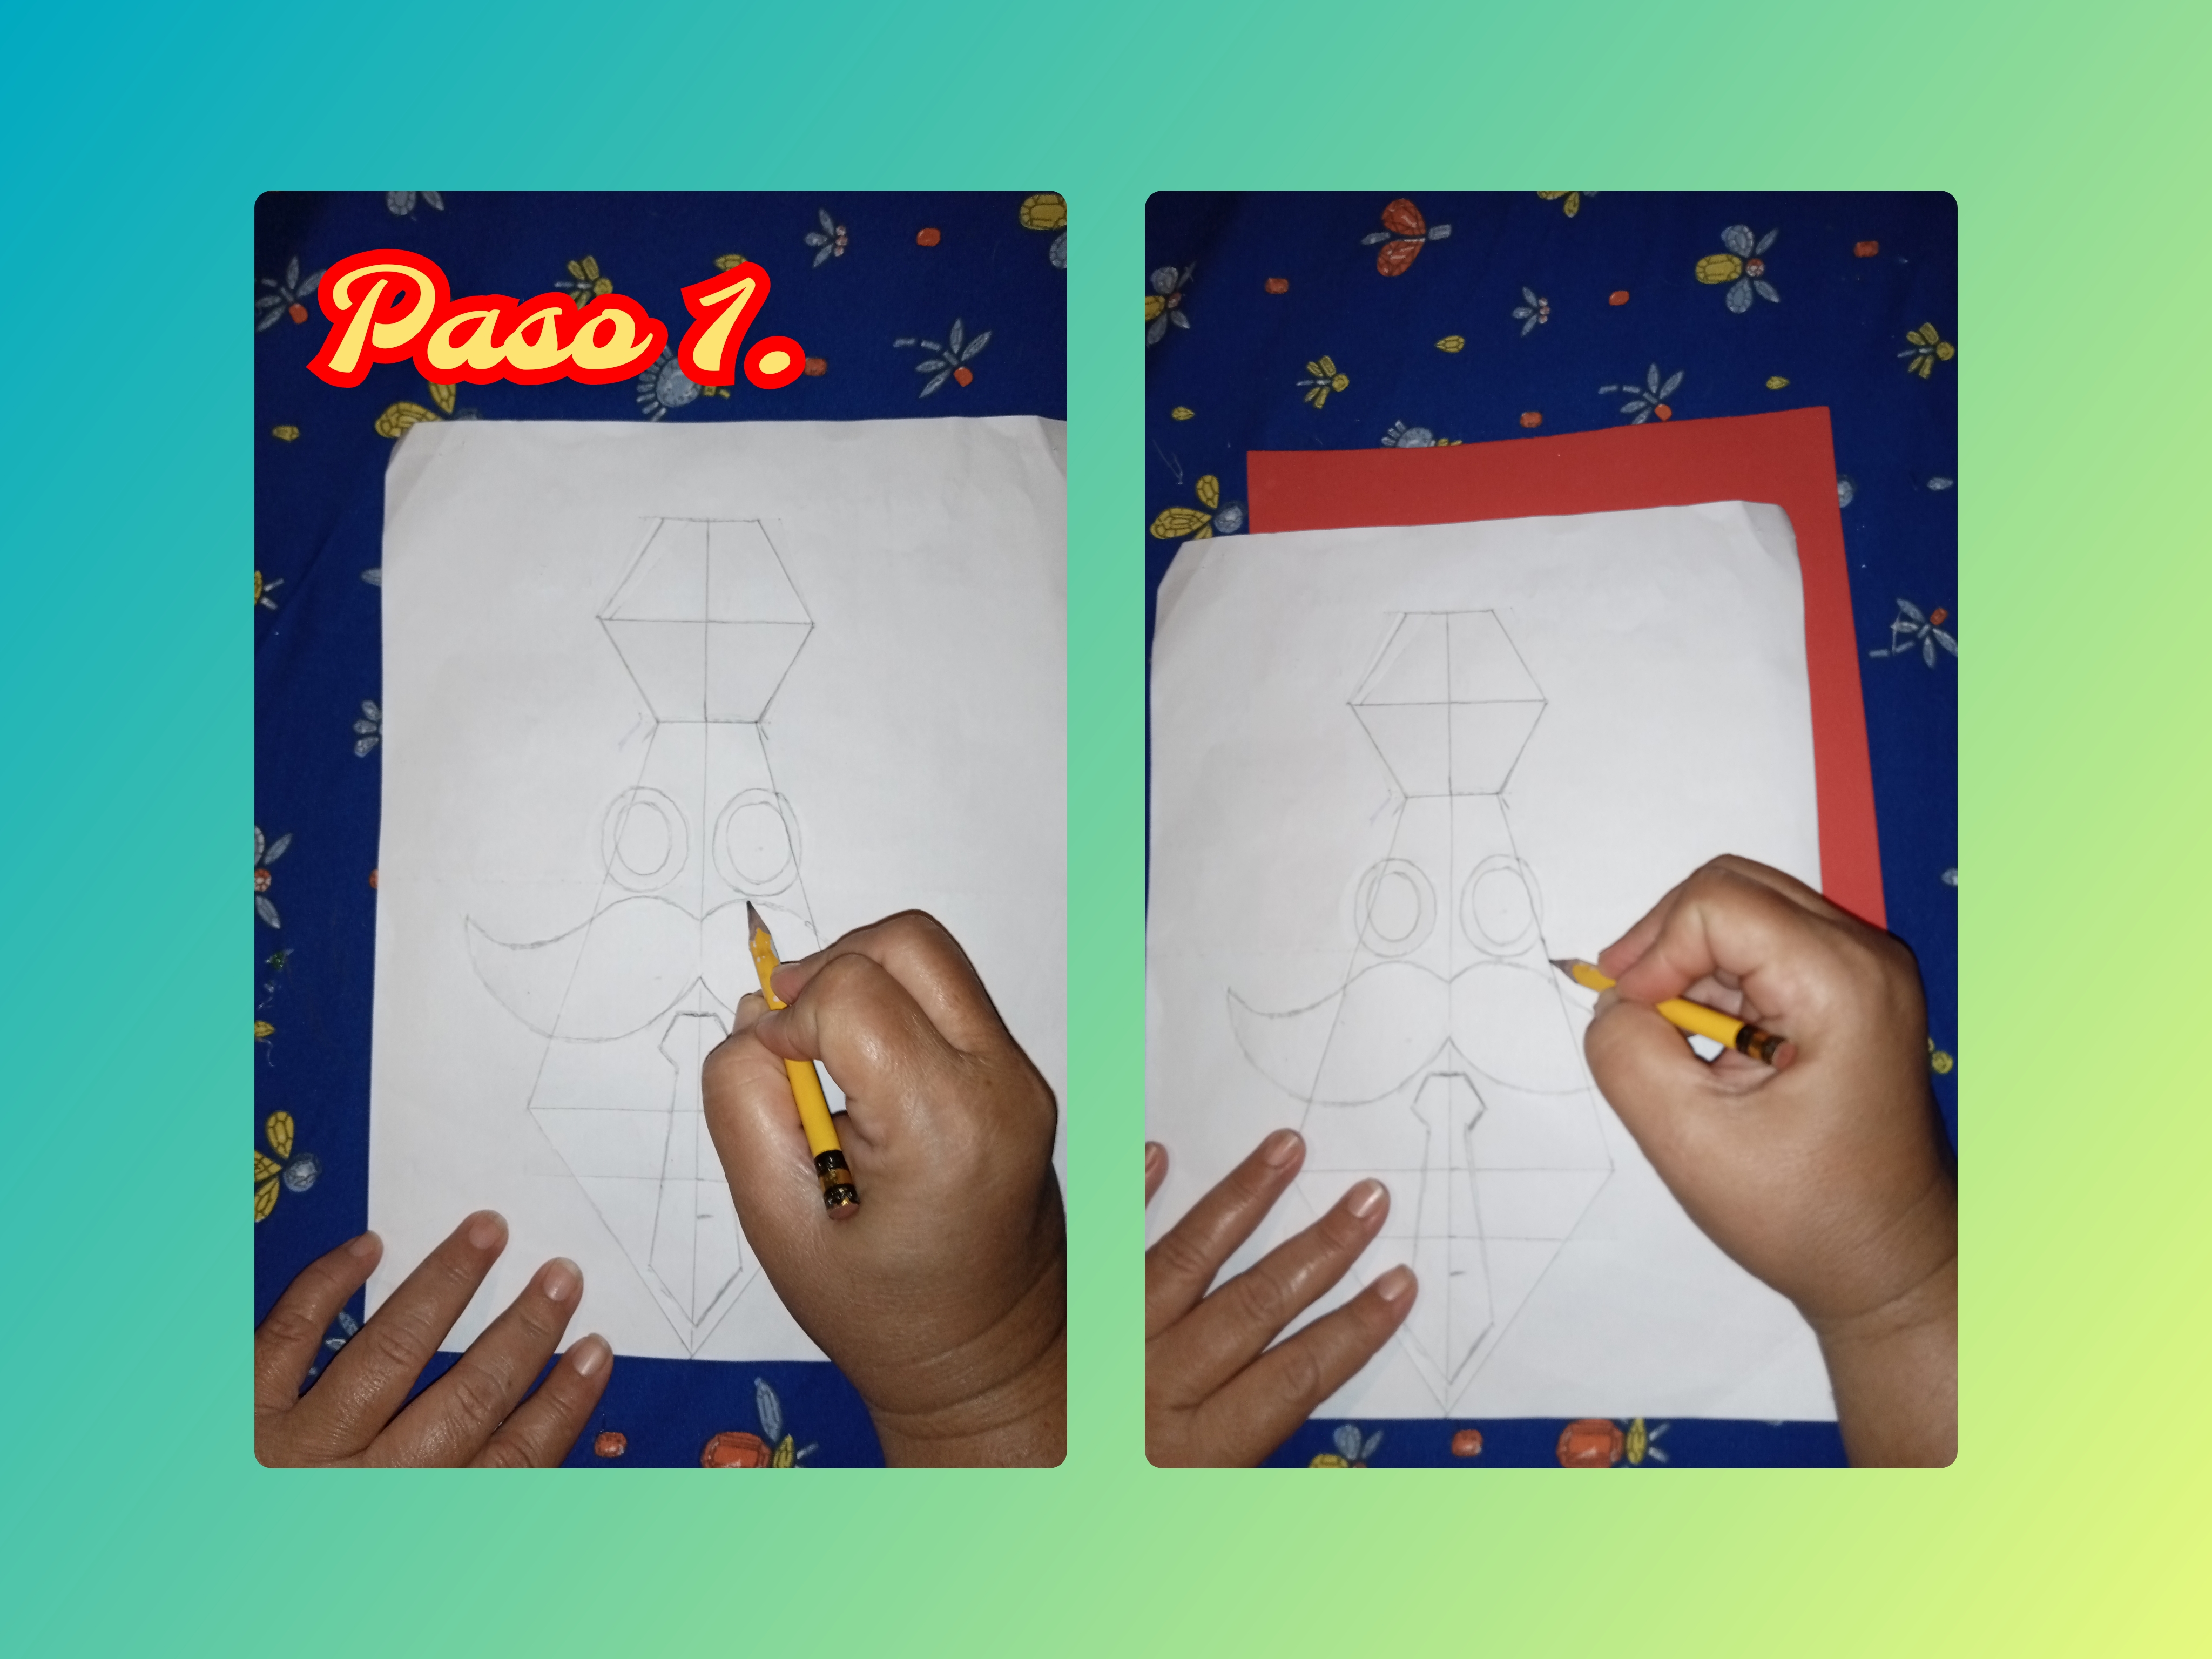</center>
<center> Paso 1. Para comenzar a realizar este bonito y practico porta-bolígrafo lo primero que vamos a hacer es dibujar la figura del porta-bolígrafo en una hoja blanca de uso reciclable, luego tomamos un foami color rojo de textura lisa y colocamos la figura encima del foami y la marcamos, vea las imágenes.</center>
><center> Step 1. To start making this beautiful and practical pencil holder, the first thing we are going to do is draw the shape of the pencil holder on a white sheet of recyclable use, then we take a red foami with a smooth texture and place the shape on top of the foami and mark it, look at the images.</center>
<center>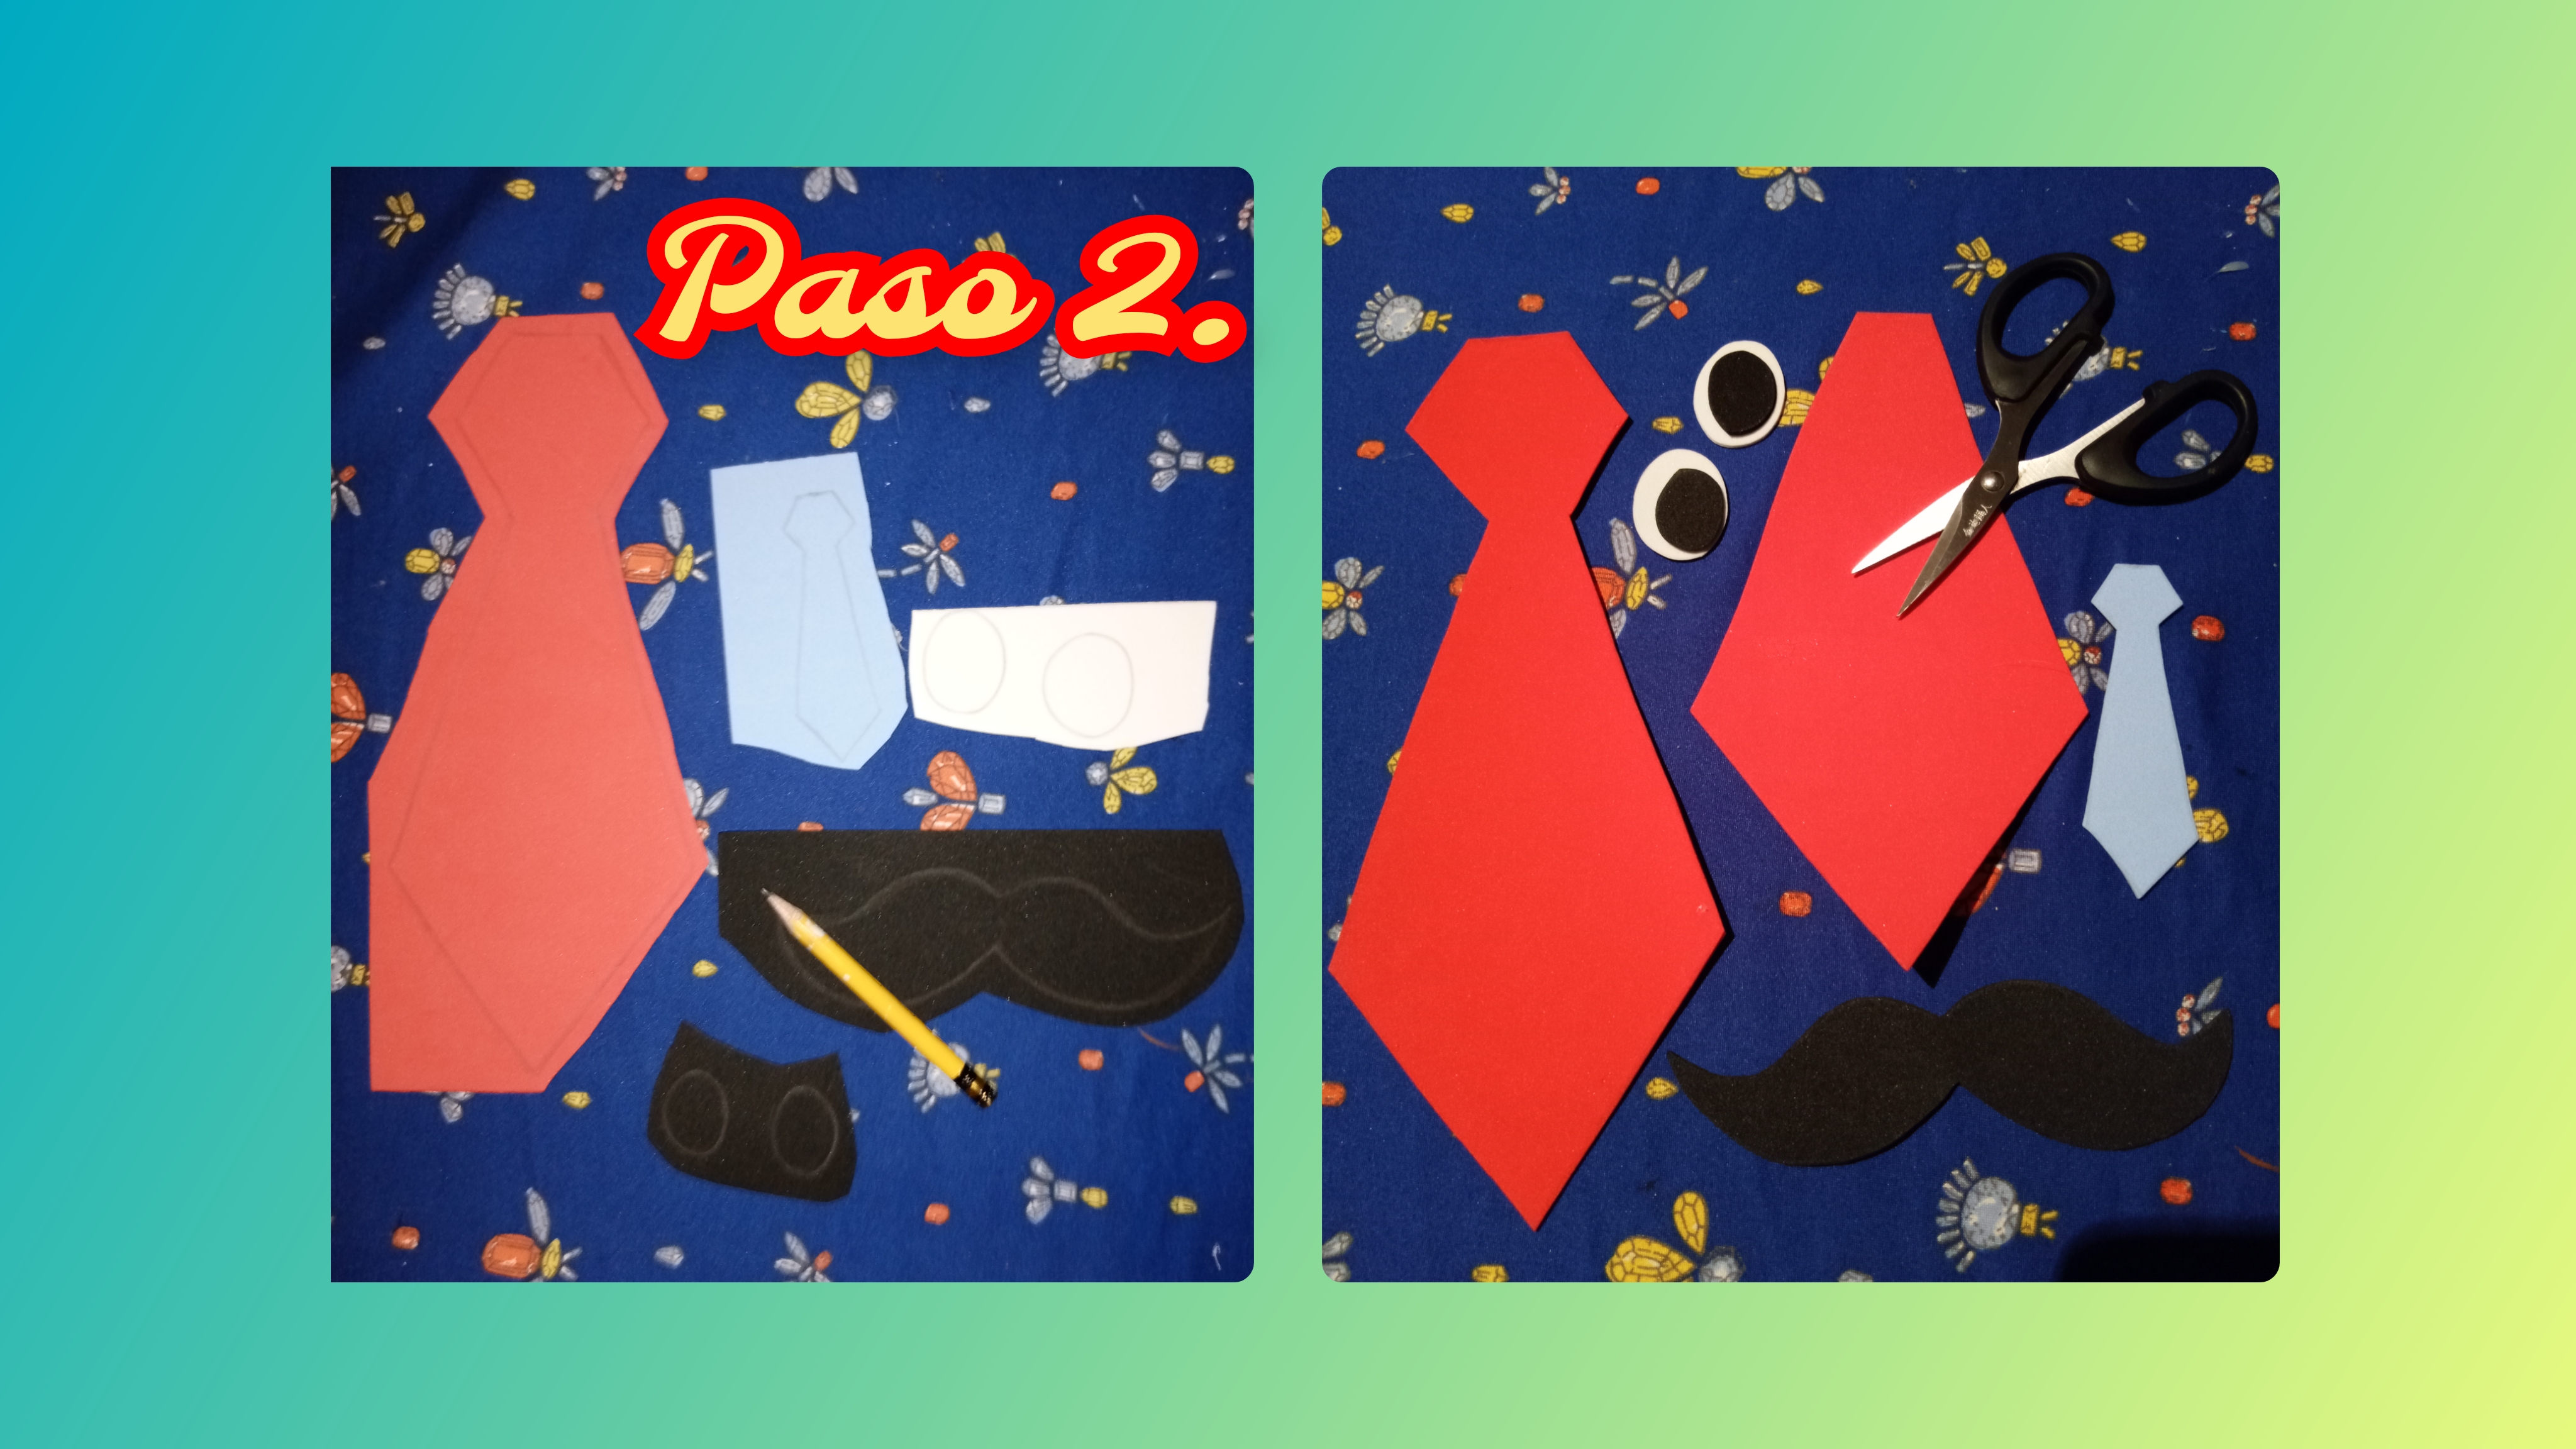</center>
<center> Paso 2. En este paso vamos a marcar todas las piezas en los foamis en sus respectivos colores, que vamos a utilizar para elaborar él porta-bolígrafo, y luego con ayuda de una tijera recortamos todas las piezas, vea las imágenes.</center>
><center> Step 2. In this step we are going to mark all the pieces on the foamis in their respective colors, which we are going to use to make the pencil holder, and then with the help of scissors we cut all the pieces, see the images. </center>
<center></center>
<center> Paso 3. Vamos a empezar a pegar las piezas una por una, empezando por la parte de la corbata que servirá como porta-bolígrafo, después pegamos la otra corbata que serviría como decoración y finalmente pegamos los bigotes, todas las piezas las pegamos con silicona caliente.</center>
><center> Step 3. We are going to start gluing the pieces one by one, starting with the part of the tie that will serve as a pen holder, then we will glue the other tie that will serve as a decoration and finally we will glue the mustaches, all the pieces glue with hot silicone.</center>
<center></center>
<center> Paso 4. Ya casi para finalizar de elaborar él porta-bolígrafo, pegamos los ojos y con pintura blanca le ponemos puntos blancos para decorar, vea las imágenes.</center>
><center> Step 4. Almost finished making the pencil holder, we glue the eyes and with white paint we put white dots to decorate it, see the images.</center>
<center>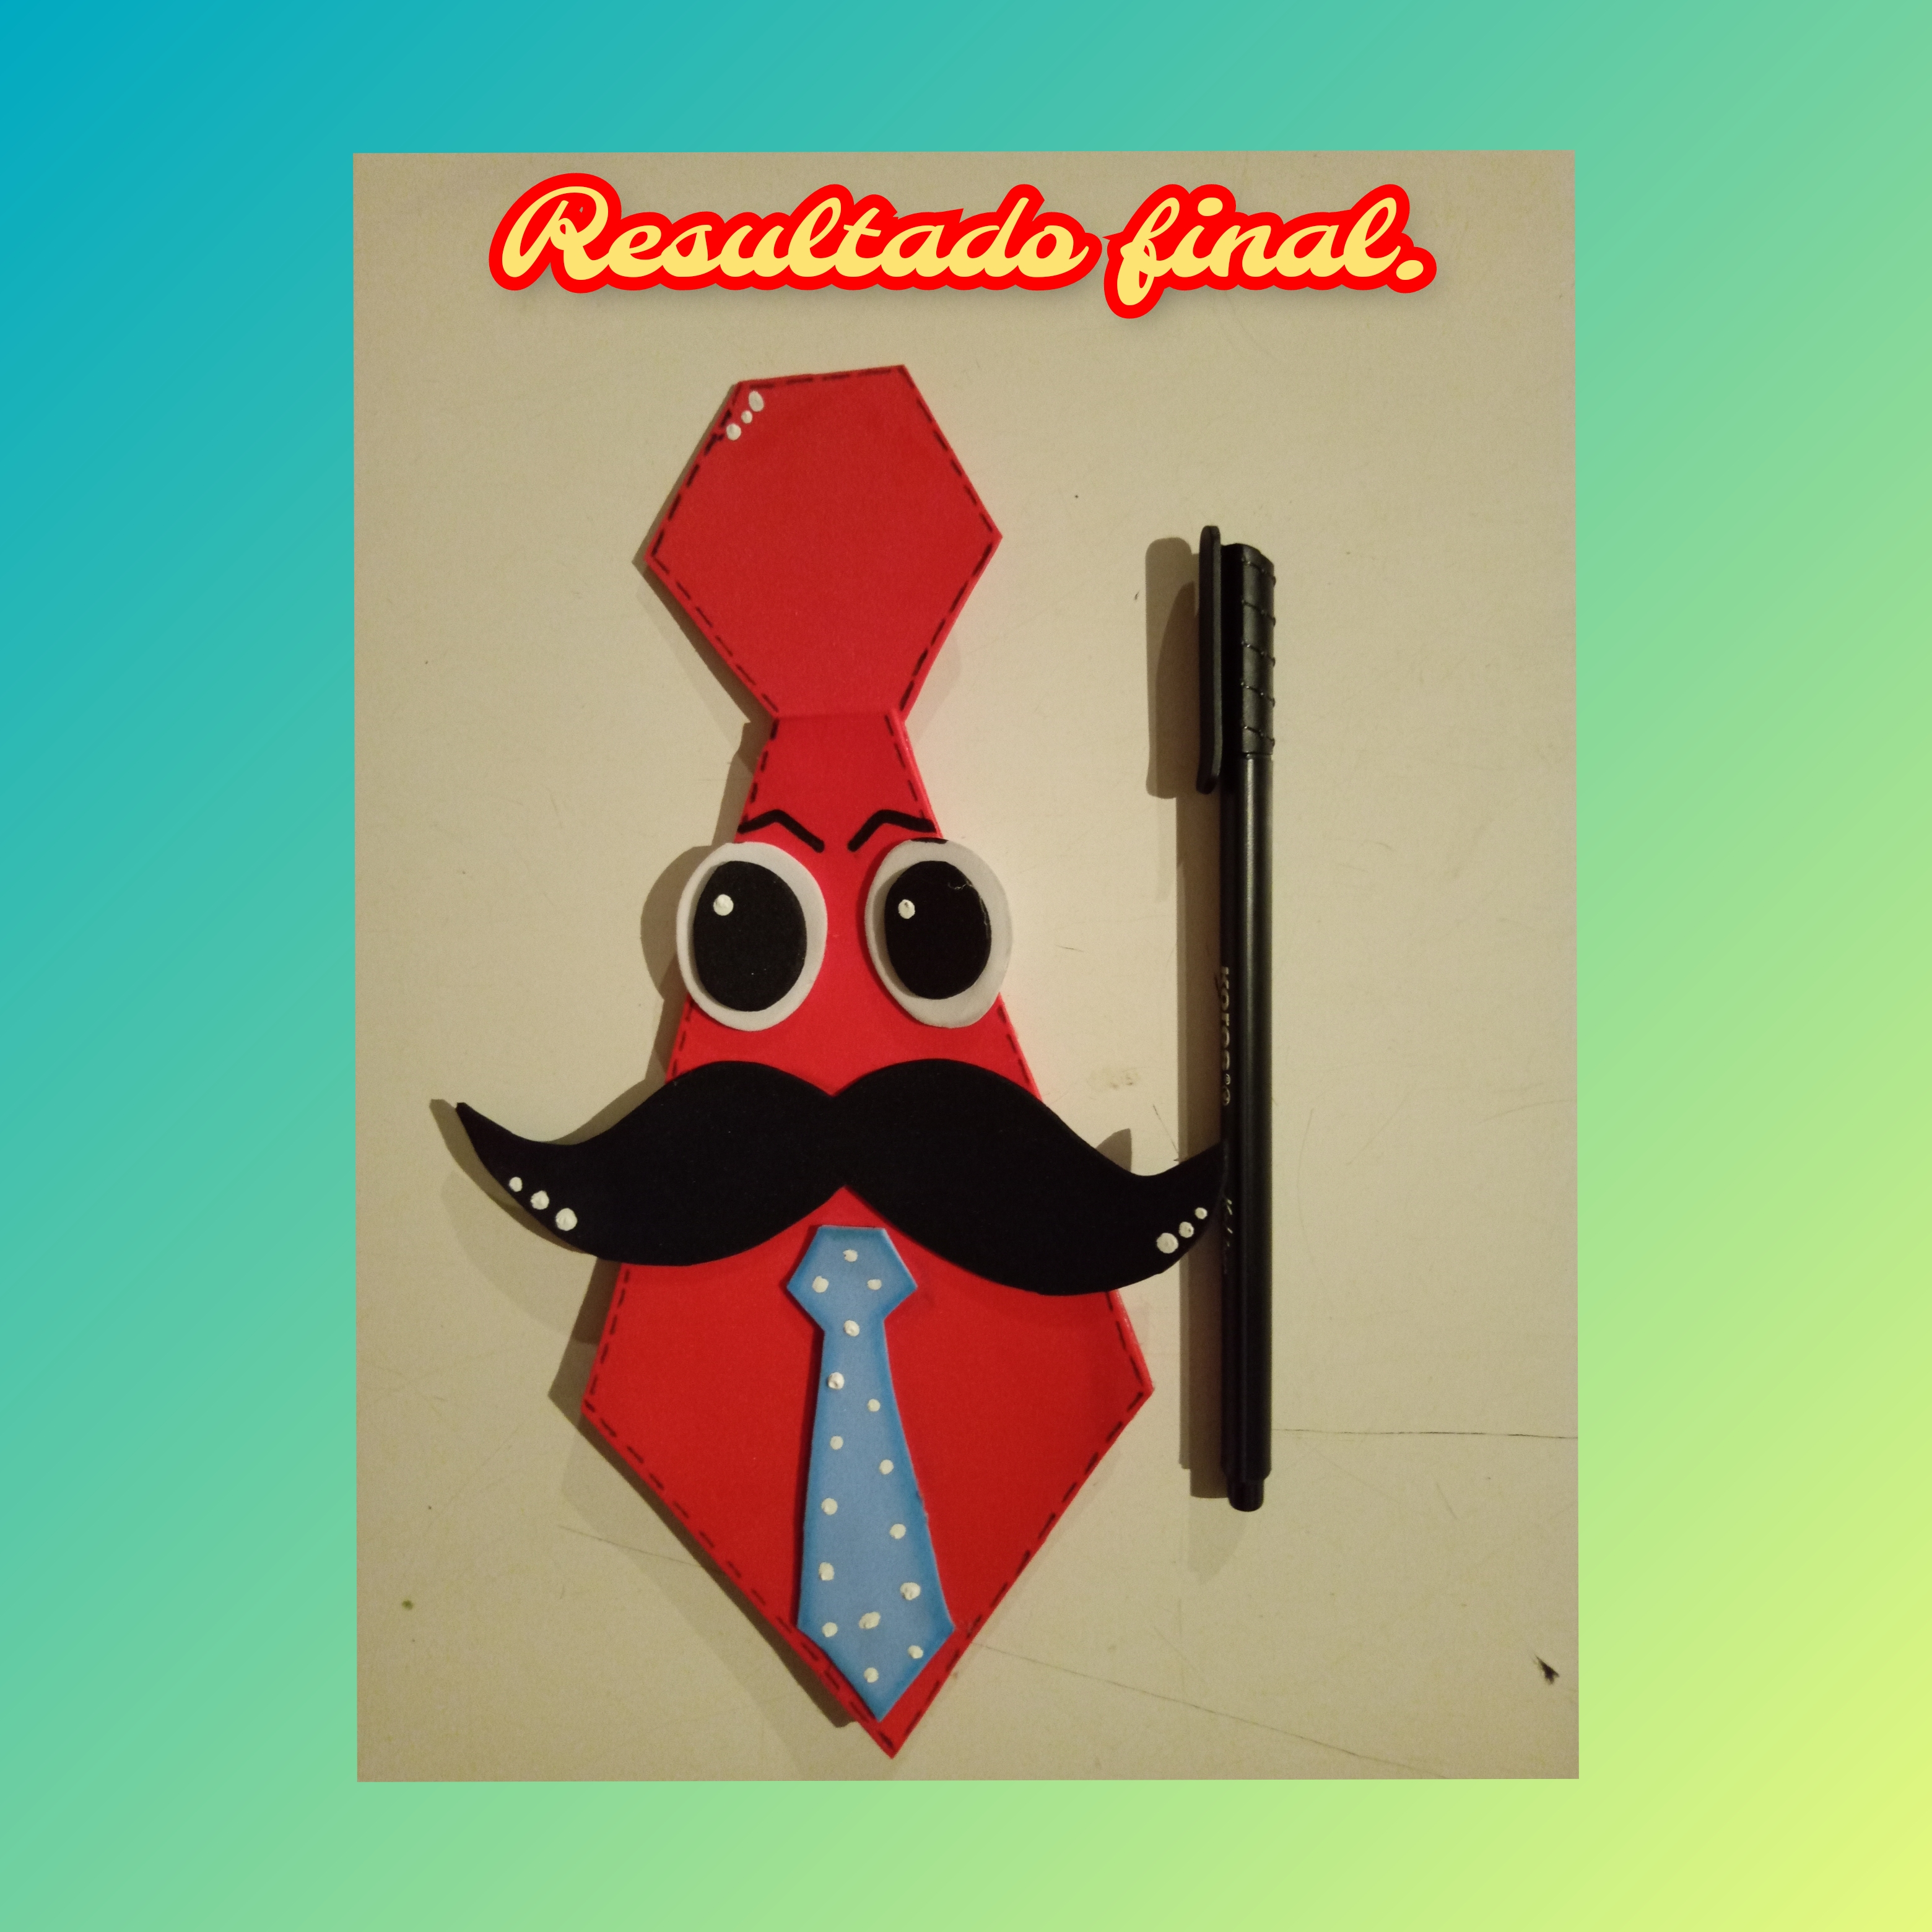</center>
<center> Hemos llegado al final de todos los pasos, y este es el resultado, un bonito y practico porta-bolígrafo, ideal para guardar sus bolígrafos y también serviría como regalo para los padres en su día. Gracias por ver hasta el final, espero les haya gustado , nos vemos pronto con otra idea creativa. Dios los bendiga, Hasta luego.</center>
><center> We have reached the end of all the steps, and this is the result, a beautiful and practical pen holder, ideal for storing your pens and would also serve as a gift for parents on their day. Thanks for watching until the end, I hope you liked it, see you soon with another creative idea. God bless you, see you later.</center>
Las fotos son de mi propiedad tomada con mi telefono TECNO SPARK 6GO y editadas con la aplicacion GRIDART.
>The photos are my property, taken with my TECNO SPARK 6GO cell phone and edited with the GRIDART application.