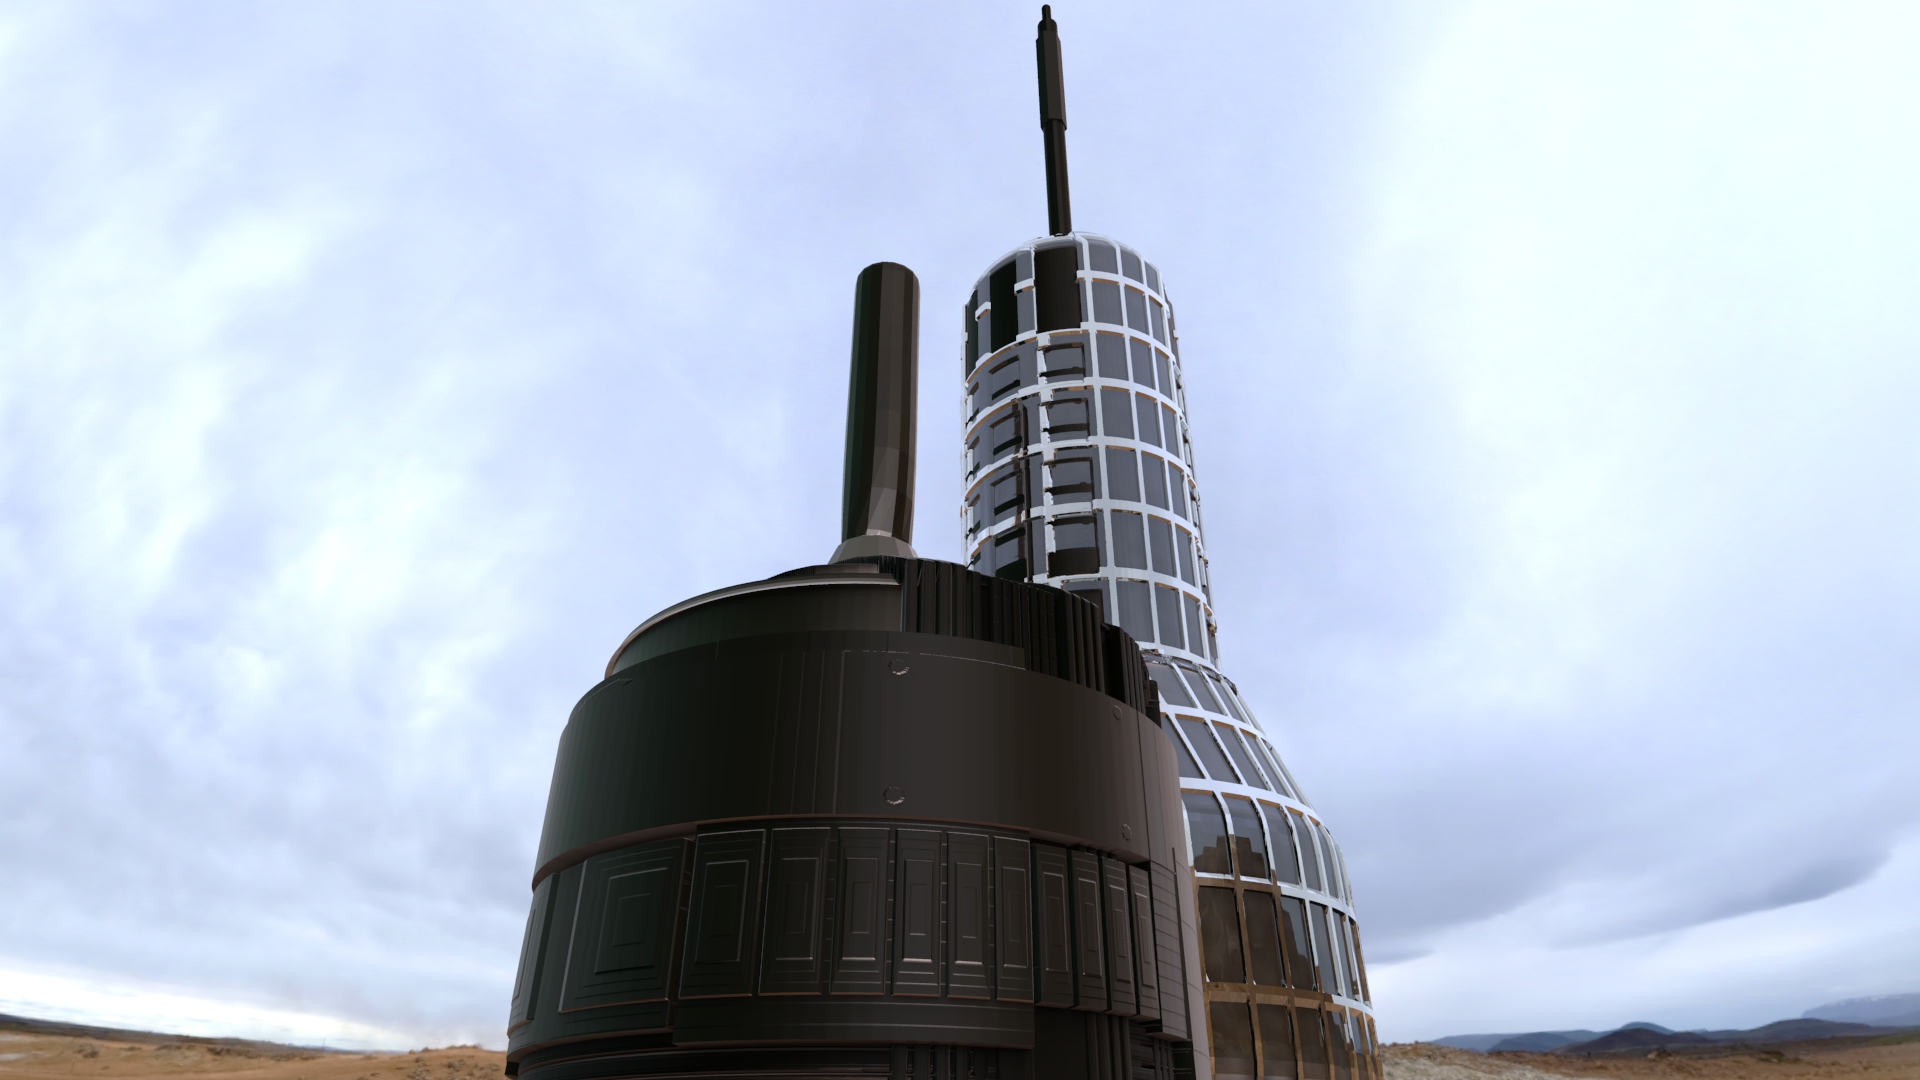
 ### Workflow ### [Zbrush 4 Release 8](https://www.pixologic.com) is an enormously powerful piece of software that allows you to create highly detailed 2d and 3d digital art. Zbrush artwork is used in a wide varriety of applications from person artwork, to video game, movies, and television. Today I am going to give you a few of the steps that I took to make this science fiction office building that is part of a large collection of builds that I am creating for some digital sets that are going to possibly end up on television. There is a balance that needs to be struck between the amount of detail and the number of polygons that go into creating a whole city or complex of buildings in the final shot. The image at the top is of a building that will be used as one of the city office buildings. It is not as detailed as some buildings that are often referred to as hero buildings. It lacks some of the details because you would never see them anyway so there is no real need to model them. This saves both time and helps to simplify the scene. After all time is money and why waste the time creating parts that will never be seen anyway. ### Phase 1 - Create The Silhouette ### 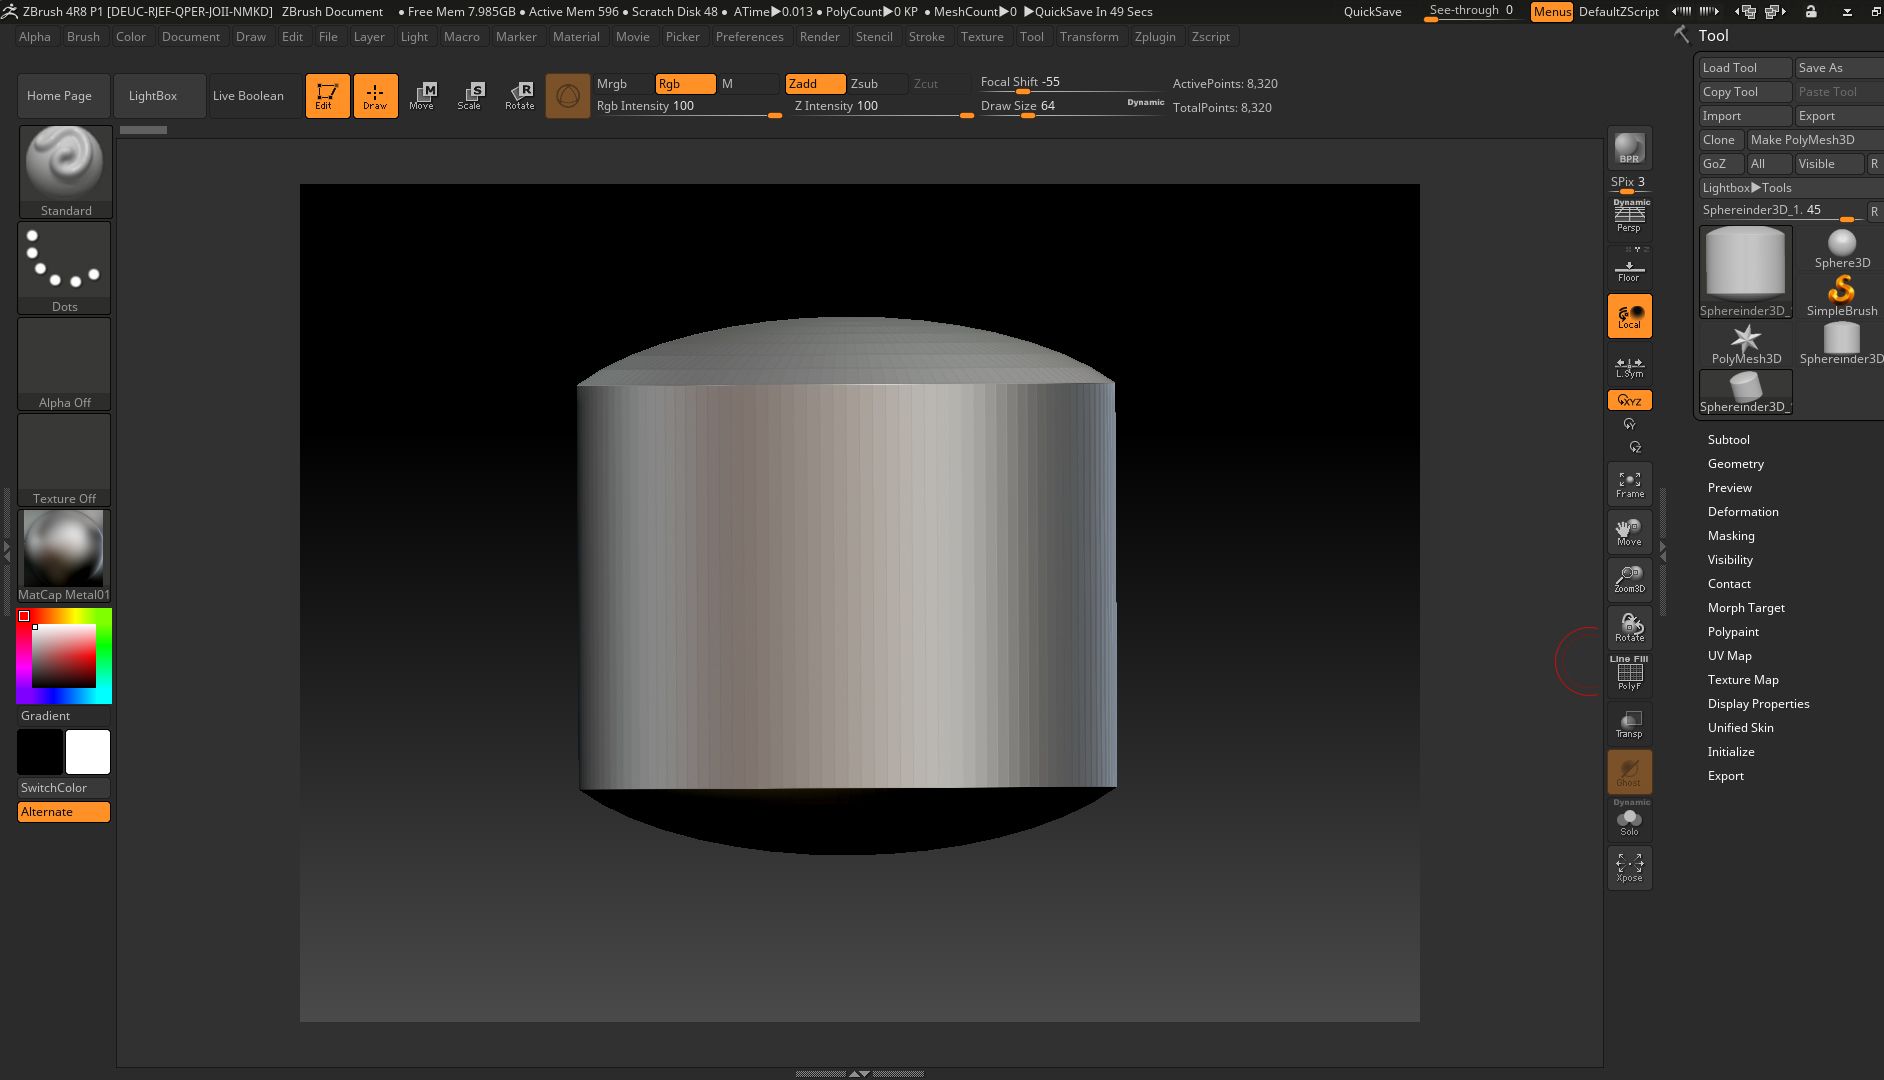 This is a primitive object that Pixologic (the makers of Zbrush) calls a sphereinder. It is the combination of a sphere and a cylinder. For this scene we want the building to have a flat bottom so the first steps involve stretching out the primitive and then trimming the bottom flat. 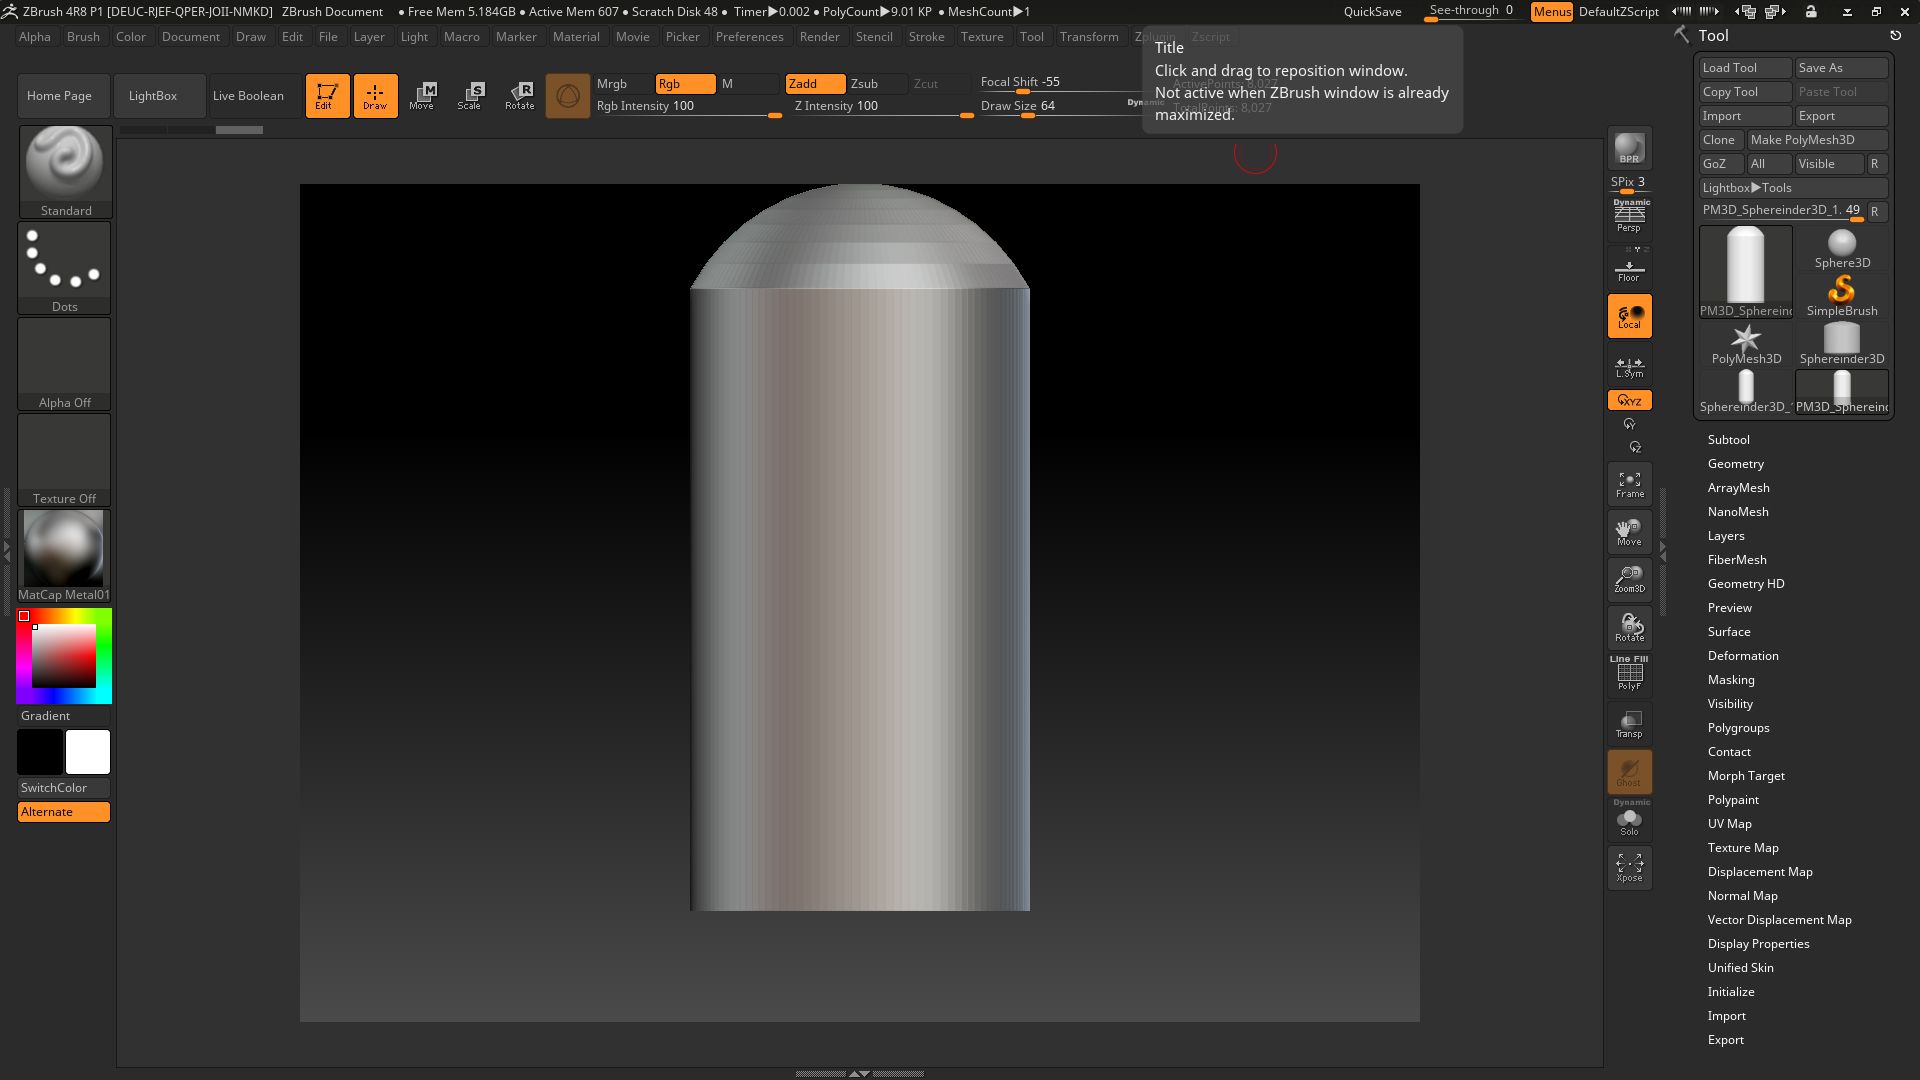 The other main part of the building was done essentially the same way but it was not elongated. It was created as a sub tool so that I can put different textures and details on that independently. Actually several copies of the tall part of the building were made into sub tools so that I could use the surface noise tool to create things like the window frames. 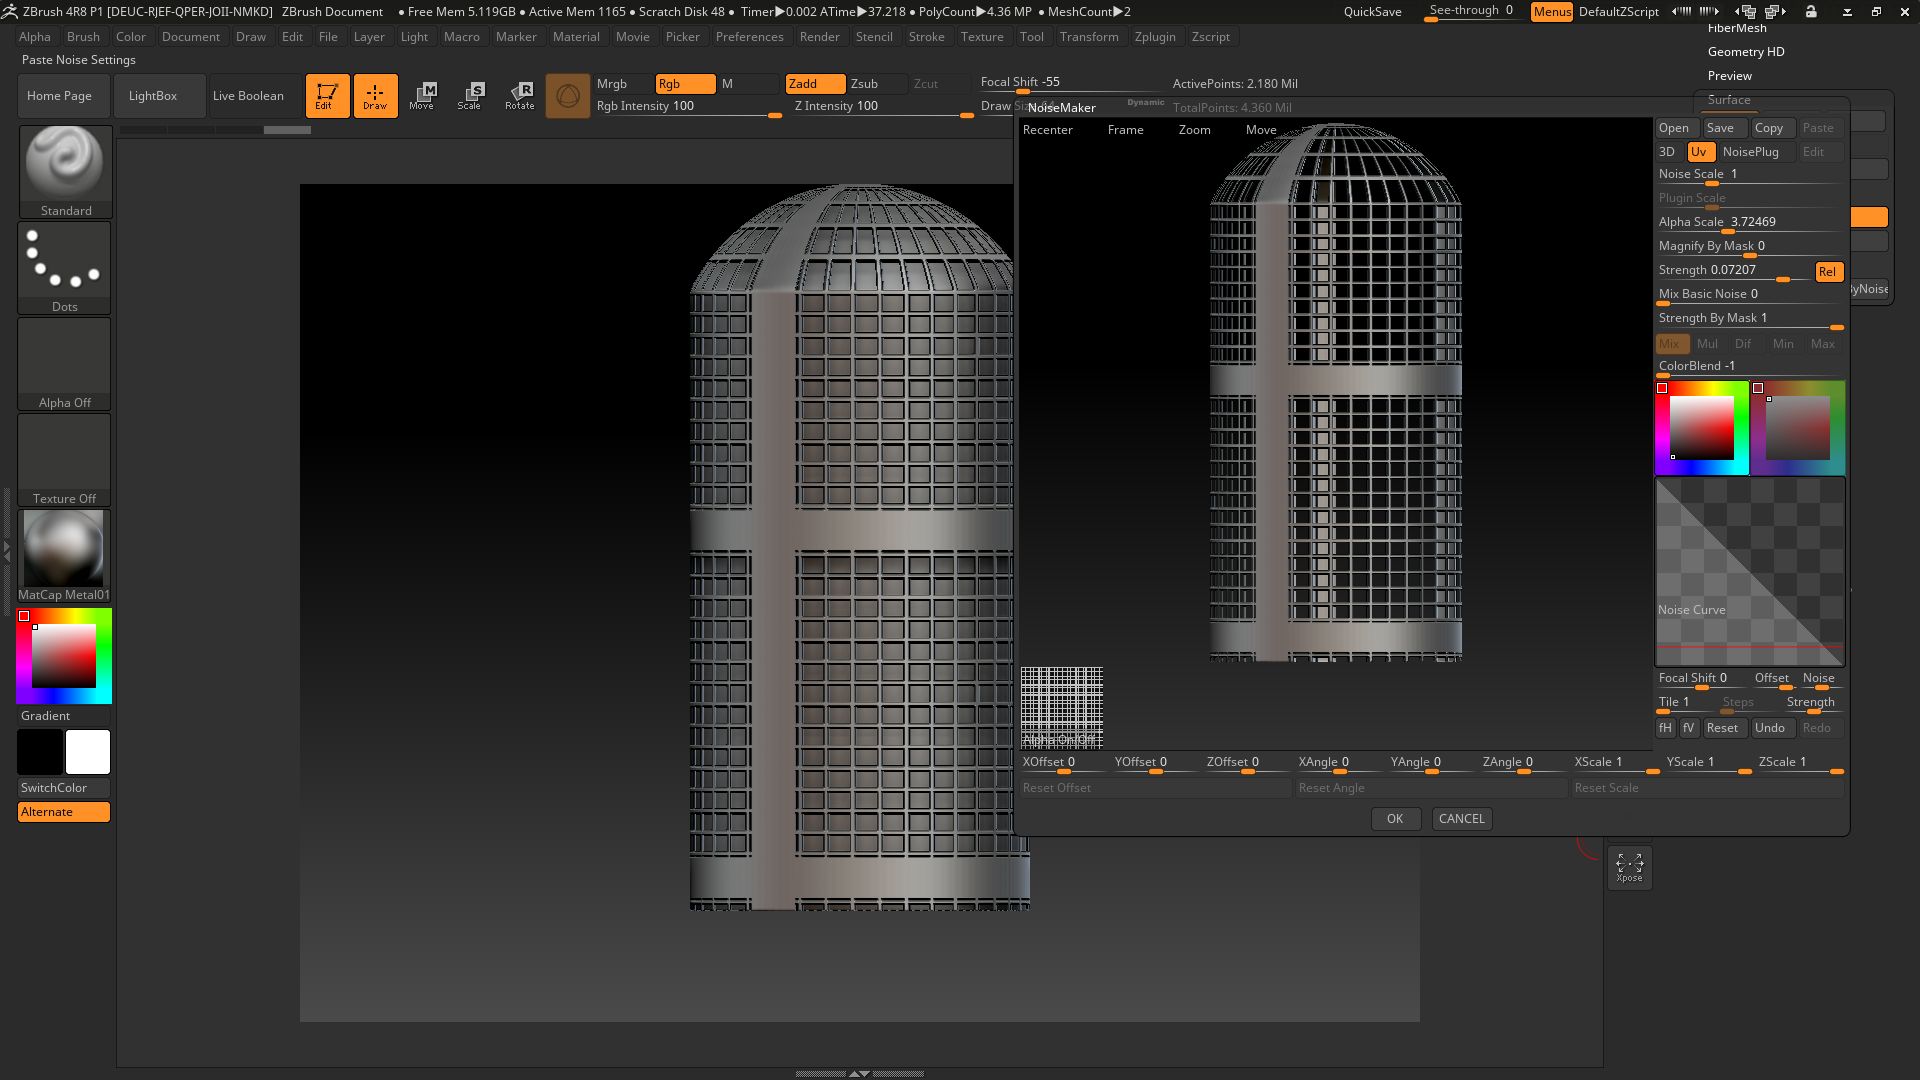 Here you see that I have loaded up an image that is black and white. The surface tool interprets the white areas and creates displaced geometry for the window frames with pretty much the click of a button. 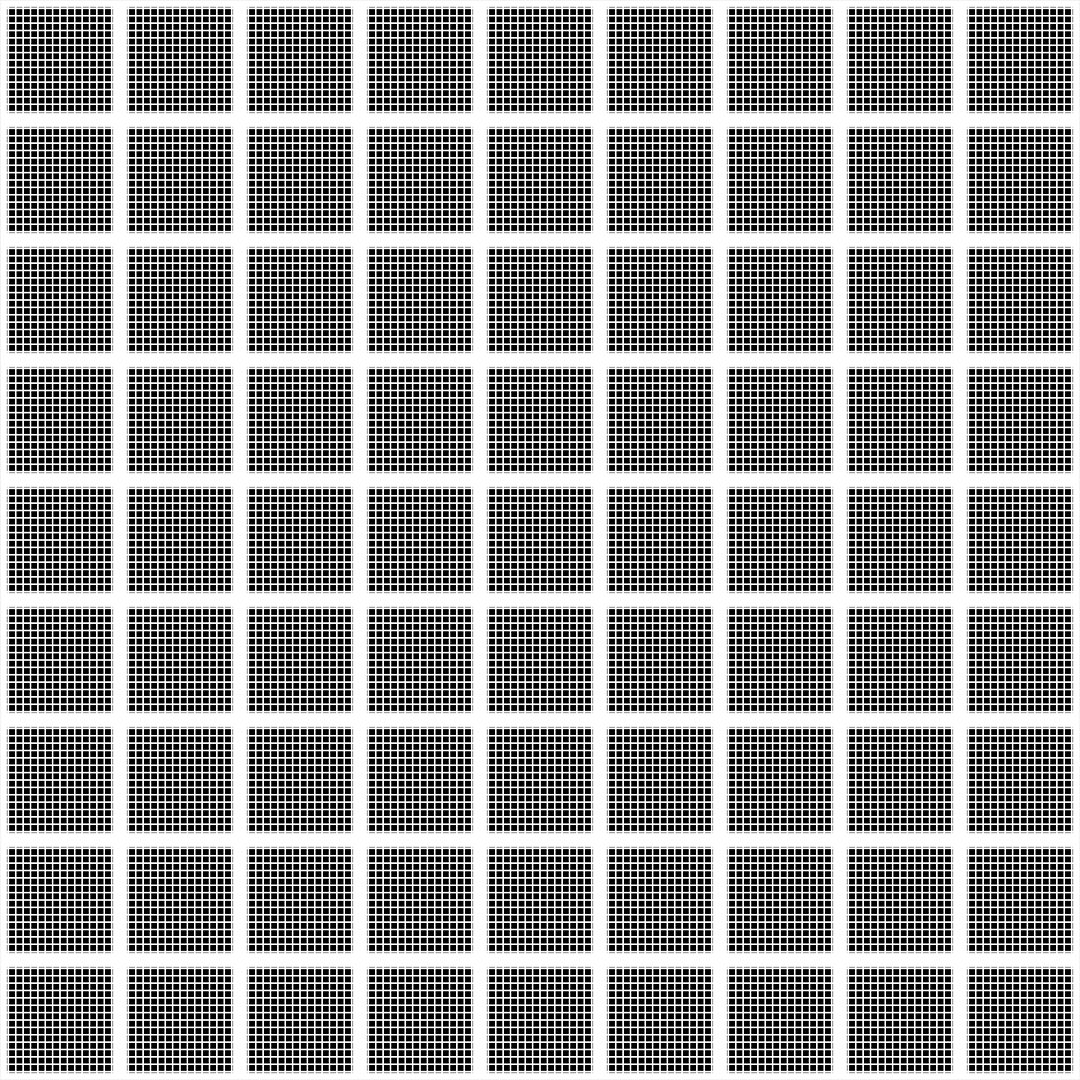 Next I use a digital brush that will allow me to paint in geometry. It is called an insert multi mesh brush. This creates the base of the spire.  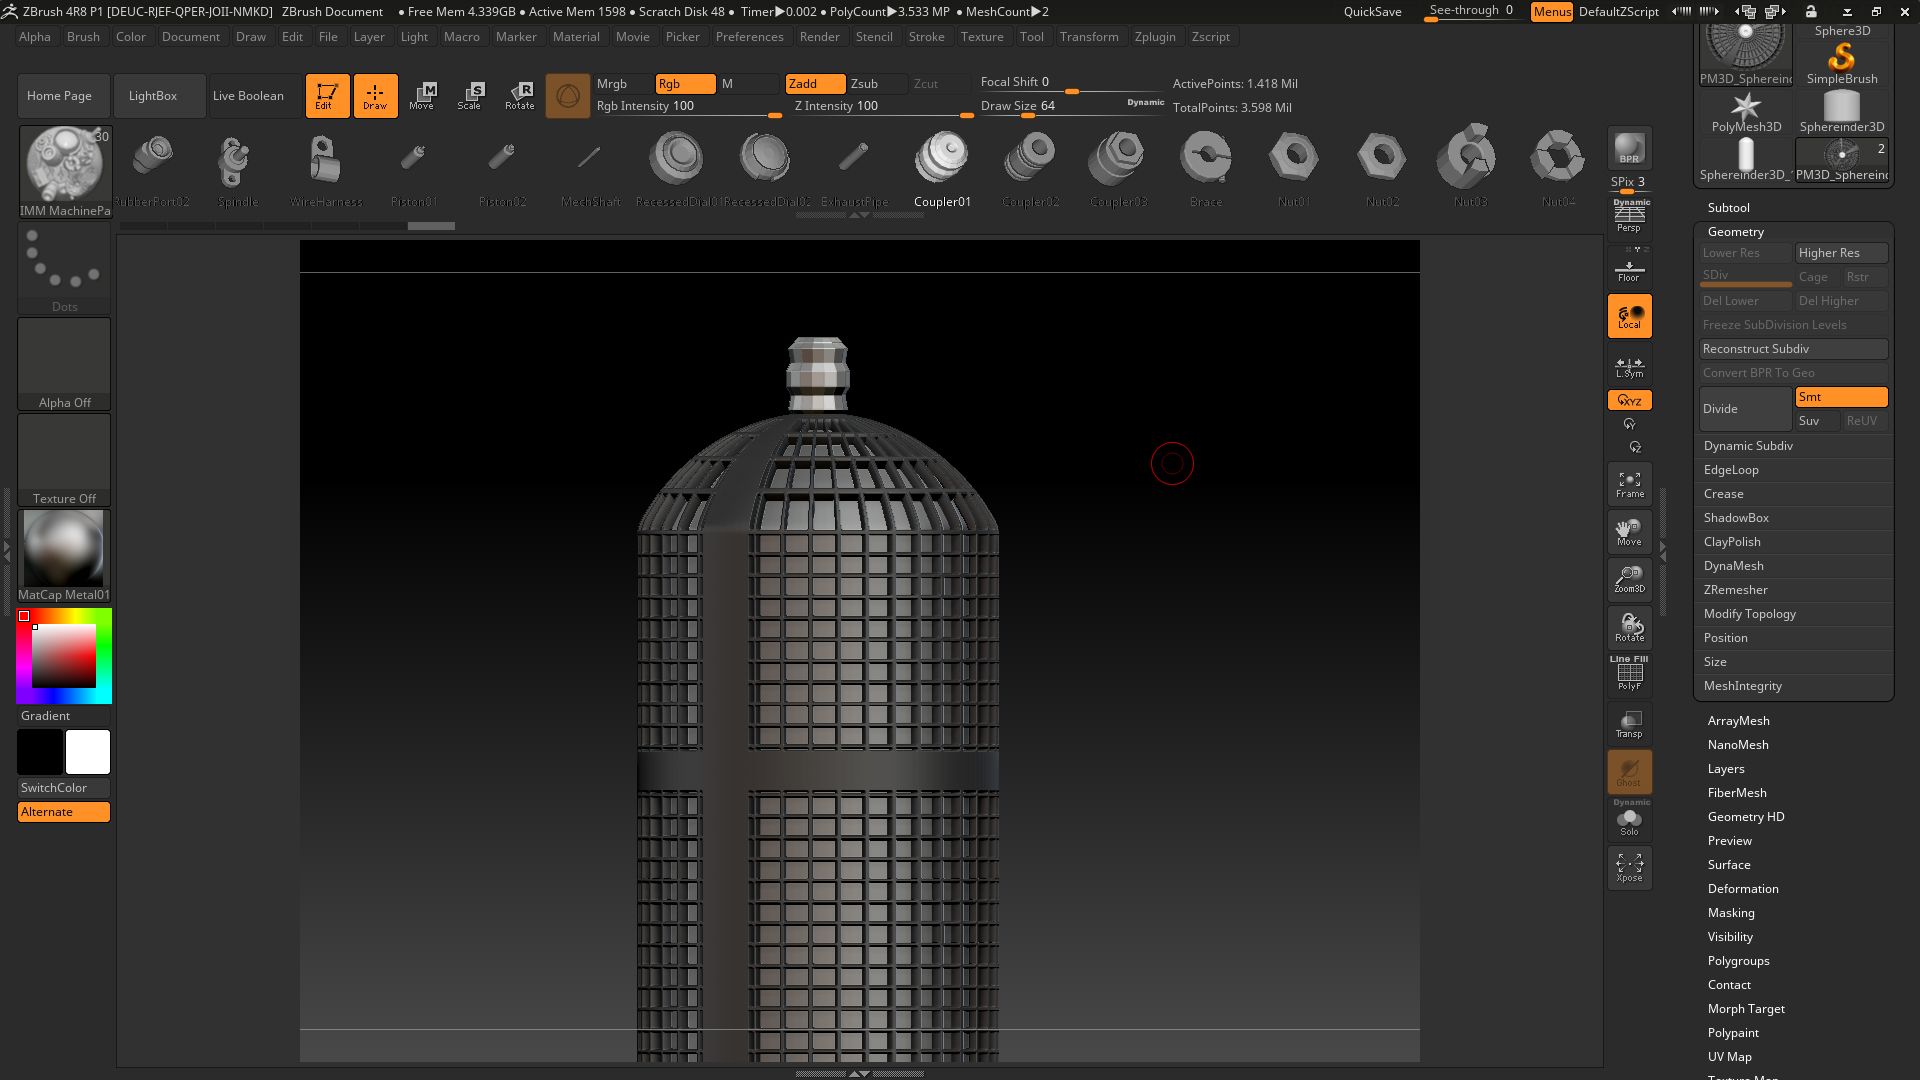 Then just using a different IMM brush I add the actual spire. 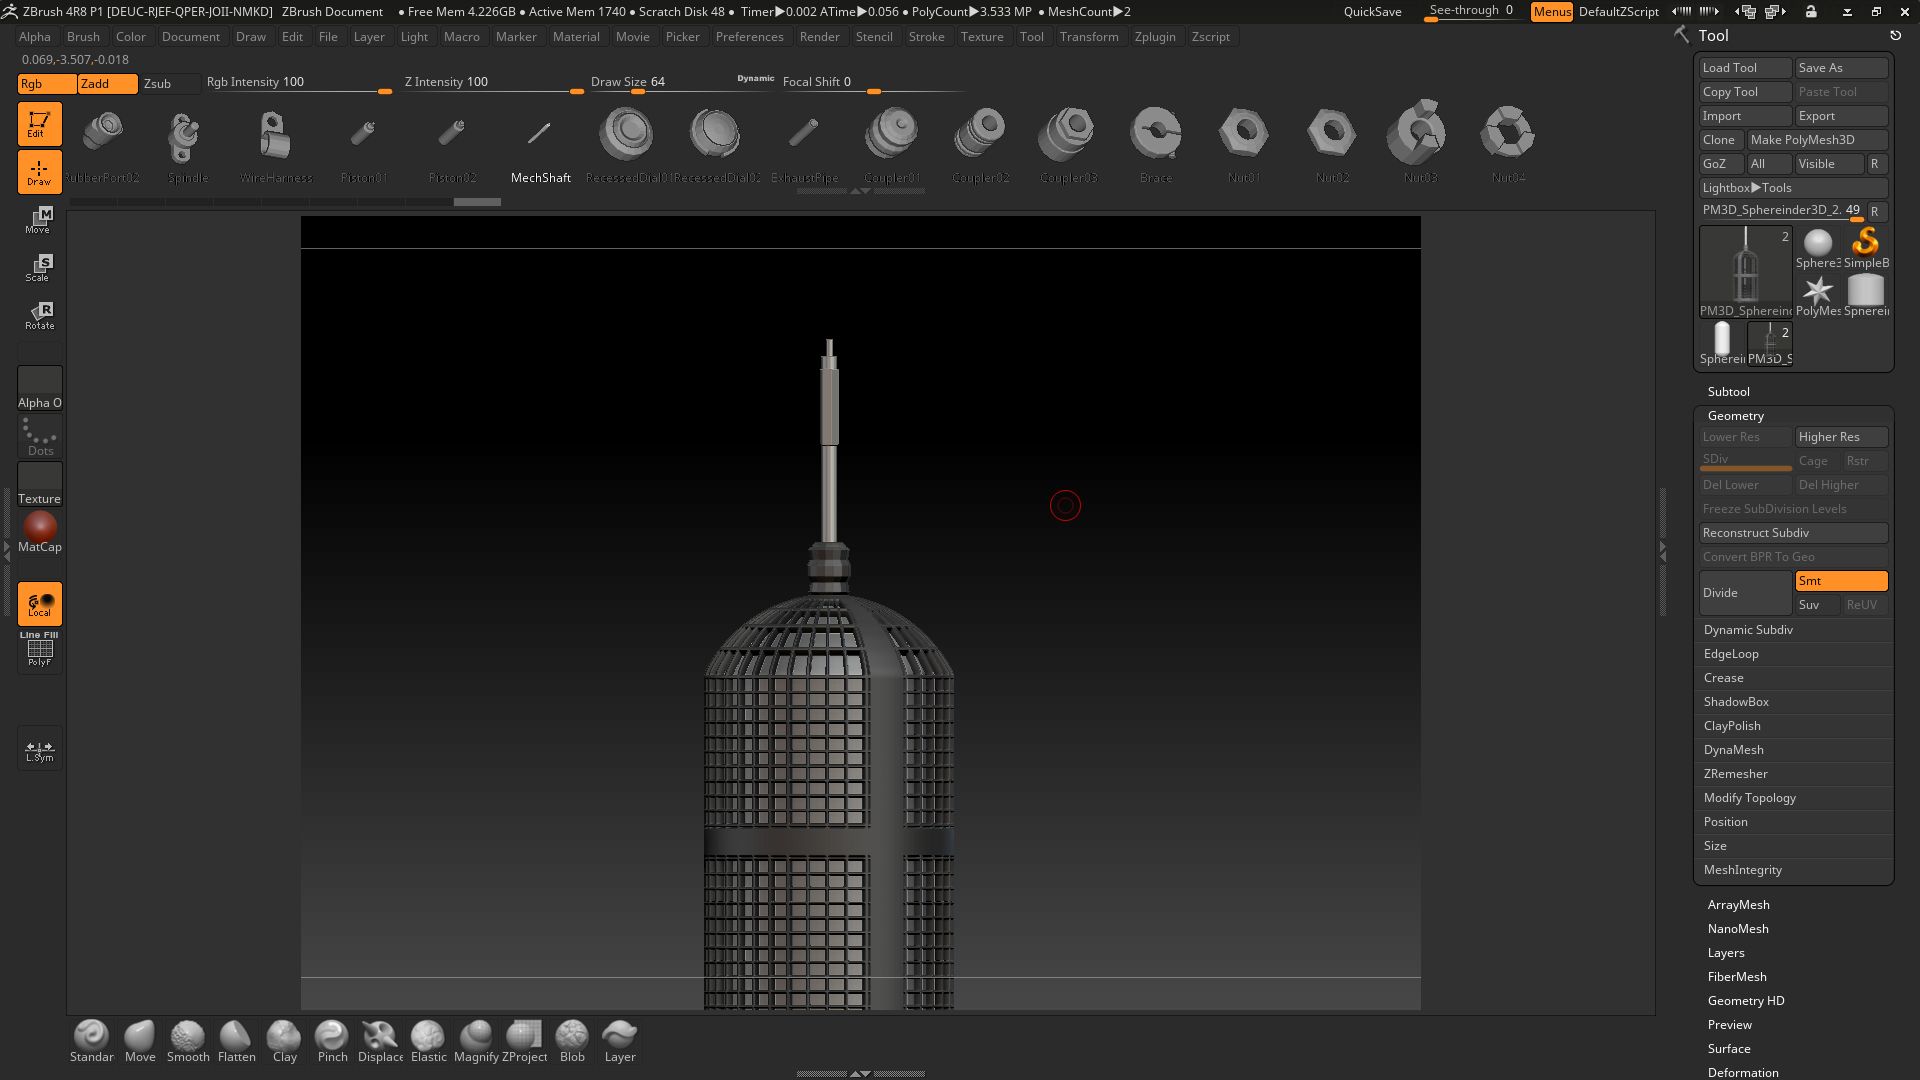 From there the process is a job of repeating the same sort of steps to the shorter annex to the building. The big difference is that in the step where I use the surface tool I use a different alpha image. But finishing is essentially the same thing. At this point this model has a ton of geometry. It is comprised of millions of points. This is not necessarily a good thing when you are trying to render a whole city. Thankfully Pixologic has a great tool for reducing this. It is called decimation master. It can significantly reduce the polygon count and still preserve the look of the model. At this point I wanted to do some test renders with a background and some work on the textures to get a feel for what it might look like in the scene. 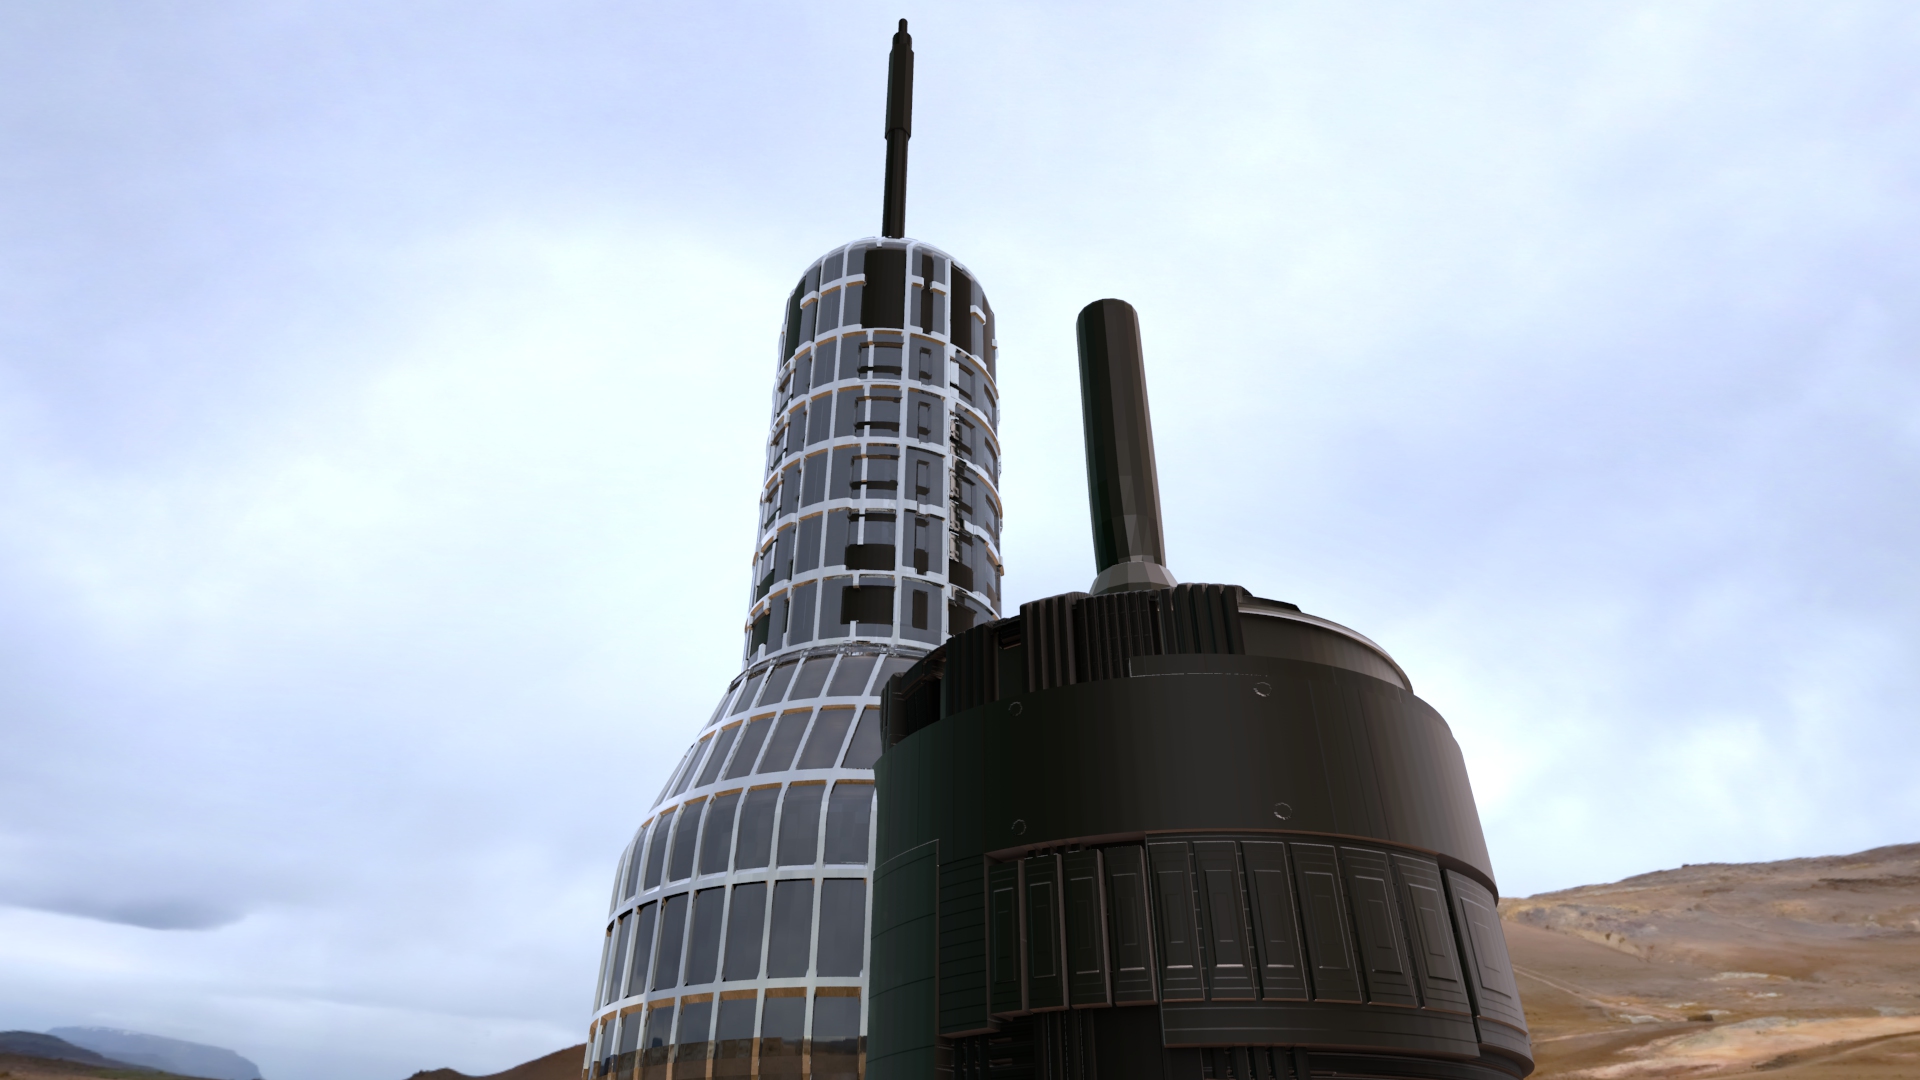 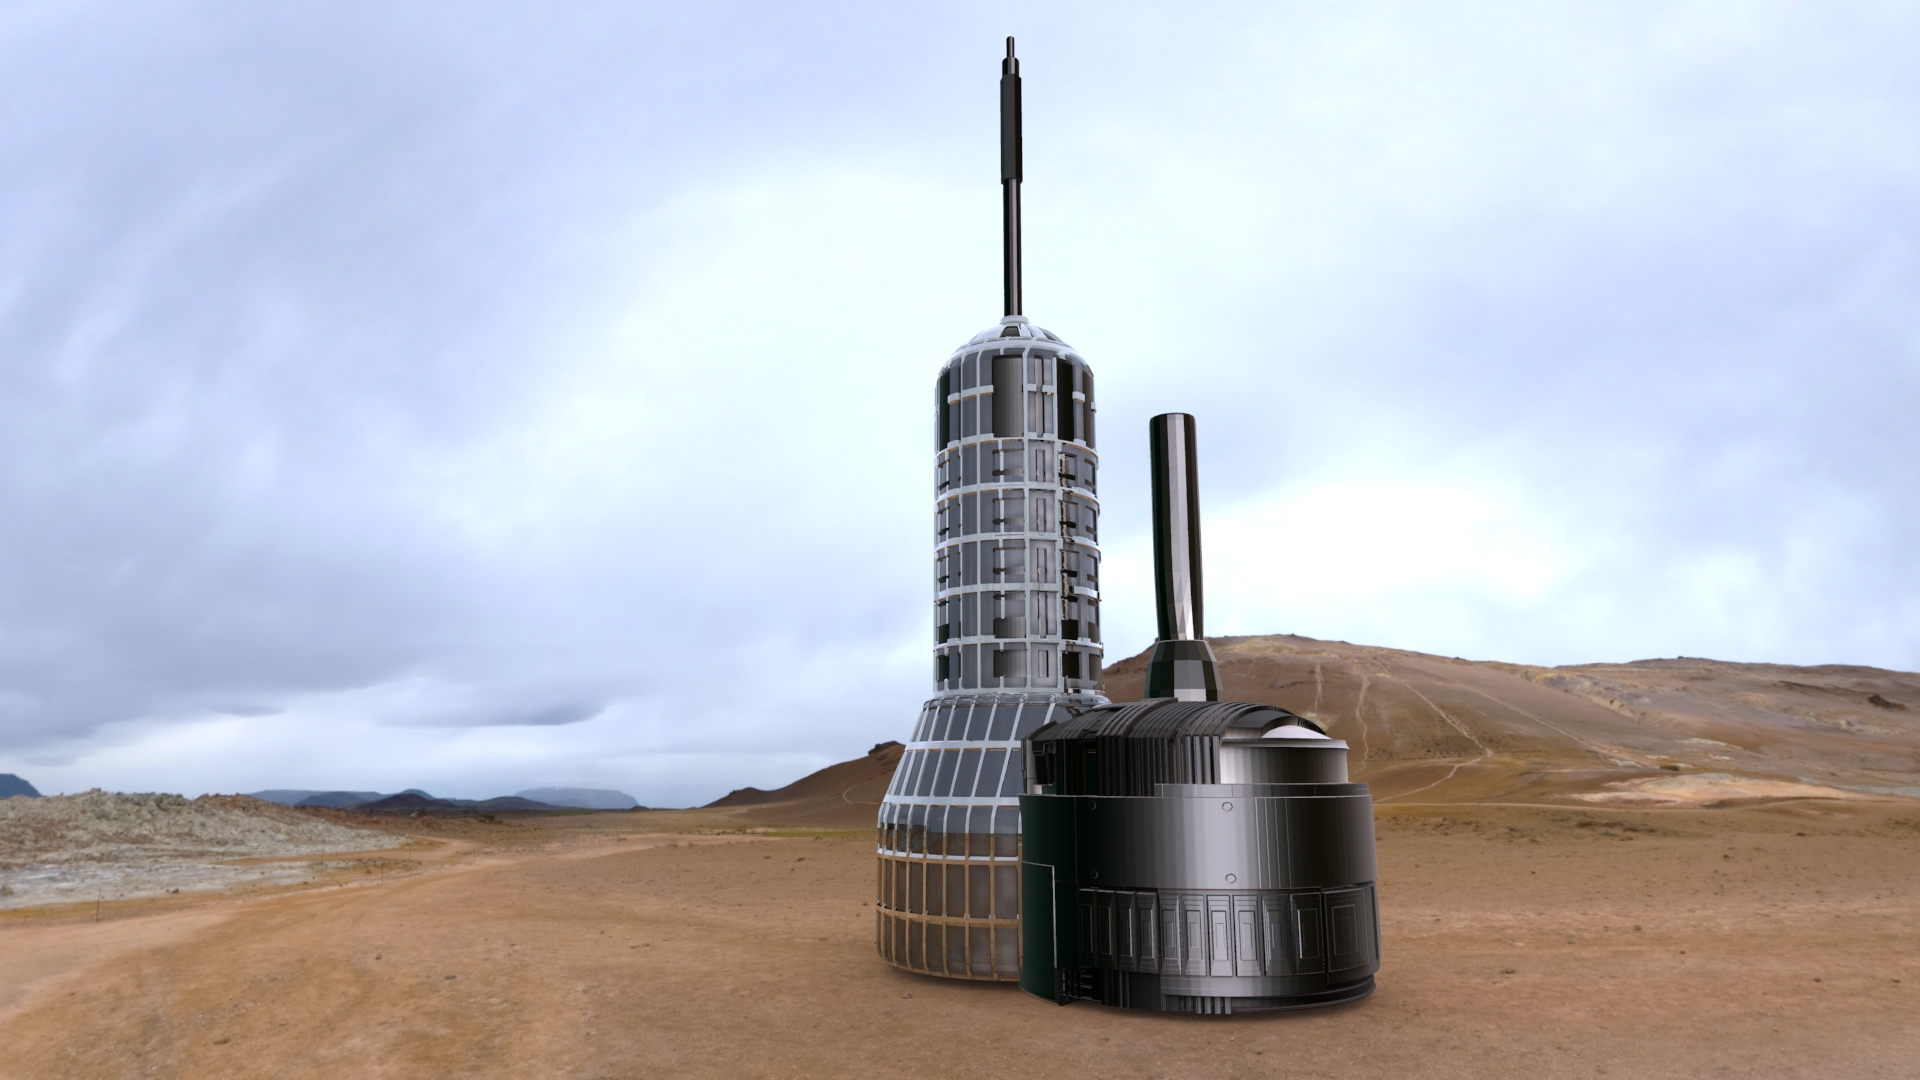  These images were sent directly from Zbrush into a great rendering program called [Keyshot](https://www.keyshot.com) where I did a little work on the materials and added the background. Each image took about 5 min to render out. The whole project took me about and hour and a half which when you consider the detailed result is not too bad. For the production version of the model more work has to be done on the materials and things like signage will be added. But in a nutshell this is how you can quickly create a science fiction building that will have a great impact and will be very efficient in your scene. ### Feedback Is Welcome ### Are you an artist, digital or other? What would you do to create a scene like this. @reddust you have mentioned being able to look over my shoulder to see how I do some of this stuff, what do you think? Was this a good start to help you understand how I do some of what I do? As always your support is appreciated, upvote, follow, and maybe resteem. As a freelance artist every penny is appreciated. I actually spent more time on creating this article than I did the original model.
| author | iamwne |
|---|---|
| permlink | creating-a-scifi-office-building-in-zbrush-workflow-and-general-tutorial |
| category | art |
| json_metadata | {"tags":["art","architecture","animation","photography","environment"],"users":["reddust"],"image":["https://steemitimages.com/DQma78CbBK8q9SHA79MxrfXvcPYVr8PP8Kw4cMAhVXEqLNB/zb5.jpg","https://steemitimages.com/DQmZncAd1H3Gw9Va8bfvvM4qryBdDVRbxtBVRVgoQ4ND2vH/Sphereinder3d.jpg","https://steemitimages.com/DQmSDPahmJfeHDwj3Axs6nm8icYQFj1vdvk9gmz5W23qrRQ/Trimmed.jpg","https://steemitimages.com/DQmbSY1jUGUQvgay45QwsX2jzNE3gGj981KLBsGPfwm5FMh/Surface.jpg","https://steemitimages.com/DQmf1RTdTYqGgUcpjnQgeSnJZPUvhxpX8CiboBD5t5XgxSz/a1.jpg","https://steemitimages.com/DQmXYZ82mNzegzcCTHstaERrSUKtWYyUbfitcqdfyp1Gao1/sp1.jpg","https://steemitimages.com/DQmetfuqEAPYjfHCo8SydWavKdwUN2gTrqyhTYuD7yTHajL/sp2.jpg","https://steemitimages.com/DQmVX6tKhV1j3DAAaQa9UvLBFdFXomB8kbUNmWMZqxstKb2/sp3.jpg","https://steemitimages.com/DQmUXA1TeeNNVasNLVRNPTpJS8cynJQT7HQAGKzDugDZ9aj/zb6.jpg","https://steemitimages.com/DQmV9HoVd7aooao18tVpEDR1R2cYNPeEMNwRPCDQzNsomz8/zb4.jpg","https://steemitimages.com/DQmPSnP5APjna8pMn4sbusFSgYnyqLEMWsC3VGZokmr6ZUr/zb7.jpg"],"links":["https://www.pixologic.com","https://www.keyshot.com"],"app":"steemit/0.1","format":"markdown"} |
| created | 2017-08-07 16:43:39 |
| last_update | 2017-08-07 16:43:39 |
| depth | 0 |
| children | 2 |
| last_payout | 2017-08-14 16:43:39 |
| cashout_time | 1969-12-31 23:59:59 |
| total_payout_value | 1.423 HBD |
| curator_payout_value | 0.114 HBD |
| pending_payout_value | 0.000 HBD |
| promoted | 0.000 HBD |
| body_length | 5,224 |
| author_reputation | 26,294,776,891,228 |
| root_title | "Creating a SciFi Office Building In Zbrush - Workflow & General Tutorial" |
| beneficiaries | [] |
| max_accepted_payout | 1,000,000.000 HBD |
| percent_hbd | 10,000 |
| post_id | 11,075,491 |
| net_rshares | 411,232,015,481 |
| author_curate_reward | "" |
| voter | weight | wgt% | rshares | pct | time |
|---|---|---|---|---|---|
| iamwne | 0 | 4,621,370,858 | 100% | ||
| penguinpablo | 0 | 65,155,391,274 | 5% | ||
| reddust | 0 | 337,867,496,951 | 100% | ||
| jackstep | 0 | 596,931,113 | 100% | ||
| szokerobert | 0 | 2,699,736,261 | 20% | ||
| seyico2011 | 0 | 291,089,024 | 100% |
I don't know enough about digital art to give critical feedback. But I know what I like and I like this piece. I also like how you took me through the use of your tools. My favorite is decimation master, which our brains do all the time :P
| author | reddust |
|---|---|
| permlink | re-iamwne-creating-a-scifi-office-building-in-zbrush-workflow-and-general-tutorial-20170807t165407017z |
| category | art |
| json_metadata | {"tags":["art"],"app":"steemit/0.1"} |
| created | 2017-08-07 16:54:06 |
| last_update | 2017-08-07 16:54:06 |
| depth | 1 |
| children | 1 |
| last_payout | 2017-08-14 16:54:06 |
| cashout_time | 1969-12-31 23:59:59 |
| total_payout_value | 0.000 HBD |
| curator_payout_value | 0.000 HBD |
| pending_payout_value | 0.000 HBD |
| promoted | 0.000 HBD |
| body_length | 239 |
| author_reputation | 167,904,626,237,187 |
| root_title | "Creating a SciFi Office Building In Zbrush - Workflow & General Tutorial" |
| beneficiaries | [] |
| max_accepted_payout | 1,000,000.000 HBD |
| percent_hbd | 10,000 |
| post_id | 11,076,482 |
| net_rshares | 4,163,809,387 |
| author_curate_reward | "" |
| voter | weight | wgt% | rshares | pct | time |
|---|---|---|---|---|---|
| iamwne | 0 | 4,163,809,387 | 100% |
I had thought about doing a video of the making of this model but my video capture software was being cranky.
| author | iamwne |
|---|---|
| permlink | re-reddust-re-iamwne-creating-a-scifi-office-building-in-zbrush-workflow-and-general-tutorial-20170807t170145852z |
| category | art |
| json_metadata | {"tags":["art"],"app":"steemit/0.1"} |
| created | 2017-08-07 17:01:45 |
| last_update | 2017-08-07 17:01:45 |
| depth | 2 |
| children | 0 |
| last_payout | 2017-08-14 17:01:45 |
| cashout_time | 1969-12-31 23:59:59 |
| total_payout_value | 0.000 HBD |
| curator_payout_value | 0.000 HBD |
| pending_payout_value | 0.000 HBD |
| promoted | 0.000 HBD |
| body_length | 109 |
| author_reputation | 26,294,776,891,228 |
| root_title | "Creating a SciFi Office Building In Zbrush - Workflow & General Tutorial" |
| beneficiaries | [] |
| max_accepted_payout | 1,000,000.000 HBD |
| percent_hbd | 10,000 |
| post_id | 11,077,209 |
| net_rshares | 0 |