<div class=text-justify>
Welcome my fellow Hivers and DIY’ers to another DIY project!! Why not start things off in the Hive with a long awaited DIY project. Well you all probably haven’t waited long but I have been procrastinating on doing this project for a couple years. It seemed that whenever I thought about installing a new ceiling fan in our living room it was already pretty warm outside. Which makes working in the attic of my house.... miserable!! The increased temperatures, dust, insulation... just popping your head in the attic makes you start sweating. Now if it was an emergency, I would most defiantly get up there and do what needs to be done. But since this is just something we “want”... I would just put it off until fall or spring then forget until the start of summer.... and so goes the circle of procrastination.</div>
Okay enough about my procrastination issues let’s start with some details on this project.
Replacing an existing light fixture with a ceiling fan is one thing. It is fairly straight forward since the wiring is all done, light switch is in place, and basically you just need to upgrade the box in the ceiling to be able to handle the weight of the new ceiling fan. I believe they need to be rated for 70 pounds. They have boxes that are specifically rating for ceiling fans that I will show you as we make our way through this DIY project. This is a pretty “*Advanced*” project and requires a good amount of tools, knowledge of home construction and few safety precautions. This is a fresh install, so everything needs to be done. So enough of this blah blah blah-ing... let’s get this project started...
## <center>Installing a New Ceiling Fan</center> ##
<center>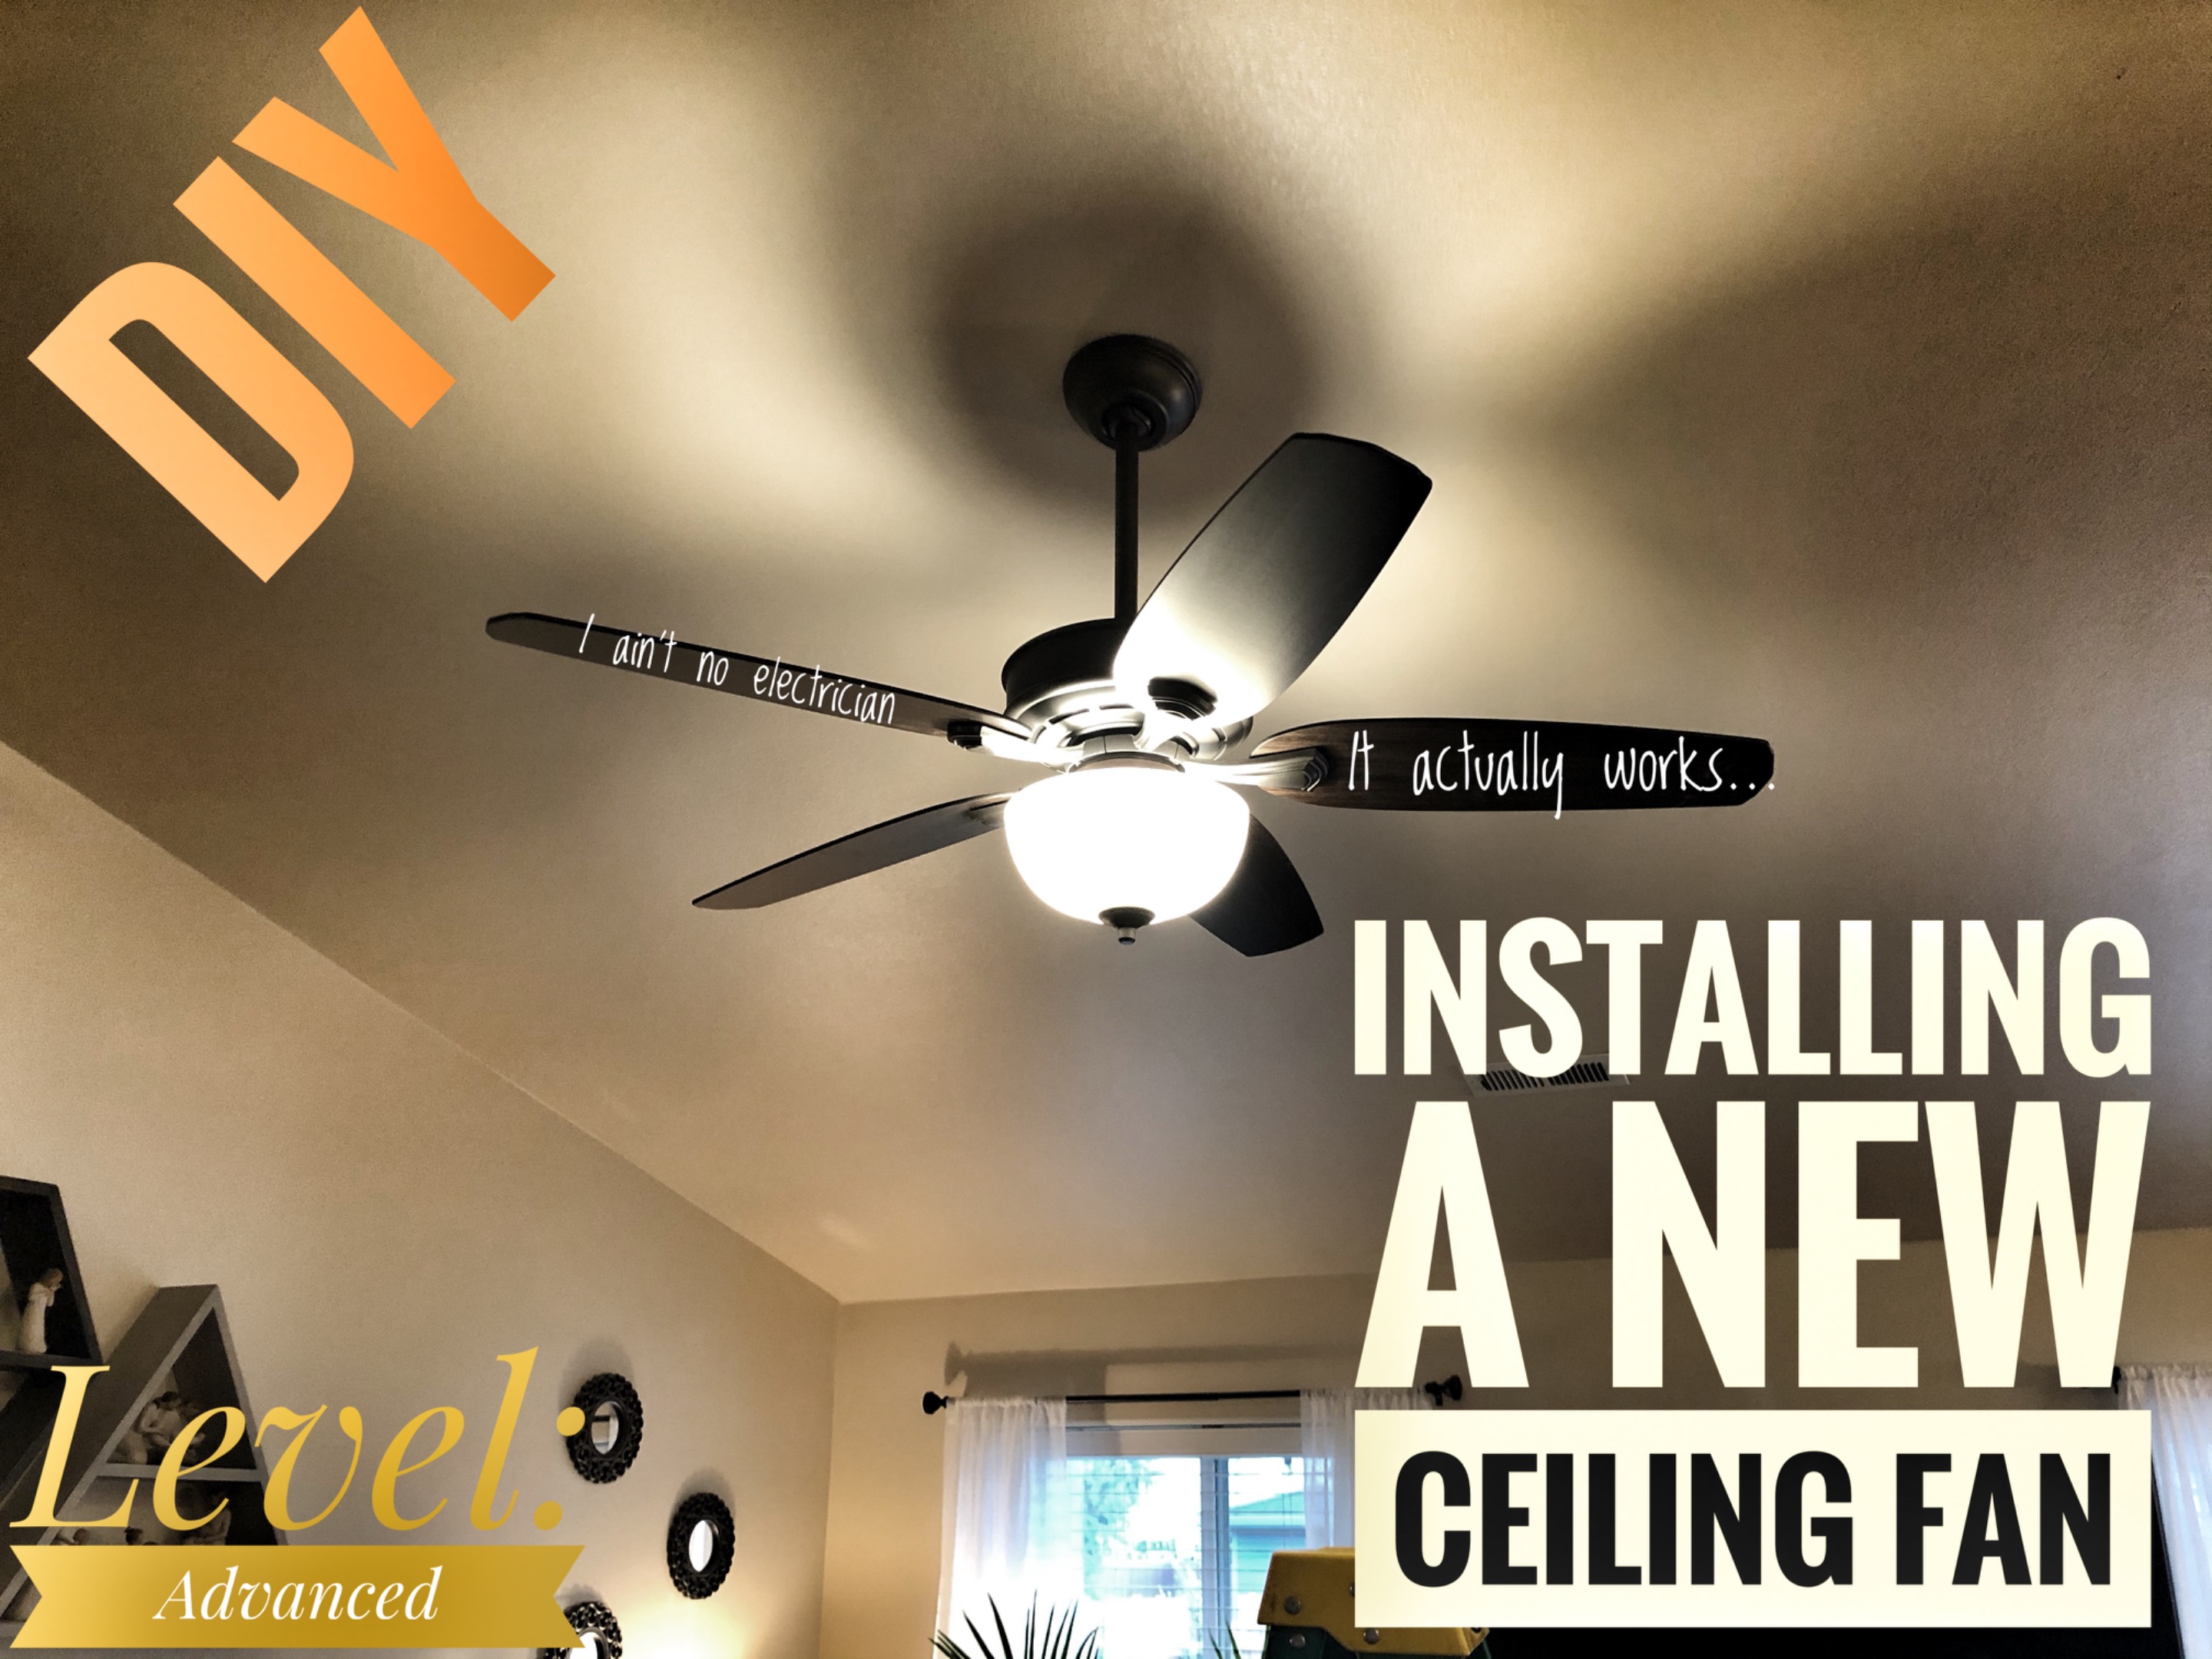</center>
Just like when starting any project come up with a good plan and do a little investigating. This helps to not run into too many surprises on the way that could throw your whole project off track. You are bound to find a surprise or two but at least try to limit them. Then it’s time to gather the materials needed for the project. As I stated before, this is a fresh new install. New switch, wiring, fan mount... the whole works. So here is my list of supplies that you should need...
<center>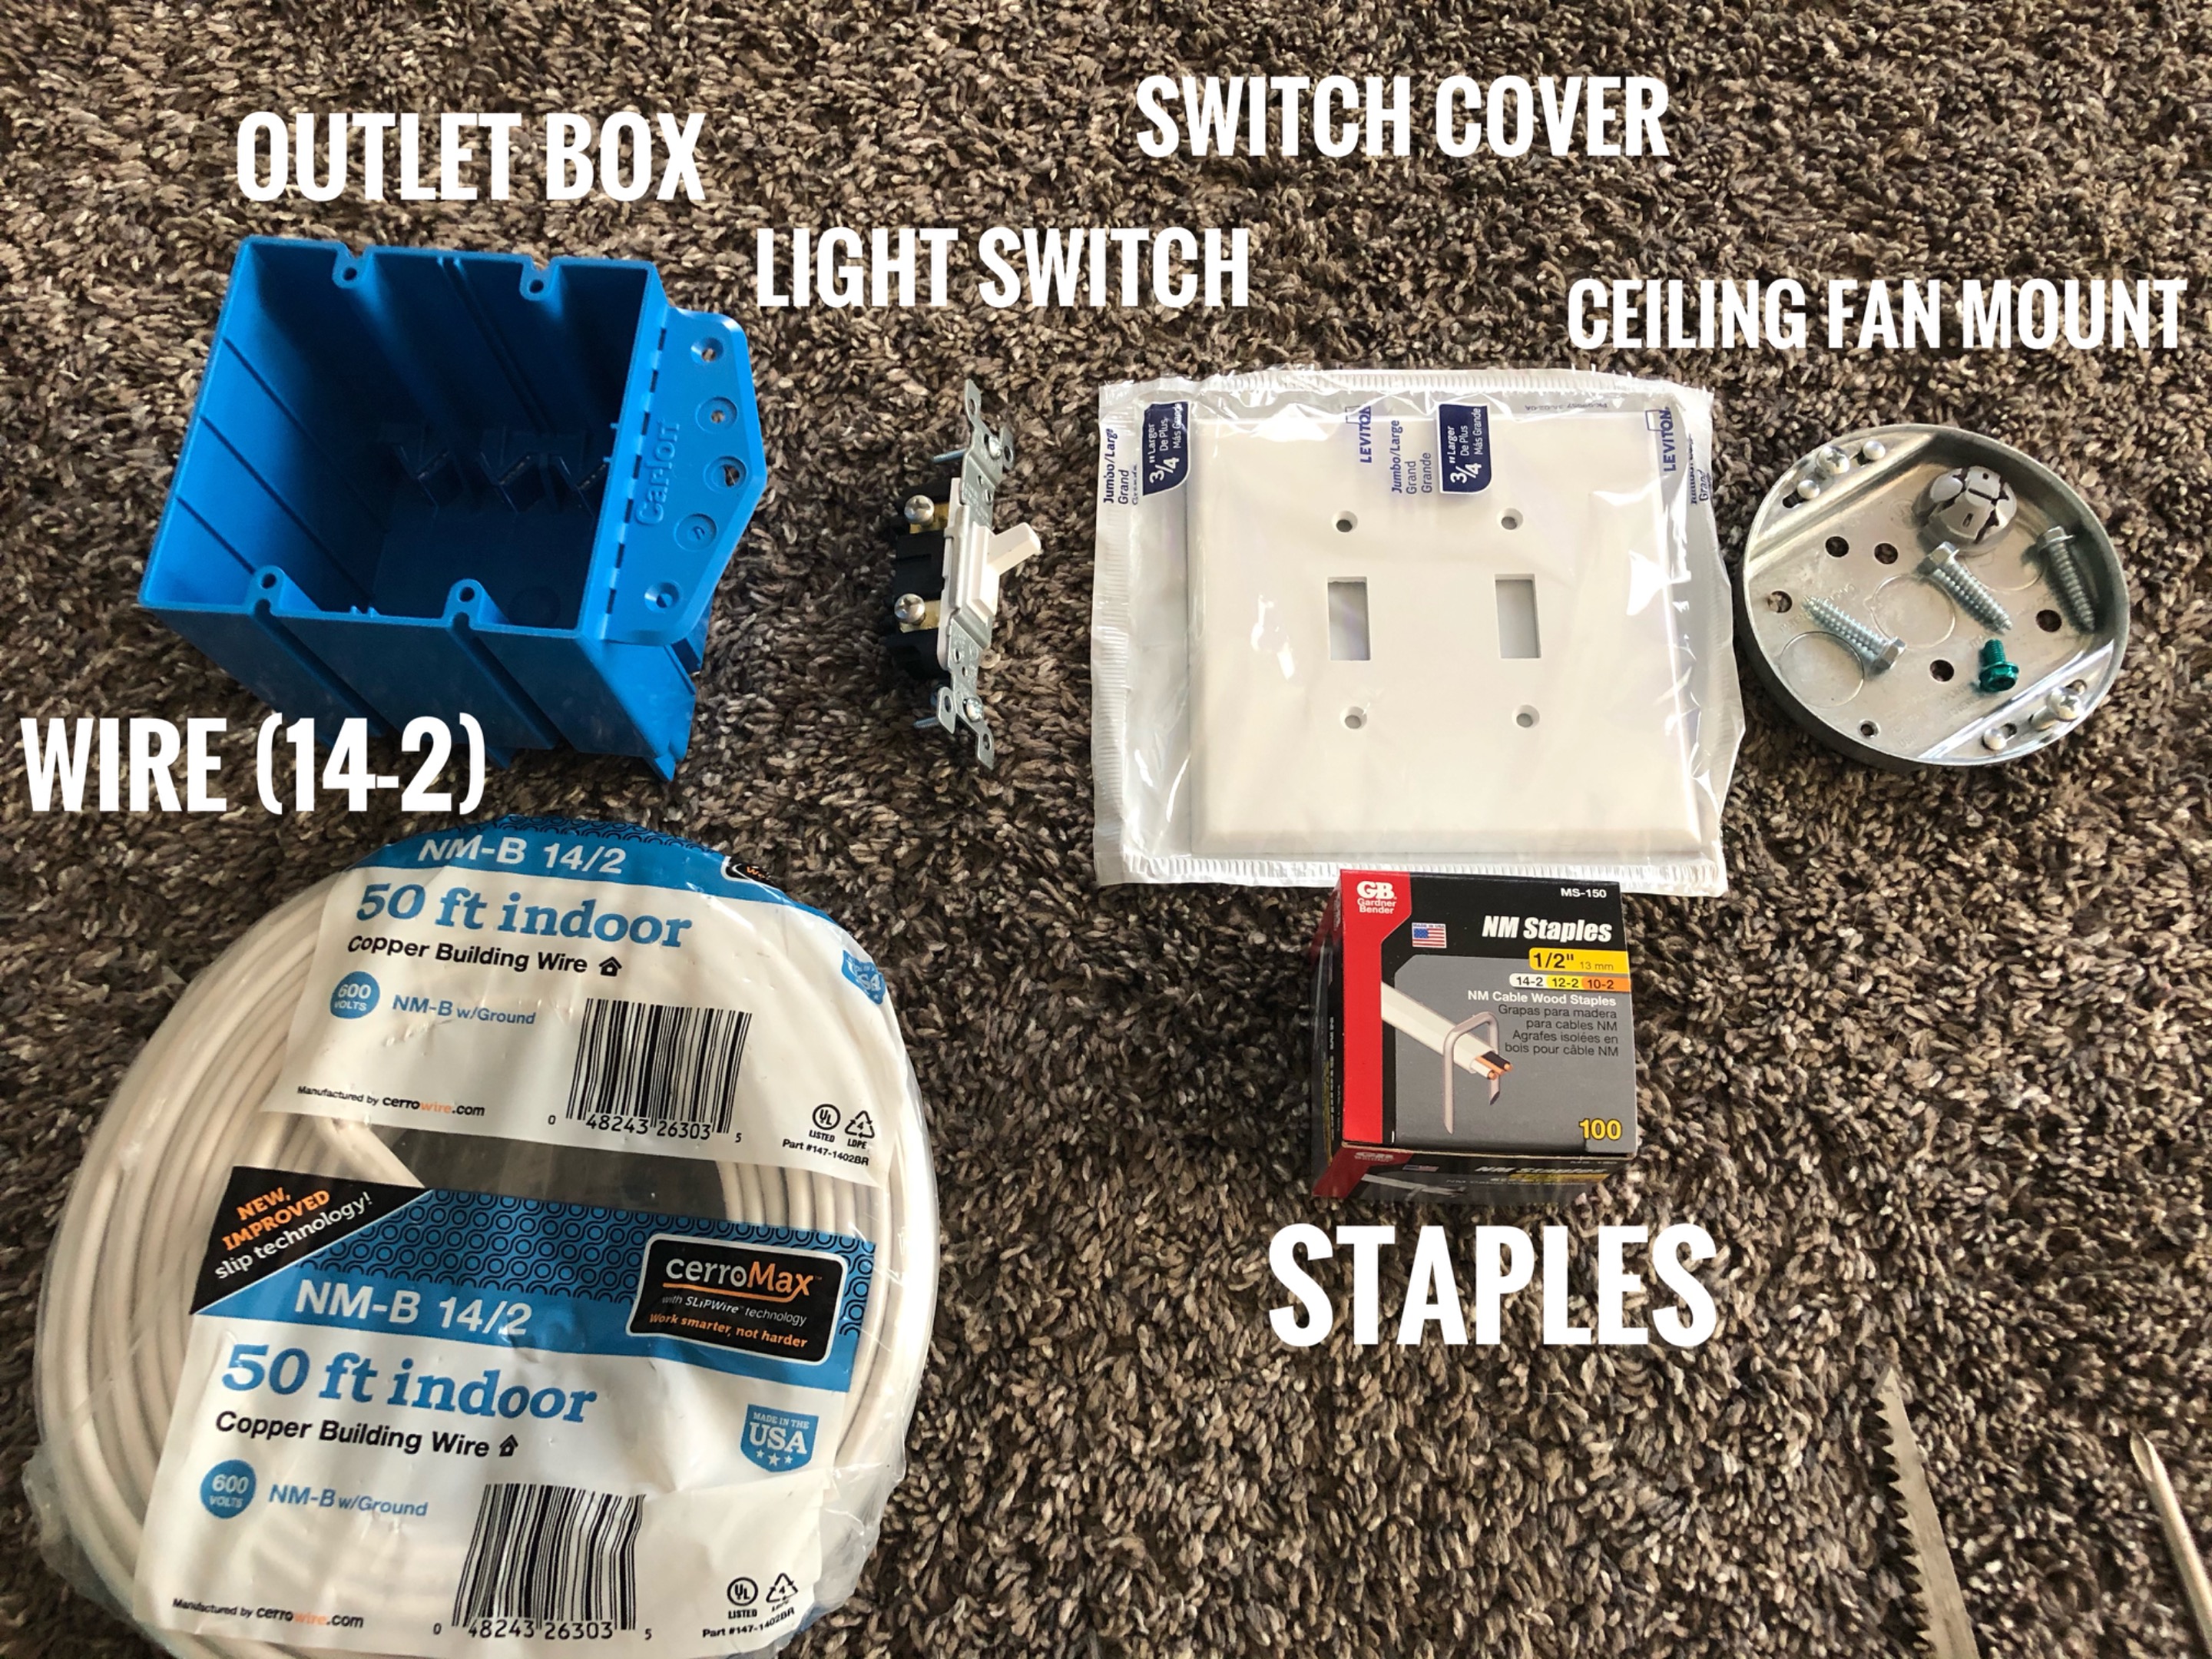</center>
* *[2-gang electrical box](https://www.homedepot.com/p/Carlon-2-Gang-32-cu-in-New-Work-PVC-Electrical-Box-with-Flange-B232BR/202664442)*
* *[Light Switch](https://www.homedepot.com/p/Leviton-15-Amp-Single-Pole-Toggle-Light-Switch-White-R52-01451-02W/100026991)*
* *[Switch Cover](https://www.homedepot.com/p/Leviton-2-Gang-Midway-Toggle-Nylon-Wall-Plate-White-R52-00PJ2-00W/100356913?MERCH=REC-_-searchViewed-_-304140430;304140421;304711600;304711604;206679335;304140218;304864923;206989384;304140227;300434342;-_-100356913-_-N)*
* *[Ceiling Fan Box](https://www.homedepot.com/p/Commercial-Electric-1-2-in-Deep-5-9-cu-in-Ceiling-Fan-Box-with-Metal-Cover-CMB50/205383205)*
* *[50 feet indoor 14-2 Copper Wire](https://www.homedepot.com/p/Southwire-50-ft-14-2-Solid-Romex-SIMpull-CU-NM-B-W-G-Wire-28827422/202316377)*
* *[Staples](https://www.homedepot.com/p/Gardner-Bender-1-2-in-Metal-PVC-Insulated-Staple-Gray-Silver-Dipped-100-Pack-MDI-150Y/100210258)*
* *[Ceiling Fan](https://www.homedepot.com/p/Hunter-Channing-54-in-LED-Indoor-Easy-Install-Noble-Bronze-Ceiling-Fan-with-HunterExpress-feature-set-53366/304357284)*
* *[6-3 inch screws](https://www.homedepot.com/p/Grip-Rite-8-x-3-in-Philips-Bugle-Head-Coarse-Thread-Wood-Screws-1-lb-Pack-3GS1/100134103)*
* *[2-2 inch screws](https://www.homedepot.com/p/SPAX-8-x-2-in-Yellow-Zinc-Coated-Philips-Square-Drive-Flat-Head-Full-Thread-Multi-Material-Screw-20-per-Box-4101020400501/202041004)*
* *[6-Wire nuts](https://www.homedepot.com/p/Ideal-73B-Orange-WIRE-NUT-Wire-Connectors-100-Pack-30-073P/202894270)*
* *2x8 or 2x10 Piece of Wood 24 inches long*
<sub>(All links take you to that part at Homedepot.com)</sub>
<center></center>
* *4 inch Hole Saw*
* *Sheetrock handsaw*
* *Measuring Tape*
* *Plumb Bob*
* *Electrical Tape*
* *Screwdrivers - Flathead and Phillips*
* *3/4 inch Paddle Bit*
* *Knife/RazorKnife*
* *Wire Strippers/Cutters*
* *Hammer*
* *Ladder*
* *Ninja Skills*
<center></center>
<center></center>
Since I don’t have an exiting light fixture to work with, I need to find the middle of the room. Using my measuring tape, I took measurements off the walls and found the center of the room and marked it with tape on the floor. This isn’t necessarily where the fan is going to go but it provided a little perspective for Mama-Splatts to see where exactly she would like it. Hey, some decisions are left to the professionals.
<center>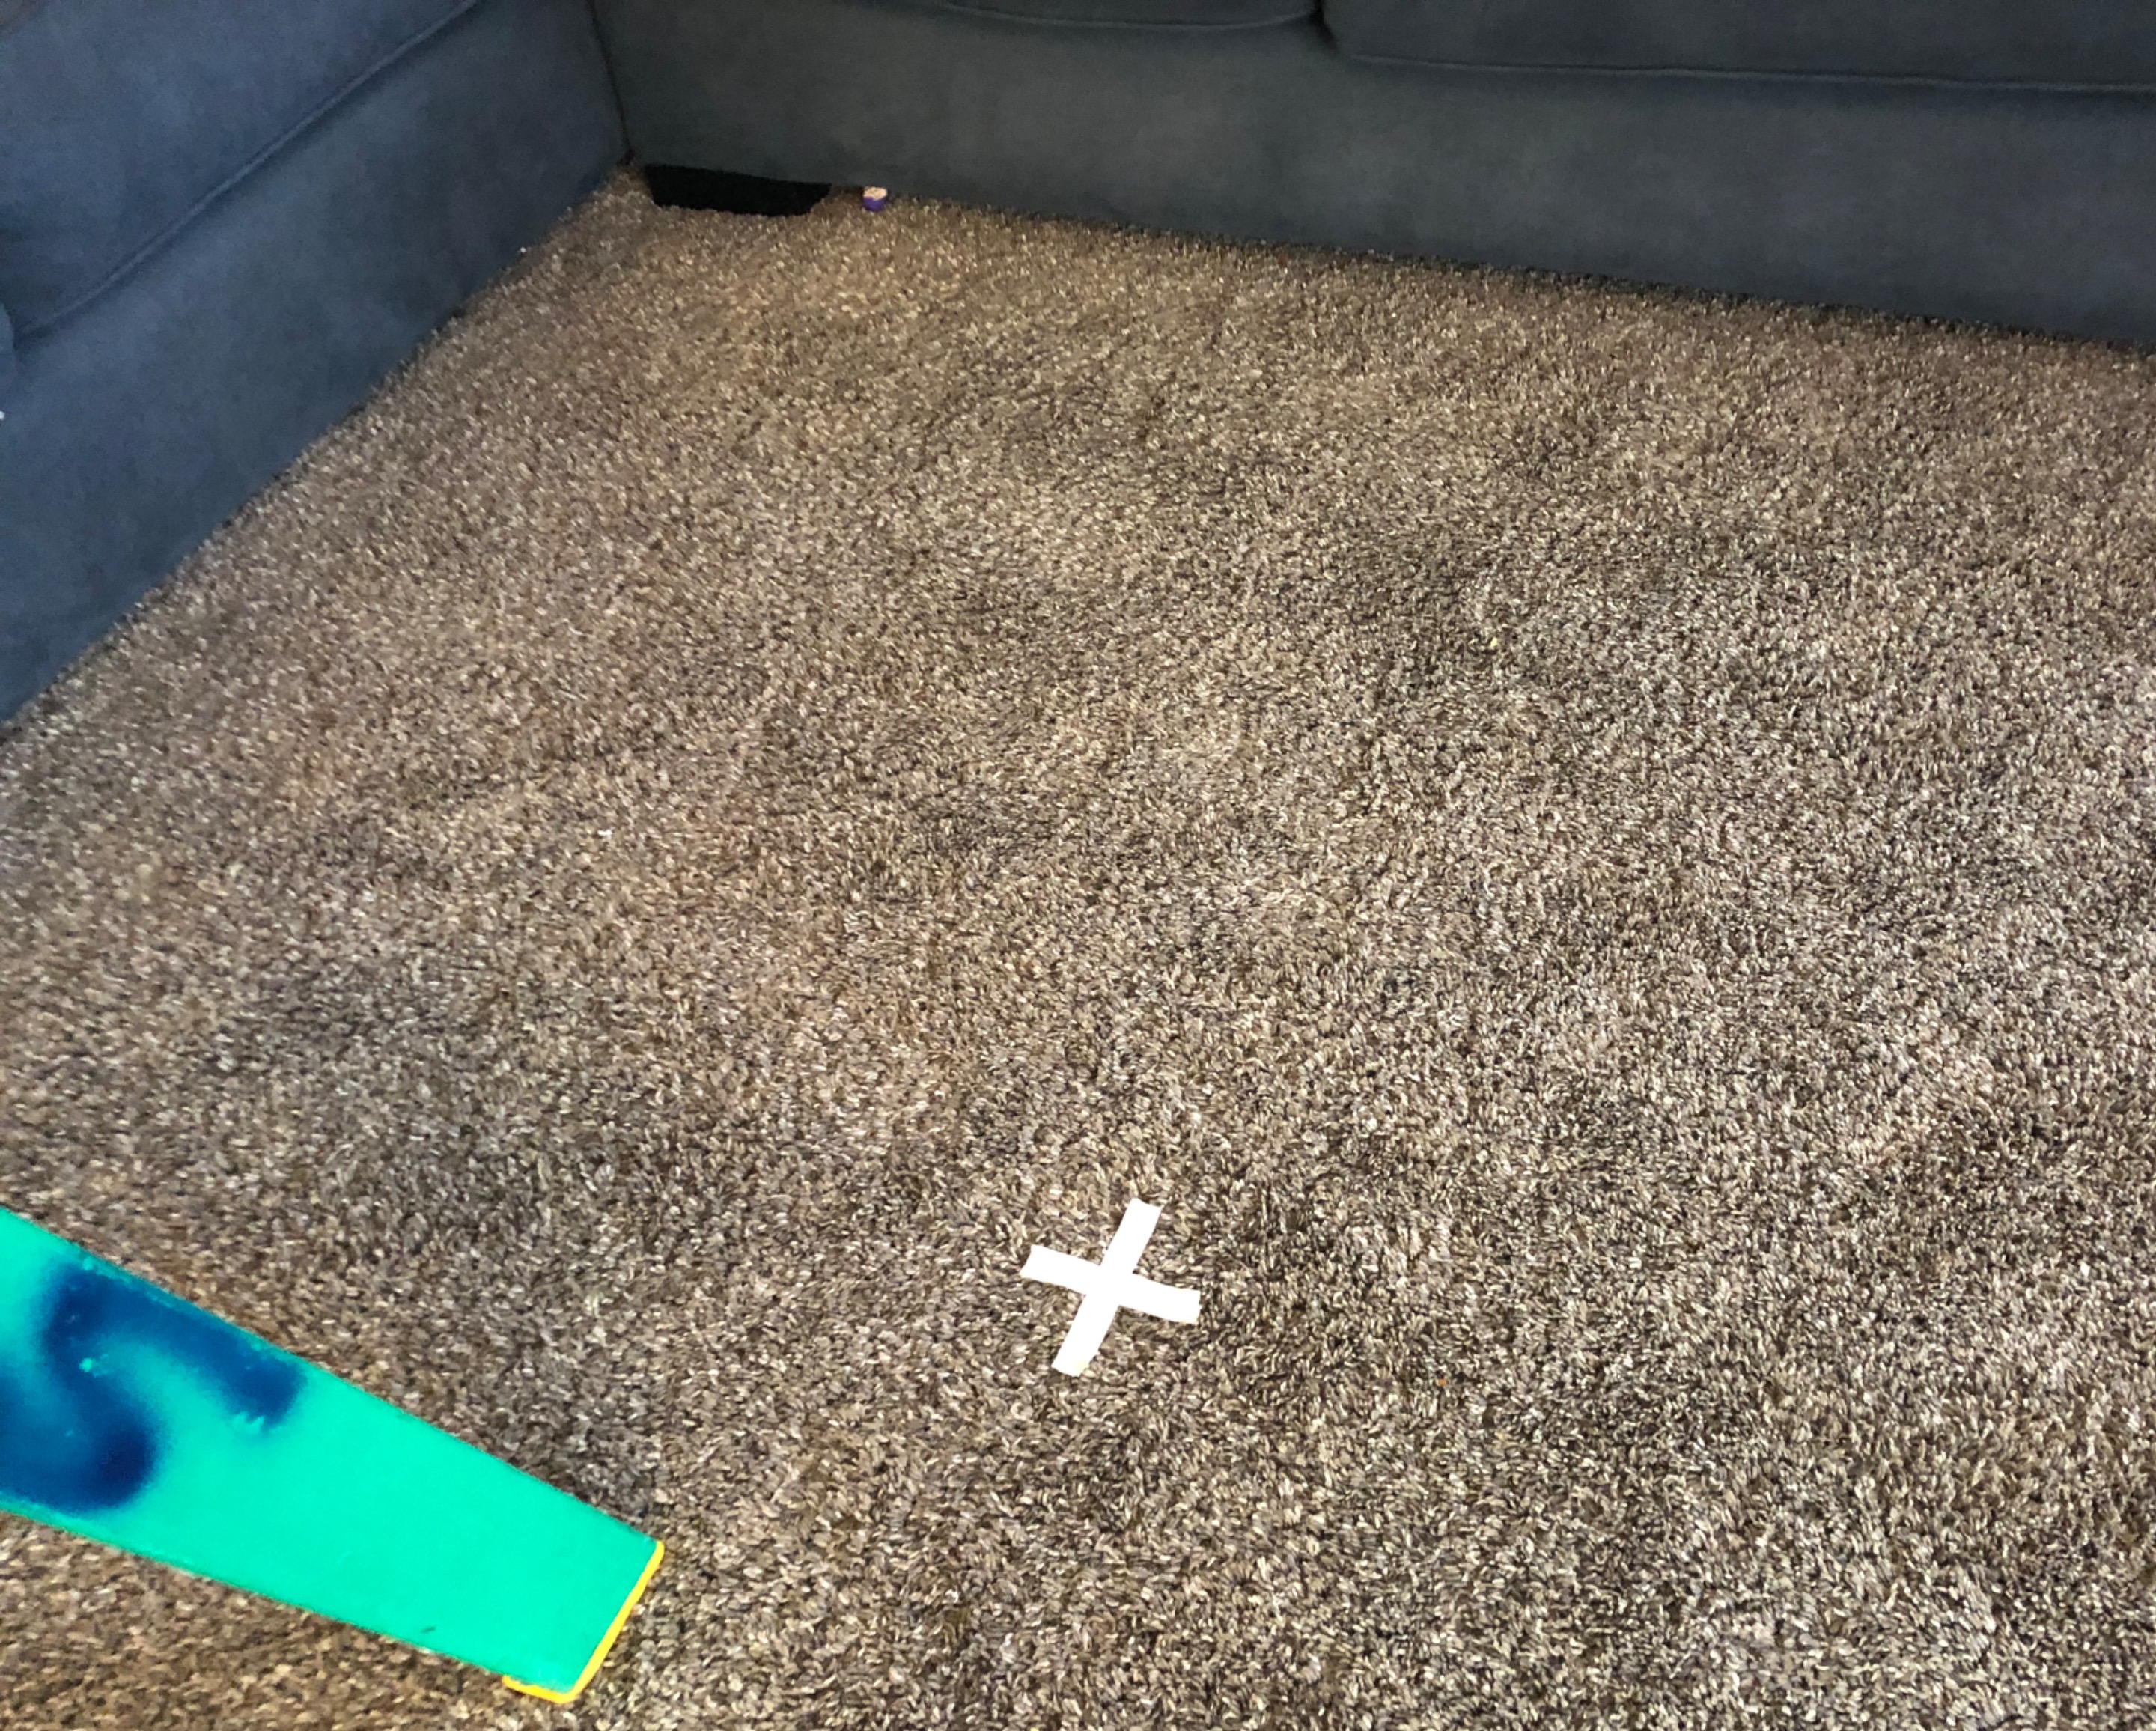</center>
Climbing up the ladder and using the Plumb Bob, I marked on the ceiling with a pencil where the fan would hang if it were in the center of the room. In order to get a good visual, I put the majority of the fan together leaving off the blades. That way I could stand on the ladder and hold it up in place and Mama-Splatts could take a look at it.
<center>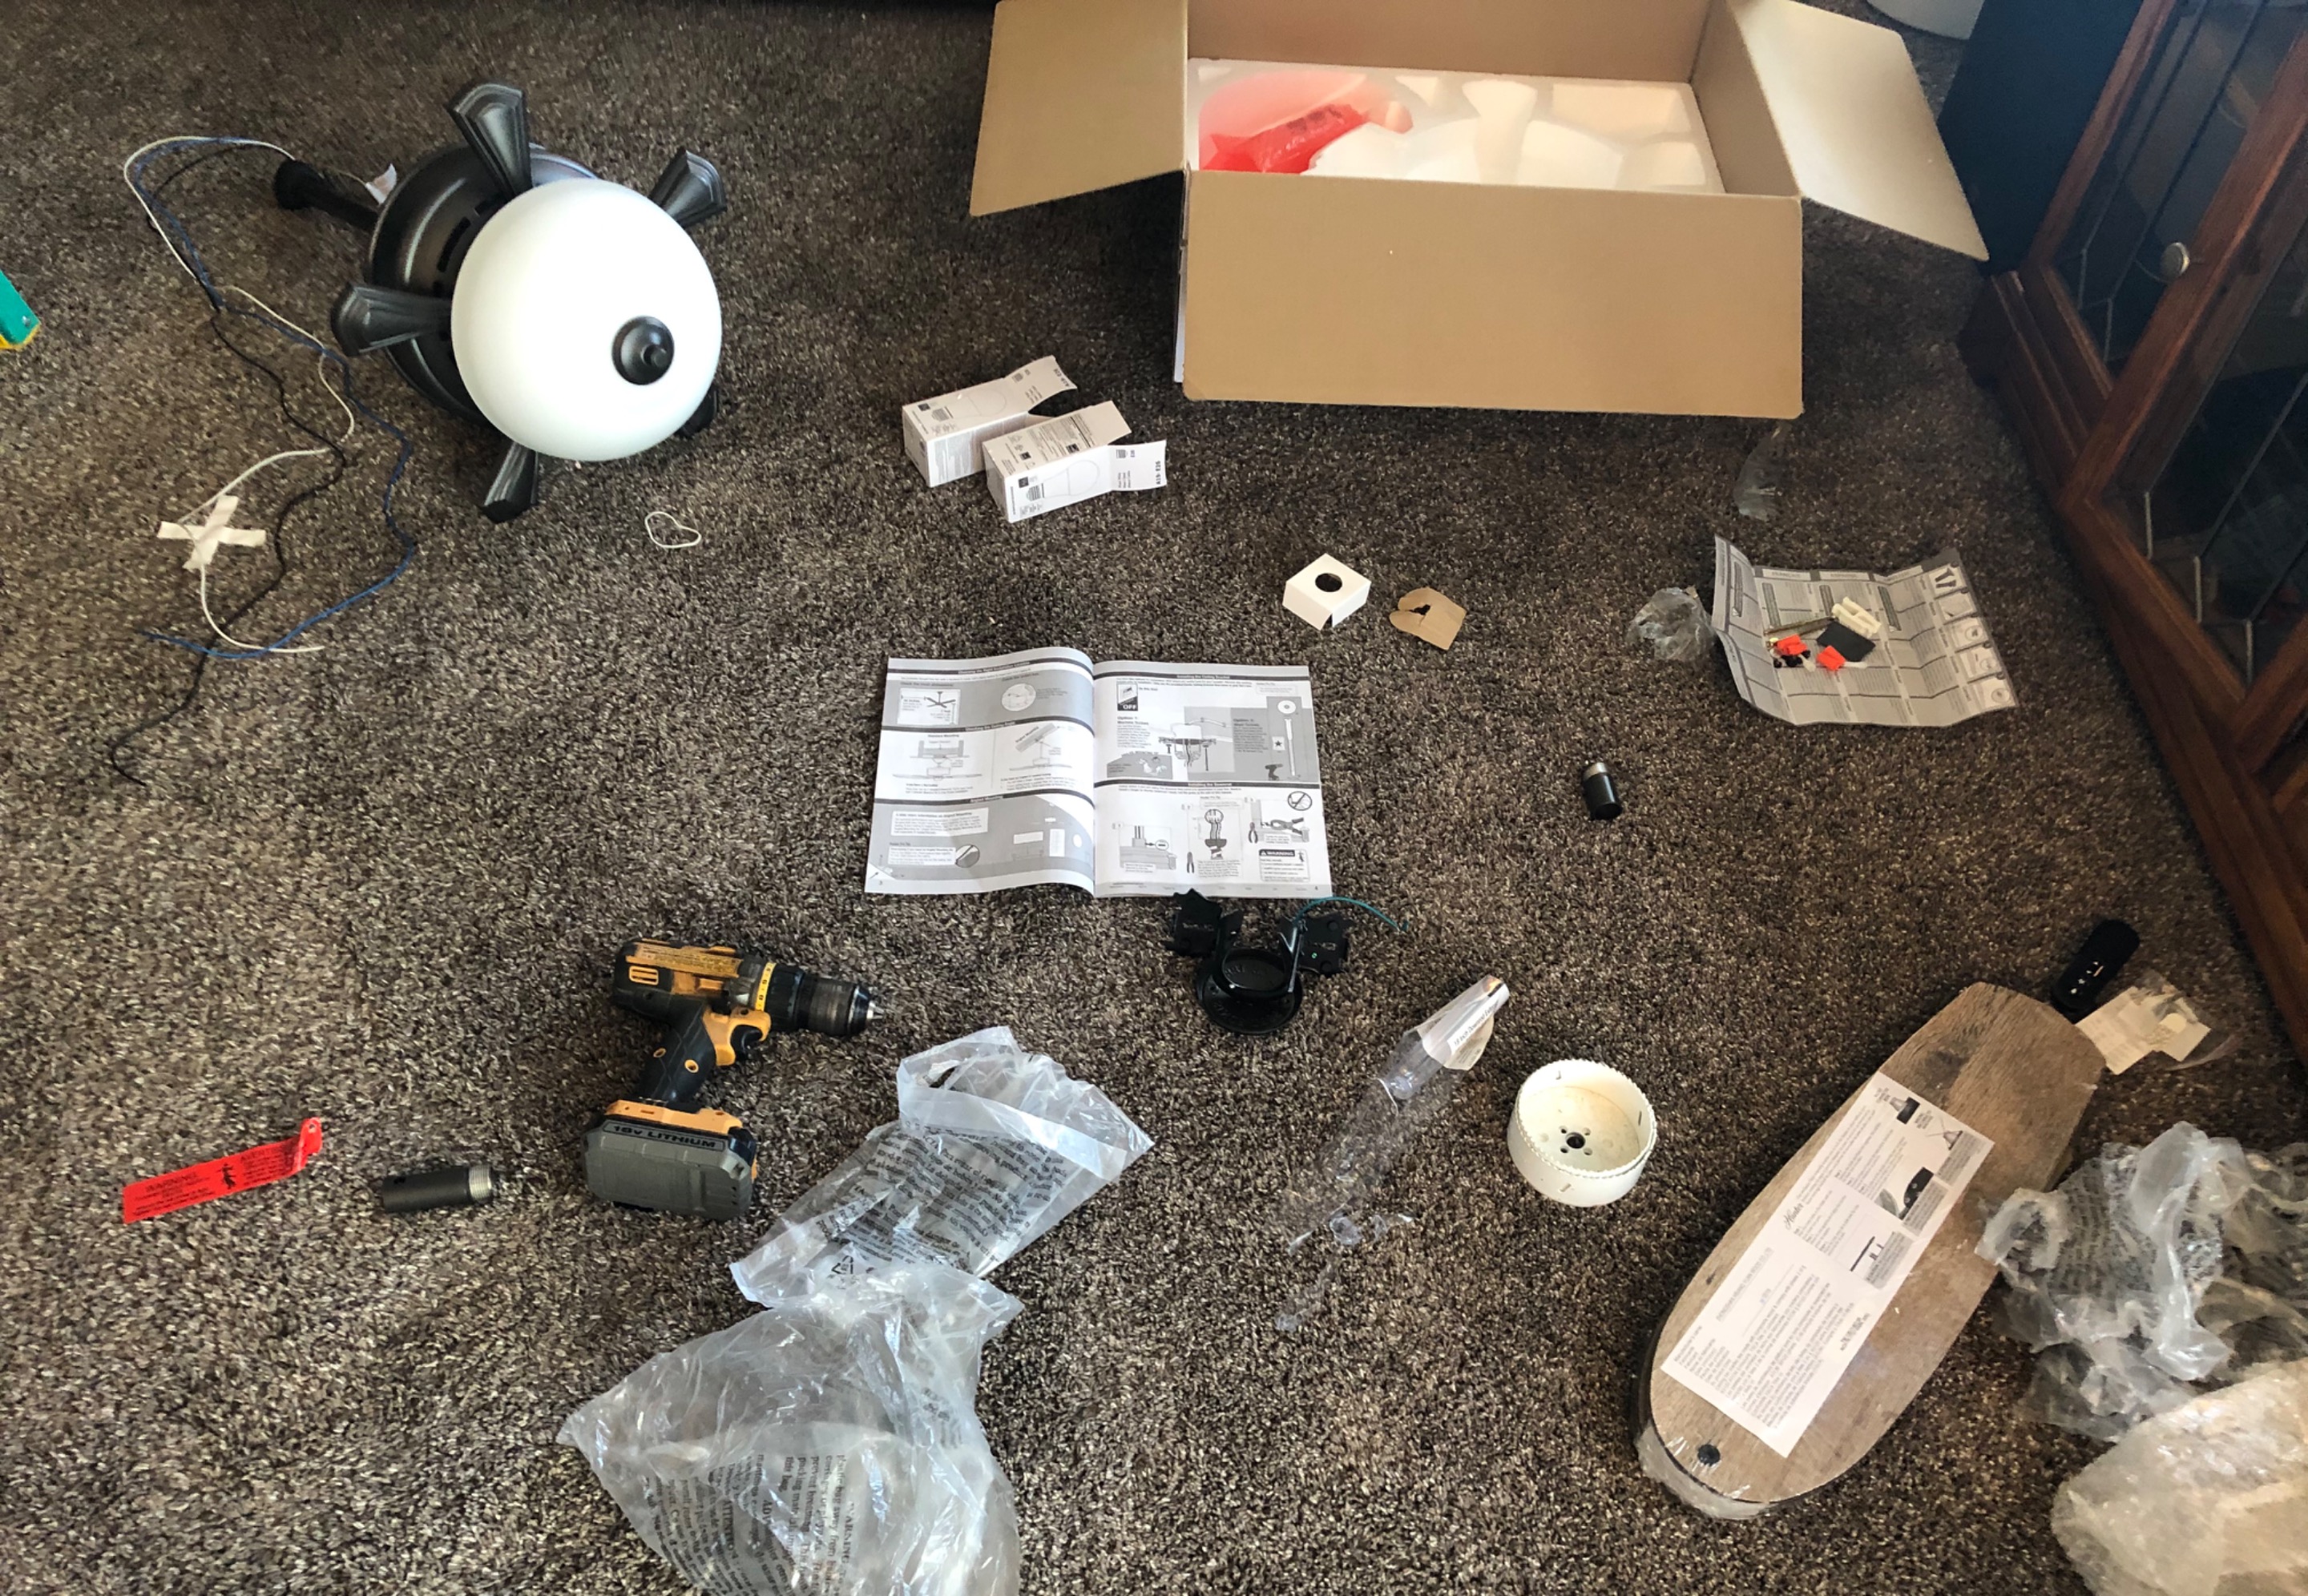</center>
After holding it in a few different places to get that perfect spot, I pulled some more measurements off the walls to get another mark. Being that I have vaulted ceilings, measuring and marking on the ceiling wasn’t going to work too well.
Hold the string from the Plumb Bob tight to the ceiling. Gently move it until the tip of the Plumb Bob is in the middle of your X. Now remember you aren’t building a watch so things don’t have to be exact but get them as close as you can.
<center></center>
Once you have your mark on the ceiling and are 110% positive that is where you want it, we need to find out if there is anything behind it. You don’t want to just start drilling into the ceiling with a hole saw our sawzall, you don’t know what is up there.
<center></center>
#### <center>*Splatts’ Pro-Tip*</center> ####
Get a piece of bare copper wire about 12-18 inches long. You can also use a metal coat hanger or anything that is relatively stiff but has a small diameter. Stick it into the end of your drill and cut the end at an angle to make it somewhat sharp. Then apply a little pressure and slowly drill the wire into the Sheetrock at your mark. You will know really fast if there is anything behind there and you shouldn’t damage it with this method. Plus it only leaves a tiny hole in the ceiling that can hardly be noticed of the placement doesn’t work for whatever reason.
<center>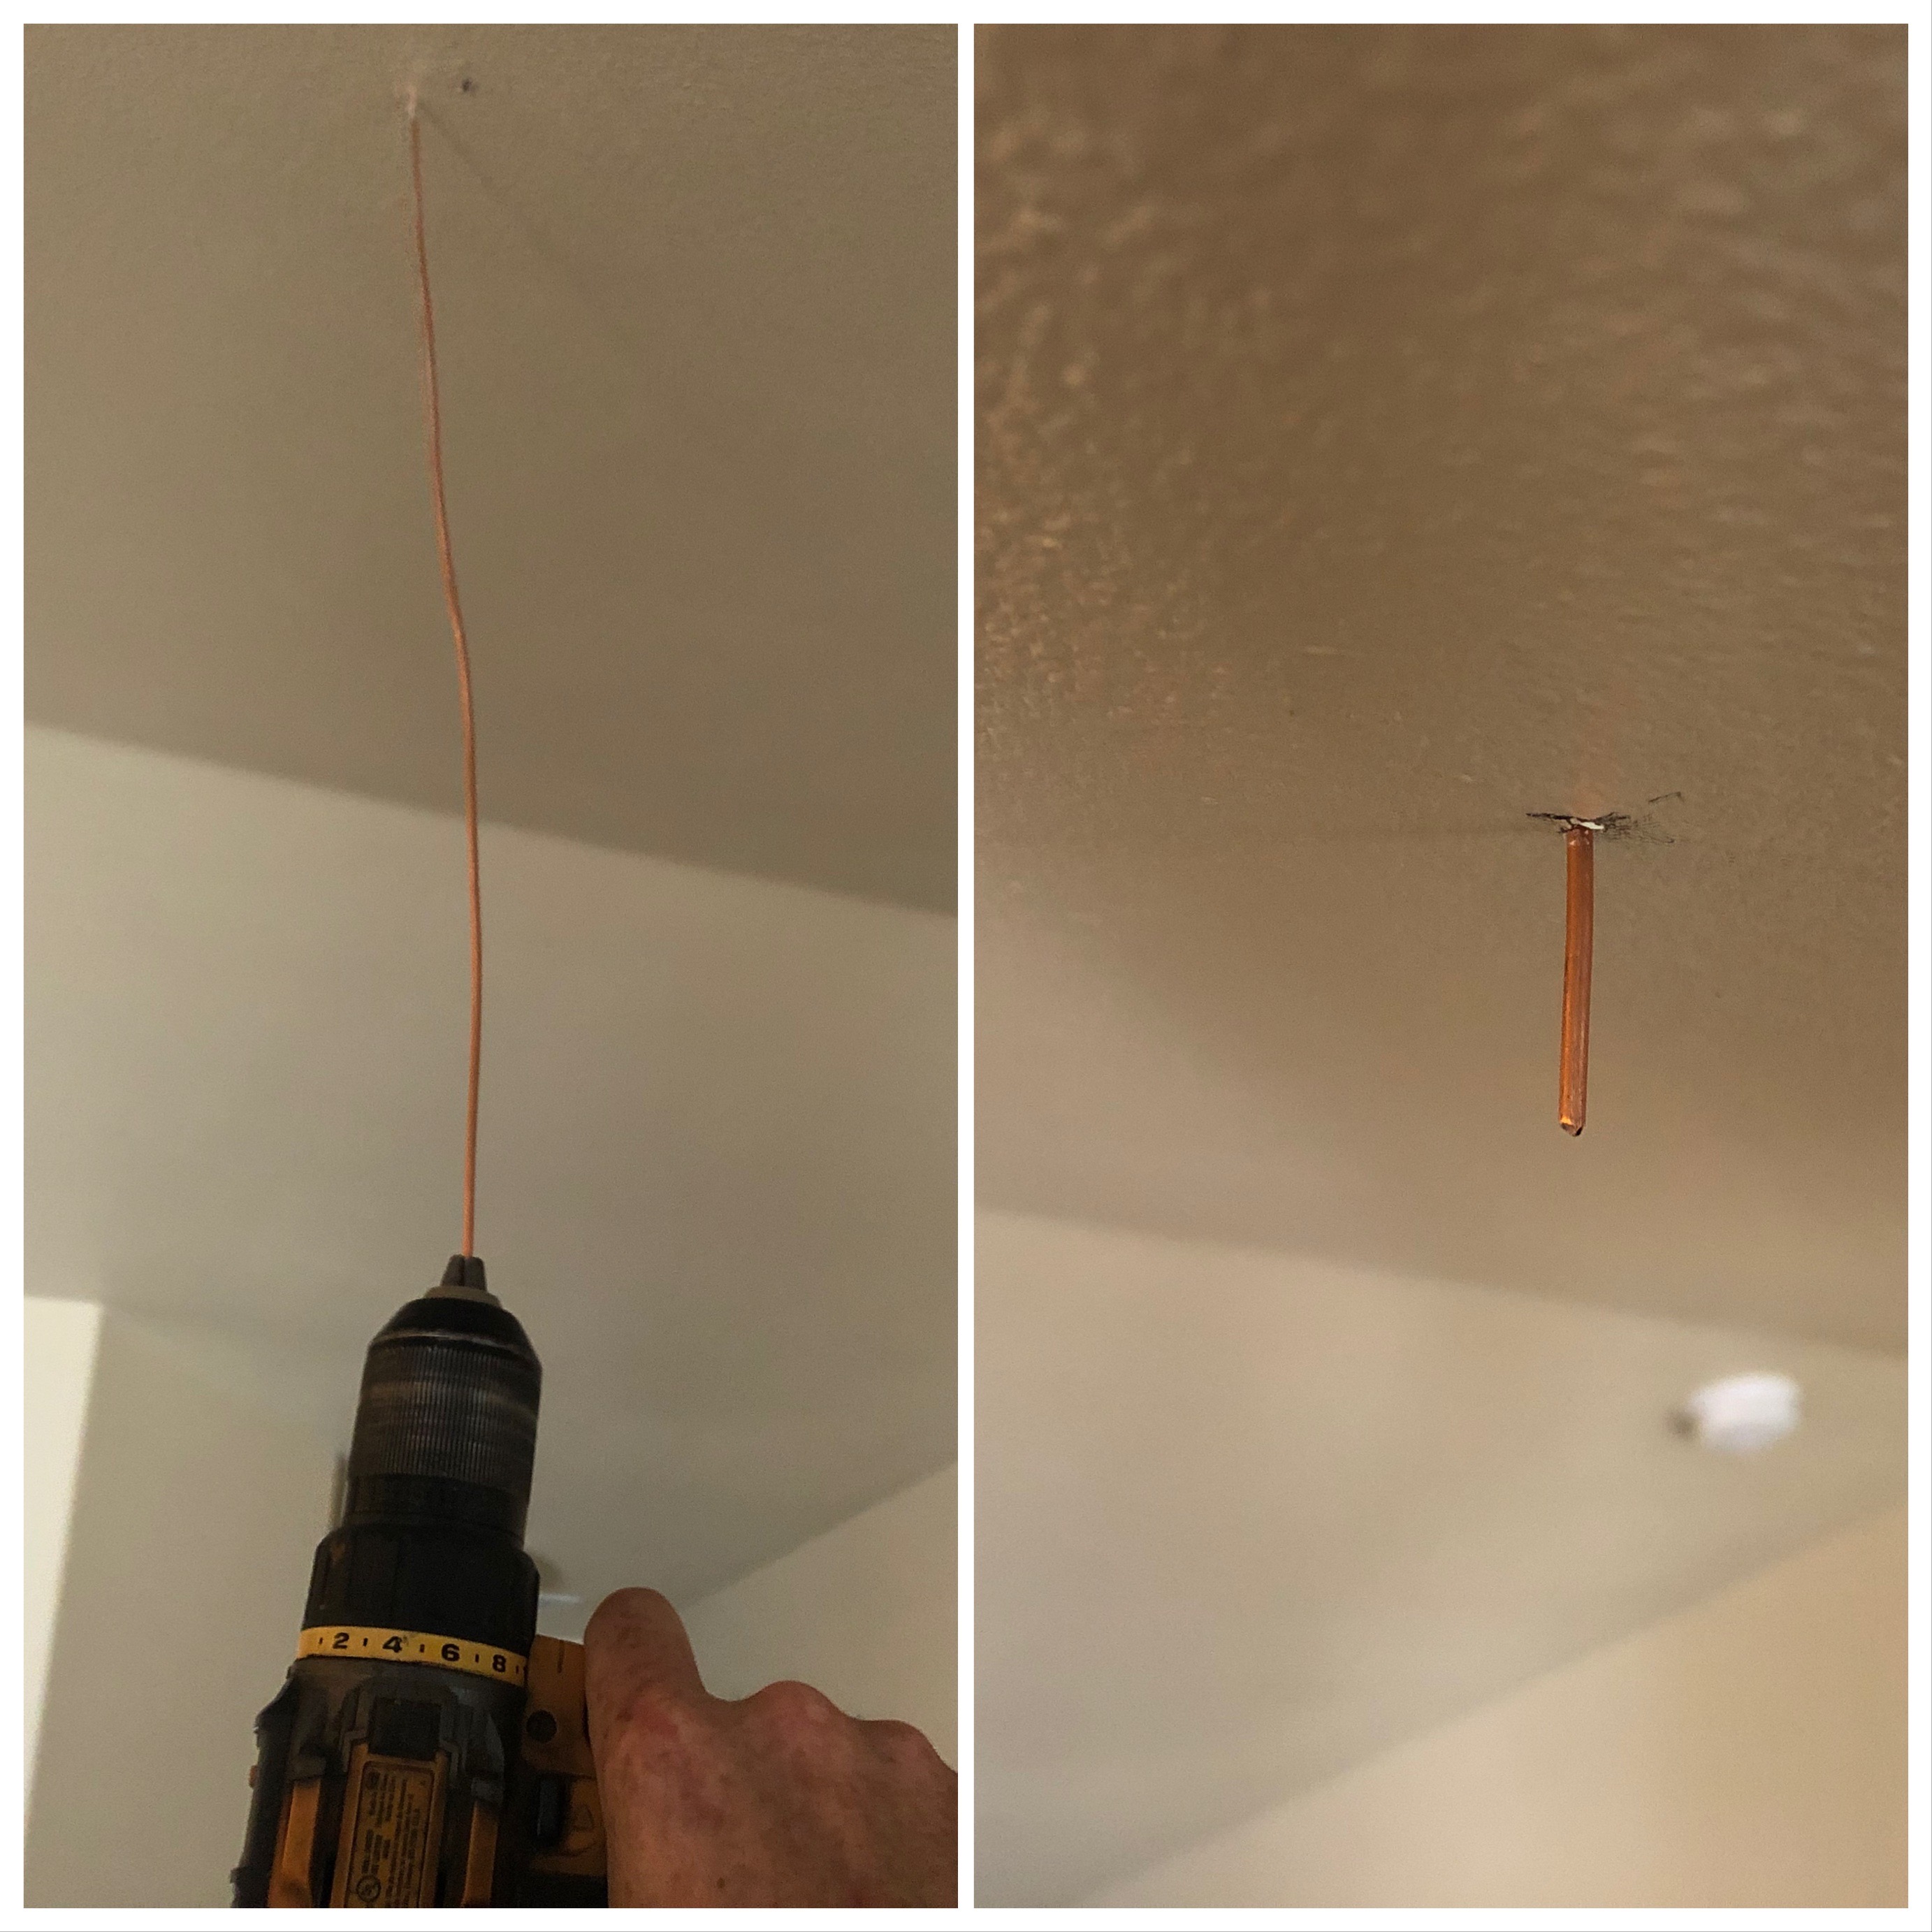</center>
Depending on how much insulation you have in the attic depends on how long you want your wire to be. You need to make the wire long enough to stick through the insulation so you can locate it when you get into the attic. Even with it sticking up through the insulation I had a tough time finding it. It definitely wasn’t where I thought it should be, but I found it.
<center>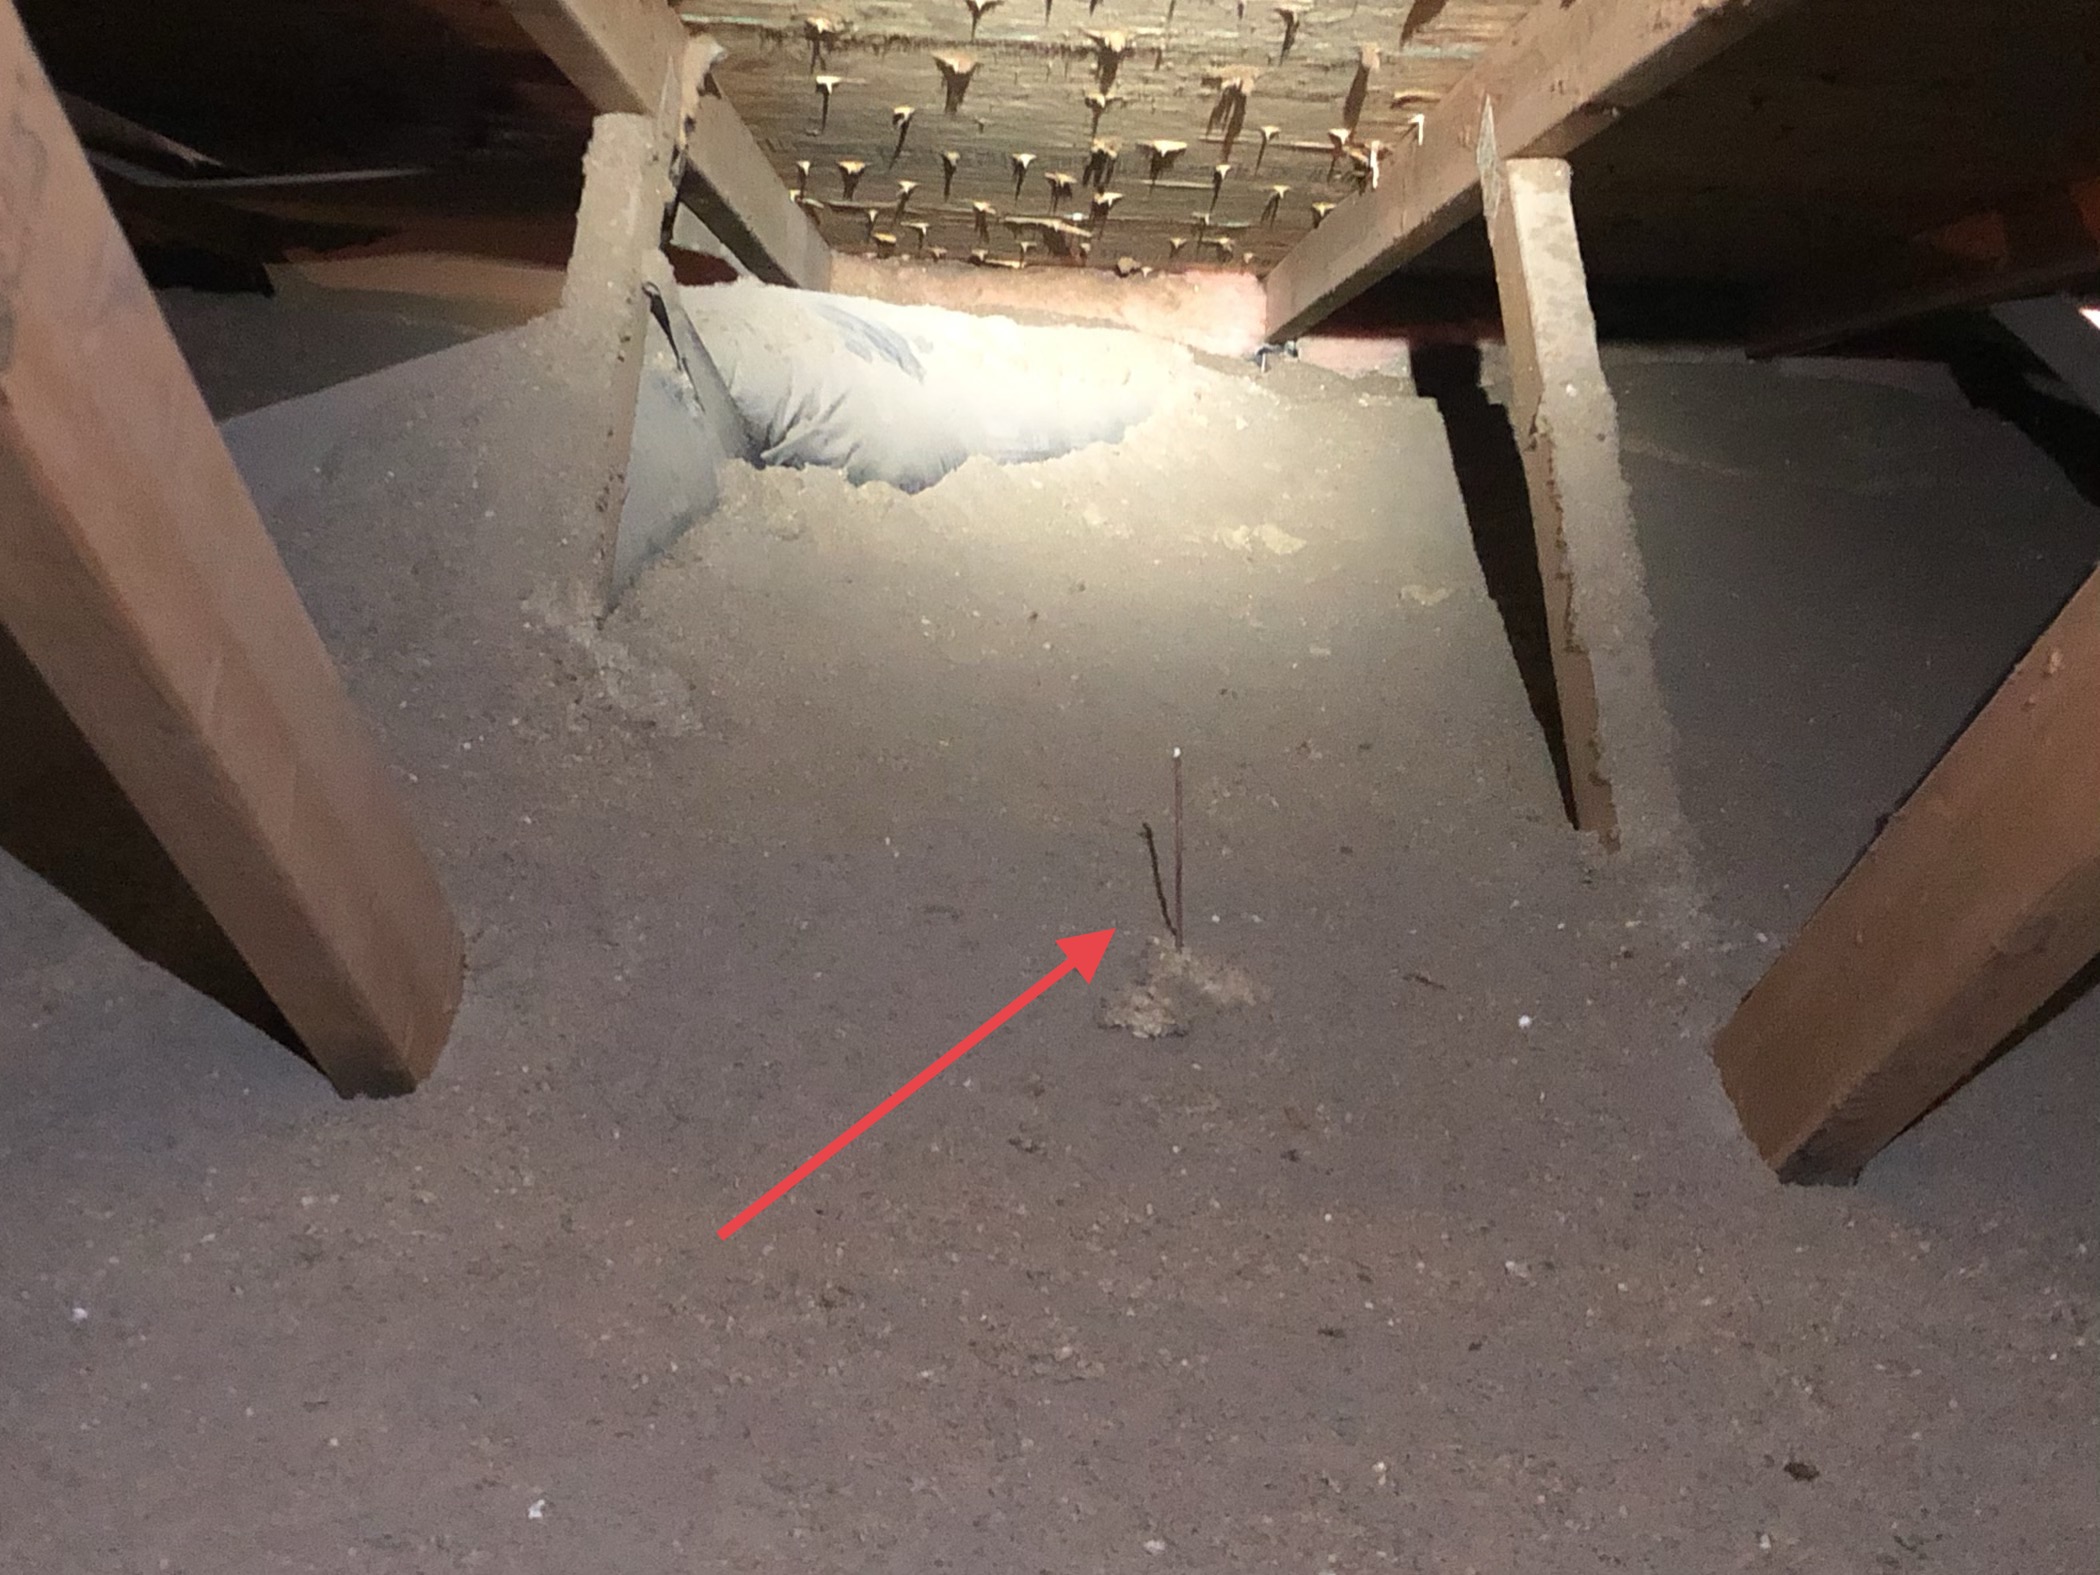</center>
What needs to be done next is the insulation needs to be pushed aside to make some room for the 2x8 or 2x10 that will be screwed to the trusses. This is what will hold the weight of the fan. Before you start pushing that dusty dirty insulation around make sure you put on some safety glasses and a dust mask. The slightest movement of that blow-in insulation stirs up a lot of dust and particles, you don’t want to be breathing that crap.
<center>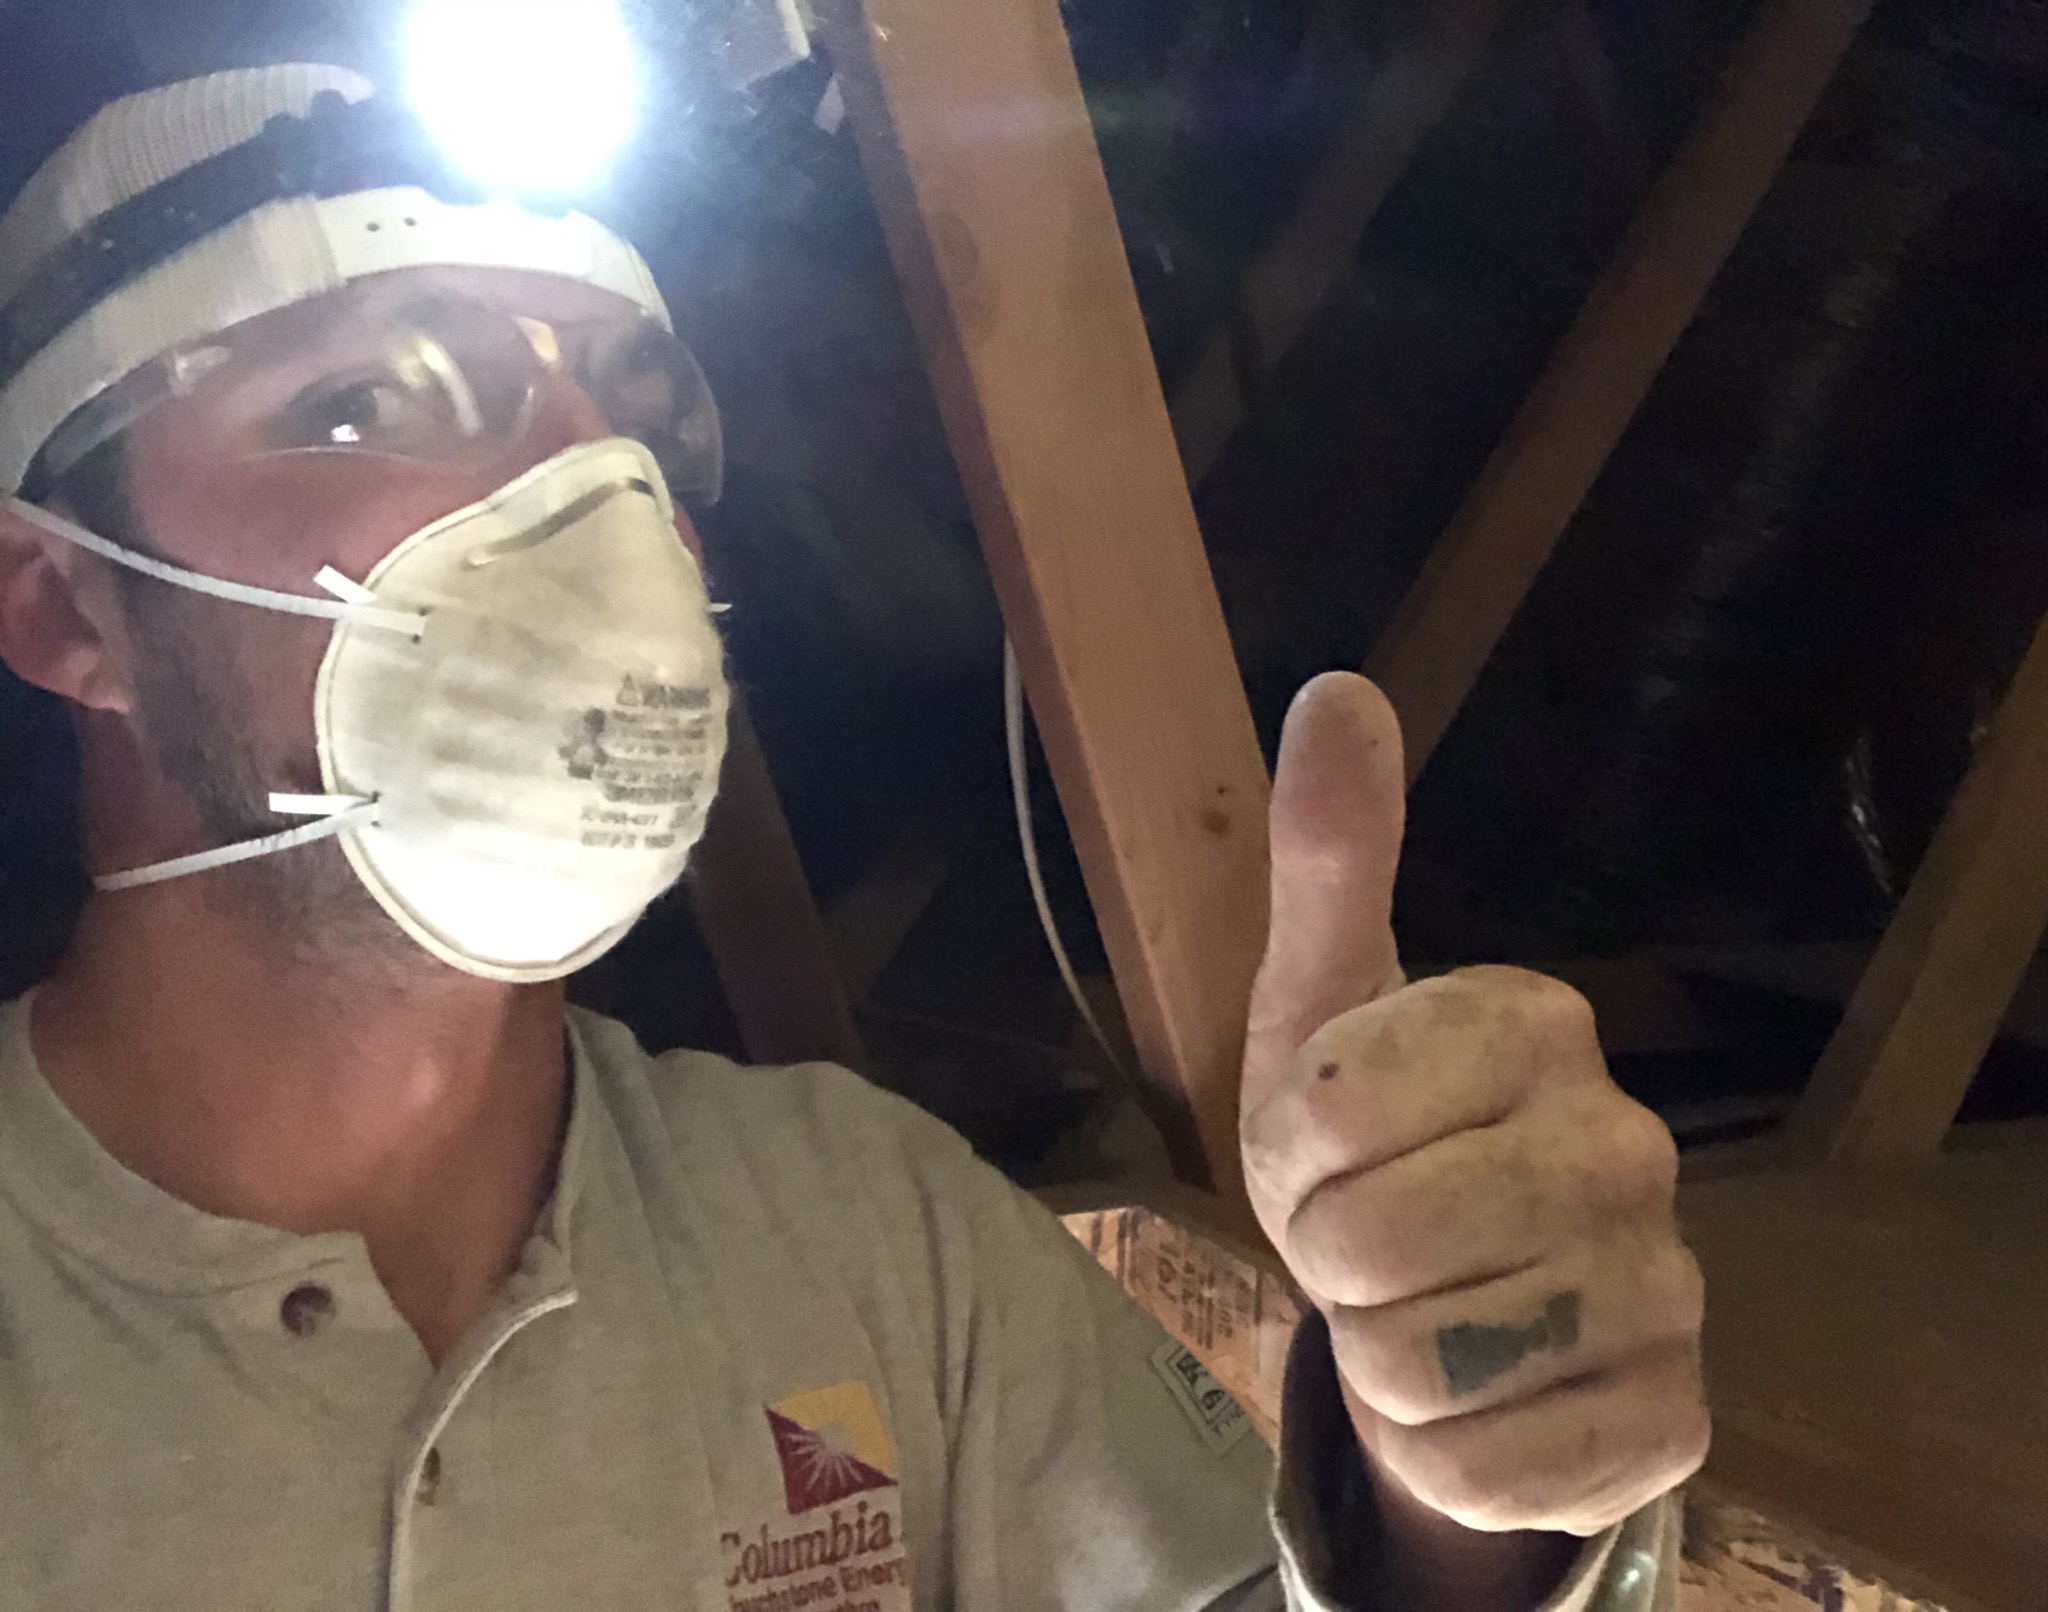</center>
Now this is where the “*Ninja Skills*” come into play. Making your way through the attic avoiding the heating and air duct work and only stepping on the trusses that you can’t see because they are covered in insulation is a bit challenging. Again, this would have been much easier if I had flat ceilings. At the attic access it is flat, then I had to climb a bit of a wall to get to the vaulted section. Don’t even attempt to put your weight on the sheetrock...
<center>
<sub>[source](https://images.app.goo.gl/oe2sGjBUgwPqn27BA)</sub></center>
Try your best to limit the amount of trips traversing the trusses in the attic. All it takes is one slip and you could have a big mess on your hands and possibly a hefty medical bill. My first trip I cleared away the insulation from the location of the light. Then took a measurement for the 2x8 or 2x10 block that will support the fan.
<center>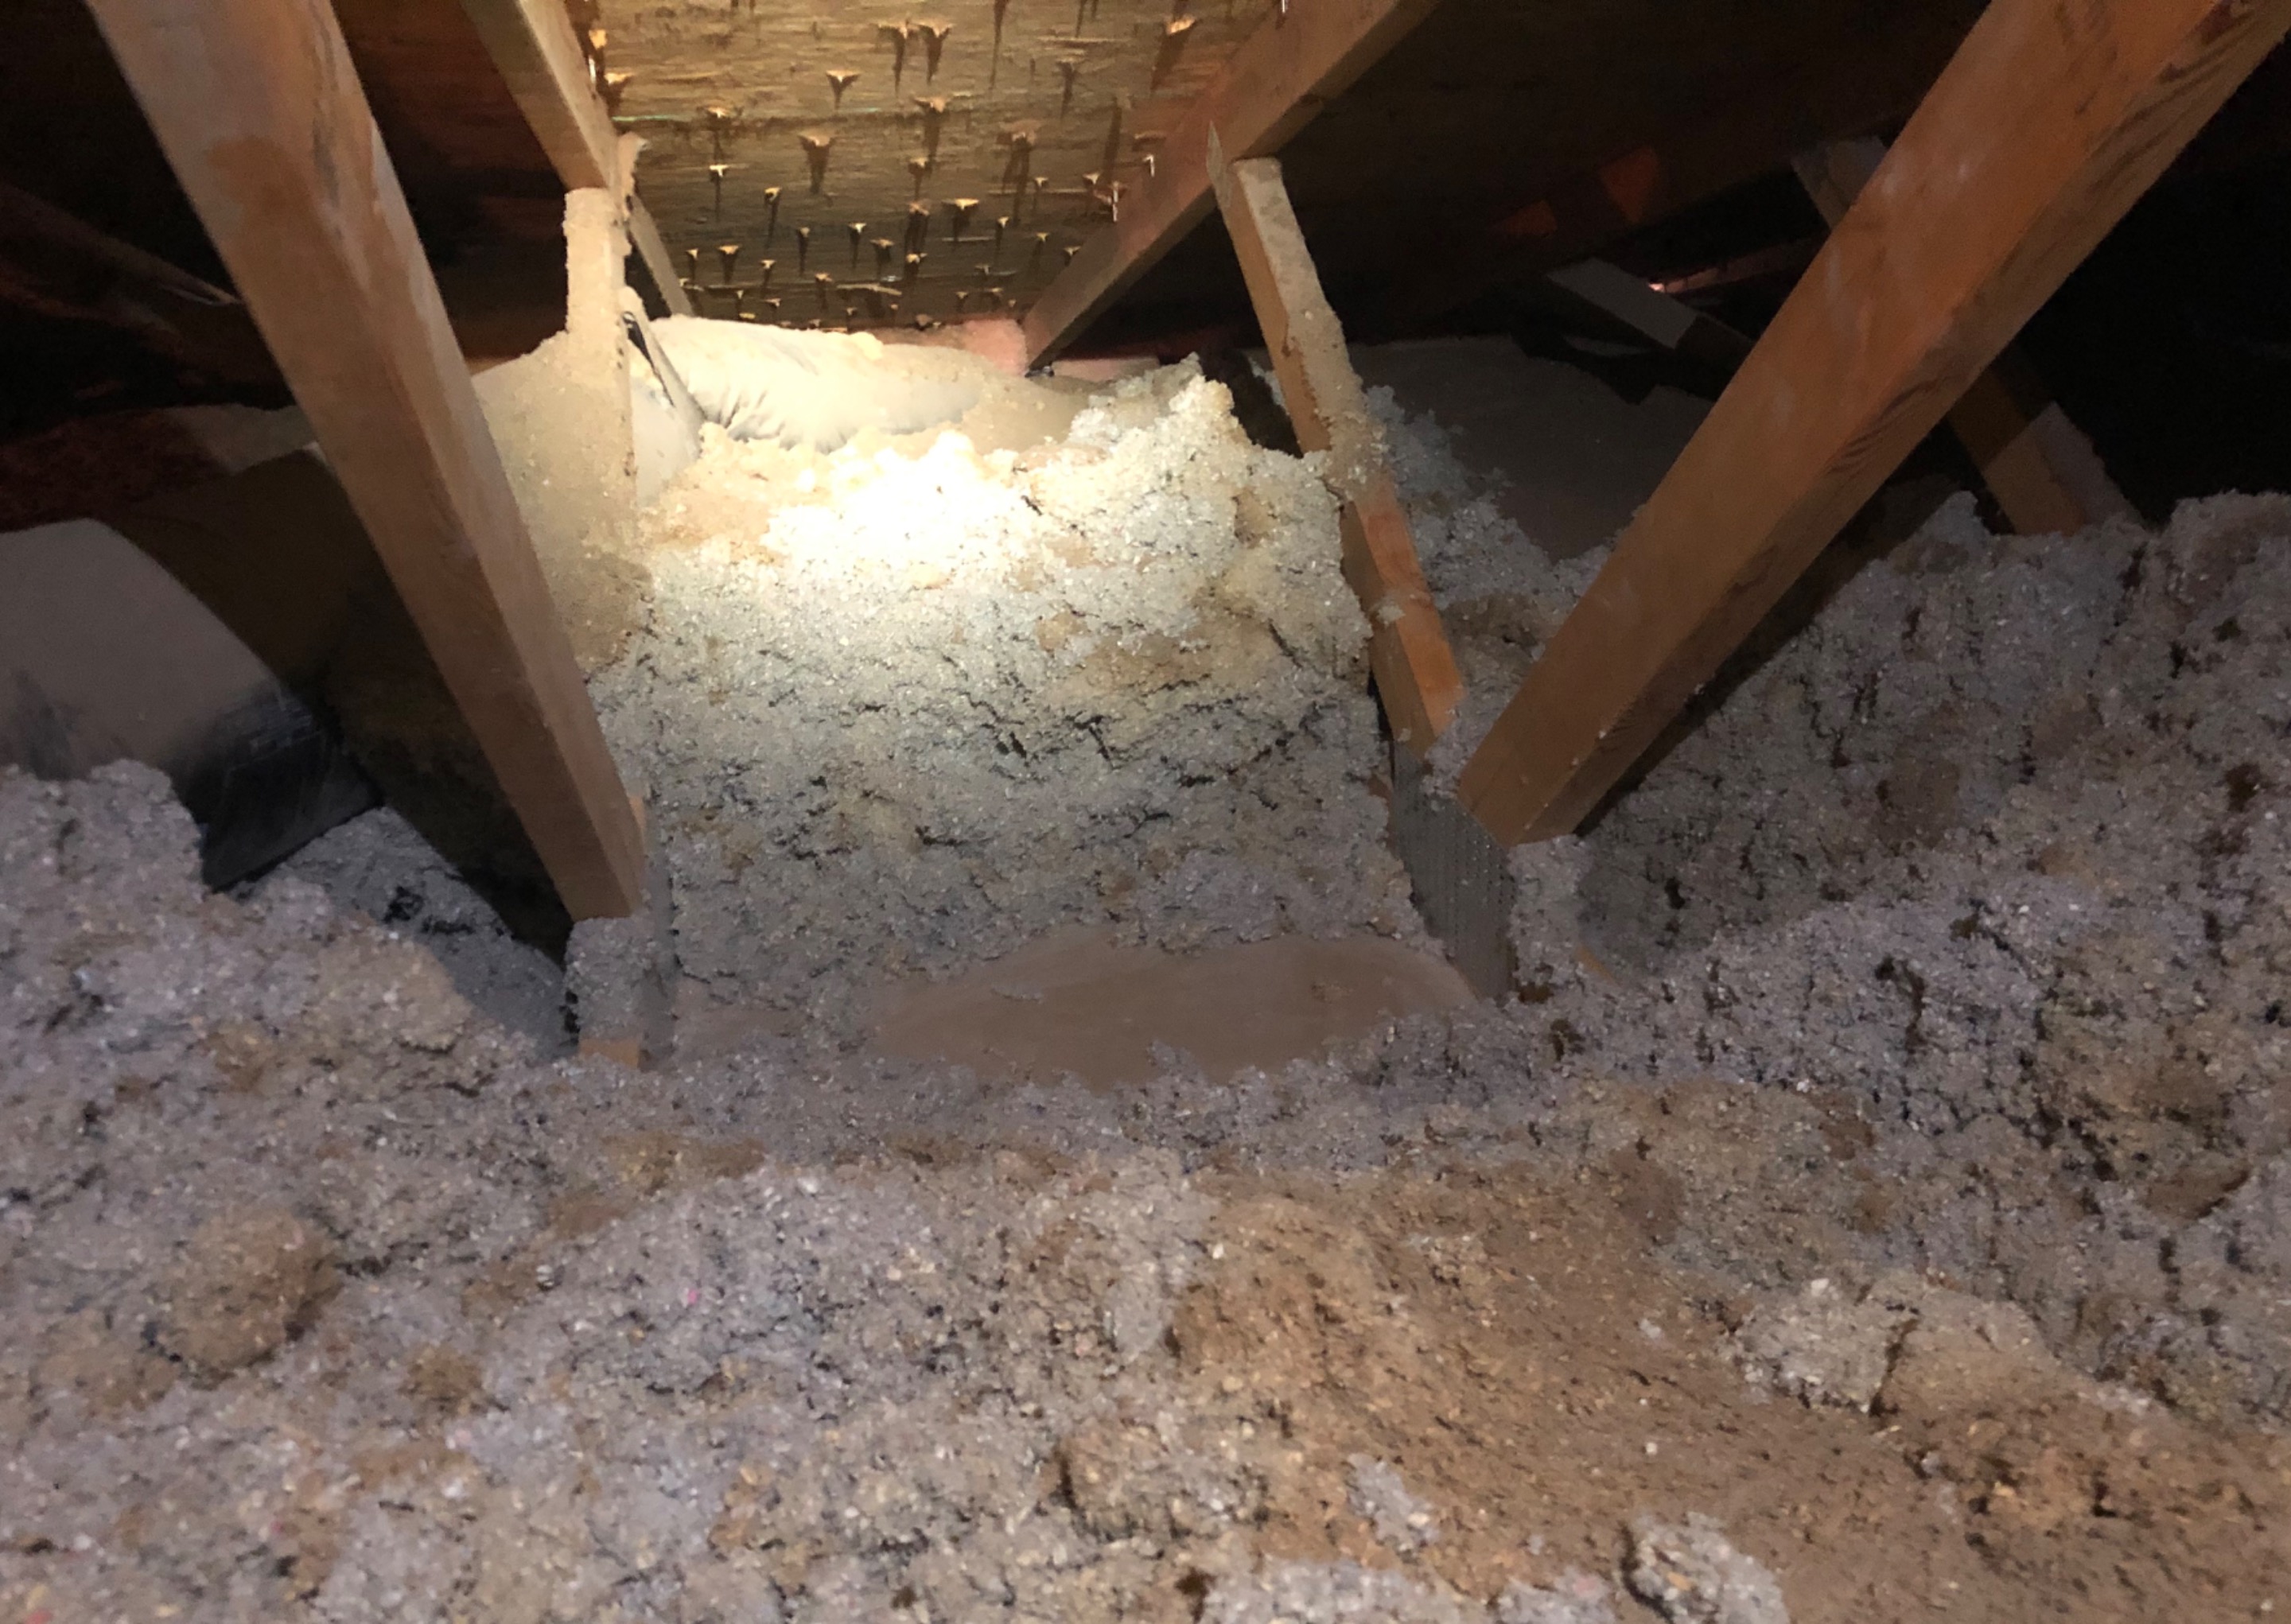</center>
Now we can use the 4 inch hole saw to drill out the Sheetrock to accommodate the new ceiling fan mount. I recommend throwing down an old sheet or drop cloth because sheetrock is messy. That dust goes everywhere!! Also keep your dust mask and and safety glasses on.
<center>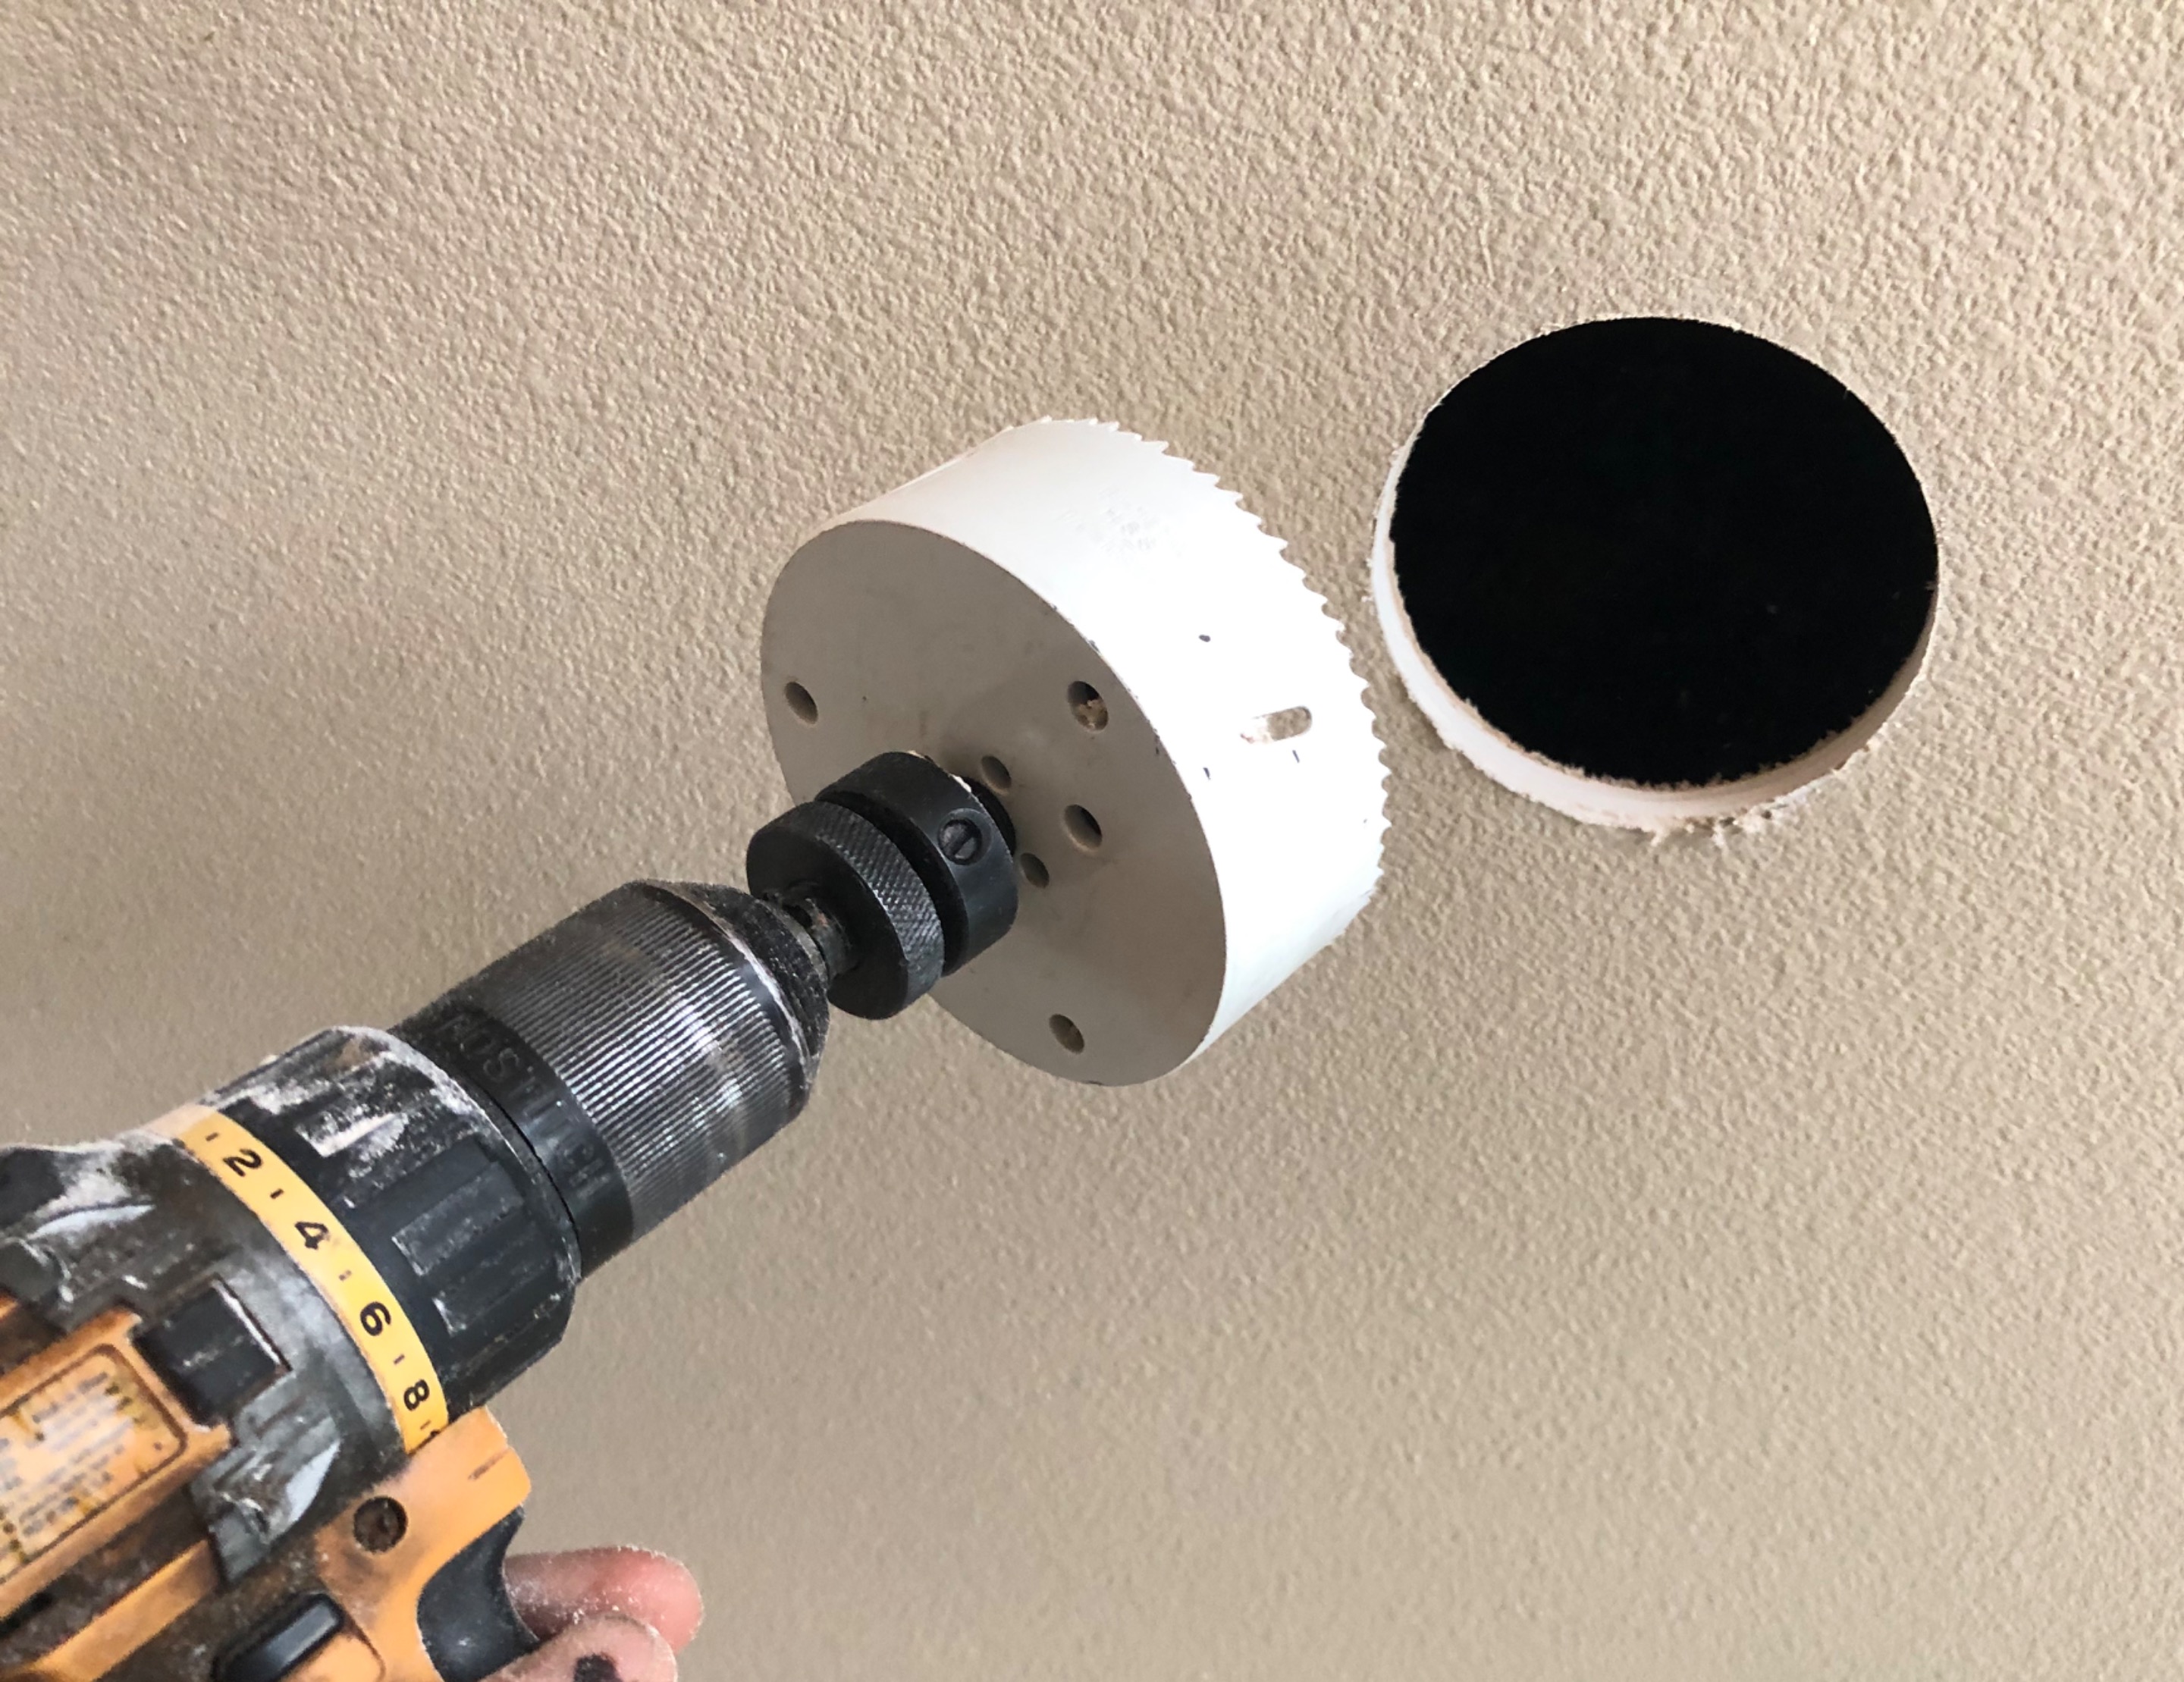</center>
In an attempt to limit the amount of trips Ninja-ing my way across the attic, I chose to attach the ceiling fan mount to the 2x10 chunk of wood I cut. Now you can slide the board up and down between the trusses but side to side you need to be dead on When attaching the ceiling fan mount to the support board. So I stuck my measuring tape up into the hole and against the truss on one side. Measuring to the edge of the hole. Then did the same to the other. This will make sure you have proper placement of the ceiling fan mount when the board is screwed into place.
<center>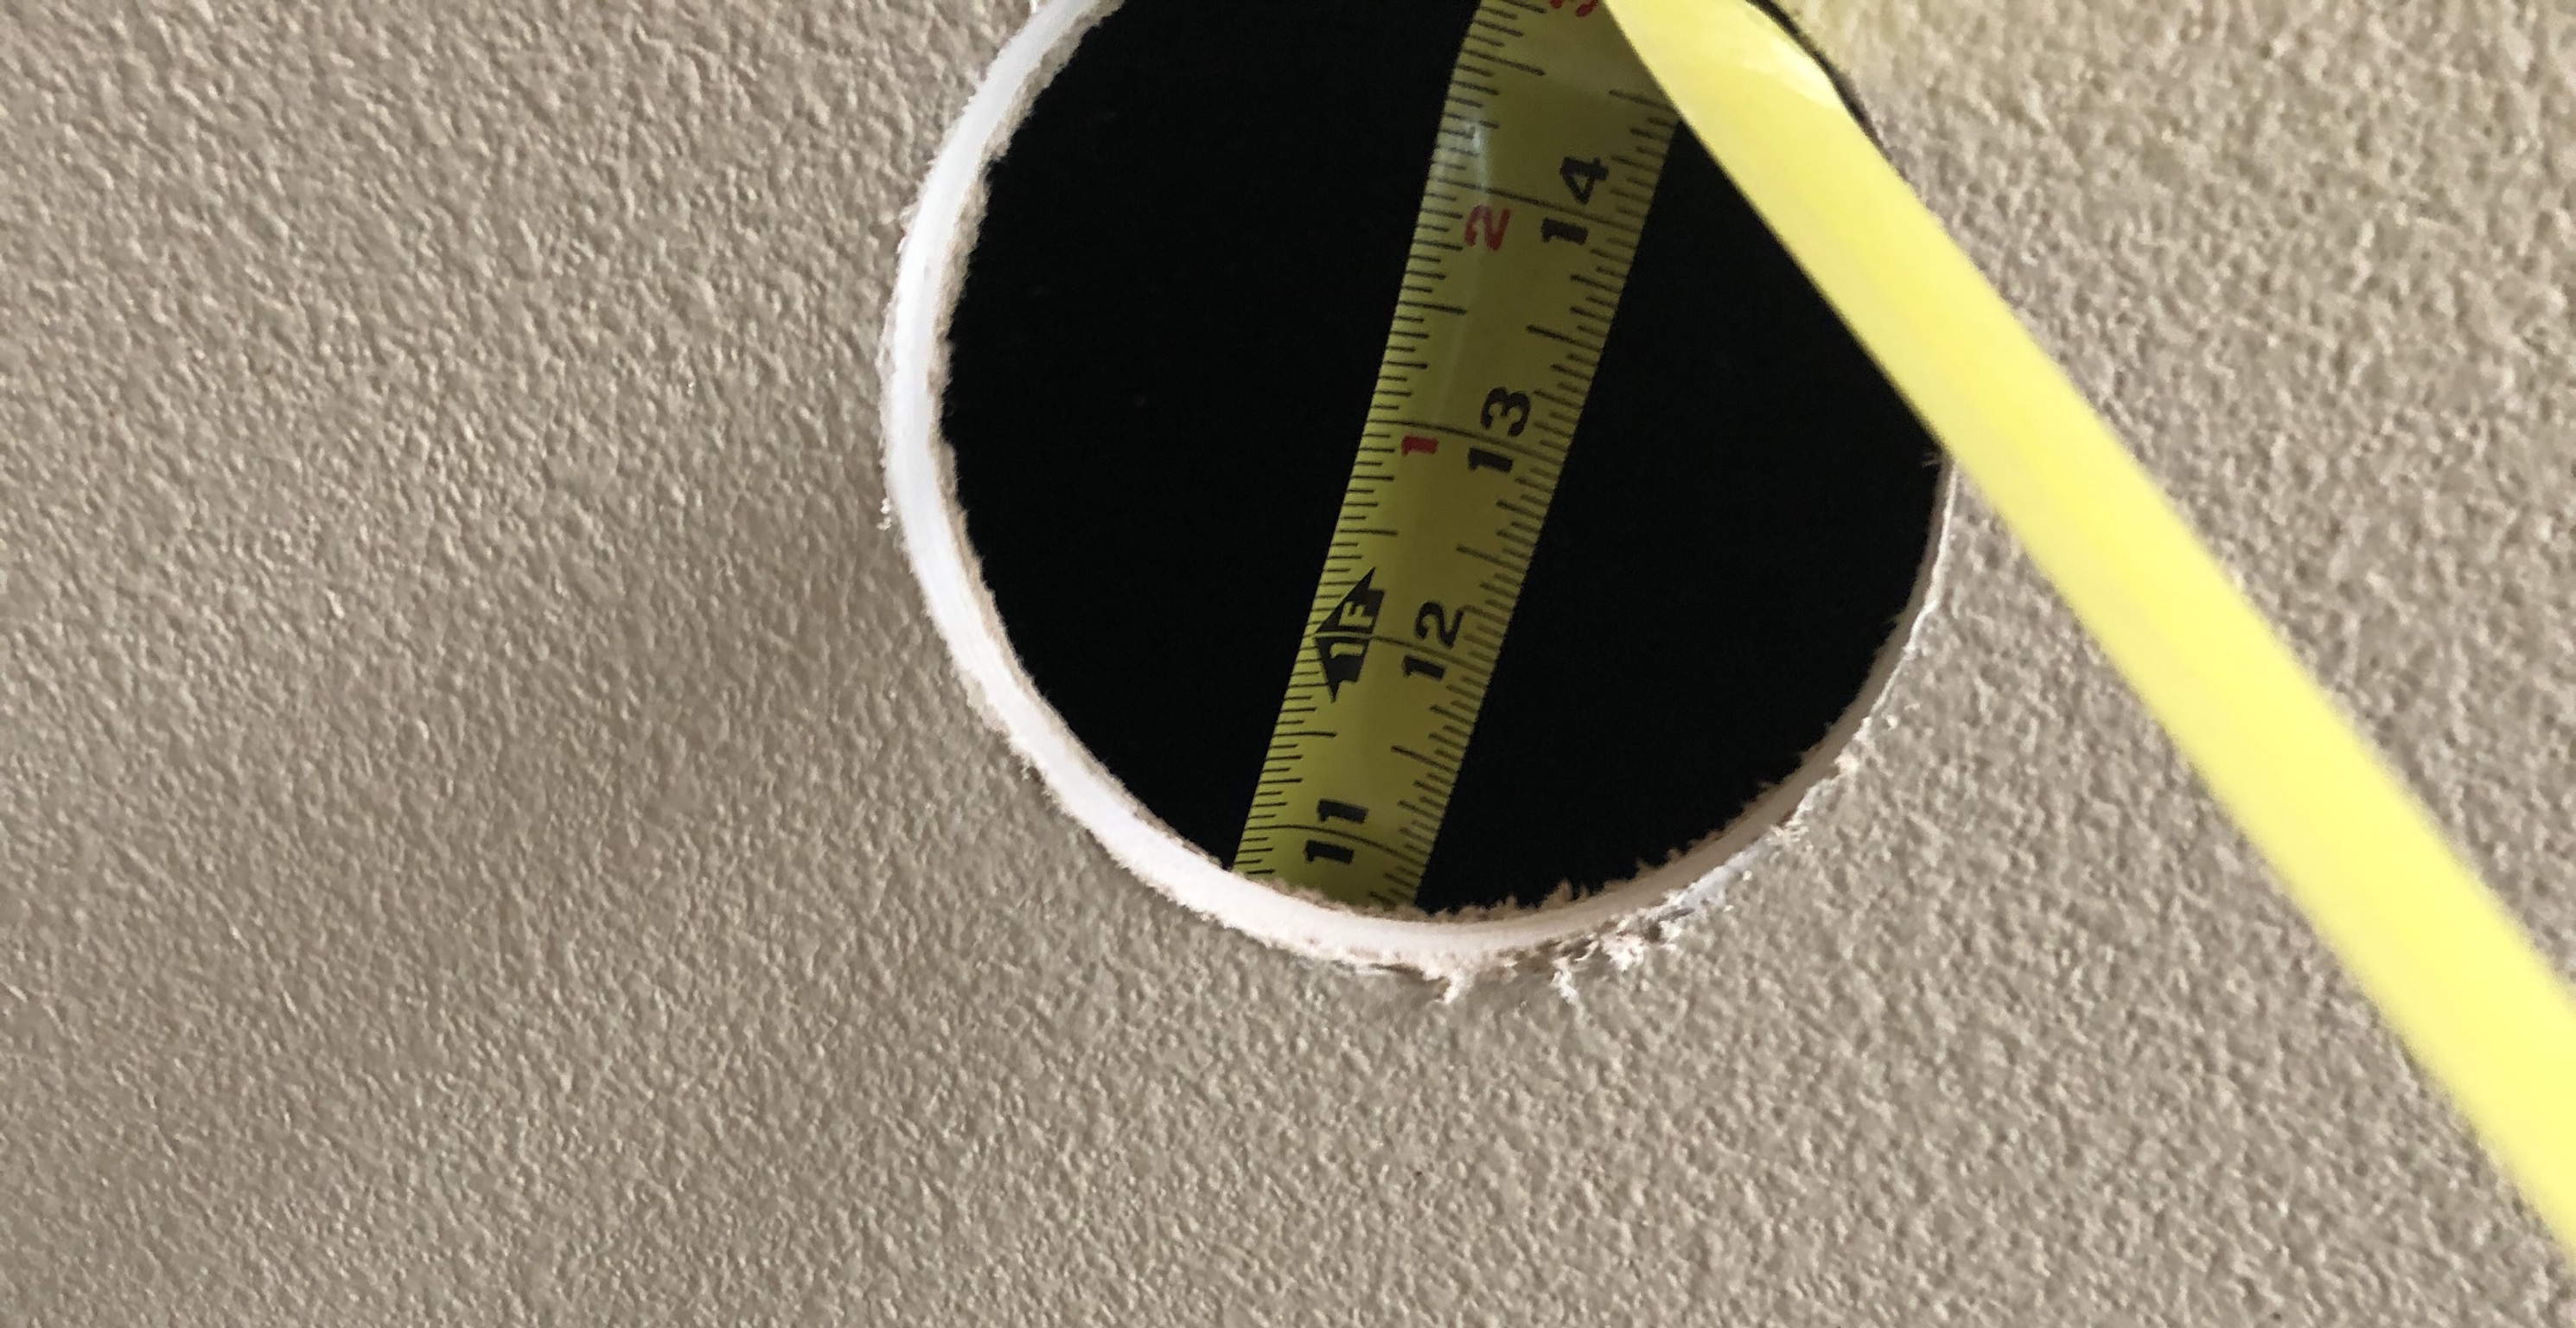</center>
Attach the ceiling fan mount to the board using the supplied lag screws and don’t forget to knockout a spot to run your wires through it. Next drill out the board through the knockout hole with your 3/4 paddle bit. Now you can feed the wire right through the middle of the mount and support board.
<center></center>
I highly recommend cutting your support board 1/8 of an inch smaller than your measurement. I made mine exact... and what a nightmare it was to fit it in between the trusses. You kind of want a loose fit so you can slide it to line up the ceiling fan mount box with your hole in the ceiling.
Prior to heading up in the attic make sure you got everything you need... screws, drill, hammer and staples and of course your support board. Don’t forget to push a good bunch of wire up through the hole in the ceiling so you can feed it through the support board prior to mounting. Plus that saves you another trip up in the attic to run the wire to the switch location.
Using the 6-3 inch screws, secure the 2x10 to both trusses. Not to beat a dead horse but this would be much easier on a flat ceiling! The more I work around these vaulted ceilings the more I dislike them. It was all I could do to not slide down the trusses into the wedge where the roof and ceiling meet. Talk about a PITA!! DANG!!
<center></center>
I was in a tight space and in a bit of a rush, do to being very uncomfortable. I started covering it back up before I got a photo. So I took a little break and got back in there, cleaned it off a bit and got a photo.
As I made my way out I did my best to attach the wire to a couple trusses with the staples. Then I left a bunch of wire coiled up close to where I thought the switch will be.
<center></center>
<center></center>
Next it is time to get the switch installed. I have an existing light switch that controls a few outlets on the walls for lamps so I just need to add one next to it. If you don’t have an existing switch you will need to locate a stud, trace the new outlet box on the wall and cut it out with the Sheetrock saw.
In my situation I need to take apart the existing switch, remove the box, and cut the sheetrock to accommodate the bigger 2-gang box. Before taking apart this outlet head to your breaker panel and shut the power off to the switch. This can be a bit of a pain because a lot of breaker panels aren’t labeled properly. So either plug something in or have the light turned on to tell if the proper breaker is off or not. That is if you don’t have the appropriate voltage detector. with a voltage detector you can just touch all the connections to check for presence of voltage.
<center></center>
In my case I know how to handle energized wires safely, so I was able to carefully take things apart and cover the energized wire with some insulating electrical tape. No I am not an Electrician.... I am a Lineman. Doing this small wiring stuff just isn’t my thing. Lol
After removing the old box by carefully feeding the wire out of the top and bottom of the box, I noticed that one wire came in from the top. This means there should be a hole drilled in the top of the wall in the attic for me to feed the new wire down through. And indeed there was!! Things seemed to turn in my favor on that one.
So the old box is removed, the new wire is in, all the wires are fed into the new box and the box is set in place. In order to secure the box, there should be a wall stud on one side or the other of the box. That is where you will install the 2-2 inch screw securing the box.
<center></center>
Next, wire up the switch and install it in the box, then place the cover over it. Now make sure you install the switch the correct way. Well, what correct to me is “Flip it up for *On* - Down for *Off*” Is that how you like your light switch? I installed them upside first then had to flip them. Hey, it was good practice...
<center></center>
<center></center>
Having tall vaulted ceilings, I purchased a 24 inch extension rod to bring the fan a little lower and keep the blades from possibly contacting the sloped ceiling. Since the fan hangs straight down and the ceiling is sloped this could happen. Switching the rod length was pretty easy and the instructions to do so were included.
<center>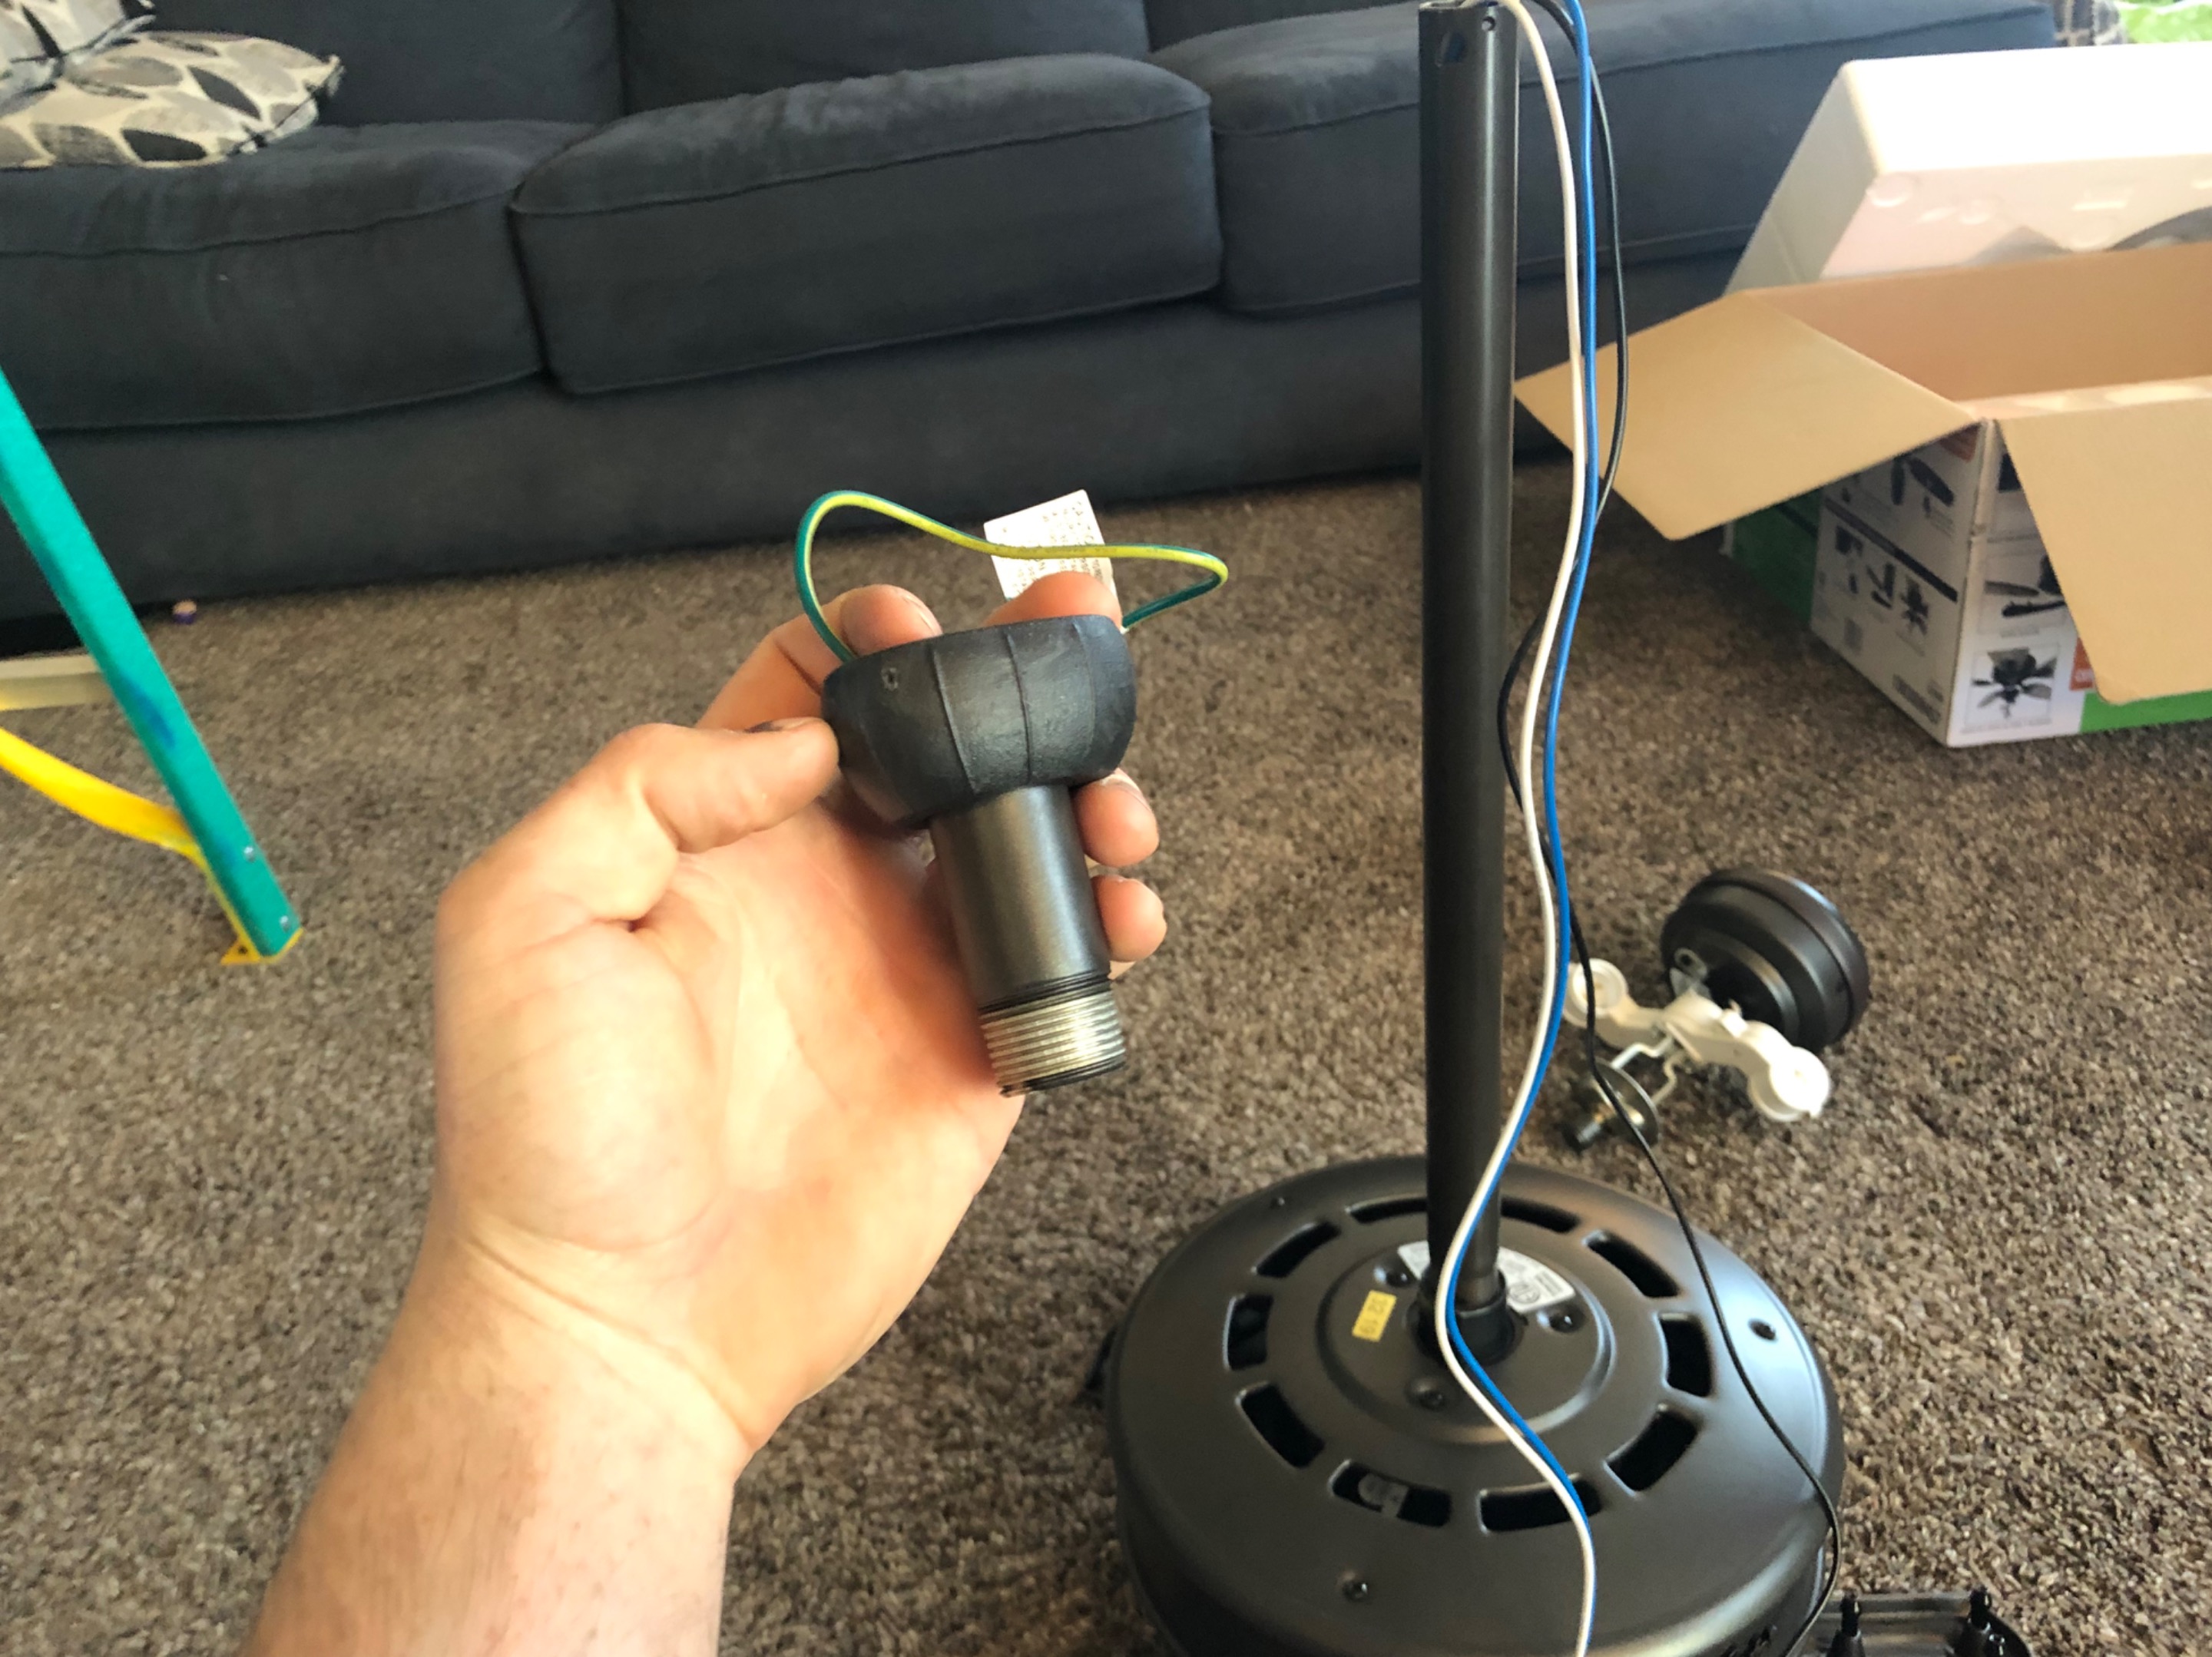</center>
The provided mounting bracket allows the ceiling fan to swing into a vertical position when placed on a sloped or vaulted ceiling. Just make sure to point the open portion of the bracket uphill or toward the peak of the ceiling.
<center>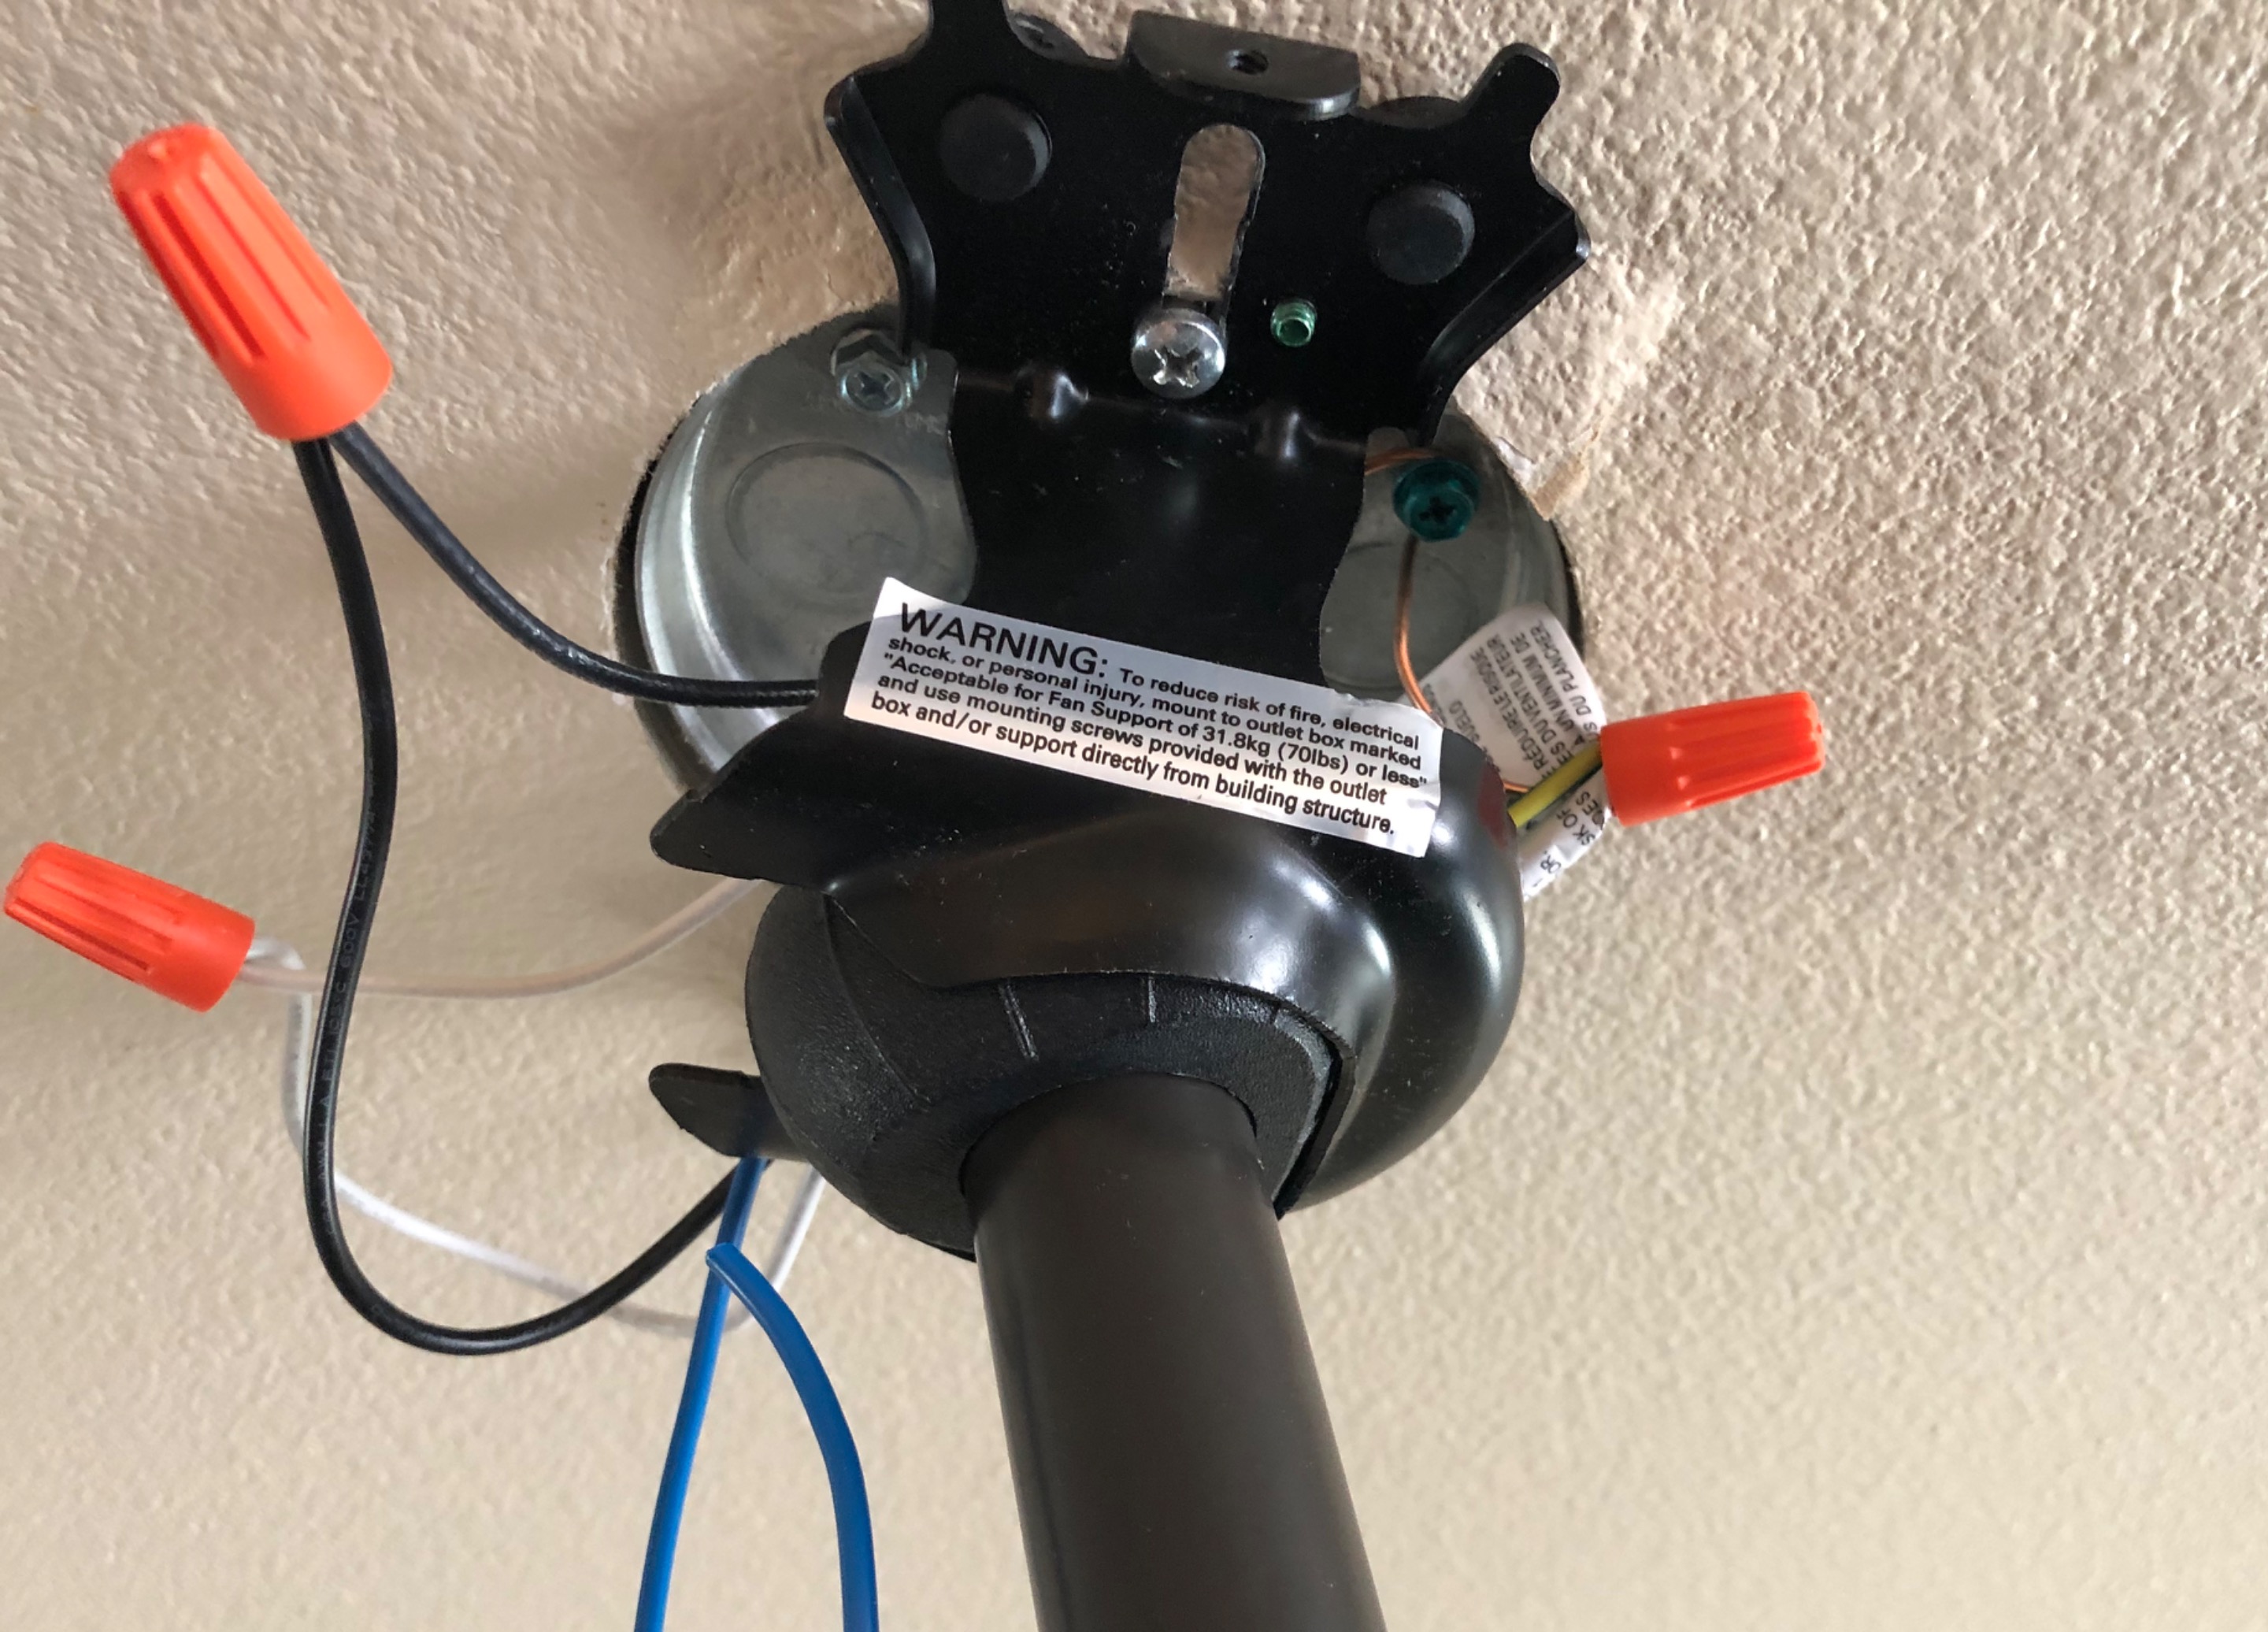</center>
Well after hanging it I found out really fast that the 24 inch rod was a bit too long. Leaving only a few inches above my extended hand. I am not “tall” by any means and the at the Splatts house things tend to get a little wild and I wouldn’t like to see my hard work get destroyed. Never mind the person getting hit by the fan... lol
<center>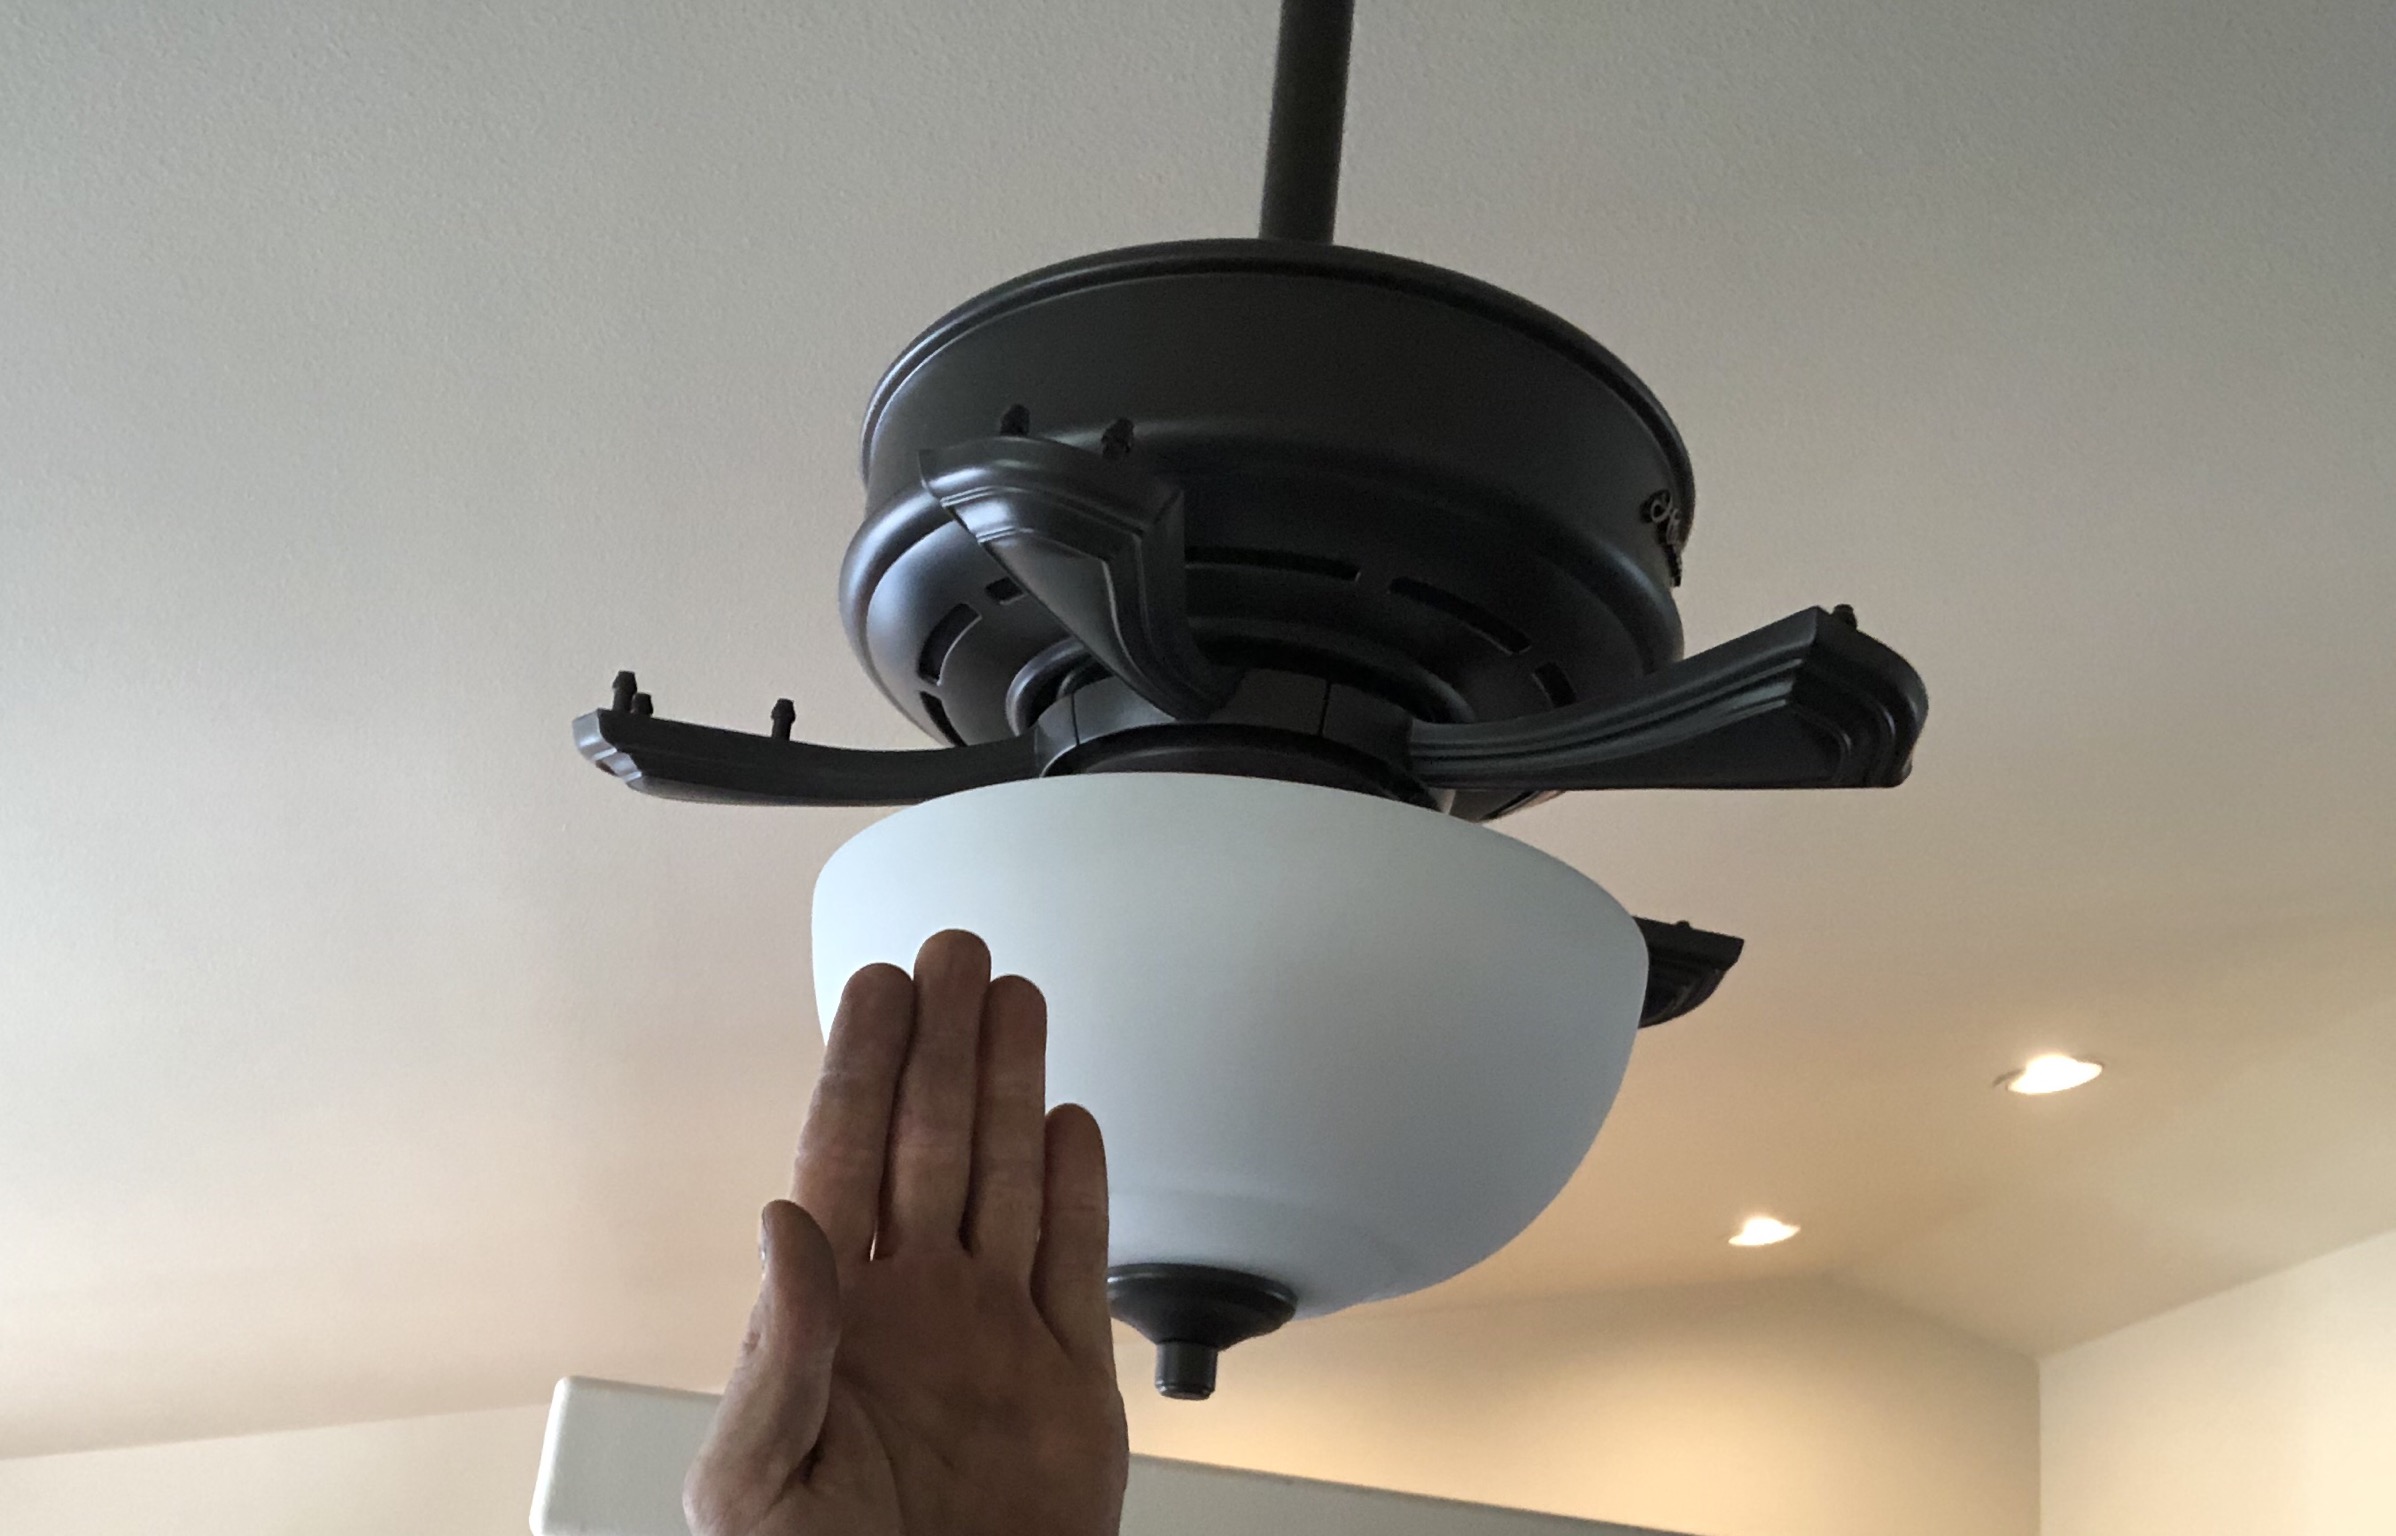</center>
Then I noticed that I must have tightened the cap that holds the glass cover on too tight. It now has a nice crack in it!! Well so much for this project getting complete with no hiccups. I thought it was actually going to happen. You know the whole “Everything going as planned”... ya not so much..
<center>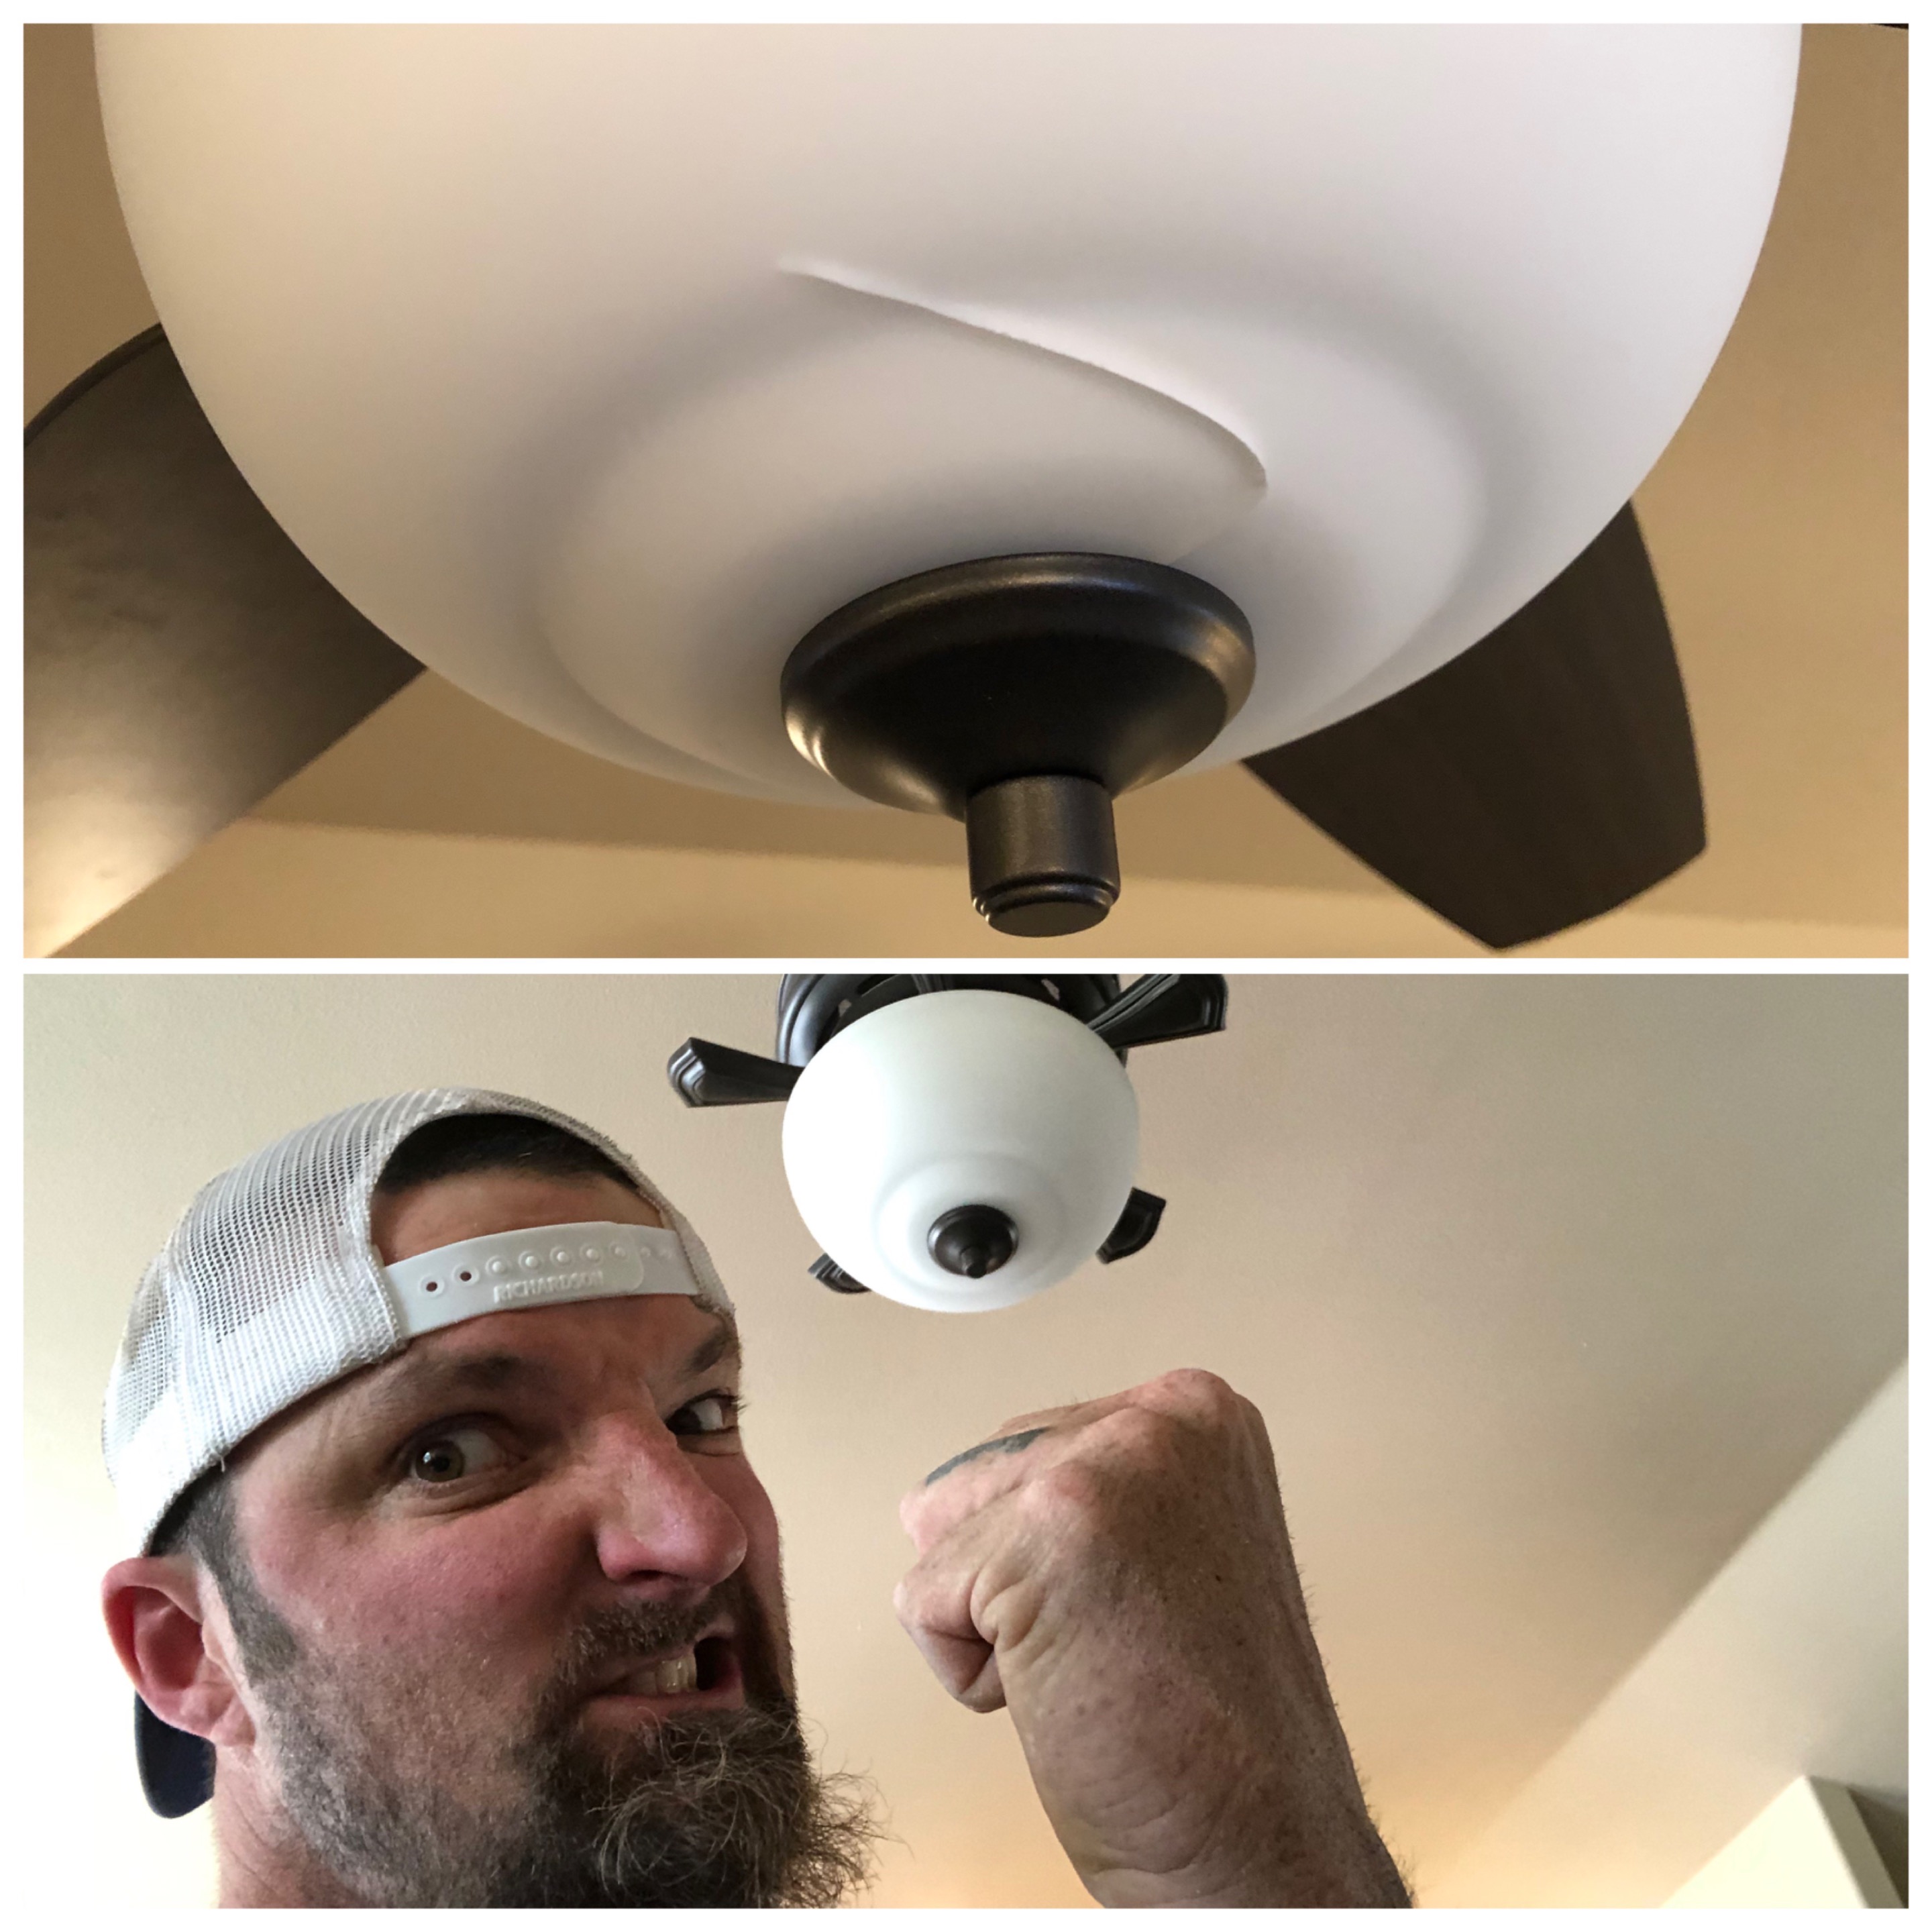</center>
So back to Home Depot to get a shorter rod and find replacement glass for it. I guess it could have been worse, I could have fallen through the ceiling or something. At least I have a partner to help me out finishing up this project. My daughter’s hamster likes to hang out in my pocket from time to time.
<center></center>
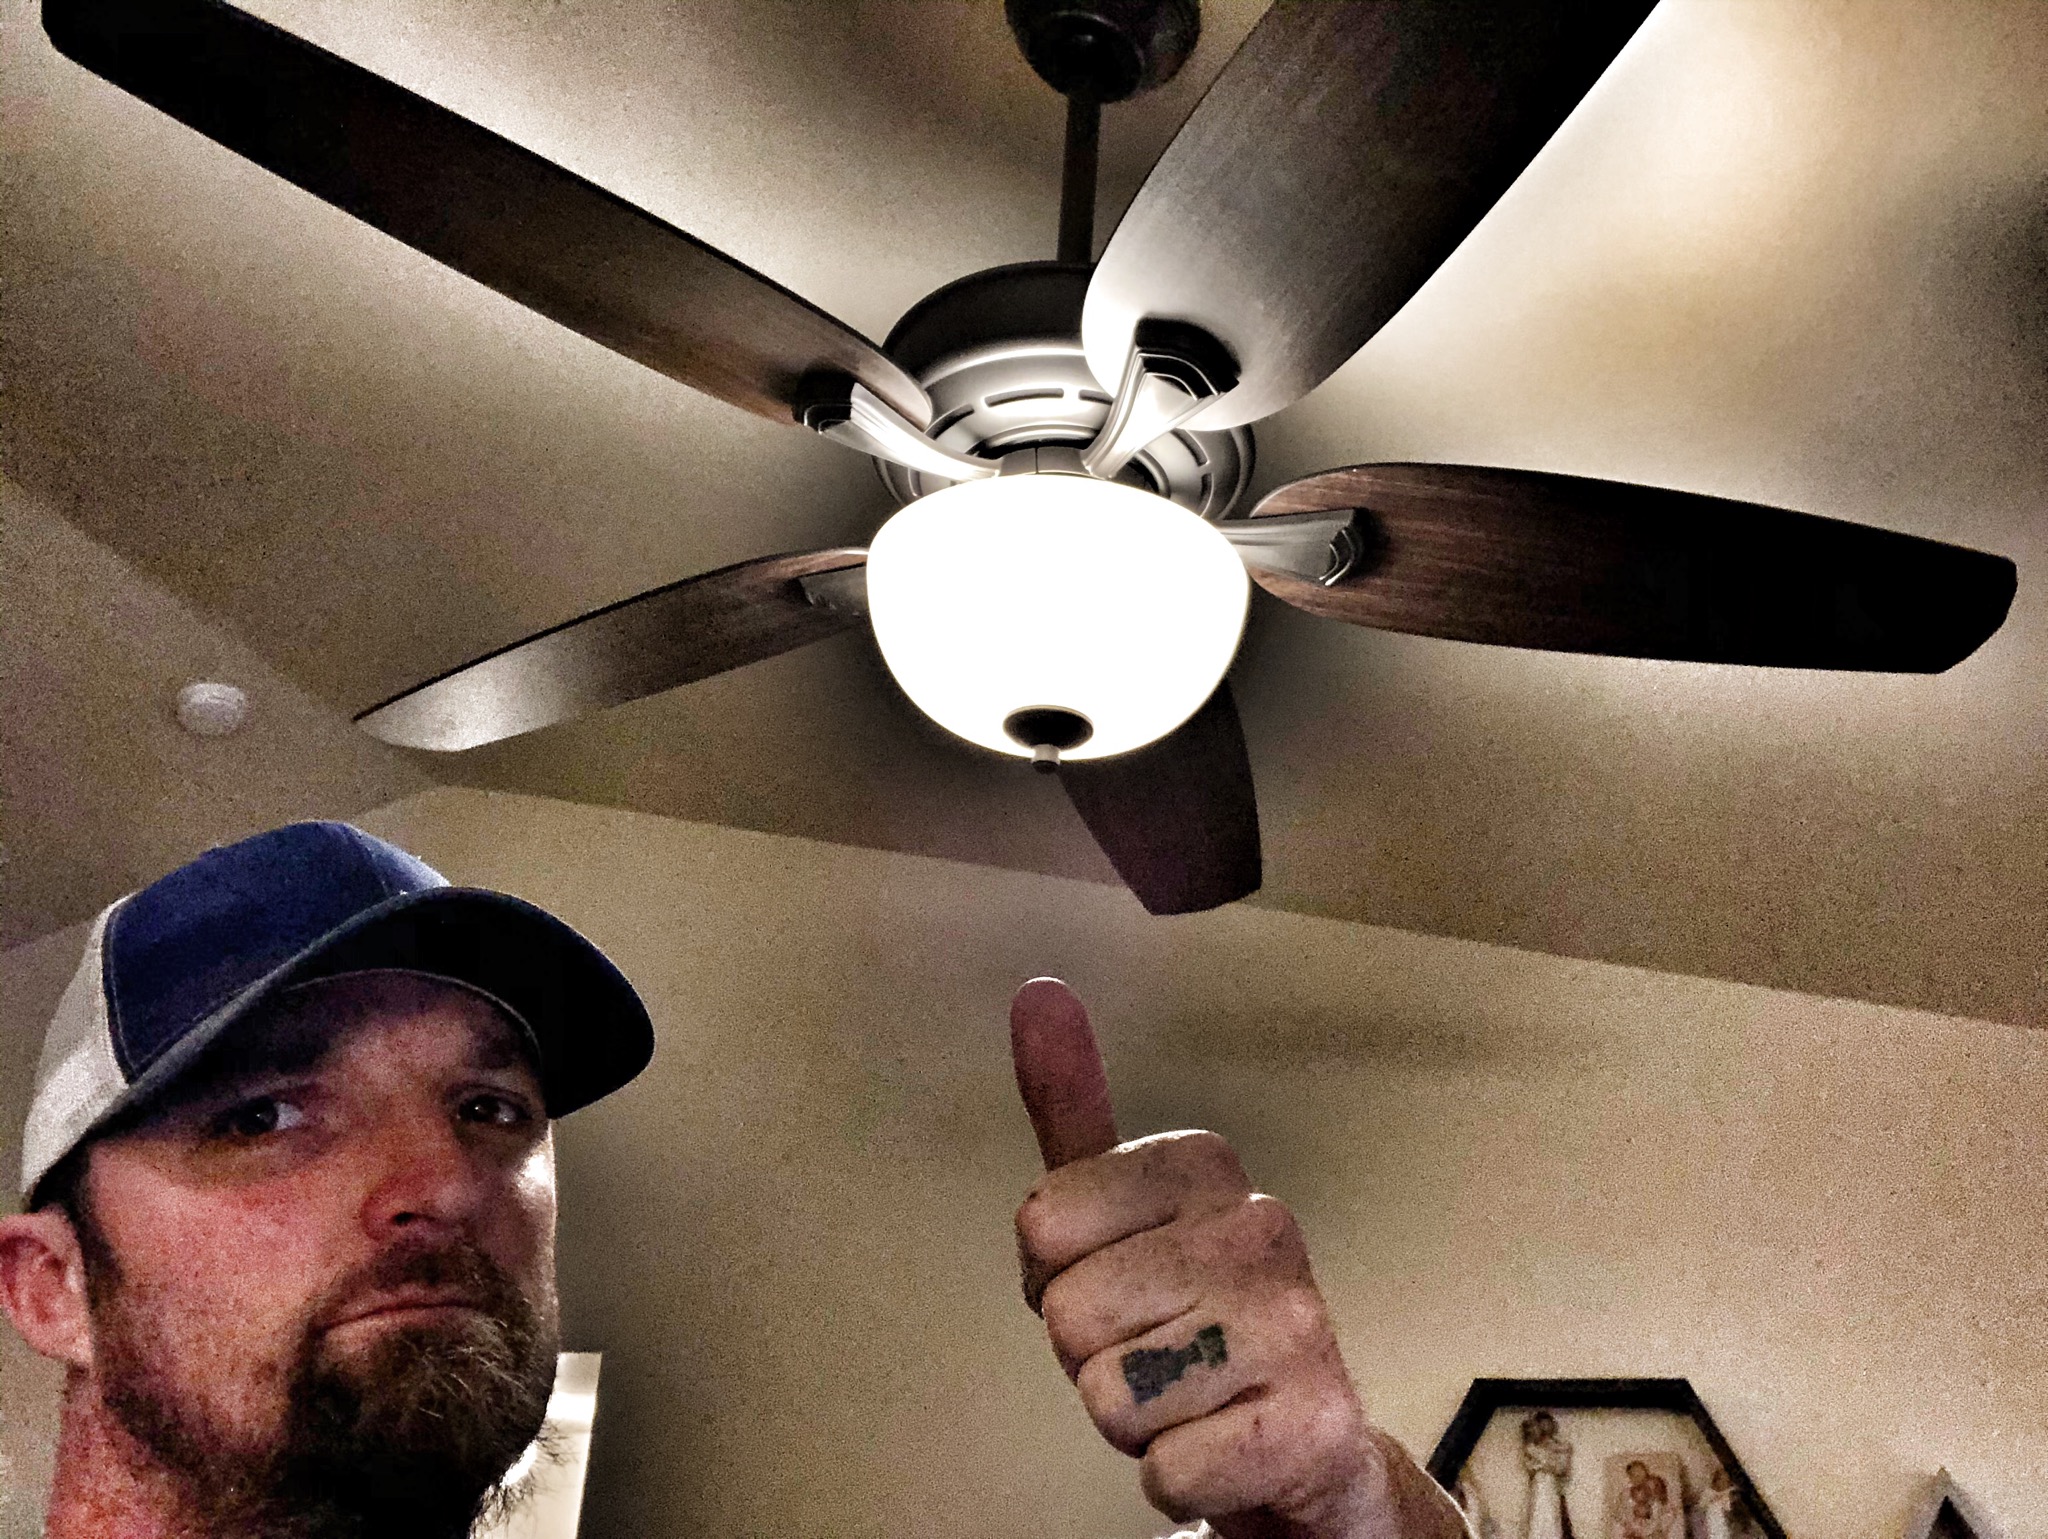
After putting it all back together and installing the blades it was time to flip the switch and check all the functions. Well it’s all works and didn’t fall of the ceiling nor did the house catch on fire. I am going to go ahead and chock this one up as a success...
<center>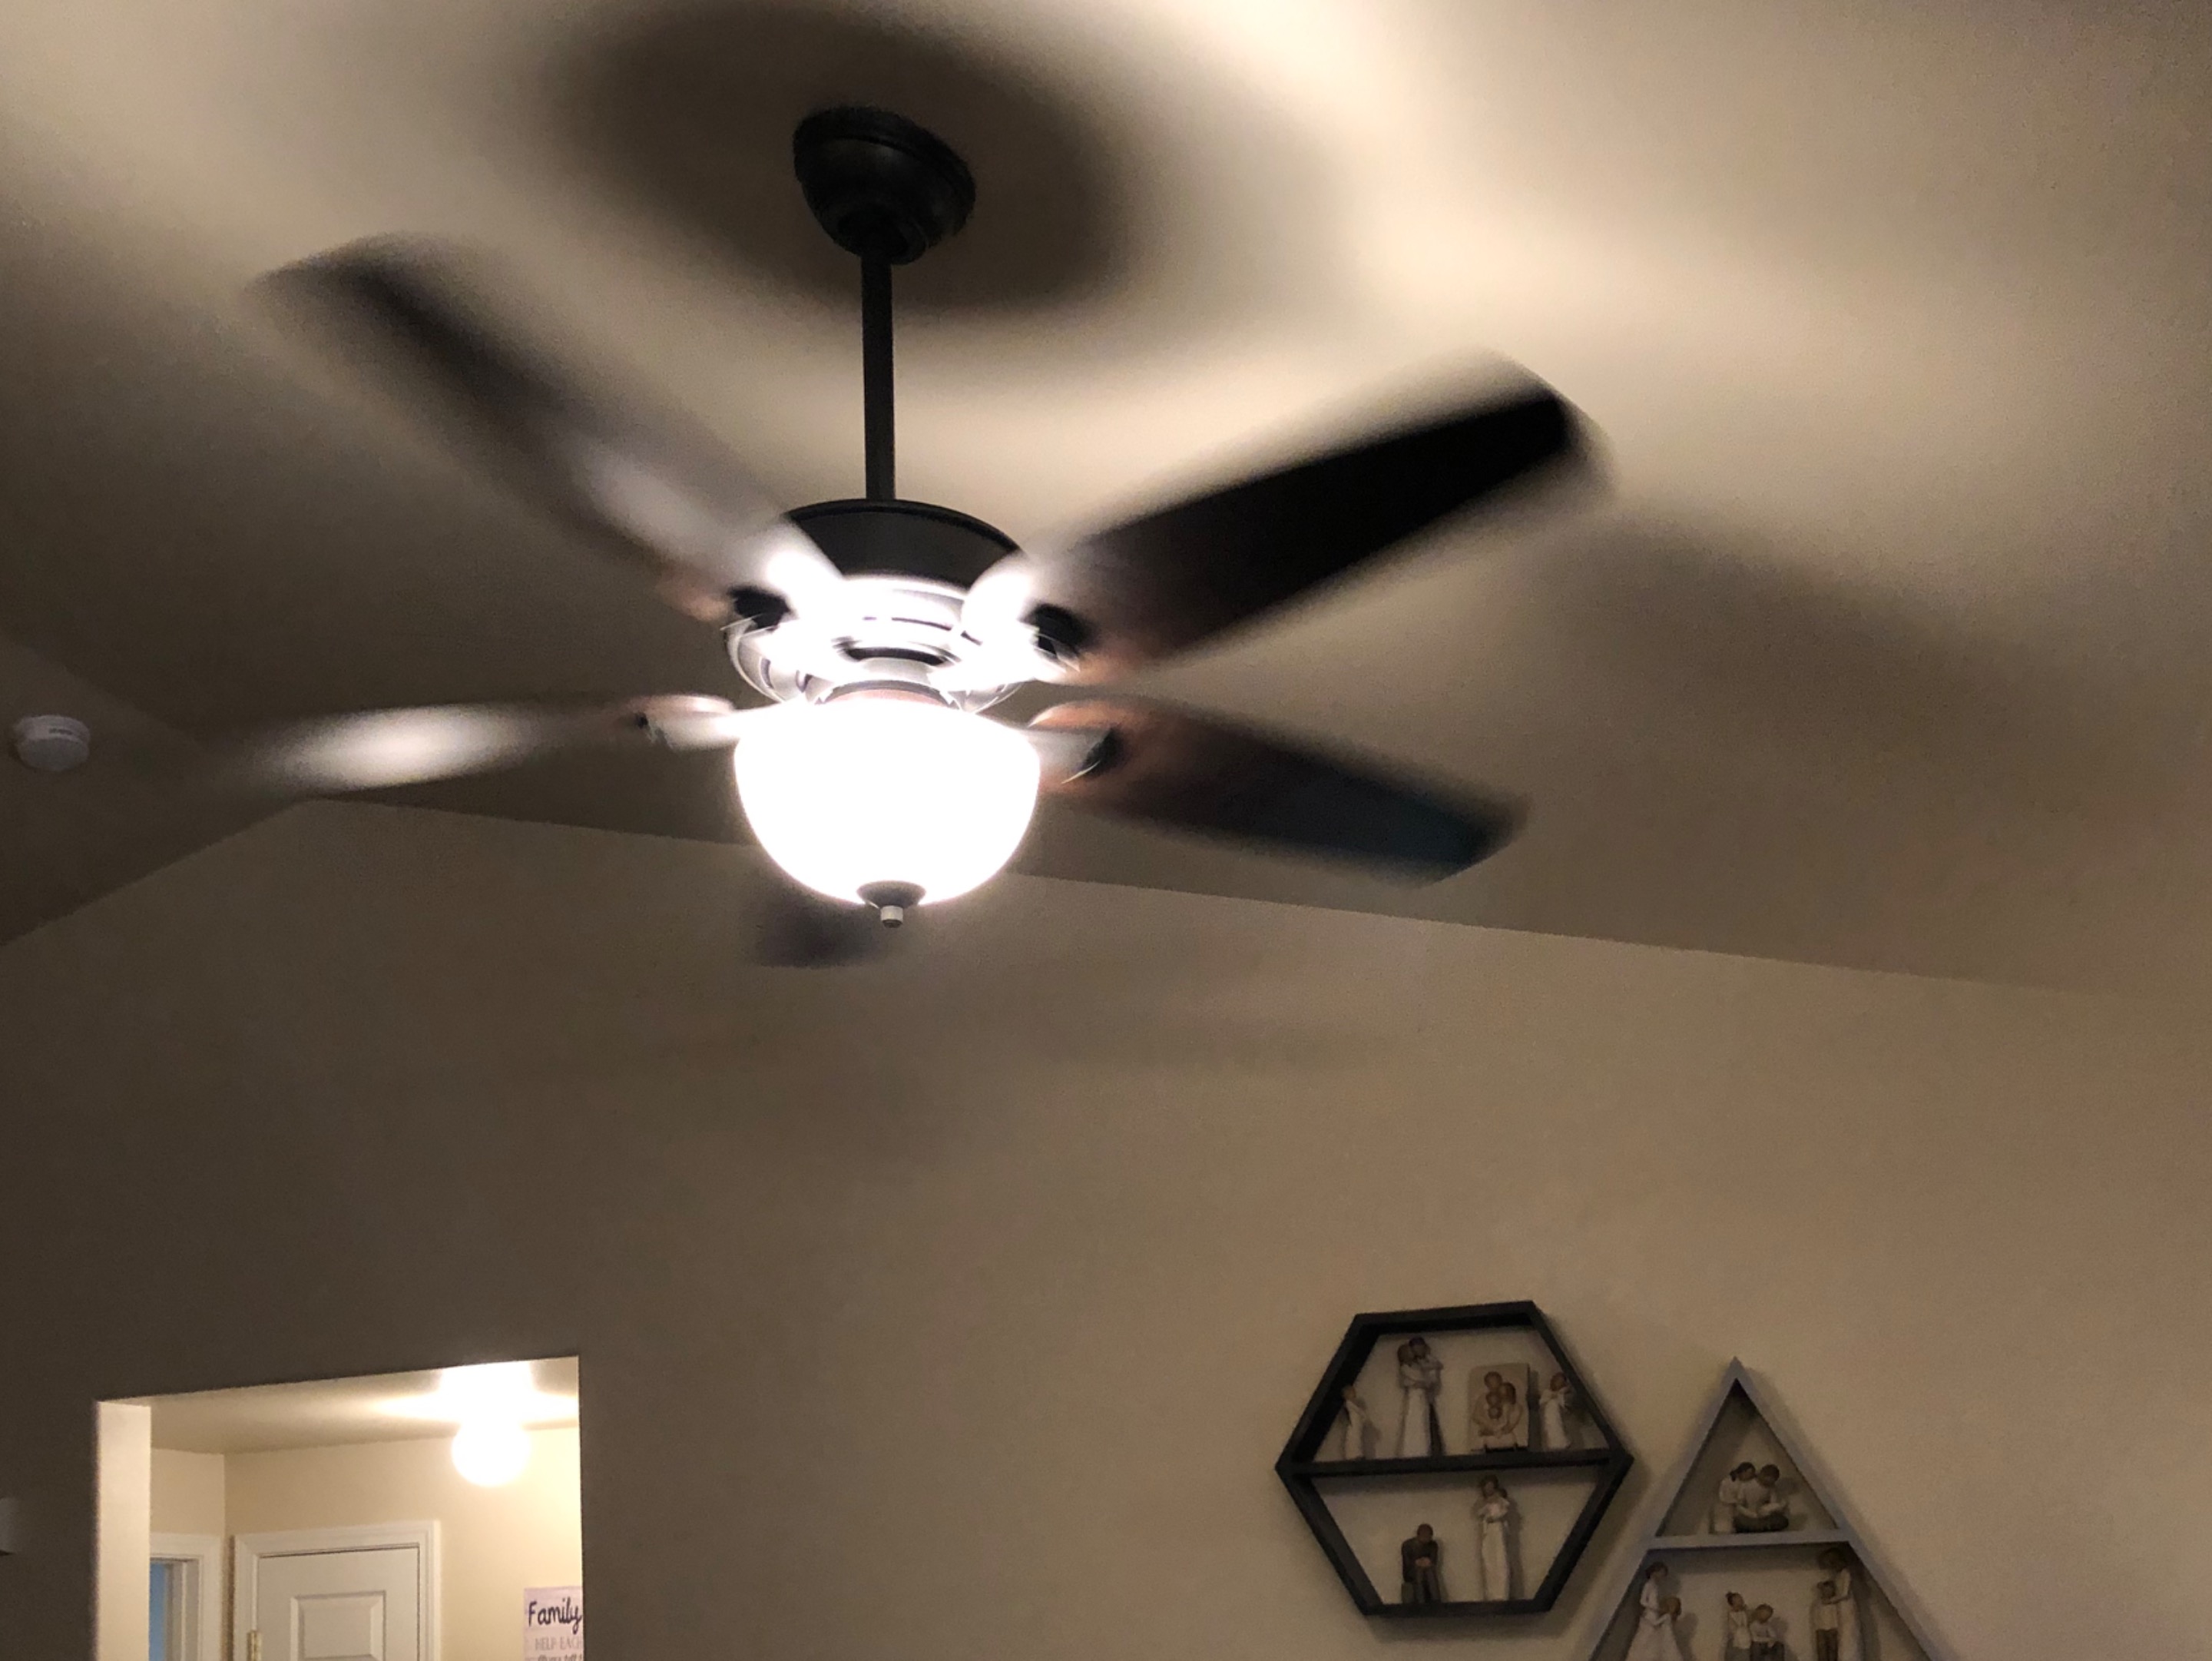</center>
With the correct tools, a few tips and a little know how when it comes to the way houses are constructed, you can do this too. Just use the proper safety equipment, measure twice - cut once and shut the power off. If you would like to know any other info, like how to wire the switch, feel free to ask. If I don’t know the correct answer I will definitely find it.
Thanks for taking the time to take a look at another DIY project and I hope it encourages you to do a little DIY-ing yourself.
<center>Until Next Time...

<sub>[Source](peakd.com/@derangedvisions)</sub>
Hive On
and
Alway be safe
When doing a project
By Yourself
Don’t take shortcuts

Join the Fight Every Friday
The Food Fight
Food Fight Friday</center>