<div class=text-justify>
<div class=pull-left>
<center> **¡Hola amigos de Hive!**</center>
En esta oportunidad les traigo un fácil y rápido tutorial para aprender a hacer los conitos de papel de seda, un recurso muy utilizado a la hora de elaborar adornos o cualquier tipo de papelería y que muchas personas no saben cómo hacer, pero hoy les muestro un forma fácil de elaborarlas, espero que les guste.
</div>
<div class=text-justify>
<div class=pull-right>
<center> **¡Hello Hive friends!** </center>
This time I bring you an easy and quick tutorial to learn how to make tissue paper cones, a resource widely used when making ornaments or any type of stationery and that many people do not know how to do, but today I show you a easy way to make them, hope you like it.
</div>
<center> 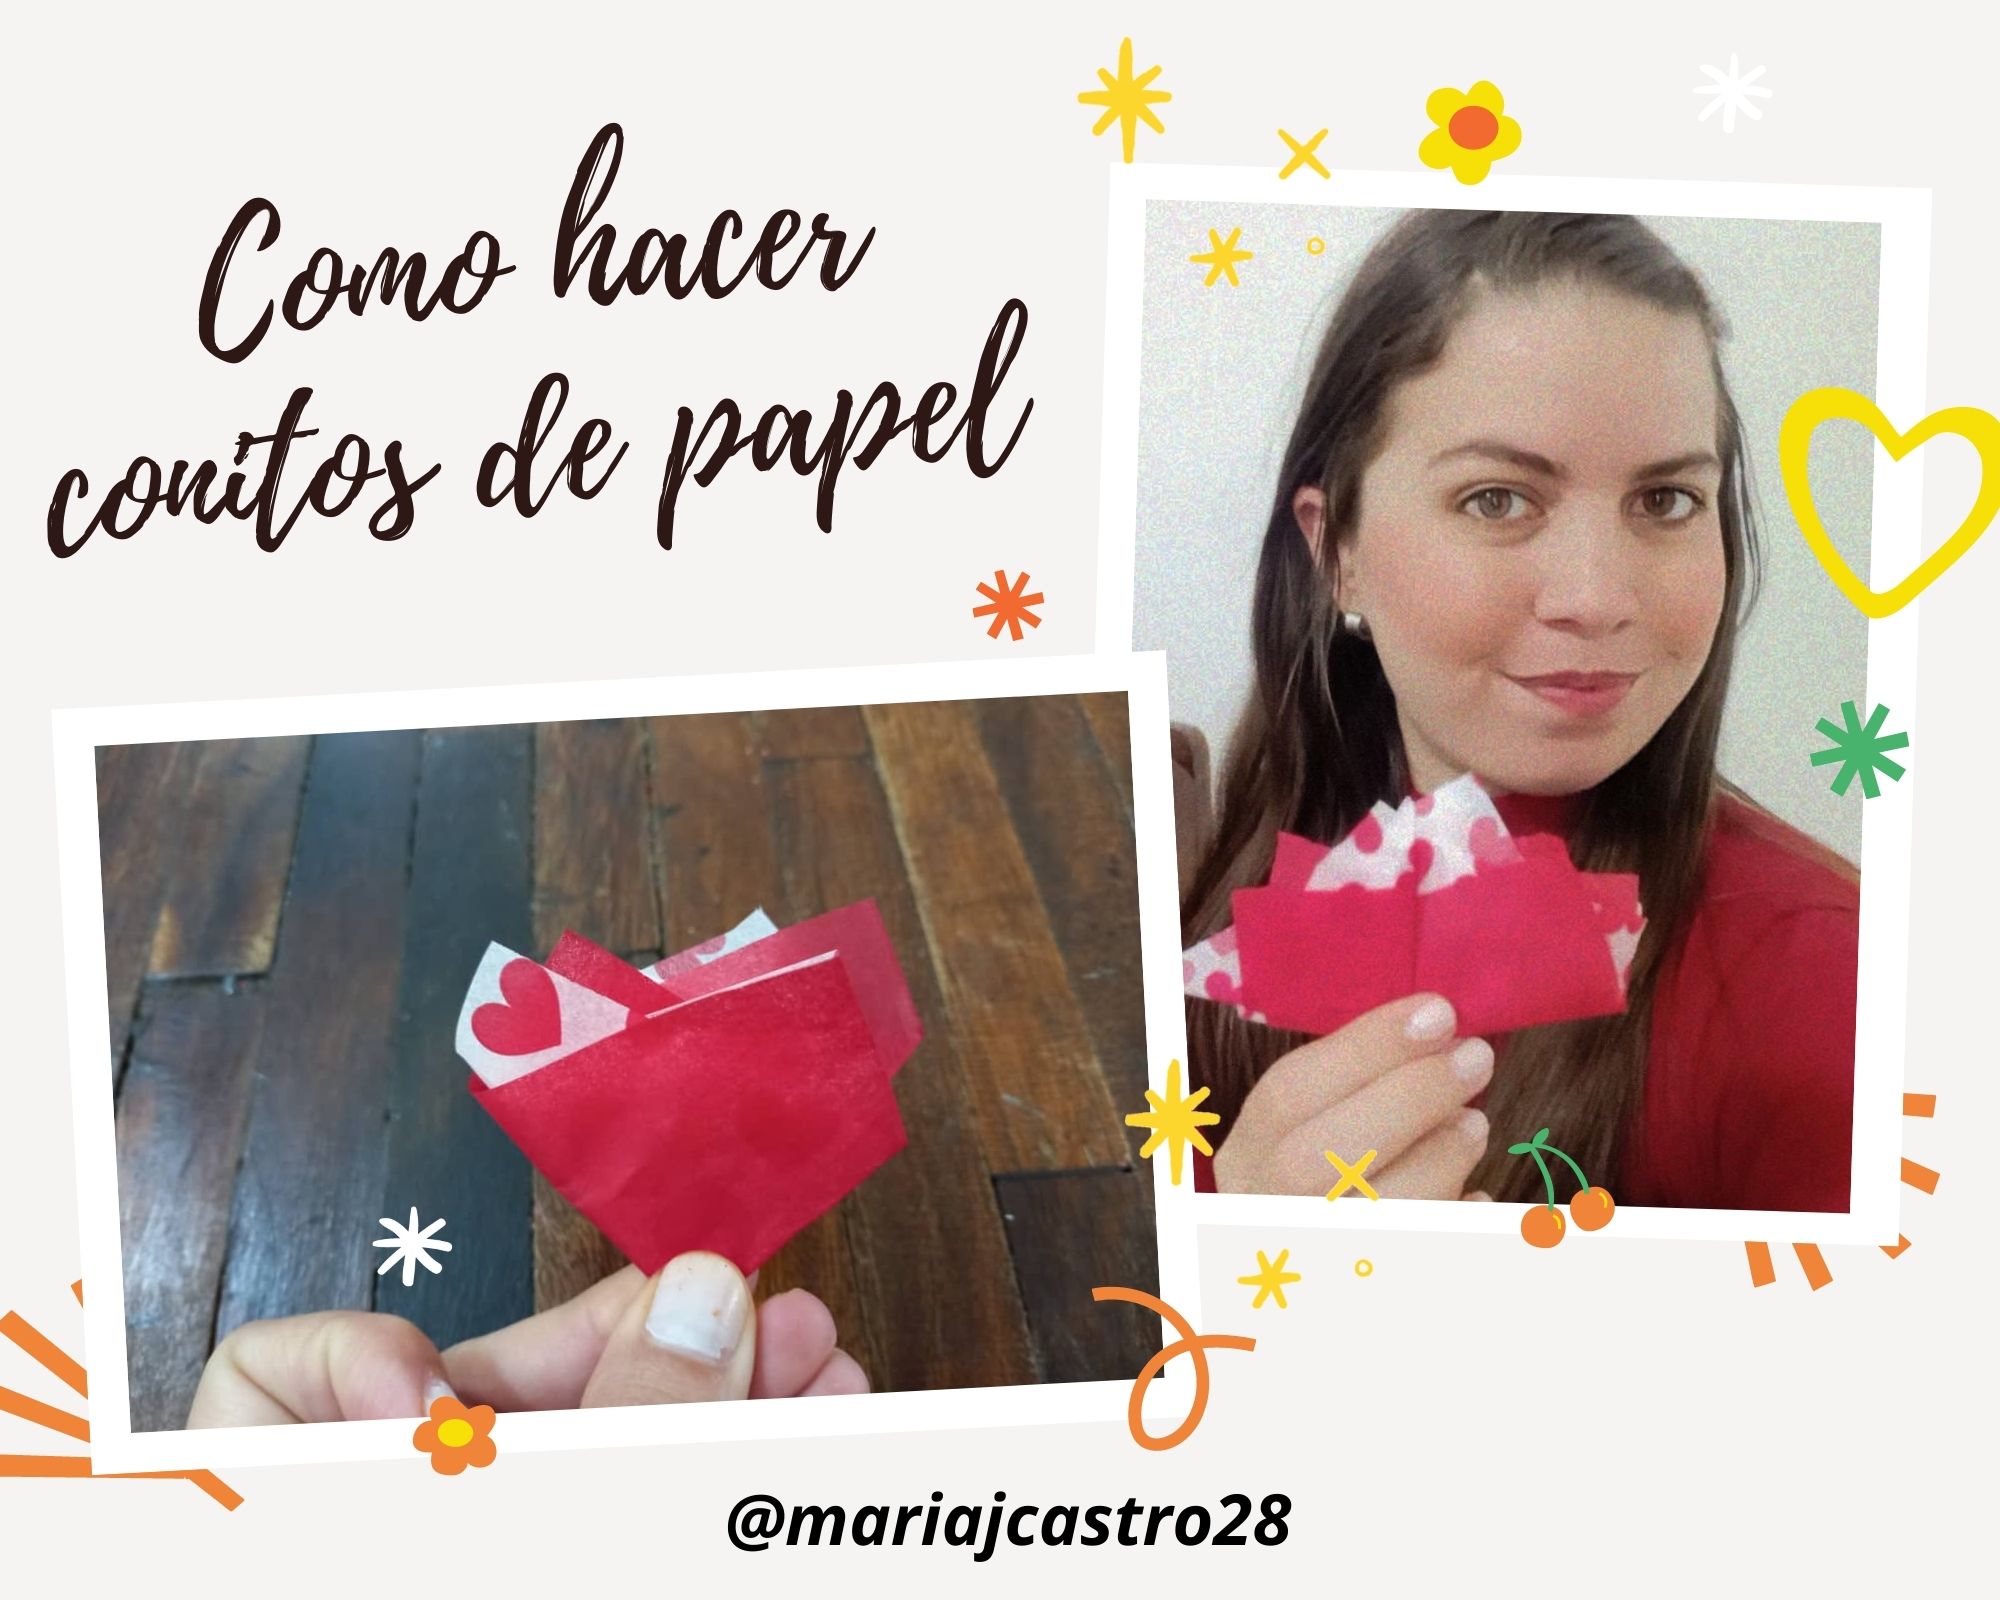</center>
<center> <sub> **_Imagen editada en canva/Image edited in canva_** </sub>
<center> </center>
<center> <div class="phishy"><h1>Materiales | Materials</em></h1></div></center>
<center> </center>
<div class=text-justify>
<div class=pull-left>
- Papel de seda.
- Tijeras.
- Silicón.
</div>
<div class=text-justify>
<div class=pull-right>
- Silk paper.
- Pair of scissors.
- Silicone.
</div>
<center> 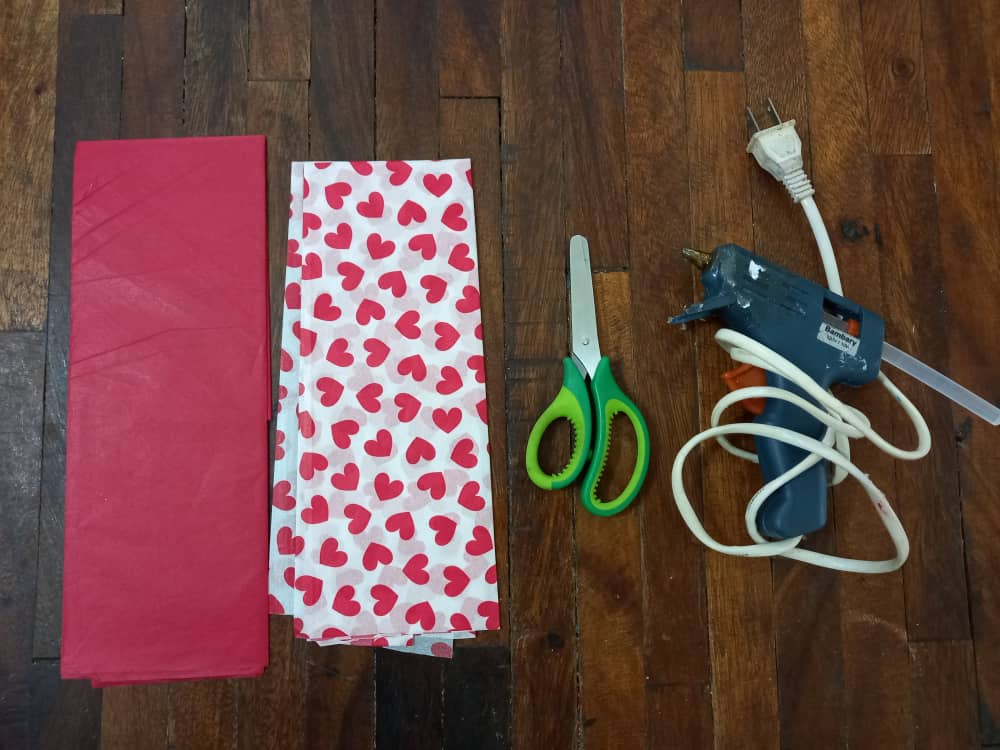</center>
<center> </center>
<center> <div class="phishy"><h1>Procedimiento ✂ | Process ✂ </em></h1></div></center>
<center> </center>
<div class=text-justify>
<div class=pull-left>
✦ **PASO 1.** Extendemos el papel de seda y recortamos una tira del largo del papel y del grosor de nuestra preferencia, normalmente al venir doblados tienen unas marcas y por ahí podemos guiarnos.
</div>
<div class=text-justify>
<div class=pull-right>
✦ **STEP 1.** We spread the tissue paper and cut a strip the length of the paper and the thickness of our preference, normally when they are folded they have some marks and we can guide ourselves there.
</div>
<center> </center>
<div class=text-justify>
<div class=pull-left>
<center>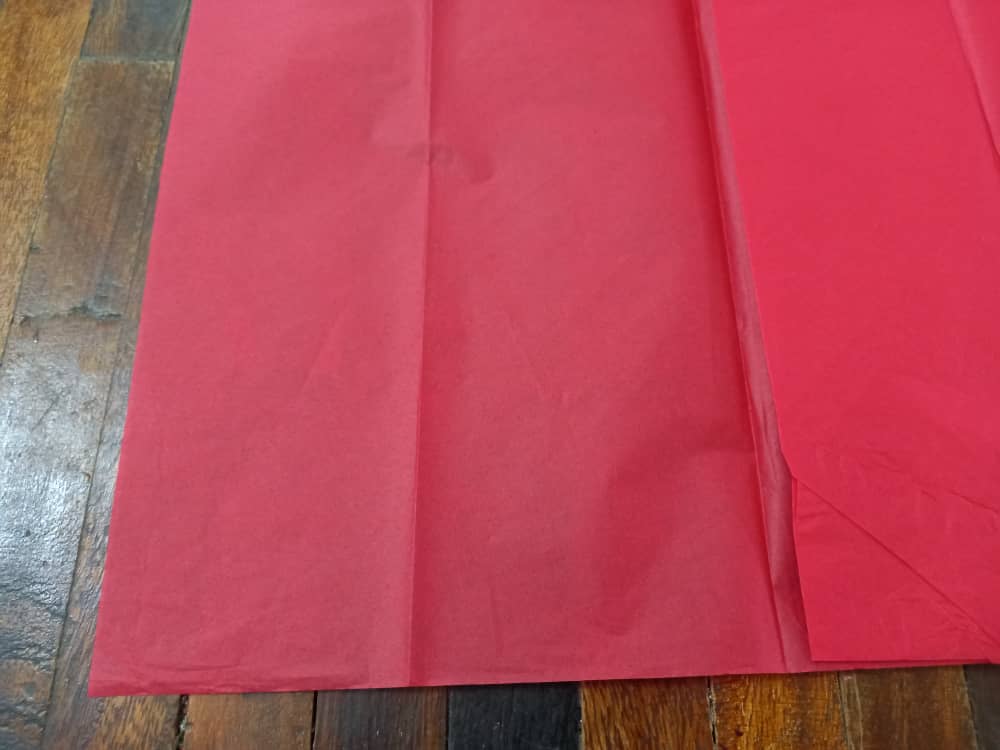</center>
</div>
<div class=text-justify>
<div class=pull-right>
<center> 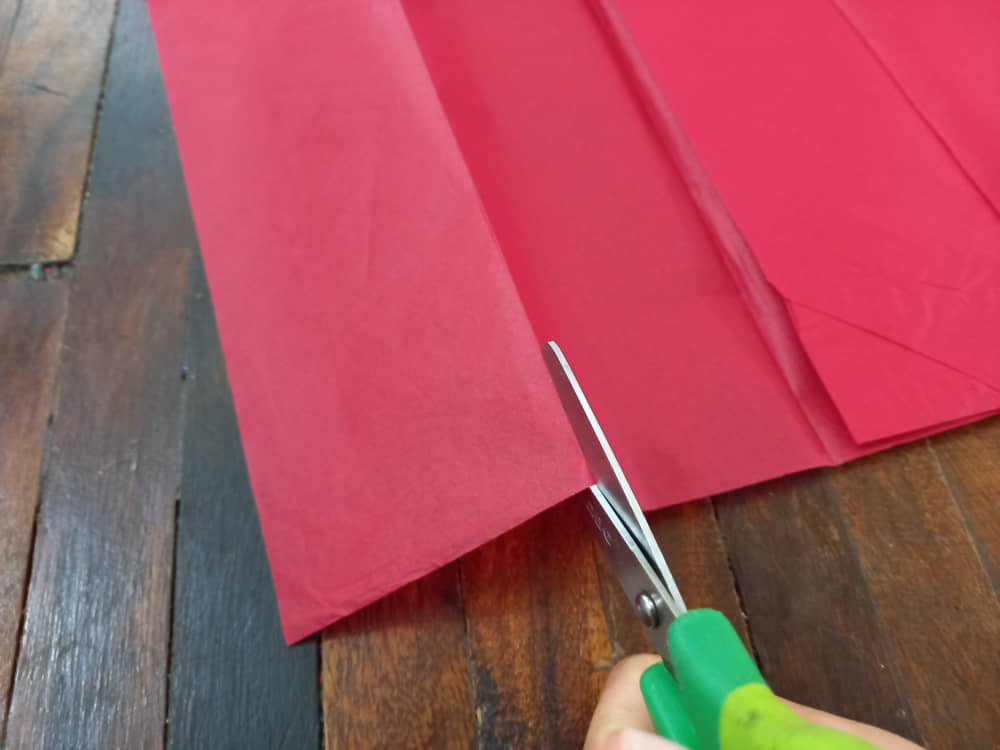</center>
</div>
<center>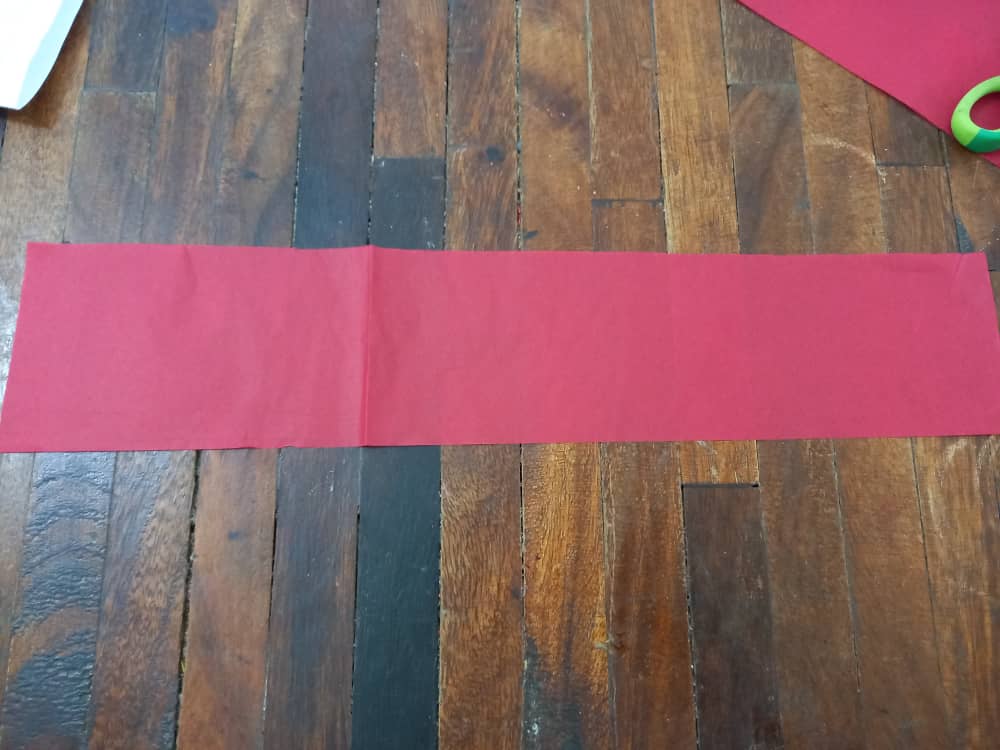 </center>
<center> </center>
<div class=text-justify>
<div class=pull-left>
✦ **PASO 2.** En mi caso estoy utilizando un papel de color y otro estampado, pueden usarse de los colores de nuestra preferencia, luego de cortar la primera tira esta la colocamos sobre el otro papel y recortamos otra tira igual.
</div>
<div class=text-justify>
<div class=pull-right>
✦ **STEP 2.** In my case I am using a colored paper and another pattern, the colors of our preference can be used, after cutting the first strip we place it on the other paper and cut another equal strip.
</div>
<center> </center>
<div class=text-justify>
<div class=pull-left>
<center> 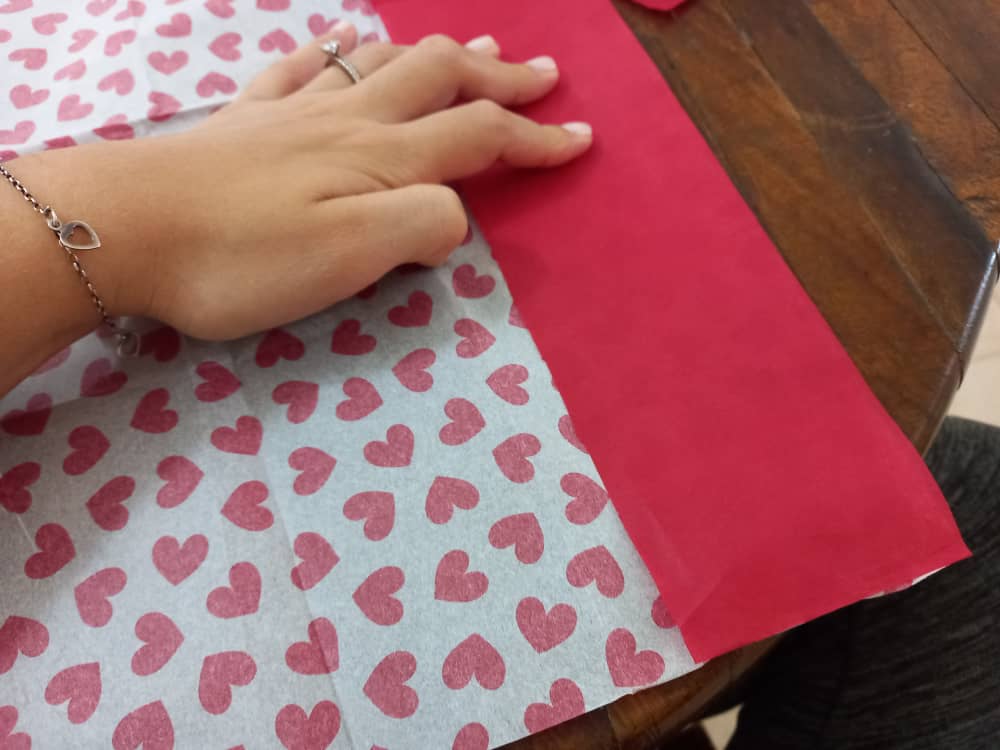</center>
</div>
<div class=text-justify>
<div class=pull-right>
<center>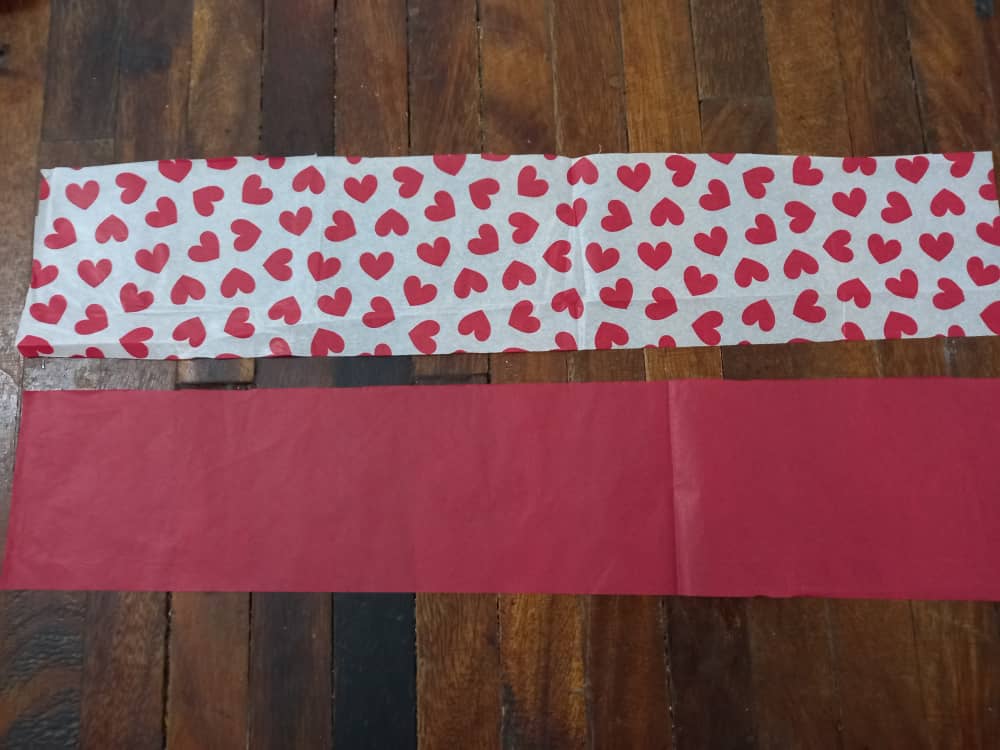 </center>
</div>
<center> </center>
<div class=text-justify>
<div class=pull-left>
✦ **PASO 3.** Colocamos una tira sobre la otra y las extendemos de manera horizontal, luego vamos a recortar las tiras en cuadrados, todos del mismo tamaño.
</div>
<div class=text-justify>
<div class=pull-right>
✦ **STEP 3.** We place one strip on top of the other and spread them horizontally, then we are going to cut the strips into squares, all of the same size.
</div>
<center> </center>
<div class=text-justify>
<div class=pull-left>
<center> 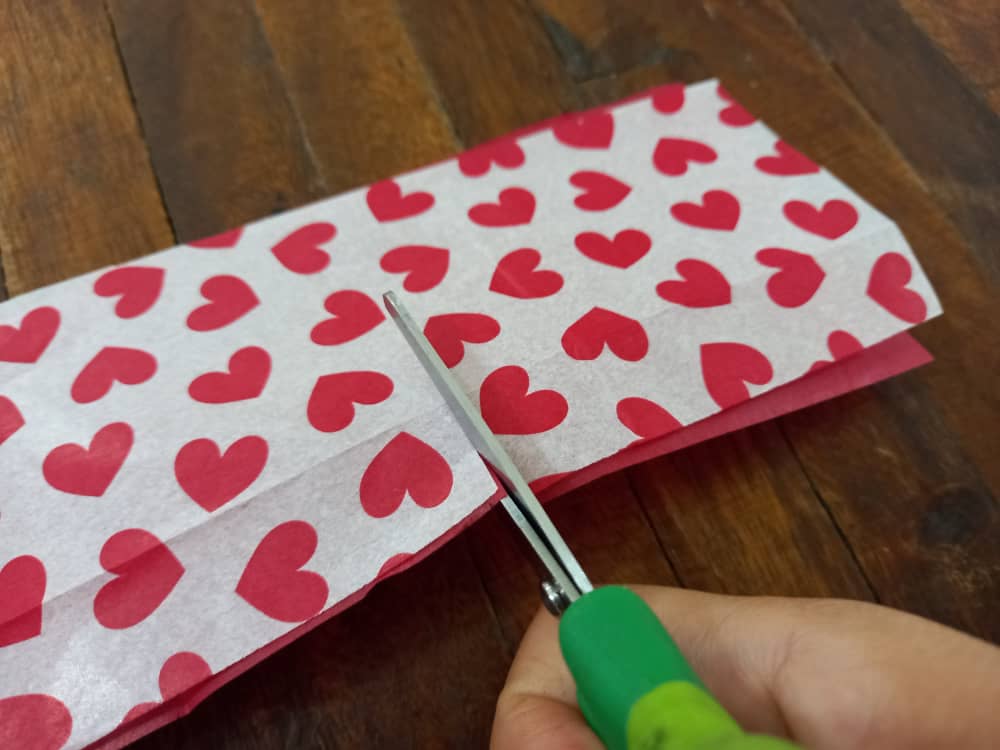</center>
</div>
<div class=text-justify>
<div class=pull-right>
<center>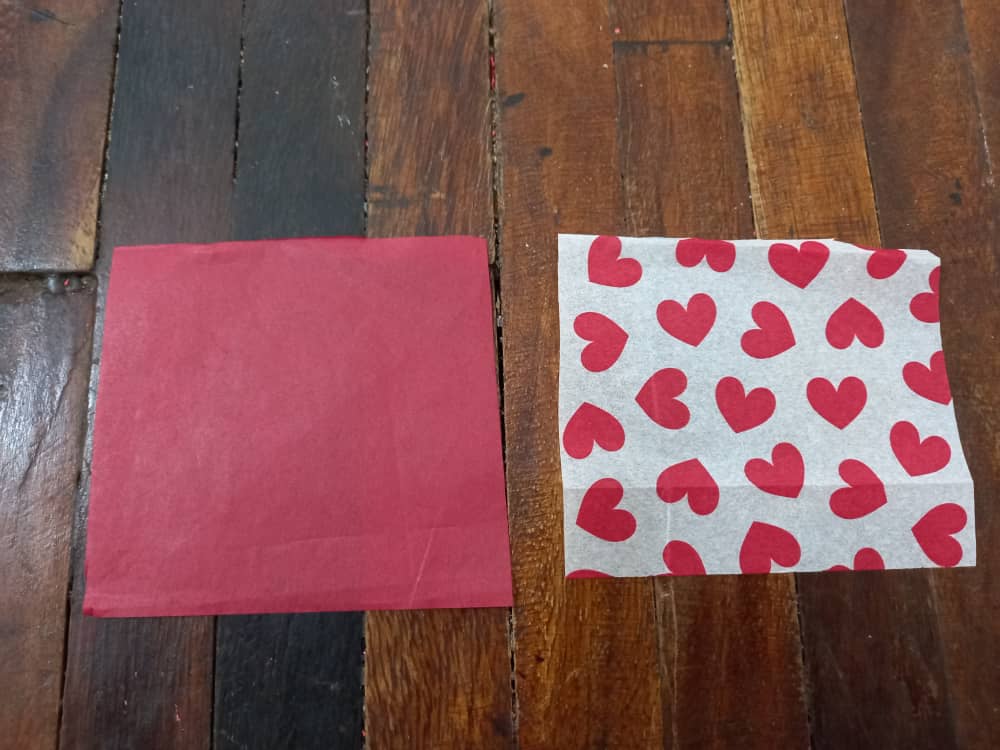 </center>
</div>
<center> </center>
<div class=text-justify>
<div class=pull-left>
✦ **PASO 4.** Colocamos un cuadrito de papel y en el centro le aplicamos un puntito de silicón, luego pegamos otro cuadrito de papel sobre el primero pero quedando con sus 4 puntas sobre los lados lisos del primer papel, de esta forma:
</div>
<div class=text-justify>
<div class=pull-right>
✦ **STEP 4.** We place a small square of paper and in the center we apply a small dot of silicone, then we stick another small square of paper on the first but remaining with its 4 points on the smooth sides of the first paper, in this way :
</div>
<center> </center>
<div class=text-justify>
<div class=pull-left>
<center>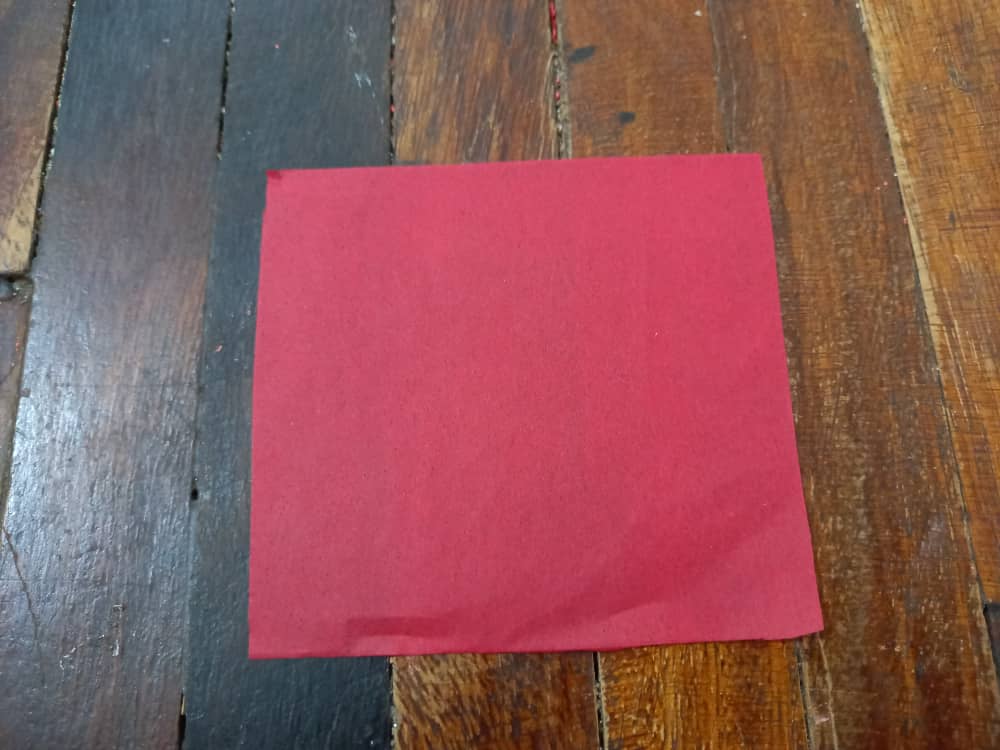 </center>
</div>
<div class=text-justify>
<div class=pull-right>
<center>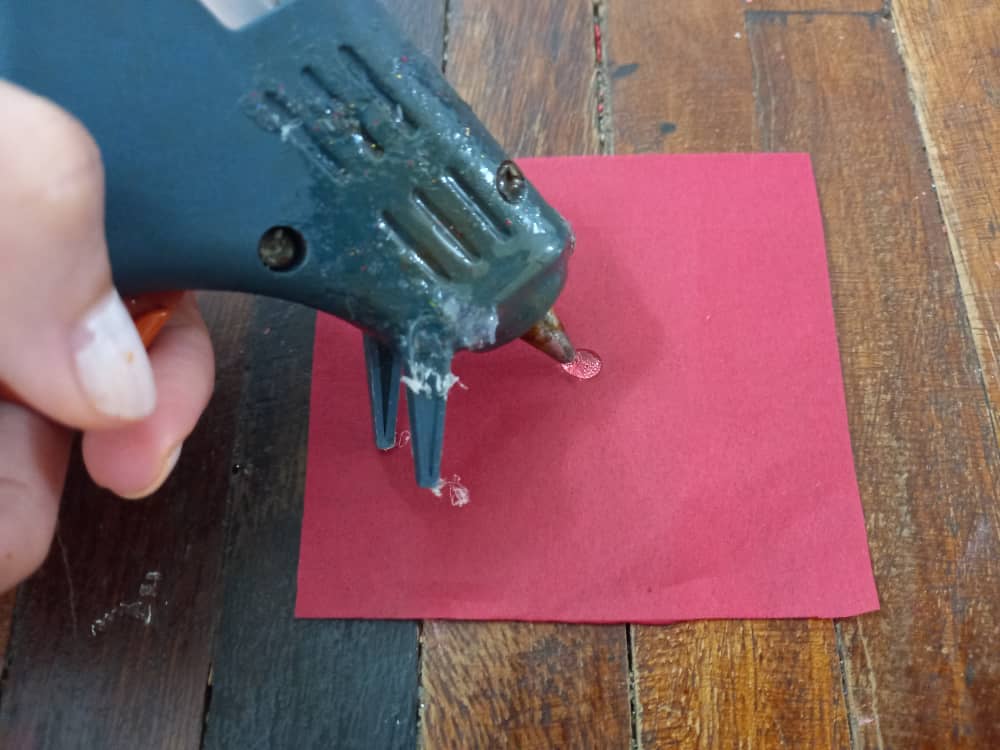</center>
</div>
<center> 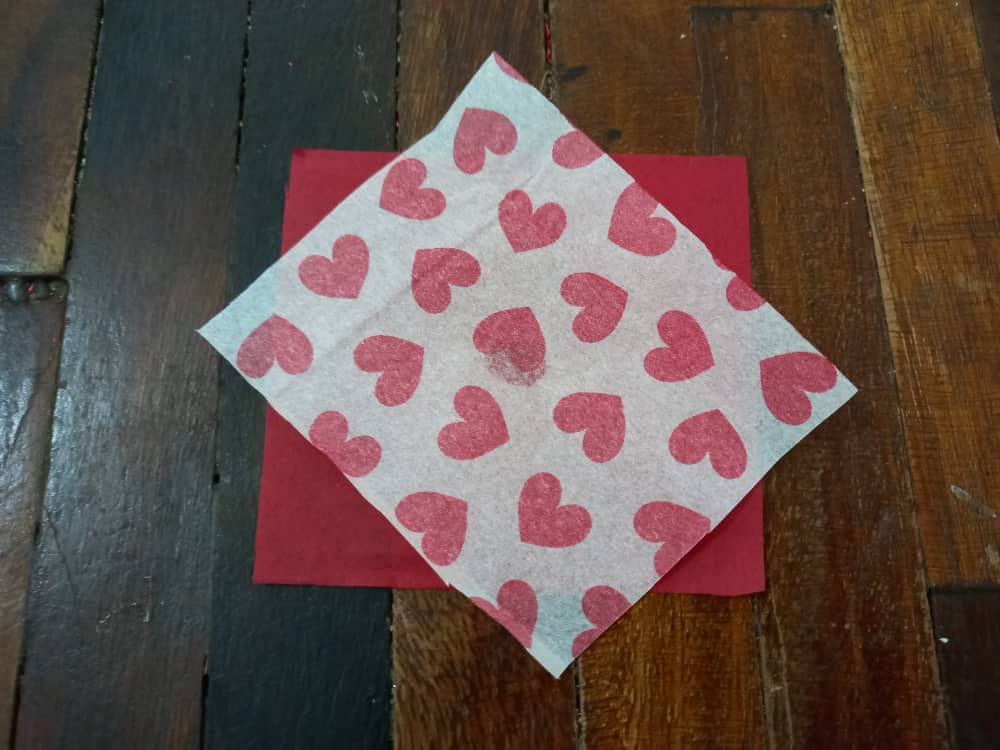</center>
<center> </center>
<div class=text-justify>
<div class=pull-left>
✦ **PASO 5.** Ahora comenzamos a formar los conitos, para esto tomamos la esquina superior del papel rojo (el que va debajo) y lo doblamos hacia adentro en sentido diagonal, ahora tomamos la parte superior de la nueva forma que ha tomado el papel y la doblamos hacia abajo y presionamos para que mantenga su forma, luego de esto debe quedar asi:
</div>
<div class=text-justify>
<div class=pull-right>
✦ **STEP 5.** Now we start to form the cones, for this we take the upper corner of the red paper (the one that goes below) and we fold it inwards diagonally, now we take the upper part of the new shape that has taken the paper and fold it down and press so that it maintains its shape, after this it should look like this:
</div>
<center> </center>
<div class=text-justify>
<div class=pull-left>
<center> 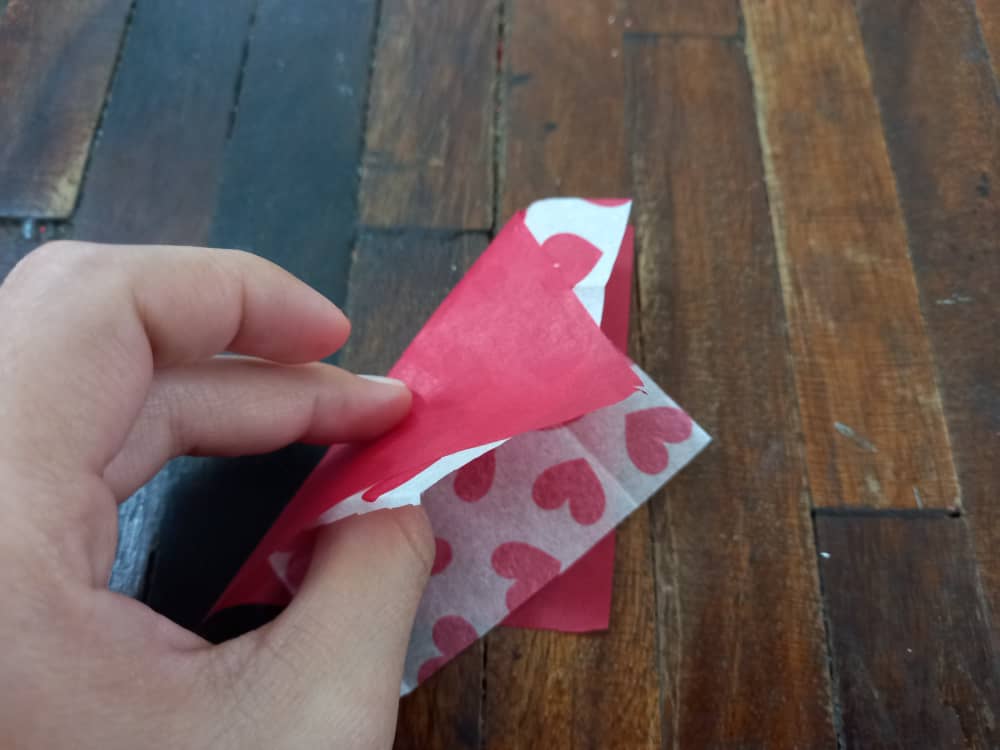</center>
<center> 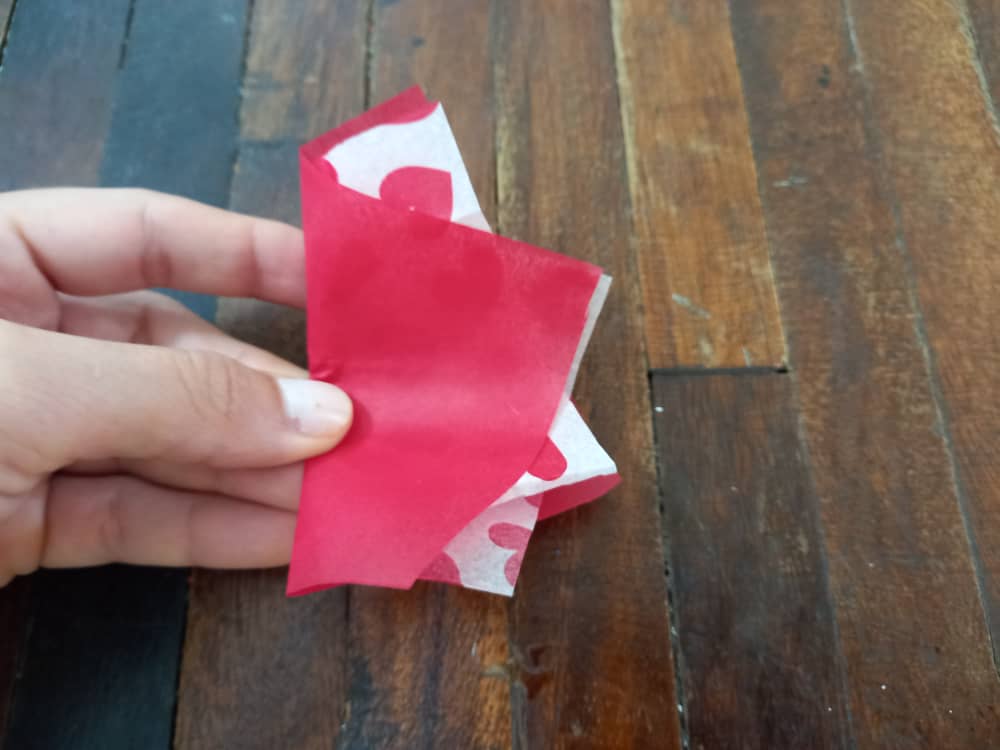</center>
</div>
<div class=text-justify>
<div class=pull-right>
<center>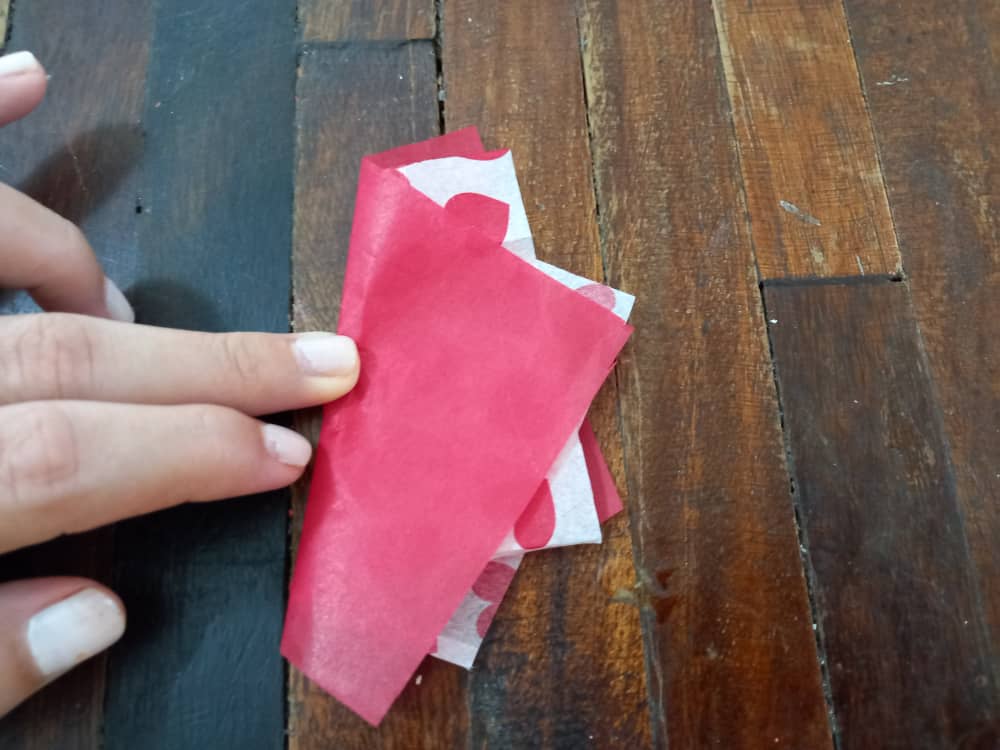 </center>
<center>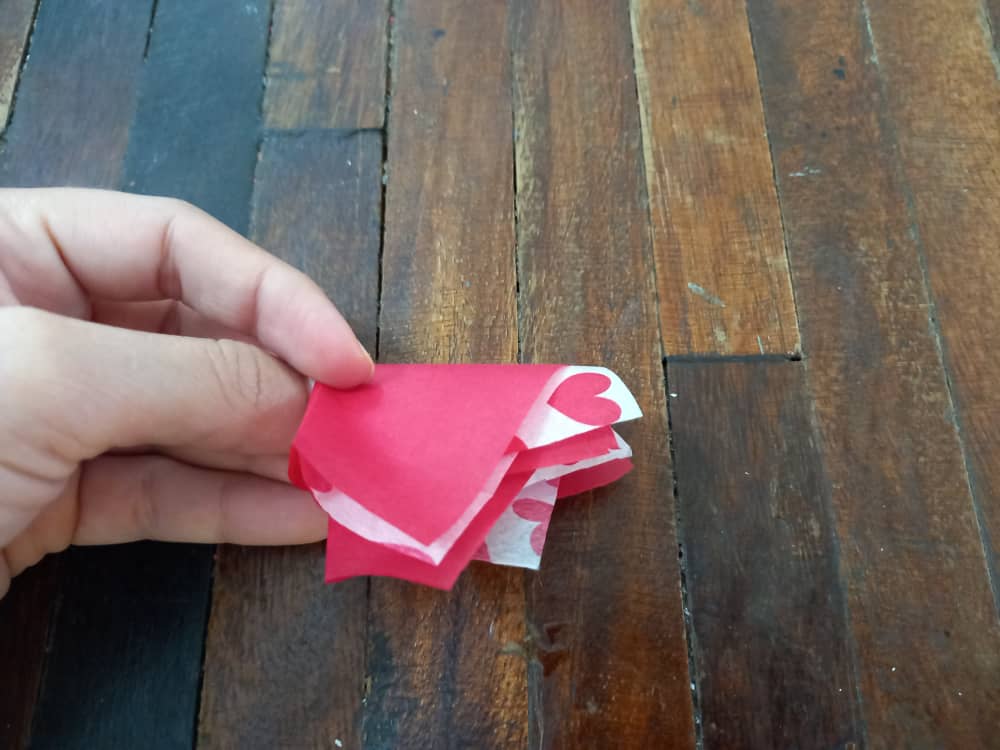 </center>
</div>
<center> 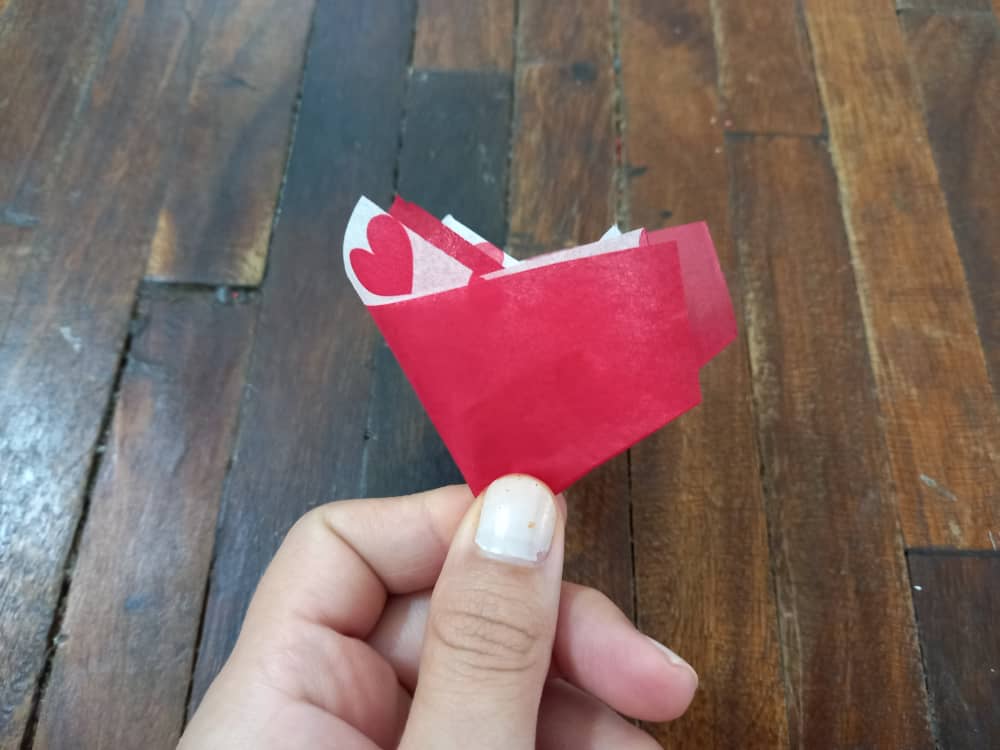</center>
<center> </center>
<div class=text-justify>
<div class=pull-left>
✦ **PASO 6.** Abrimos el ultimo doblez que hicimos y aplicamos un poco de silicón para que el conito no pierda su forma y listo.
</div>
<div class=text-justify>
<div class=pull-right>
✦ **STEP 6.** We open the last fold we made and apply a little silicone so that the cone does not lose its shape and that's it.
</div>
<center> </center>
<div class=text-justify>
<div class=pull-left>
<center> </center>
</div>
<div class=text-justify>
<div class=pull-right>
<center> </center>
</div>
<center> </center>
<div class=text-justify>
<div class=pull-left>
Ya tenemos nuestros conitos de papel listos para usar y decorar cotillones, arreglos y todo lo que se nos ocurra, son perfectos y quedan muy hermosos con todo, podemos hacerlos de 1, 2, 3 o todos los colores que queramos, solo es cuestión de ser creativos y seguir los pasos correctamente. Espero que les haya gustado mi pequeño tutorial y les pueda servir de guía para hacer sus conitos de papel en casa.
</div>
<div class=text-justify>
<div class=pull-right>
We already have our paper cones ready to use and decorate party favors, arrangements and everything we can think of, they are perfect and are very beautiful with everything, we can make them in 1, 2, 3 or all the colors we want, it is just a matter of be creative and follow the steps correctly. I hope you liked my little tutorial and it can serve as a guide to make your paper cones at home.
</div>
<center>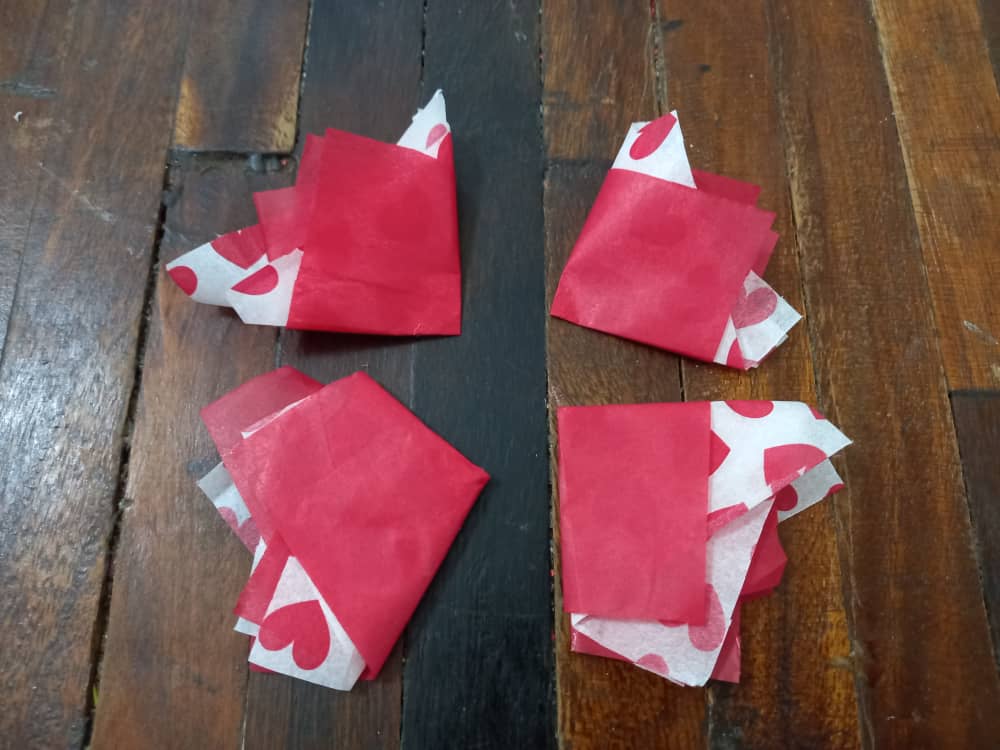</center>
<center>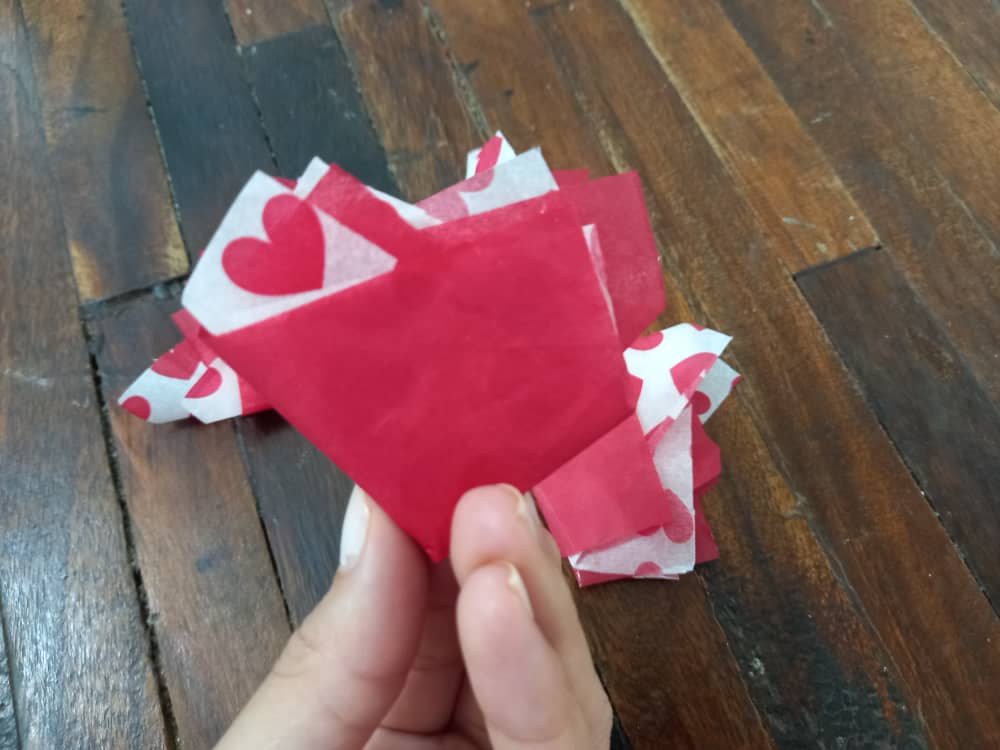 </center>
<center></center>
<center>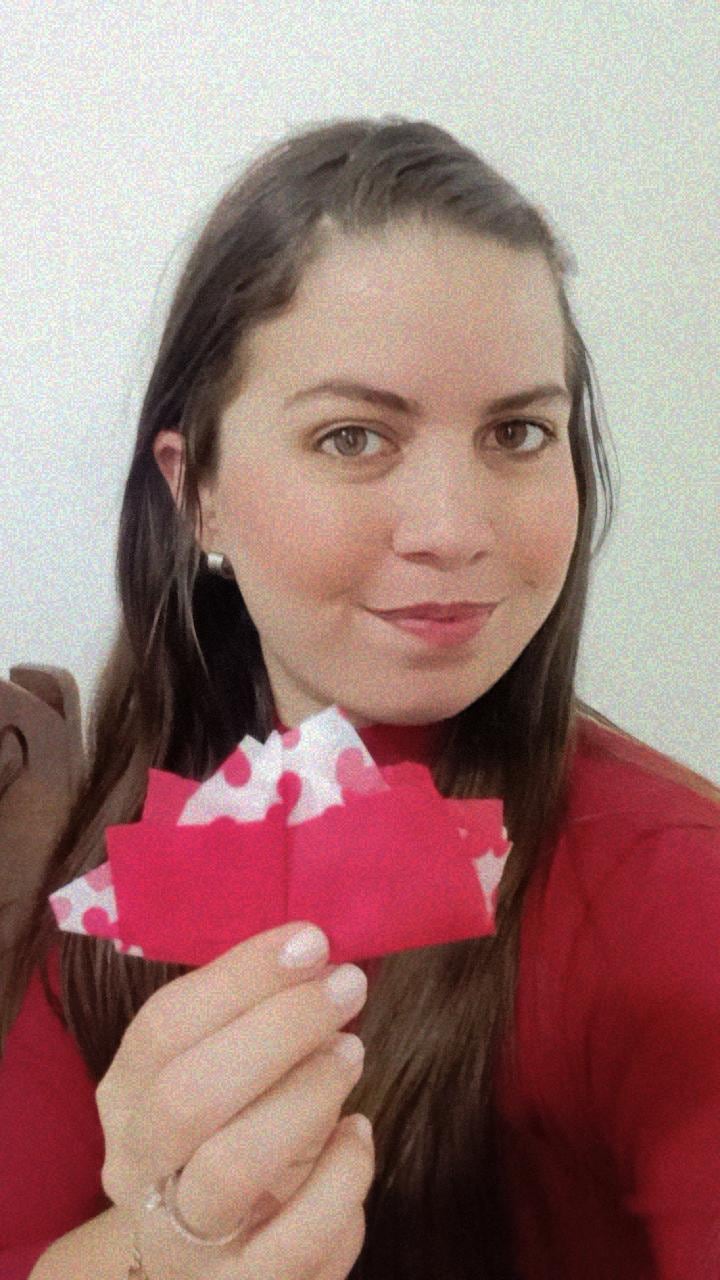</center>
<center> </center>
<center><sub>*¡Gracias por detenerte a leer!*
Todas las fotografías son de mi propiedad.
Fotografías capturadas con mi _Samsung Galaxy A12_
</sub> _Nos vemos en mi próxima publicación._
**_¡Tengan un feliz día!_**</center>
<center> <sub> *¡Thanks for stopping to read!*
All photographs are my property.
Photos captured with my _Samsung Galaxy A12_
</sub> _See you in my next post._
**_¡Have a happy day!_** </center>