<H2>This is steemit community where every idea counts</H2>
Knowledge is power and knowledge shared can never end in the grave.
<H2>ACCOUNTING PROGRAMS</H2>
Below are the lists of important computer application that I’ve used for my accounting jobs, I'm familiar with them and now willing to share my knowledge with millions of others who might also be interested in them as I promised in my previous post.
<H3>Sage 50
Quicken,
QuickBooks
Pastel Accounting
Reckon</H3> etc.
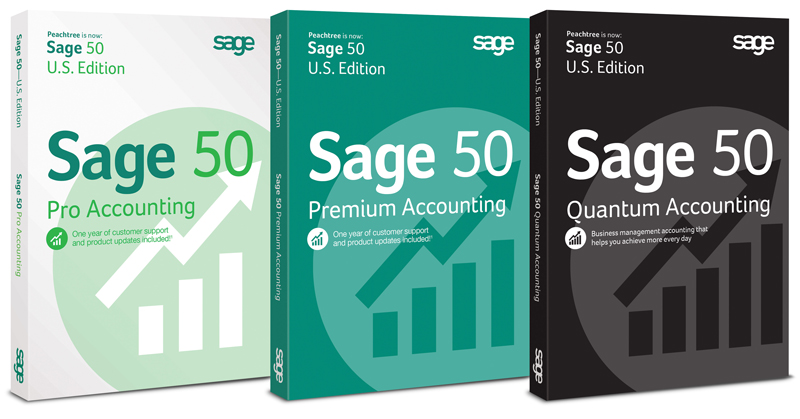
But as I promised earlier; we are starting with ‘Sage 50 Quantum Accounting’.
Let’s get started.
I assumed that you already know little things about day-to-day stuff that you need to do financially to run your business like; write checks, bill customers, pay employees, and so on.
I don’t assume that you know how to do all that on a computer.
I assume you have a personal computer (that you know how to turn on) with
Microsoft Windows 2000, Windows XP, Windows Vista, Windows 7, Windows 8, Windows 10.
In this tutorial we’re going to use Sage 50 Quantum Accounting on Windows 7 platform.
I also assumed that you bought Sage 50 or its previous version (Peachtree) and installed it on your computer.
You can download a free trial version from <a href="www.sage.com/us/sage-50-accounting/try" target = "new">here<a/> so that we can soar together.
Sage 50 Quantum Accounting has all the features you find in all other previous versions of the software and more; it uses a slightly more advanced database and allows for larger sizes.
In addition, in a network environment, ten users or more can use Sage 50
Quantum accounting simultaneously.
In this part, you find out how to navigate through the Sage 50 screens and how to set up your existing company records in Sage 50 Accounting.
<H3>TUTORIAL 1-PART 1
UNDERSTANDING BASICS OF SAGE 50 ACCOUNTING</H3>
In This Part;
Starting Sage 50 Accounting
Opening an existing Sage 50 company
Navigating the Sage 50 screen
If you’ve been keeping your financial records by using manual methods, you know how time-consuming it can be and you should also know that keeping books manually also provides too many opportunities for human error. Using Accounting programs saves you both time and money; in addition, you can know at any moment in time your complete financial status. I know you’re eager to get started. Operating a business is a nonstop process, but to computerize your accounting, you have to put first things first; due process.
To work effectively, take some time to get comfortable with some of the features unique to Sage 50. In this part, you find out how to navigate in the software as well as open and close companies as needed. If you’re ready, it’s time to dive in.
<H3>STARTING SAGE 50 ACCOUNTING</H3>
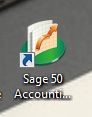
When you installed Sage 50 accounting, it placed its icon on your Windows desktop like what you have below;
Opening options
After you start Sage 50 by double clicking the icon shown above, what do you do next? The Sage 50 Start Screen appears as seen below, expecting you to do one of several things.
You can select any of the following options:

Open an Existing Company: Use this option to open a company already existing Sage 50
Create a New Company: Select this option to set up your business with the New Company Setup Wizard.
Explore a Sample Company: Use this option to explore one of several sample companies. One company, Bellwether Garden Supply, is retail and service company that uses most of the features of Sage 50, including inventory and job costing
Convert from Another Accounting Program: Transfer to Sage 50 from other accounting software, Sage 50 makes the conversion pretty easy.
This is where we Pause our tutorial on this post, we will continue from here on my next post, thank you for following through.
You may find other tutorial that may interest you which we’ll cover also like:
<a href ="">GRAPHICS PACKAGES
WEB DESIGNING PACKAGES
SOUND ENGINEERING PACKAGES
VIDEO PRODUCTION PACKAGES
MUSIC STUDIO PACKAGES
P.O.S (point of sale) APPLICATIONS
HOTEL MANAGEMENT PACKAGES
ANIMATION PACKAGES</a>
AND LOTS MORE
Do follow me for updates and remember to inform a friend who might have interest on what we do here.
The pictures in this tutorial were generated by me, directly from my desktop's screenshot.
Thanks you.