# Repository
### Electron GitHub Address
https://github.com/electron/electron
### My GitHub Address
https://github.com/pckurdu
### This Project GitHub Addres
https://github.com/pckurdu/Image-Editor-Application-Part-1
# What Will I Learn?
- You will learn to create an application with electron.
- You will learn to create custom frames for your electron applications.
- You will learn to work angular codes in electron.
- You will learn the `getCurrentWindow()` function in electron.
- You will learn the functions `close()`, `maximize()`, `unmaximize()`, and `minimize()` in electron.
- You will learn `display: flex` in css.
- You will learn the `transition` feature in css.
# Requirements
- basic electronjs knowledge
- basic css knowledge
- basic angularjs knowledge
- <a href="https://atom.io/">Atom Editor</a>
# Difficulty
- Basic
# Tutorial Contents
In this tutorial series, I will show you how to do image editing with electron. I'll start practicing an electron application from scratch and will teach you how to make each step step by step.
Throughout this application:
- How to create an electron application.
- How to customize the toolbar area of the application.
- How to use dialog windows with electron.
- How to use angularjs in electron applications.
You will learn the answers to the main questions such as.
In this tutorial we will create electron application and we will design the toolbar area of this application and make it functional for this area we designed.
Let's start
### Create Basic Electron Application
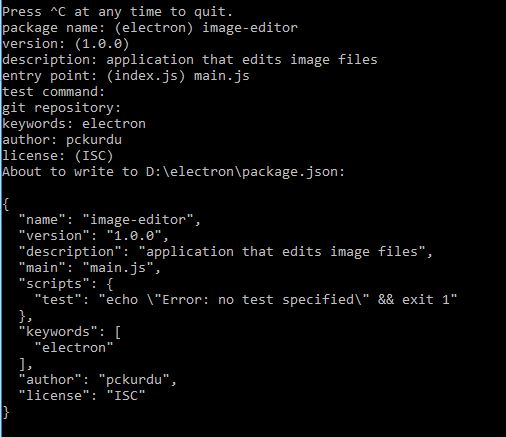
First create a `package.json` file using npm. We need to write the `npm init` command at the command line to create this file.
<br>
To create an electron application we need to create the file we wrote for the `main` property.
Let's create a `main.js` file at the same place as the `package.json` file.
We need two basic modules to create an electron application.
With the `app` module we can create the electron application and make the application settings.
With the `BrowserWindow` module, we can create the window of the electron application and make the necessary window settings.
```
//load modules
const {app,BrowserWindow}=require('electron')
```
<br>
We must create a function from which we set the window settings after loading these modules.
We can set the size of the window in this function and we can define the page to be displayed in the window.
```
const path=require('path')
const url=require('url')
let win
function crtWindow(){
win=new BrowserWindow({width:800,height:600})
win.loadURL(url.format({
pathname:path.join(__dirname,'index.html'),
protocol:'file',
slashes:true
}))
win.openDevTools()
}
```
<br>
With the `BrowserWindow()` function, we can make window settings.
With the `loadURL()` function we can define the page to be loaded.
Open the chrome developer tool with the `openDevTools()` function.
We can run this function with the `ready` command. To do this we use the `app` module.
```
app.on('ready',crtWindow)
```
<br>
Then create the `index.html` page.
```
<!DOCTYPE html>
<html lang="en">
<head>
<meta charset="UTF-8">
<meta name="viewport" content="width=device-width, initial-scale=1.0">
<meta http-equiv="X-UA-Compatible" content="ie=edge">
<title>Image Editor Application</title>
</head>
<body>
<h1>Hello pckurdu</h1>
</body>
</html>
```
<br>
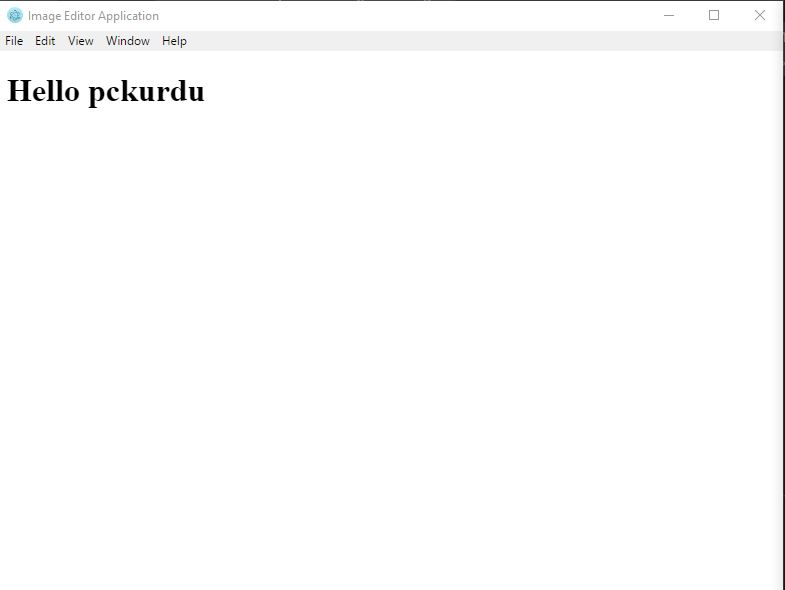
Thus, we created the basic electron application.
<br>
### Create New Frame
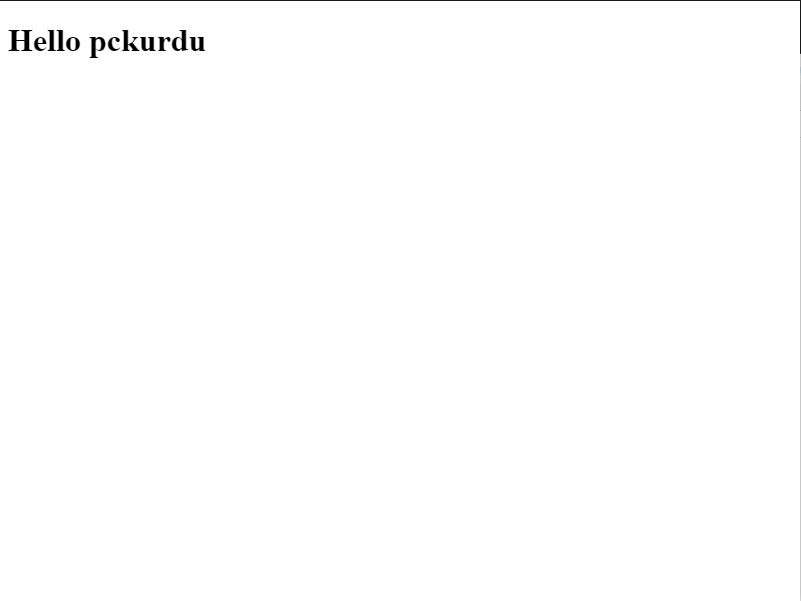
I plan to do application more simply. The frame area in the electron window creates image pollution for this application.
We must destroy the default frame field in order to create this frame field myself.
We need to set the `frame` property to false in the `BrowserWindow()` function.
```
win=new BrowserWindow({width:800,height:600,frame:false})
```
<br>
<br>
We removed the frame field, but at this time we can not perform window operations. For example; we can not close the window or we can not bring it to the icon state.
I will use the angularjs library to interact with the application.
I will load `angular CDN` and `angular-route CDN` to the page so I will write my angular code into the `script.js` file.
In index.html
```
<script src="https://code.angularjs.org/1.6.4/angular.min.js"></script>
<script src="https://code.angularjs.org/1.6.4/angular-route.min.js"></script>
<script src="script.js"></script
```
<br>
What I want to do is to close the application, make the window full screen and bring the application to the icon, so I need to create the frame area and place the buttons in this area.
I'll use the `fontawesome` library because I want to shape the buttons according to what they do.
I load the fontawesome library on the `index.html`.
```
<link rel="stylesheet" href=https://use.fontawesome.com/releases/v5.2.0/css/all.css integrity="sha384-hWVjflwFxL6sNzntih27bfxkr27PmbbK/iSvJ+a4+0owXq79v+lsFkW54bOGbiDQ" crossorigin="anonymous">
```
<br>
I can now create buttons.
```
<body>
<div id="window">
<div id="frame">
<div id="close"><i class="far fa-window-close"></i></div>
<div id="max" ><i class="far fa-window-maximize"></i></div>
<div id="min" ><i class="far fa-window-minimize"></i></div>
</div>
</div>
</body>
```
<br>
So we get the picture below.

<br>
We only get images of these buttons. I will use the angular library to add functionality to the buttons.
### Add Functionality to Buttons
Let's open the `script.js` file and define the angular.
```
var app=angular.module('myApp',['ngRoute']);
```
<br>
I have defined the app module with `angular.module`.
I have already defined it for future use in the `ngRoute` module. I will use the ngRoute module for routing operations.
I have to use the `getCurrentWindow()` method in the `renderer process` to access the properties of the window.
Since the `getCurrentWindow()` function is contained in the `remote` module, we need define the remote model.
```
const {remote}=require('electron')
```
<br>
I create a controller to control the frame area. I will define the getCurrentWindow() function in this controller.
```
app.controller('frameCtrl',function($scope){
var win=remote.getCurrentWindow();
});
```
<br>
I will define the close function to close the window.
```
$scope.close=function(){
win.close();
}
```
<br>
The application will close when the `win.close()` method is executed.
I will define the min function to bring the application into symbolic form.
```
$scope.min=function(){
win.minimize();
}
```
<br>
I will create max function to make the application full screen.
```
$scope.max=function(){
if(win.isMaximized()){
win.unmaximize()
}else{
win.maximize()
}
}
```
<br>
We should first check the size of the window.
If it is the screen size, we have to bring it to the previous position or we must bring the window to full screen size if it is normal size.
We can now add buttons functionality to the `index.html` page using the `ng-click` method.
We need to specify the controller's domain using the `ng-app` and `ng-controller` methods.
```
<body ng-app="myApp">
<div id="window">
<div id="frame" ng-controller="frameCtrl">
<div id="close" ng-click="close()"><i class="far fa-window-close"></i></div>
<div id="max" ng-click="max()"><i class="far fa-window-maximize"></i></div>
<div id="min" ng-click="min()" ><i class="far fa-window-minimize"></i></div>
</div>
</div>
</body>
```
<br>
<br>
### Add Style The Frame Field
We do not like to keep our frame area like this.
Let's create a `style.css` file and give it a style for this field.
First let's set the page's edges and gaps.
```
*{
margin:0;
padding:0;
box-sizing: border-box;
}
```
<br>
We can start to give style to the `frame` class.
With `display: flex` we can position the buttons horizontally.
`justified content: flexible start;` We can sort the objects from the beginning.
With `background-color` we can give the element background color using the frame class.
We can adjust height with `height`.
```
#frame{
display: flex;/*horizontal position*/
justify-content: flex-start;
background-color: #fdcb6e;
height: 40px;
}
```
<br>
The new appearance of the application is as follows.
<br>
When it comes to the pointer with the `hover`, we can give the elements other styles.
```
#max:hover{
background-color: #ffeaa7;
color:#d63031;
}
#min:hover{
background-color: #ffeaa7;
color:#d63031;
}
#close:hover{
background-color: #d63031;
color:#ffeaa7;
}
```
<br>
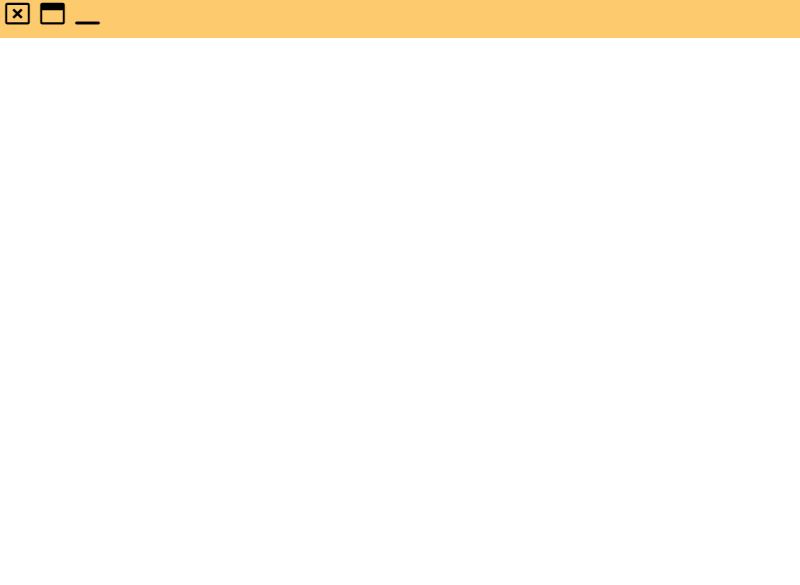
So we can now see the different styles when it comes to pointers on buttons.
<br>
I want to push a little bit from the boxes inside the buttons so I will center it on the inside also I will size the box.
```
.far{
padding: 3px 5px 5px 5px;
font-size: 25px;
cursor: pointer;
}
```
<br>
Let's use this `far` class for all the buttons.
```
<div class="far" id="close" ng-click="close()"><i class="far fa-window-close"></i></div>
<div class="far" id="max" ng-click="max()"><i class="far fa-window-maximize"></i></div>
<div class="far" id="min" ng-click="min()"><i class="far fa-window-minimize"></i></div>
```
<br>
Finally, let's animate this frame field.
Apply a transition to frame id. We must provide a property to apply transitions. We can switch according to this feature.
Then start this frame field from the top of the screen with the `margin-top` property.
Set the transition property to `margin` and terminate the process in `2` seconds.
```
#frame{
display: flex;/*horizontal position*/
justify-content: flex-start;
background-color: #fdcb6e;
height: 40px;
transition: margin 2s;
margin-top: -30px;
}
```
<br>
We set the starting point to `-30px` because the height of our frame field is `40 px` so the `10px` area will appear.
Let's make the height again by `40px` when it comes to pointer with this `10px` area.
```
#frame:hover {
height: 40px;
margin-top: 0px;
}
```
<br>
So we have completed the frame area of our application.
<br>
# Proof of Work Done
https://github.com/pckurdu/Image-Editor-Application-Part-1