So I recently ordered a Z-Axis kit for my Laser cutter from holgamods.com I thought I'd document the build. First I installed the aluminium saw blade for my tablesaw. This will allow for good cuts on the aluminium that I will be using 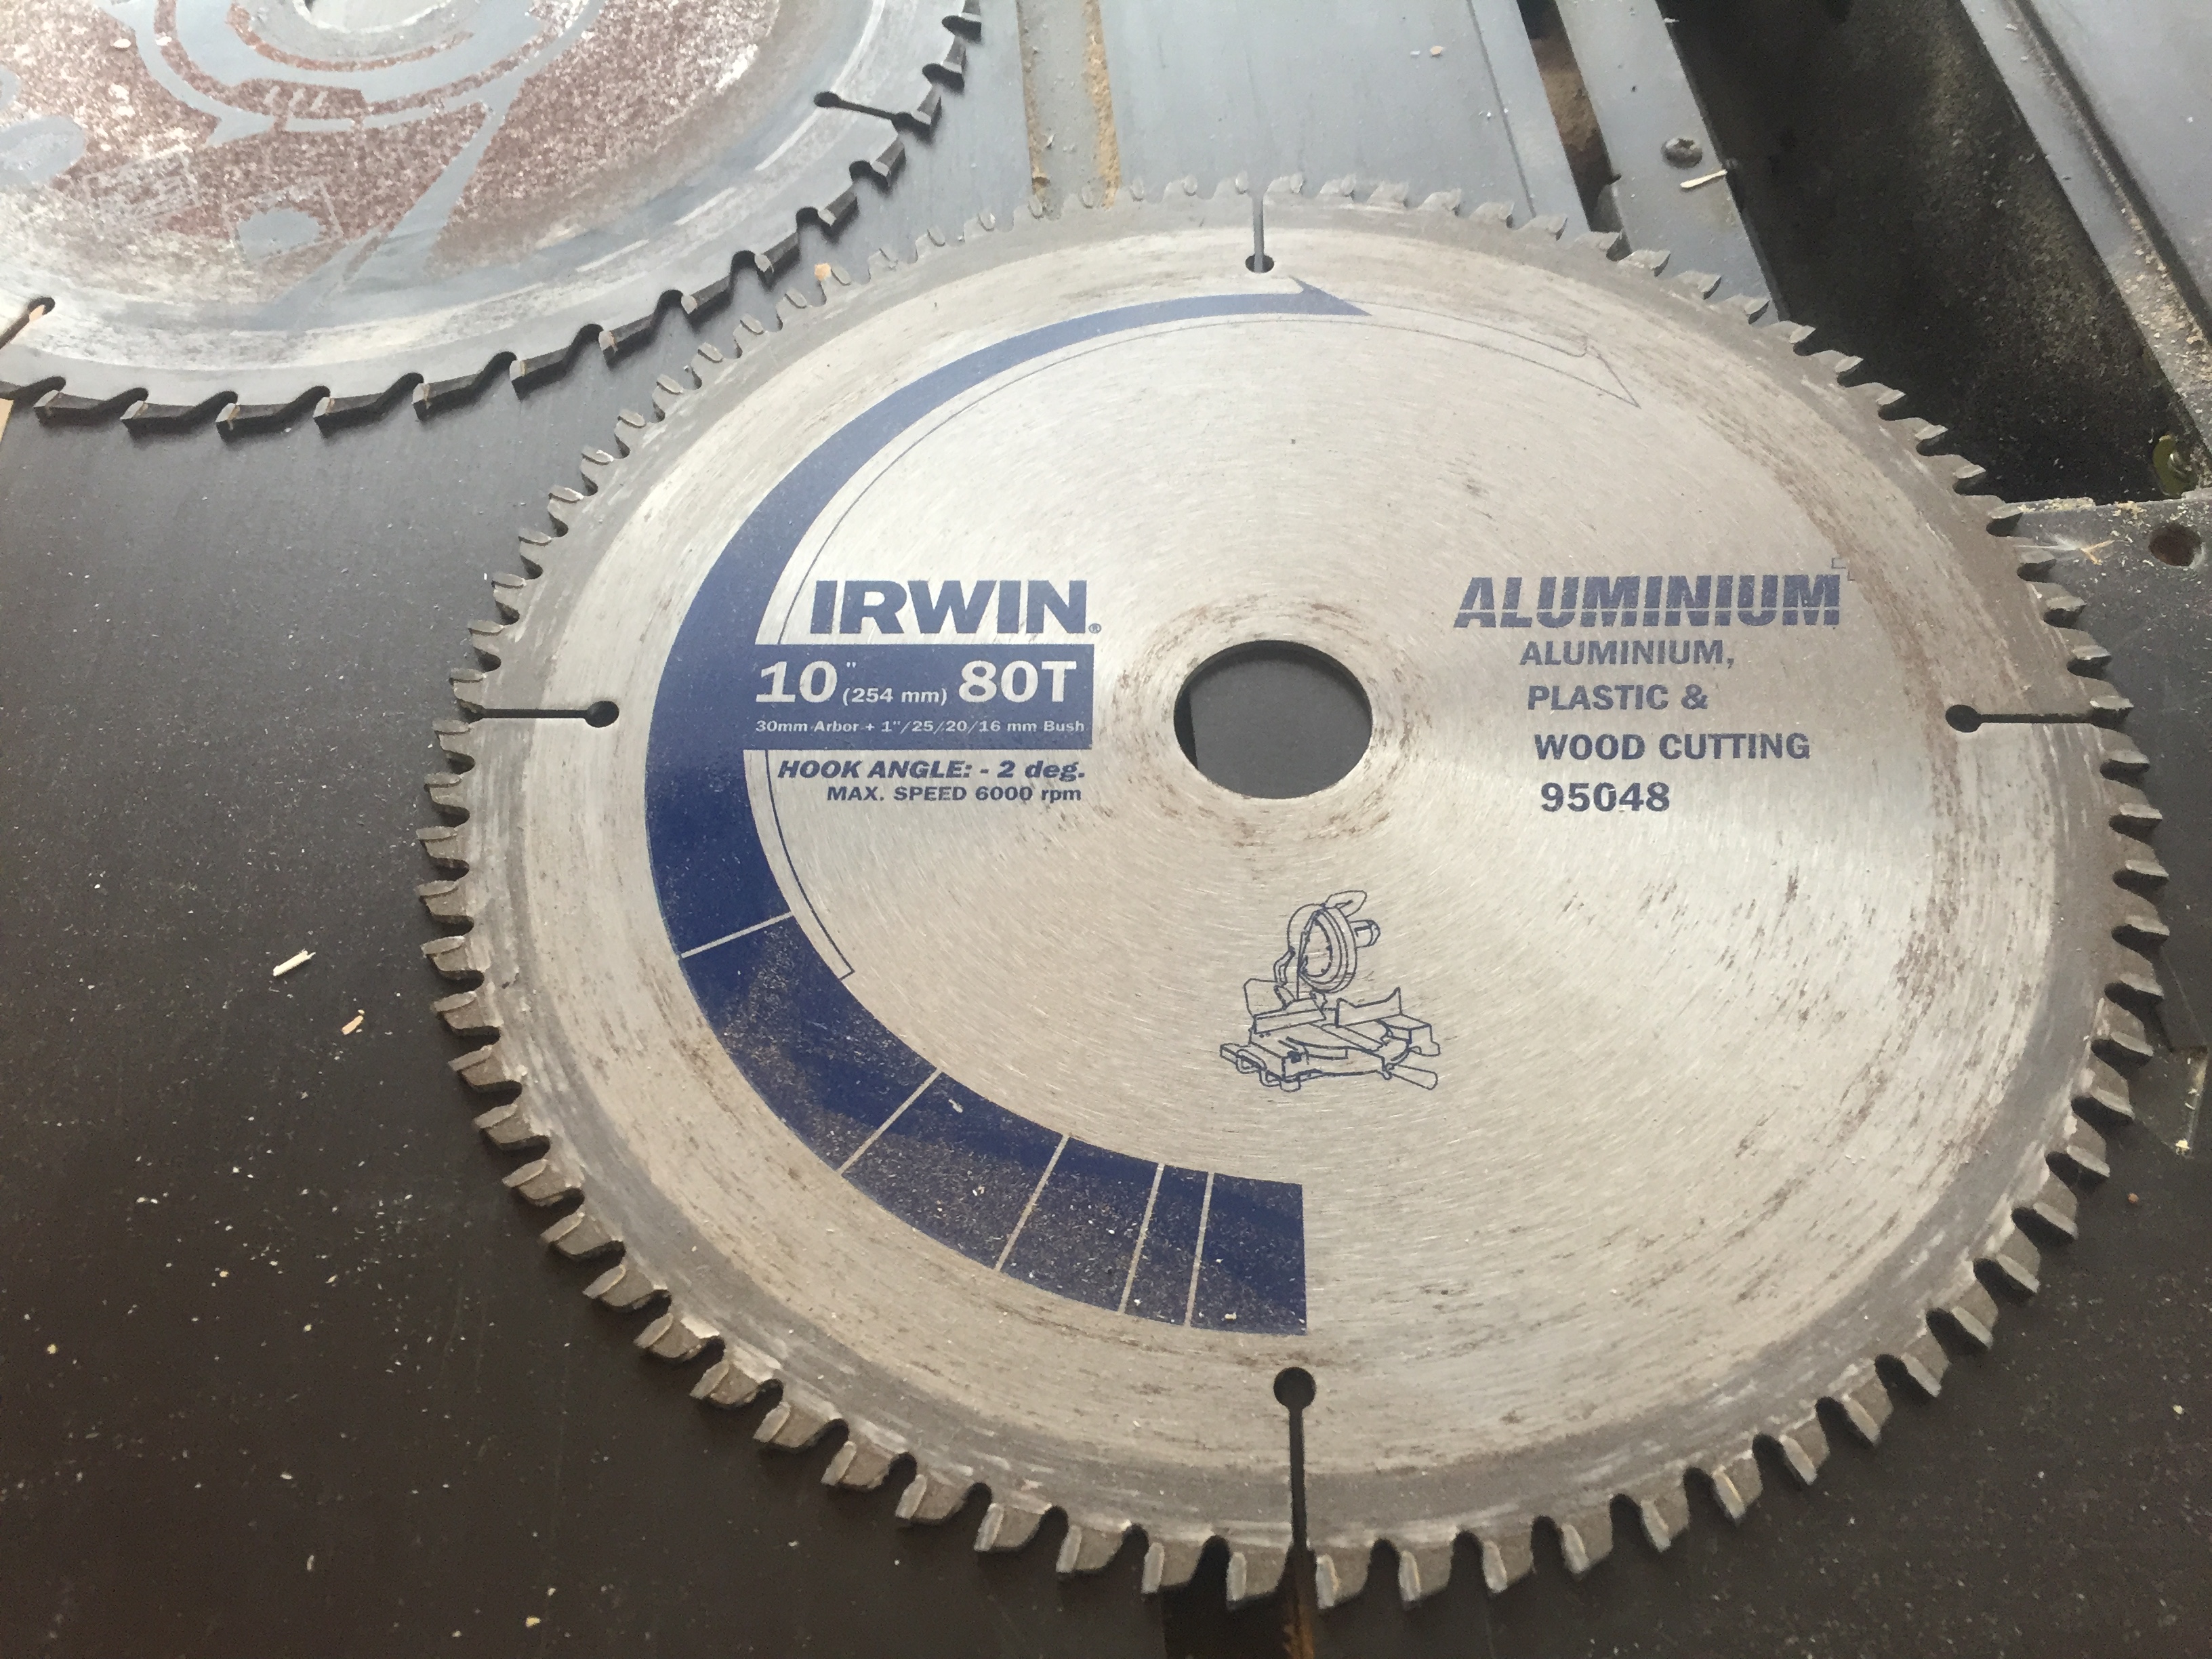 After cutting 4 pieces of 25mm square aluminium tubing to approximately 255mm I then needed to ensure that every piece was square and the right length, 253mm. So I taped the pieces together, and clamped them to each other so they did not spread apart as I pushed them through the saw. 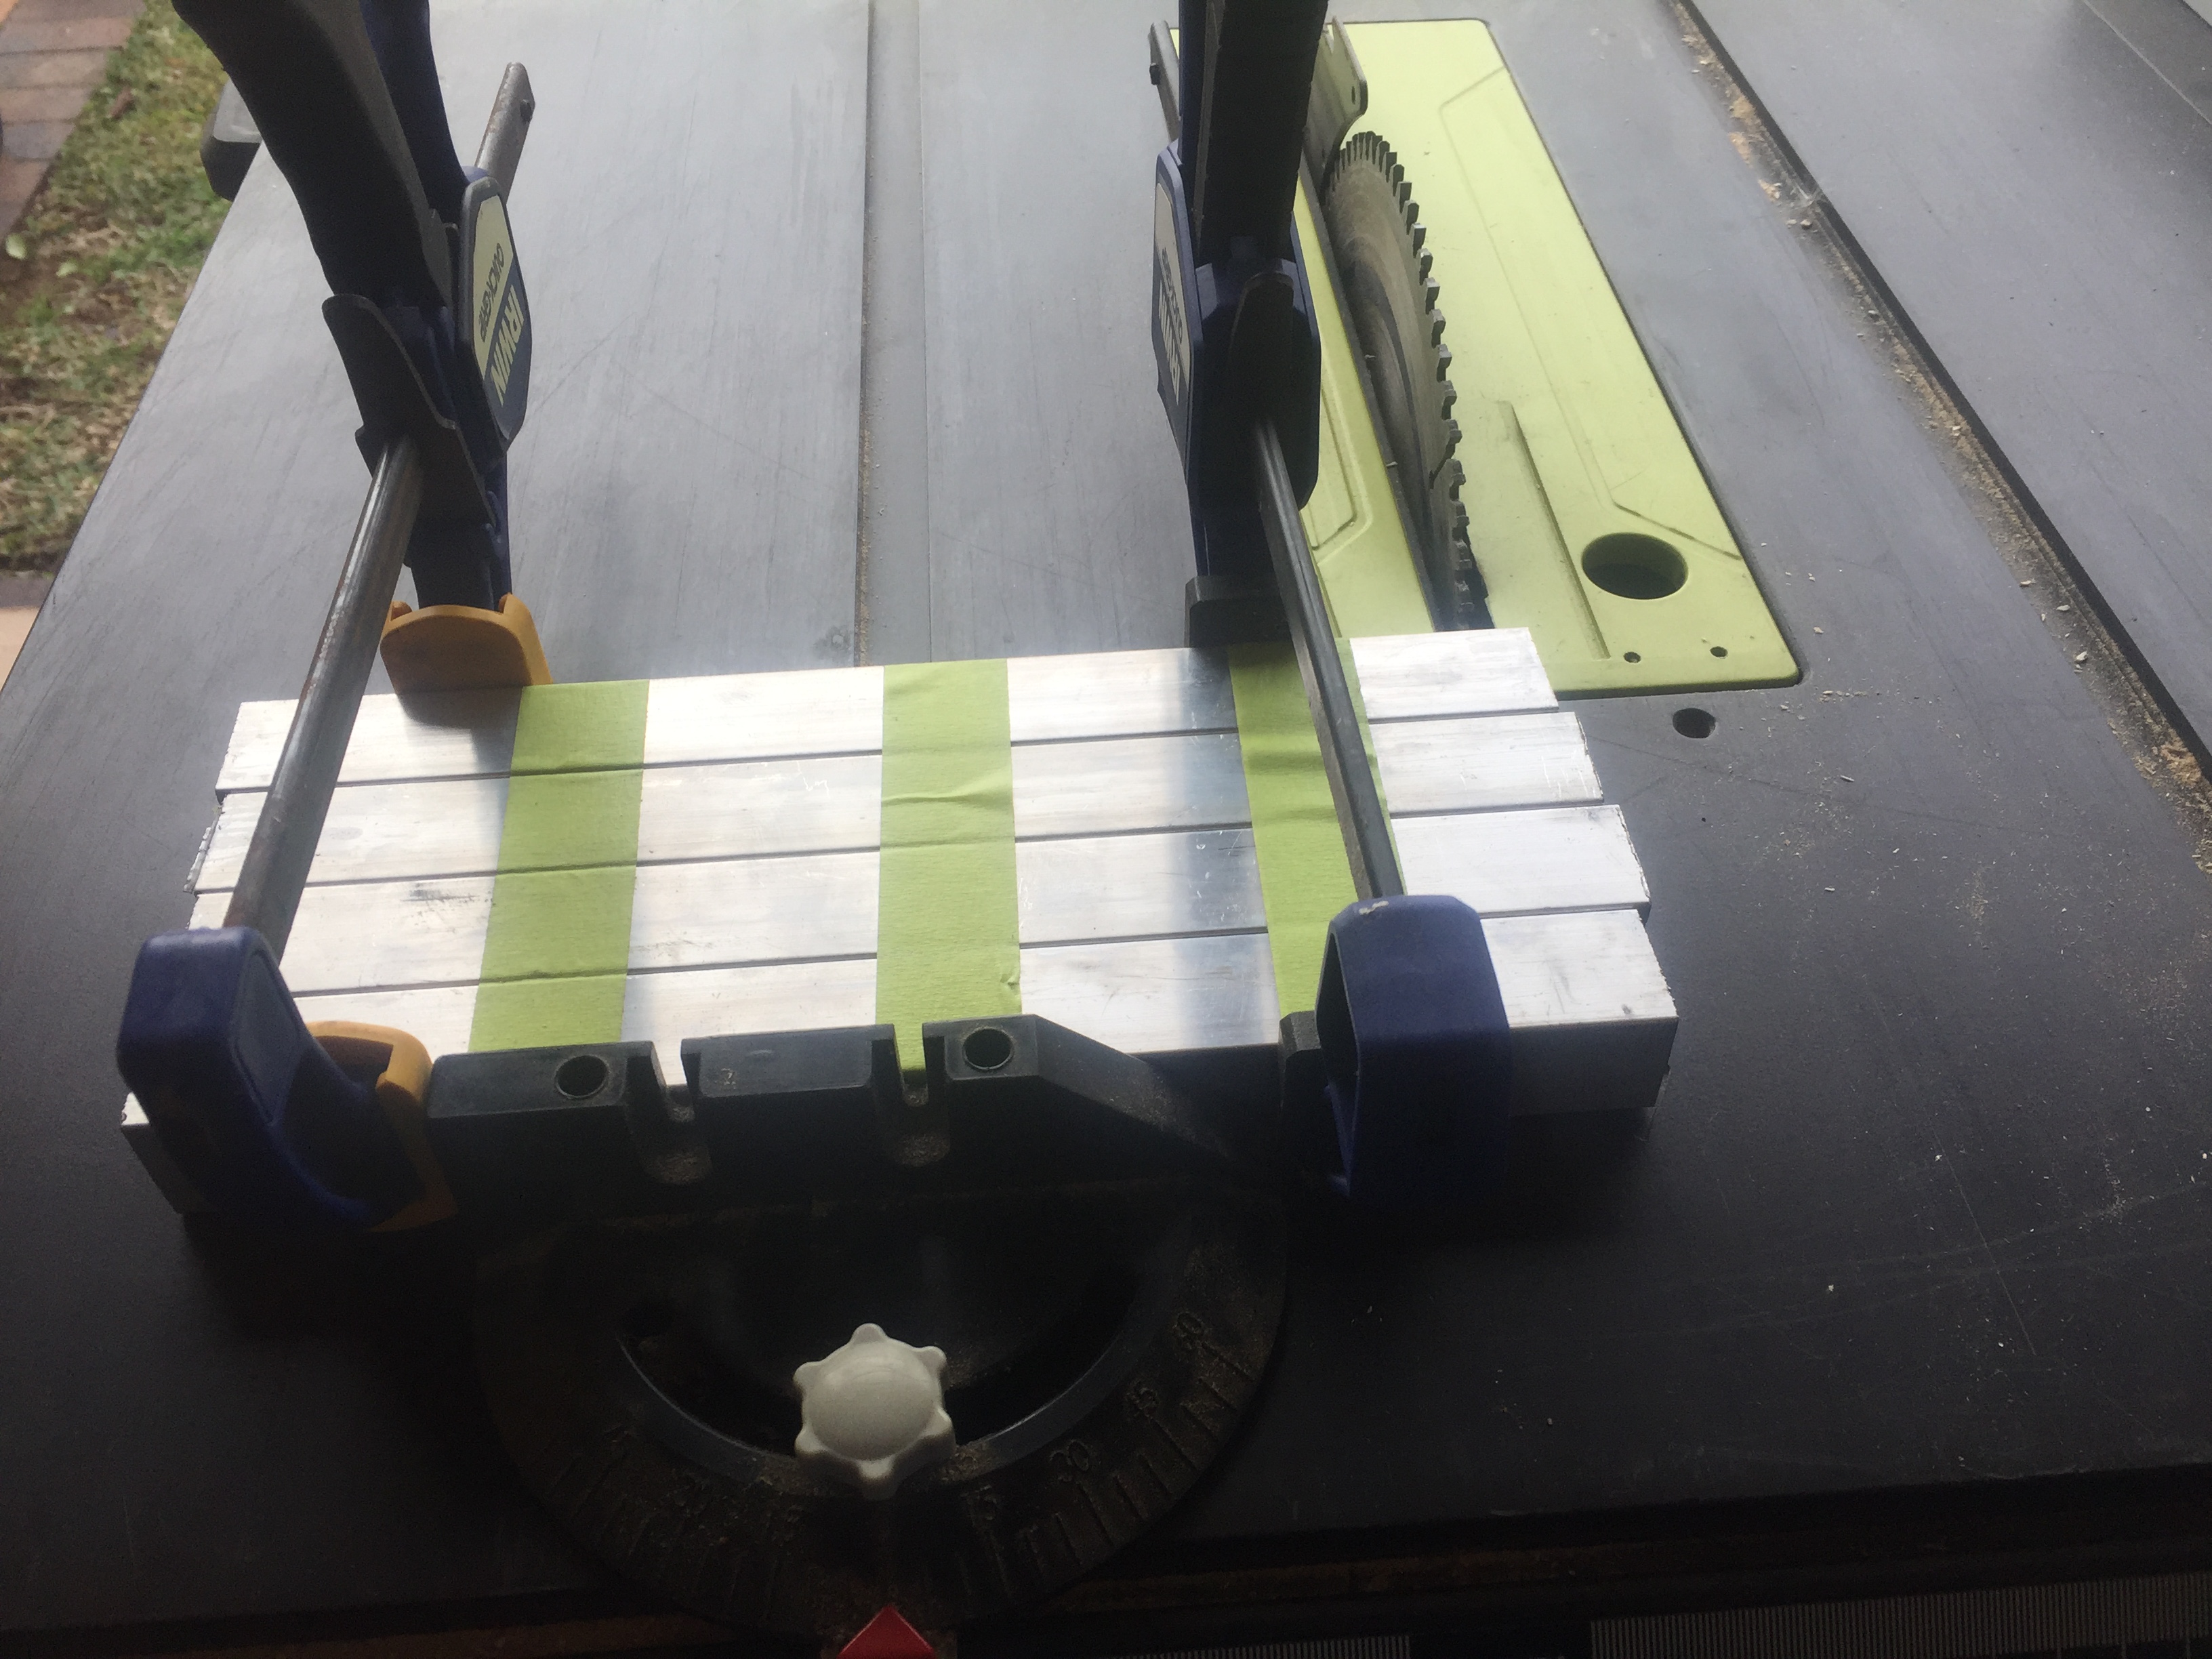 First cut done 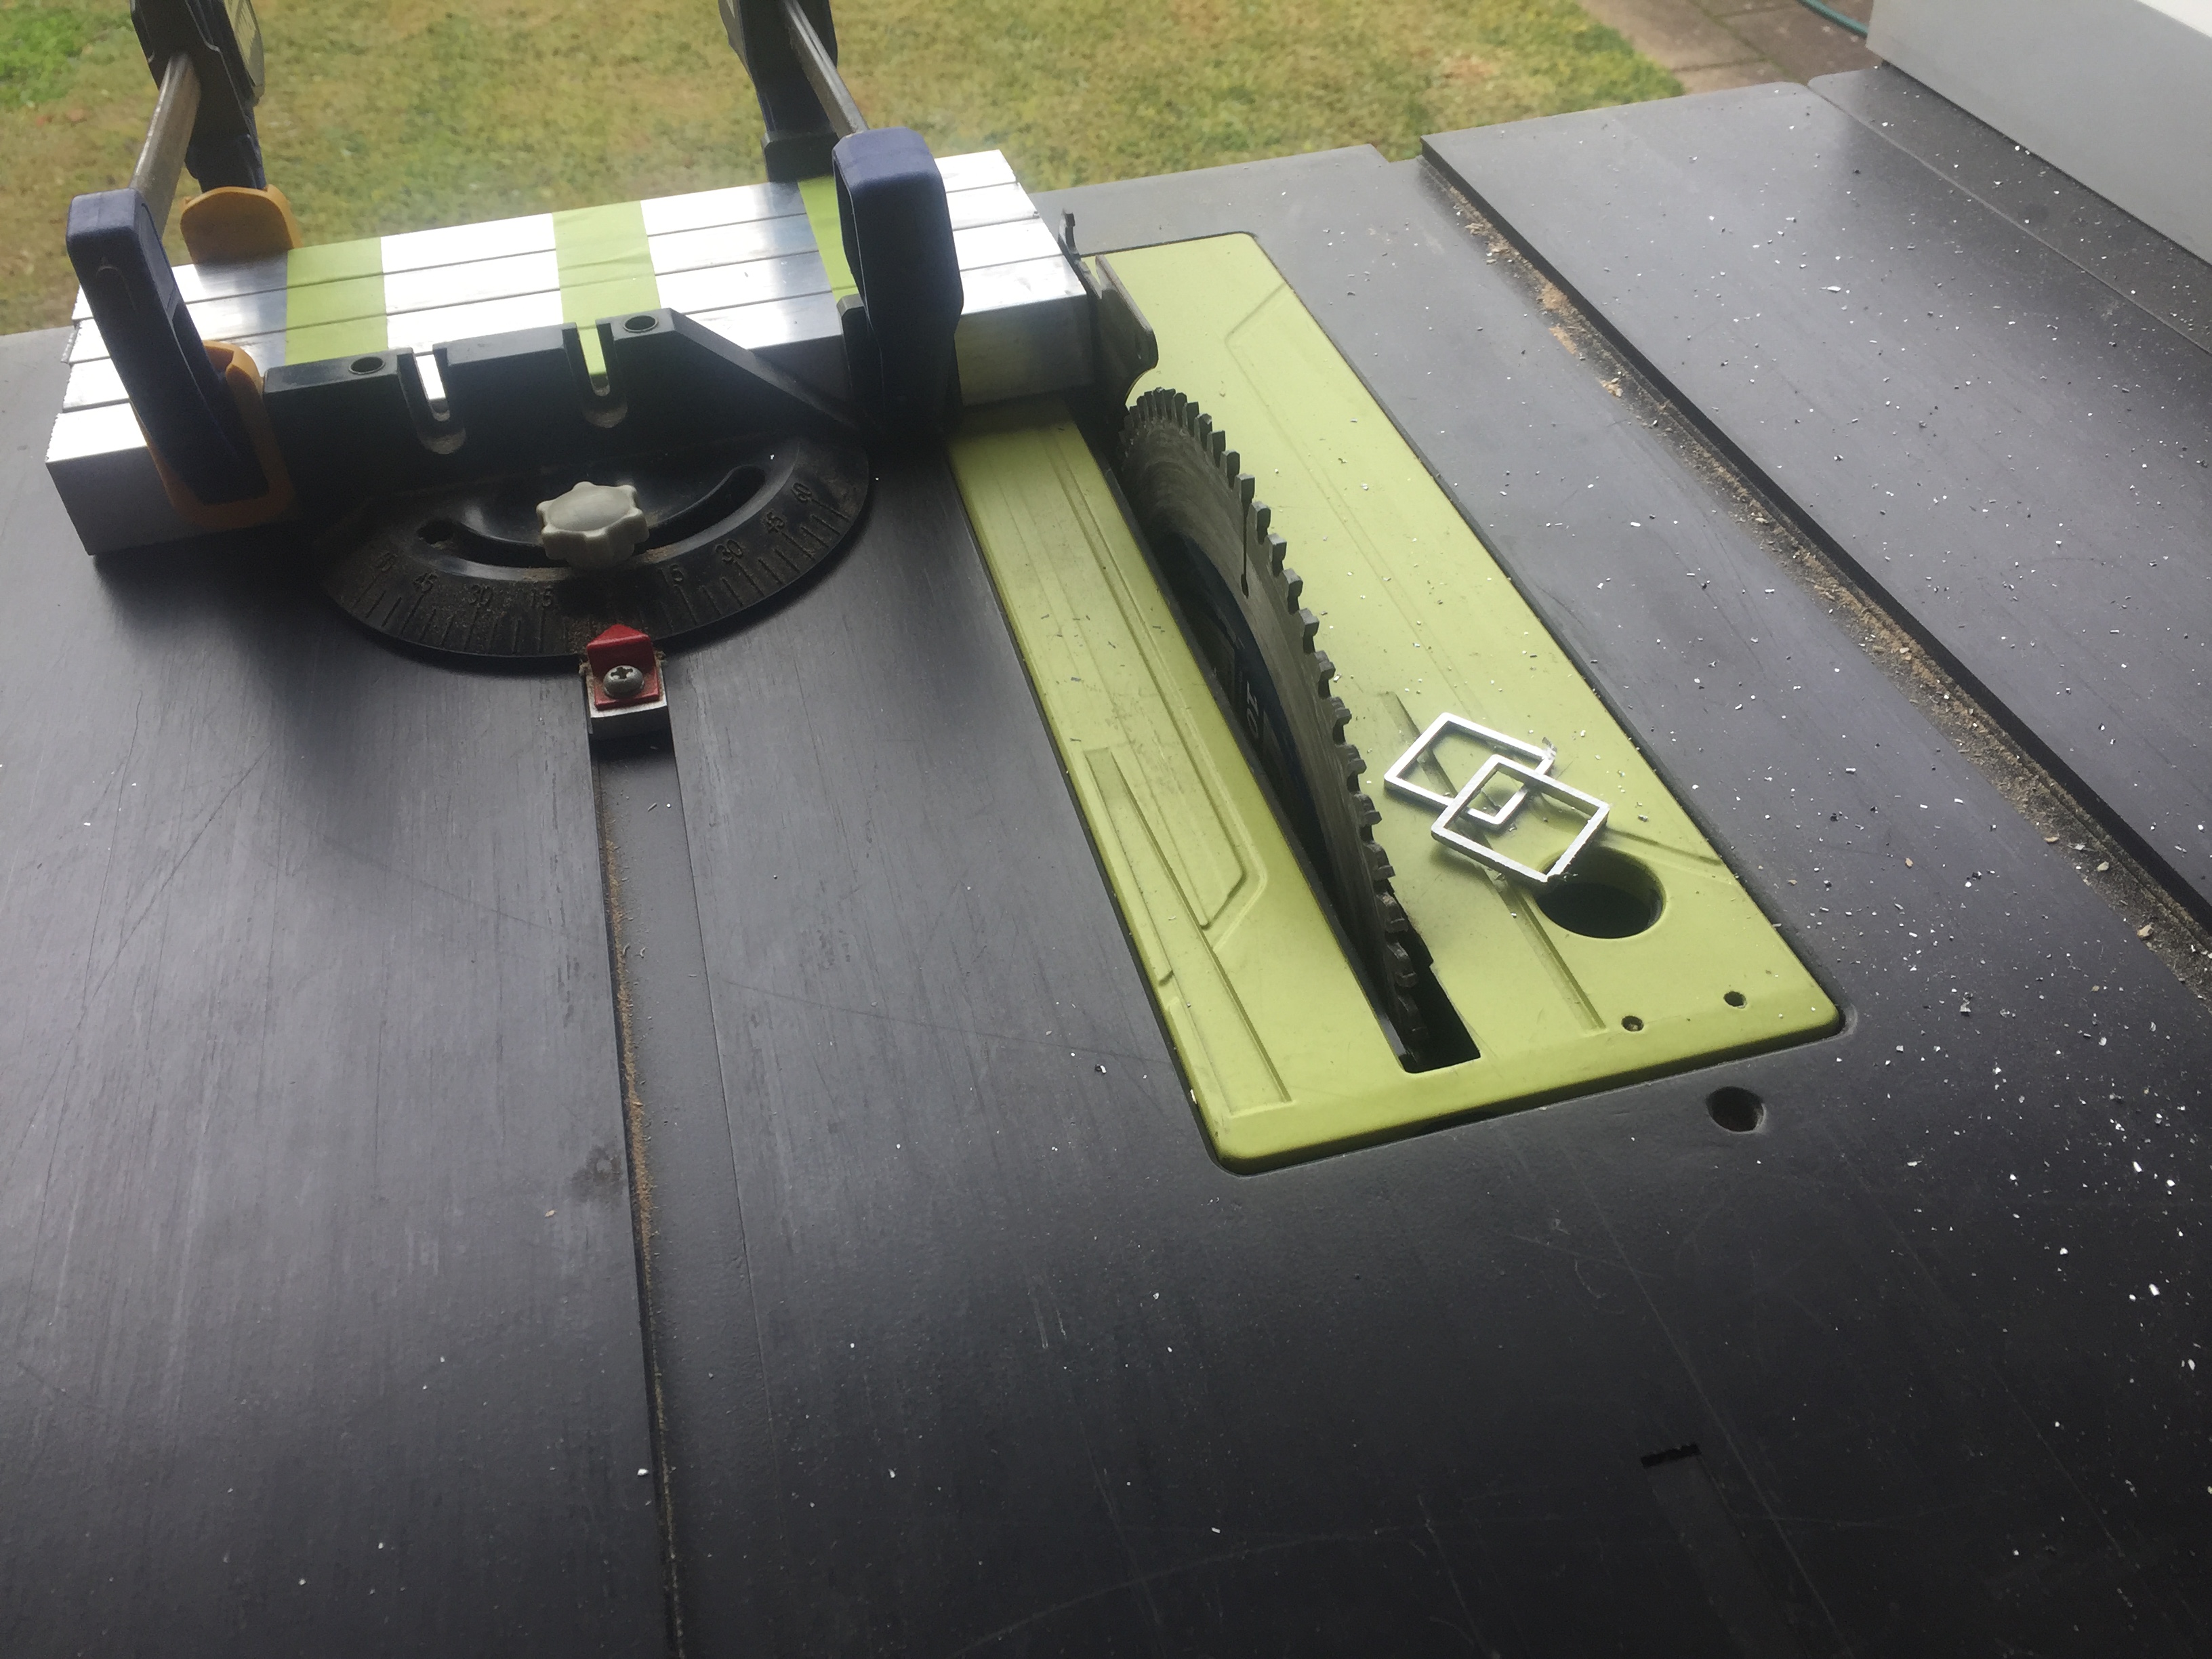 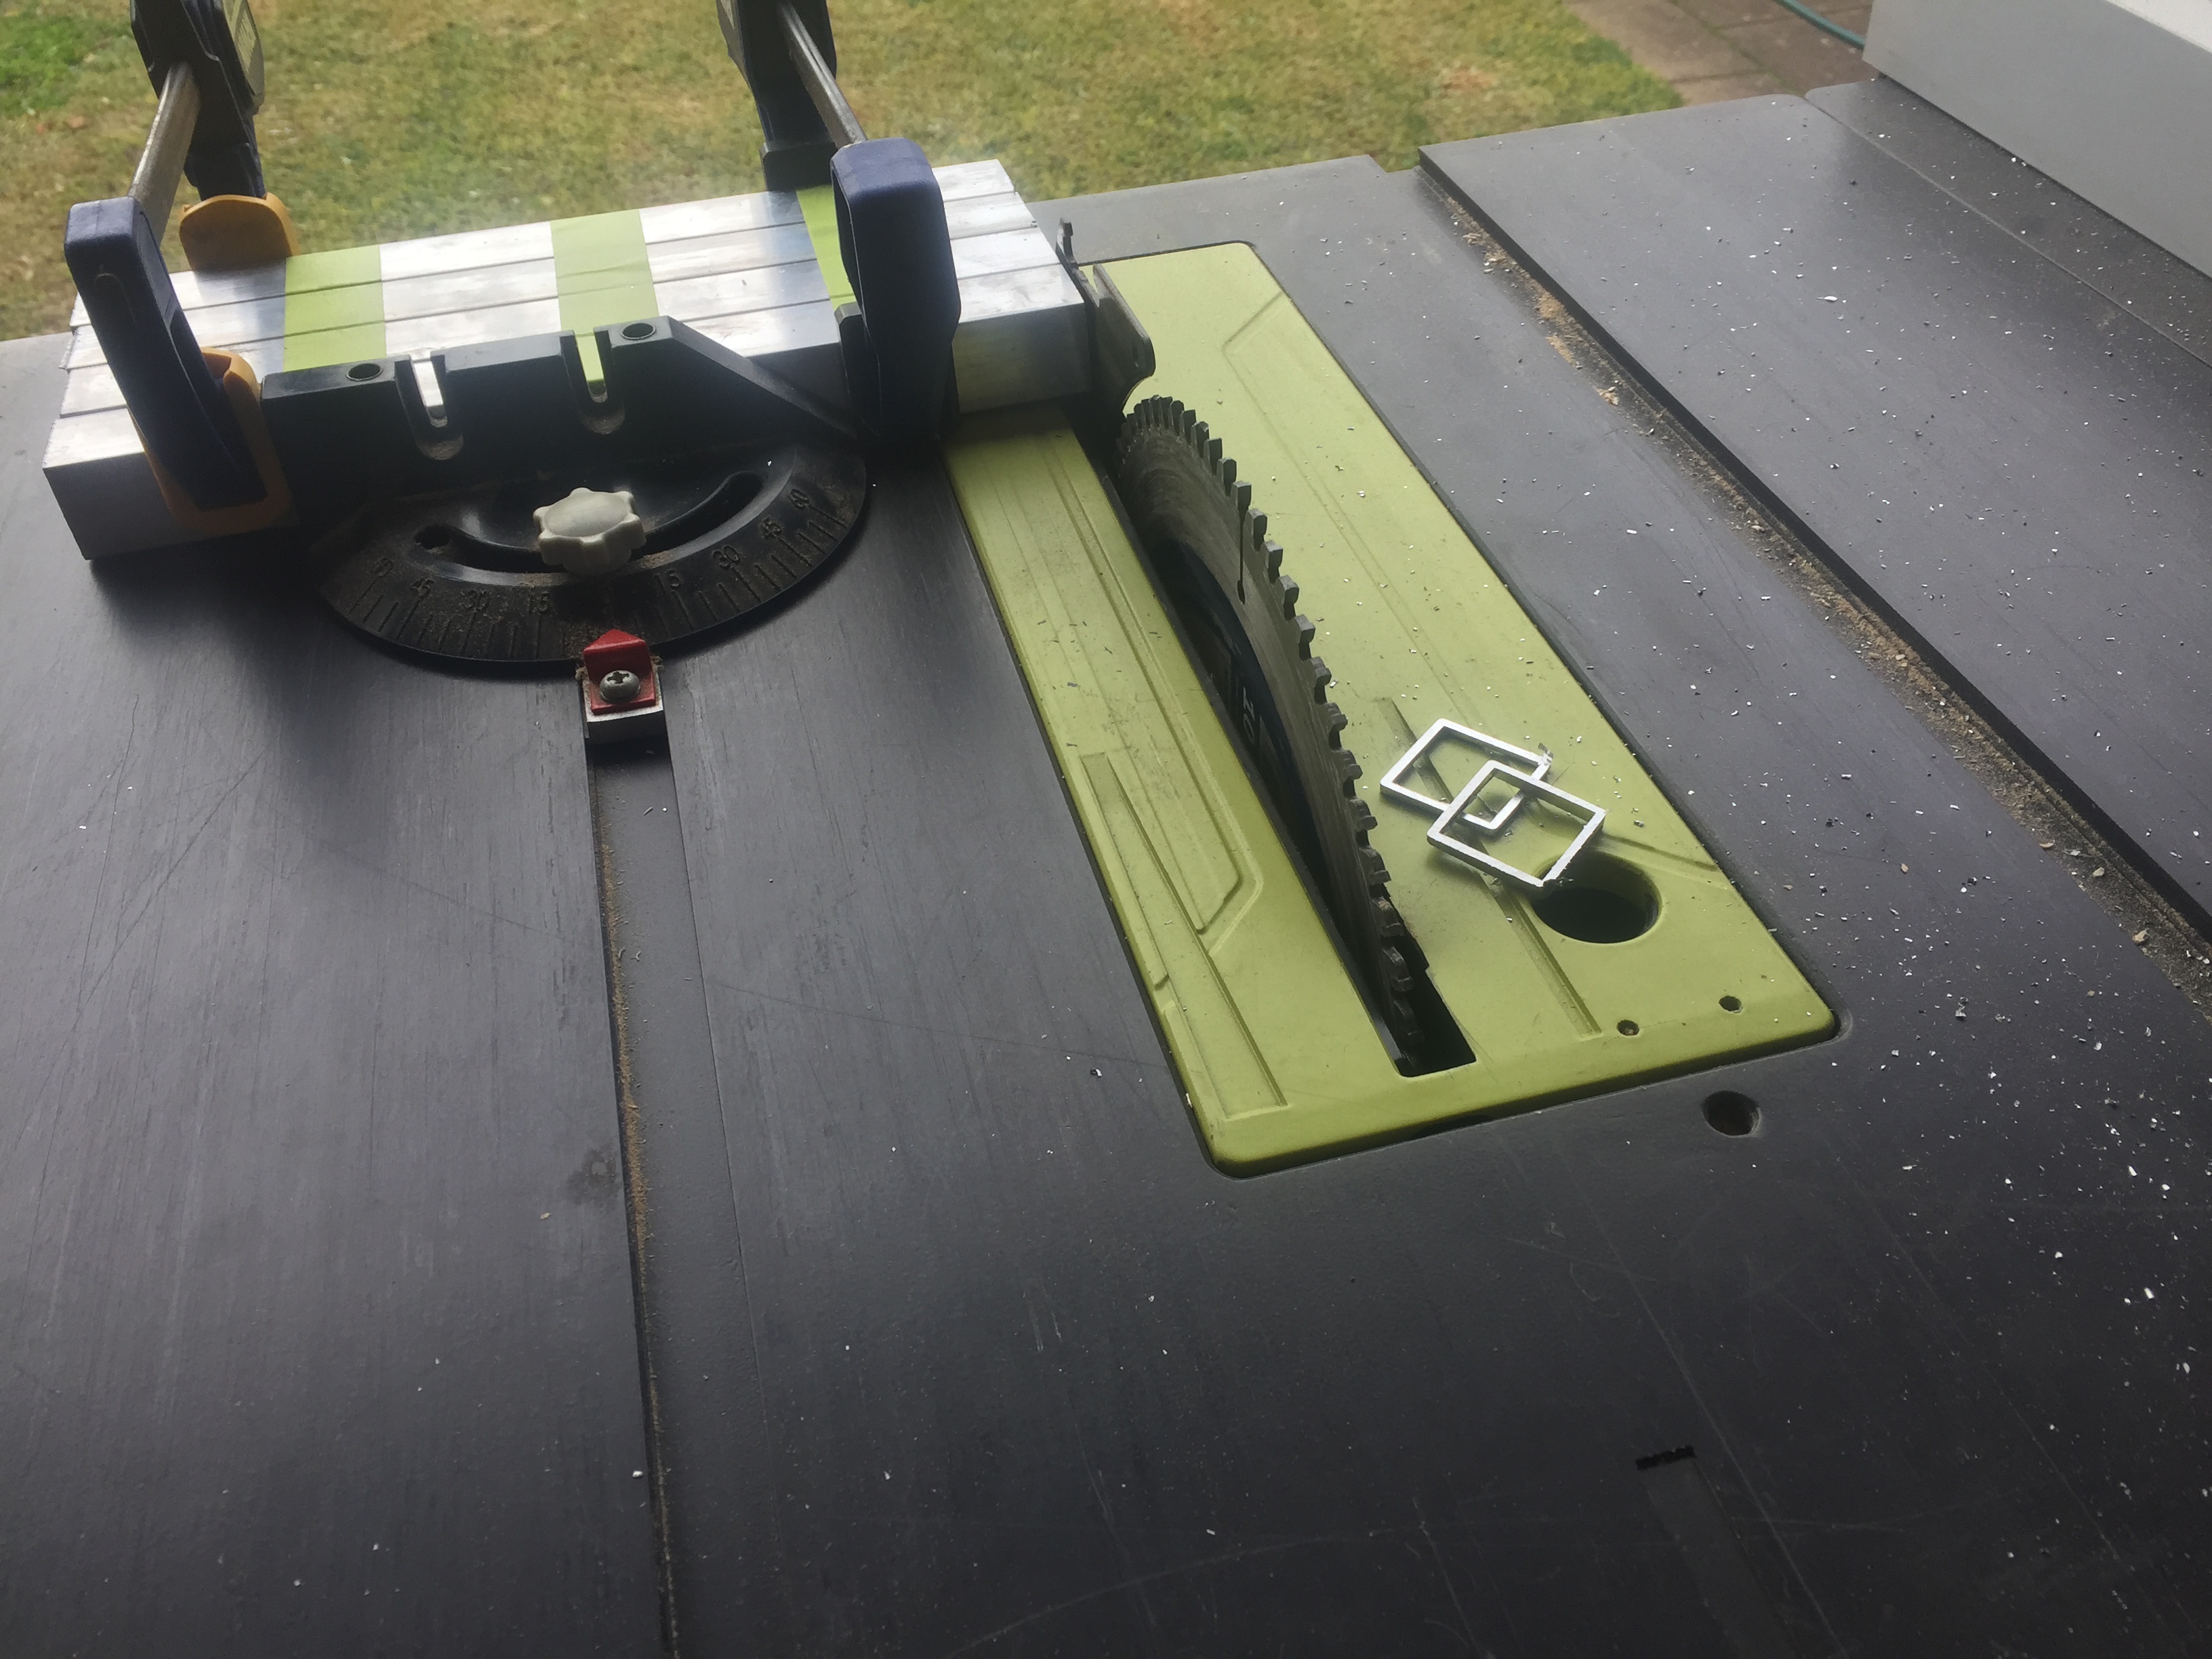 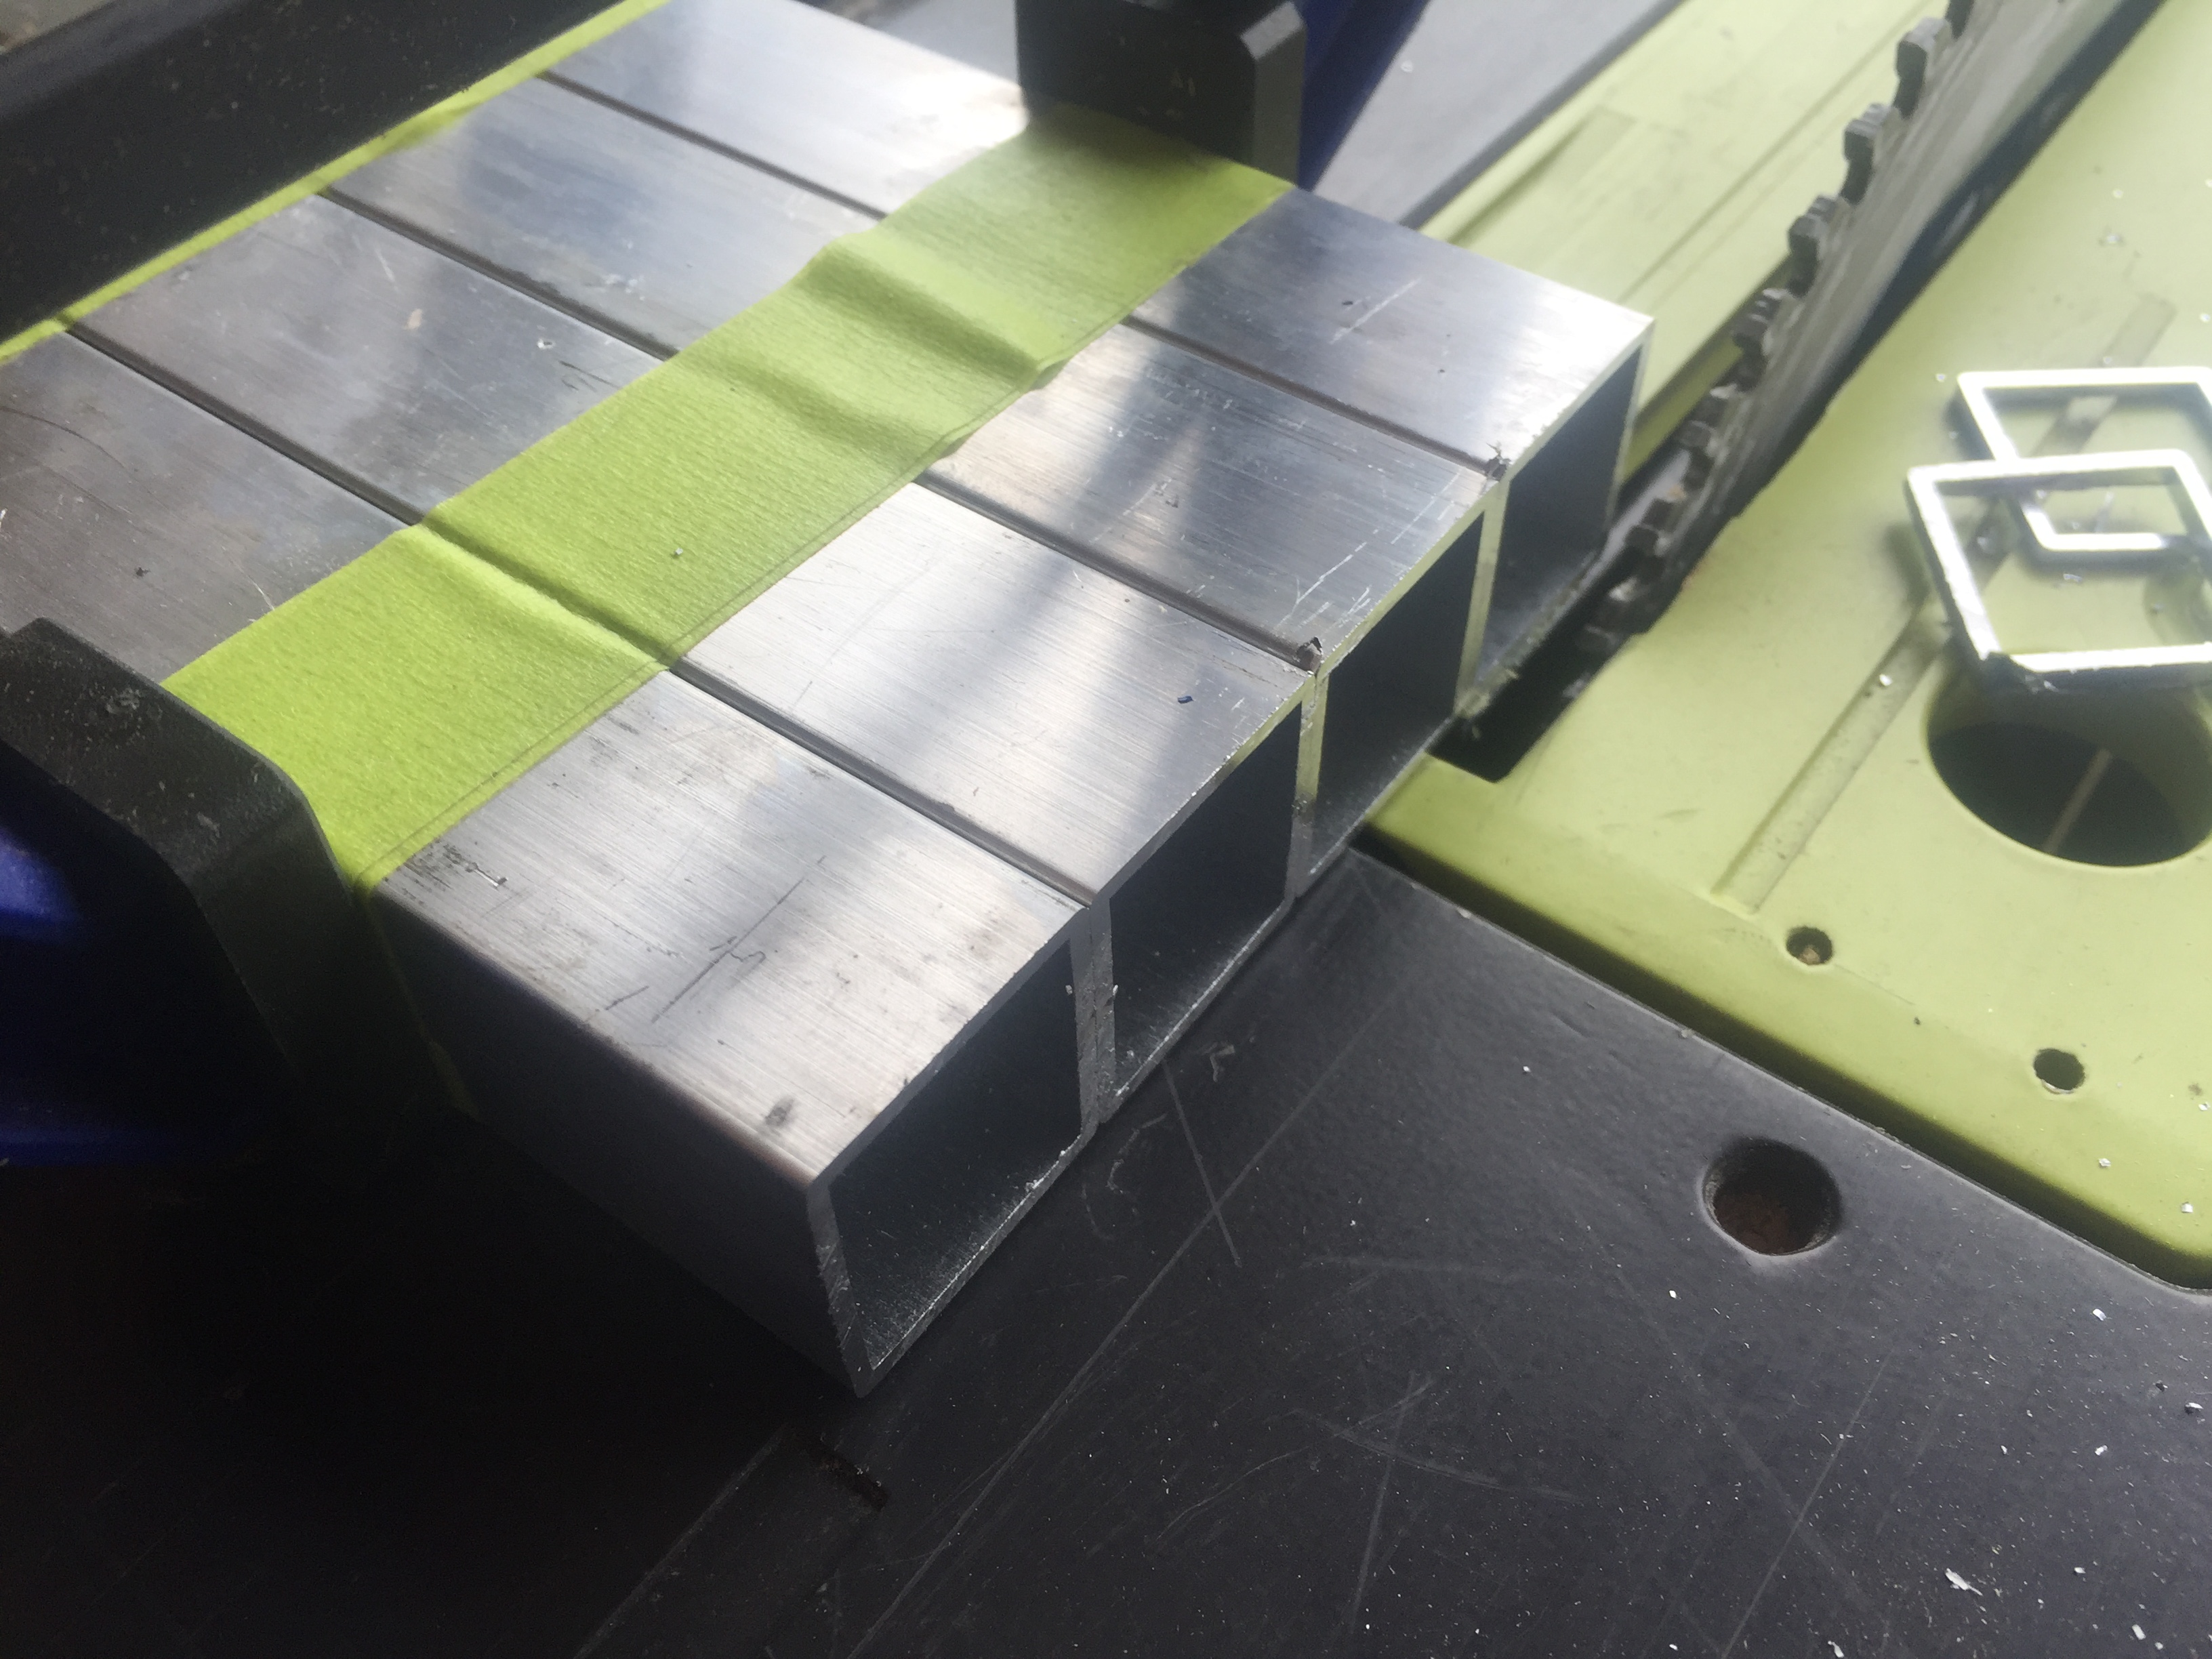 Both sides done and the tape removed. 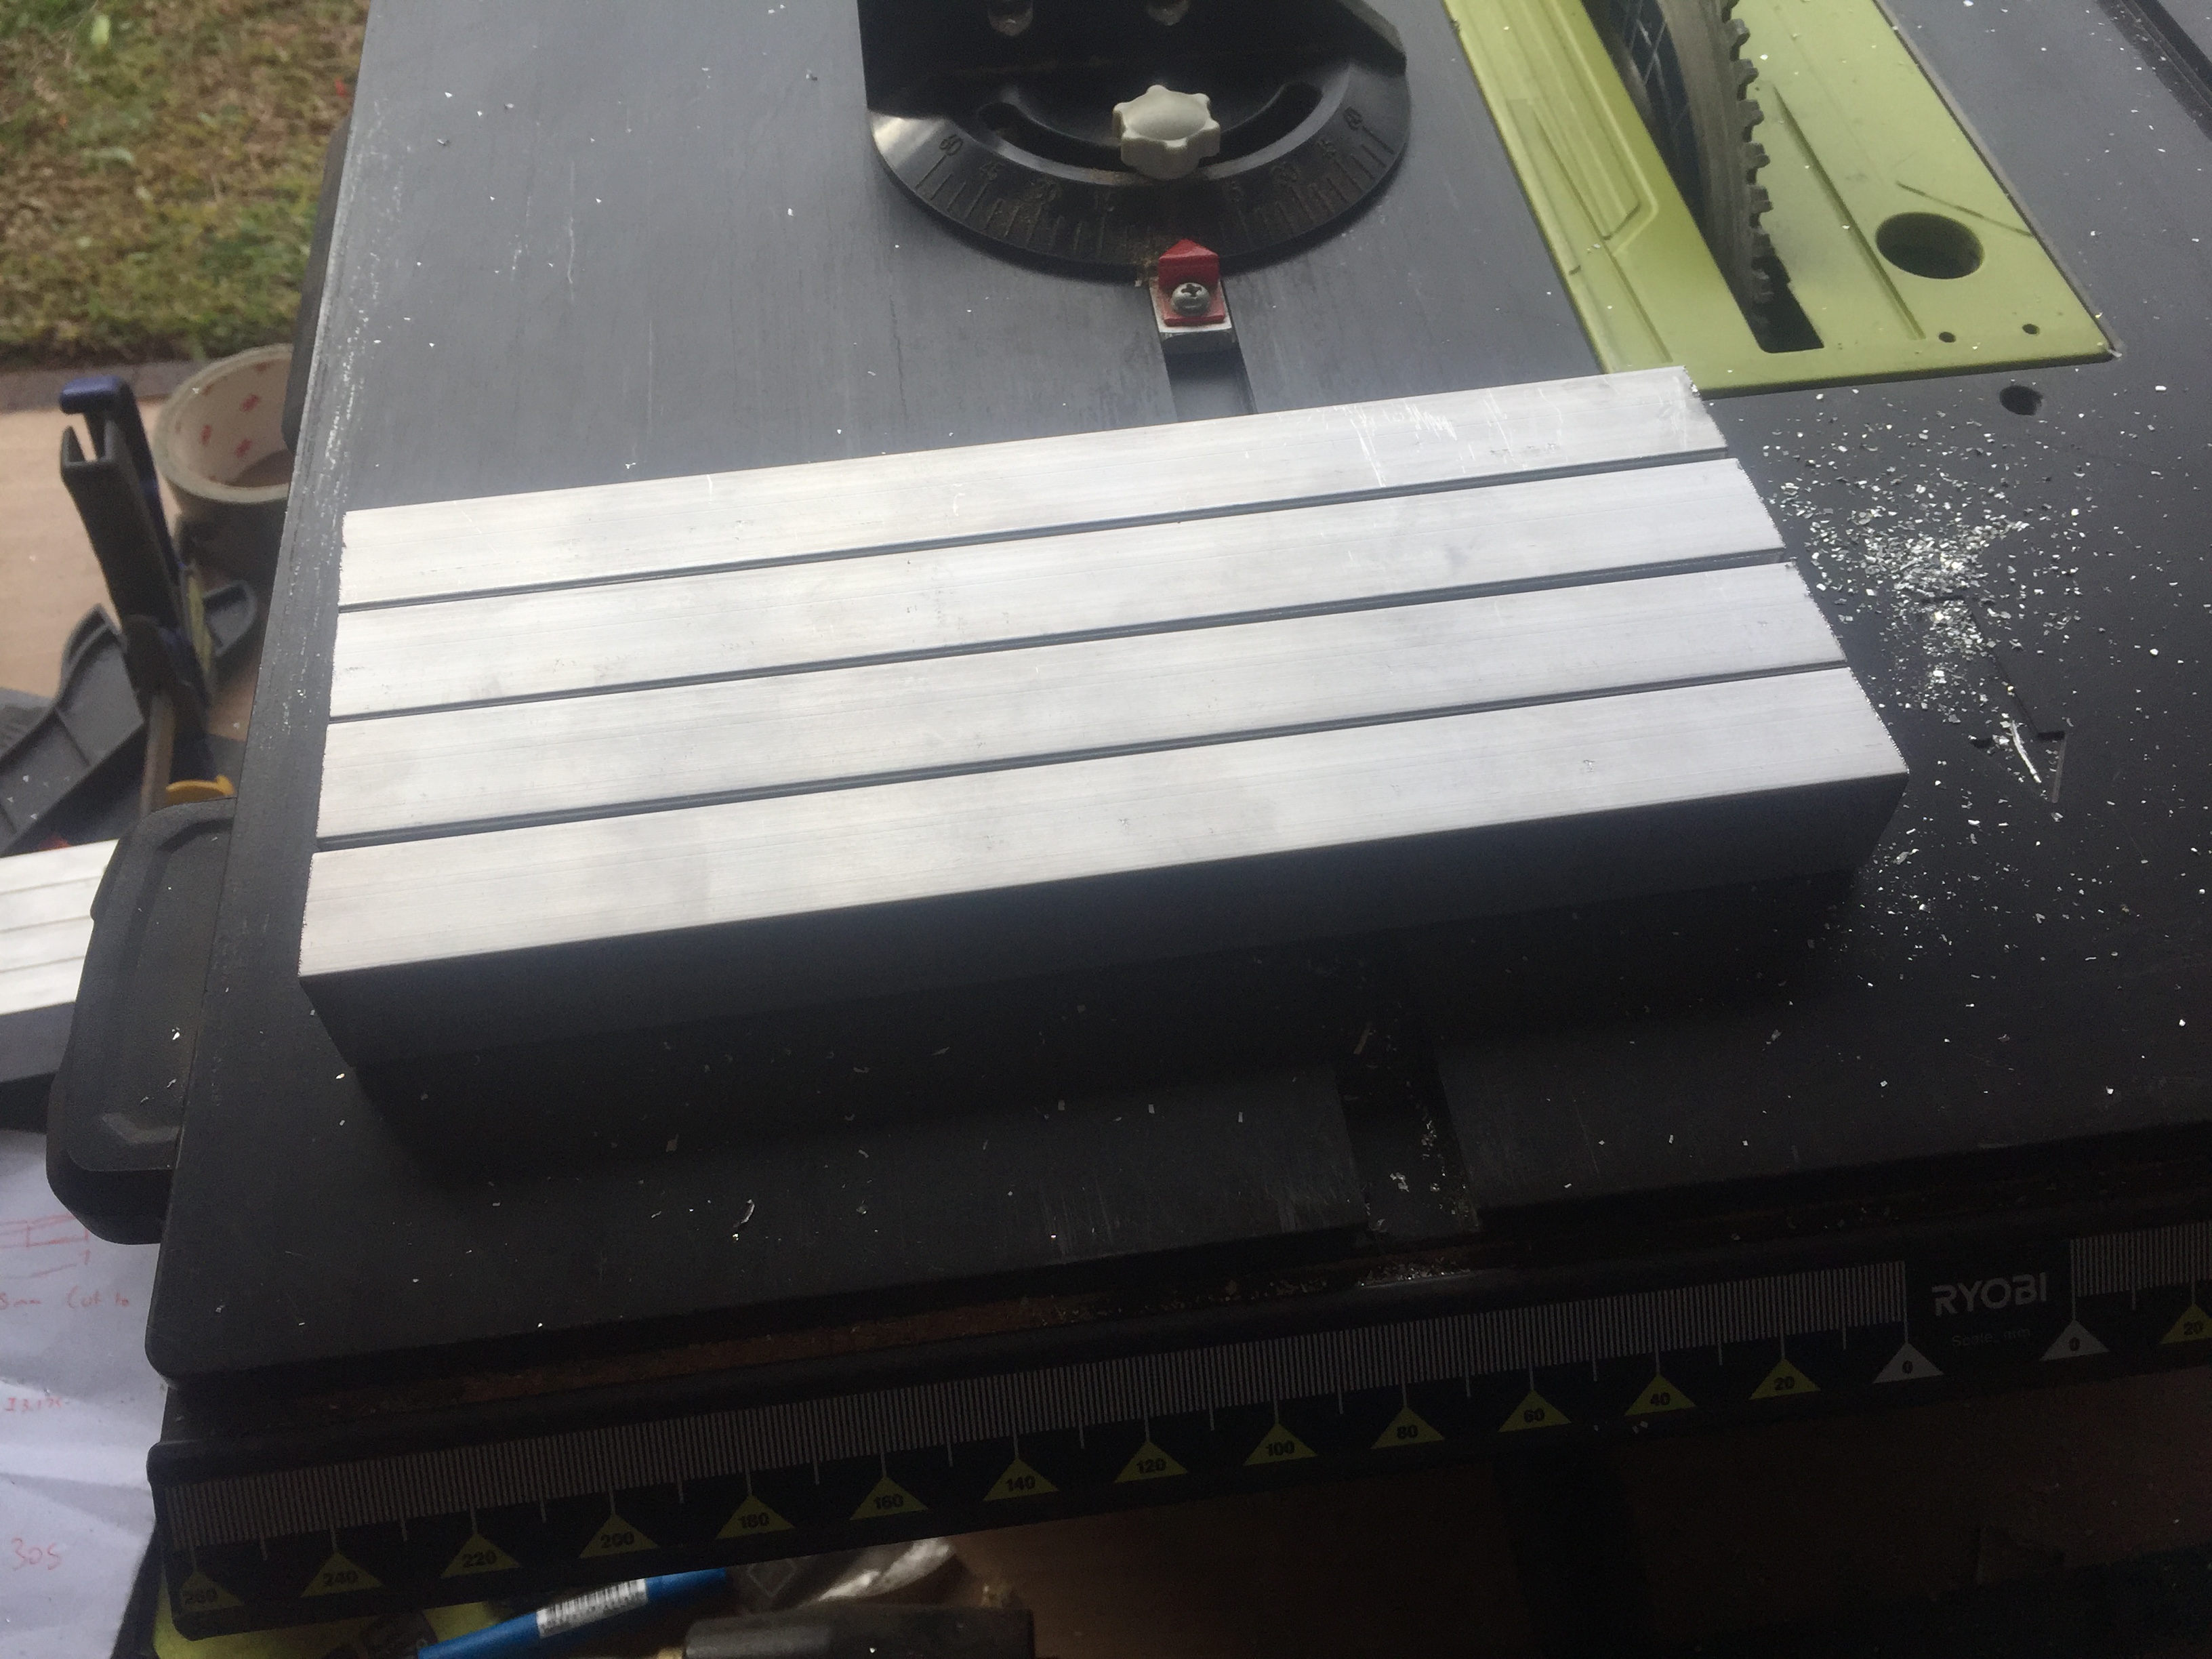 Just checking to make sure I got 253mm - not bad! 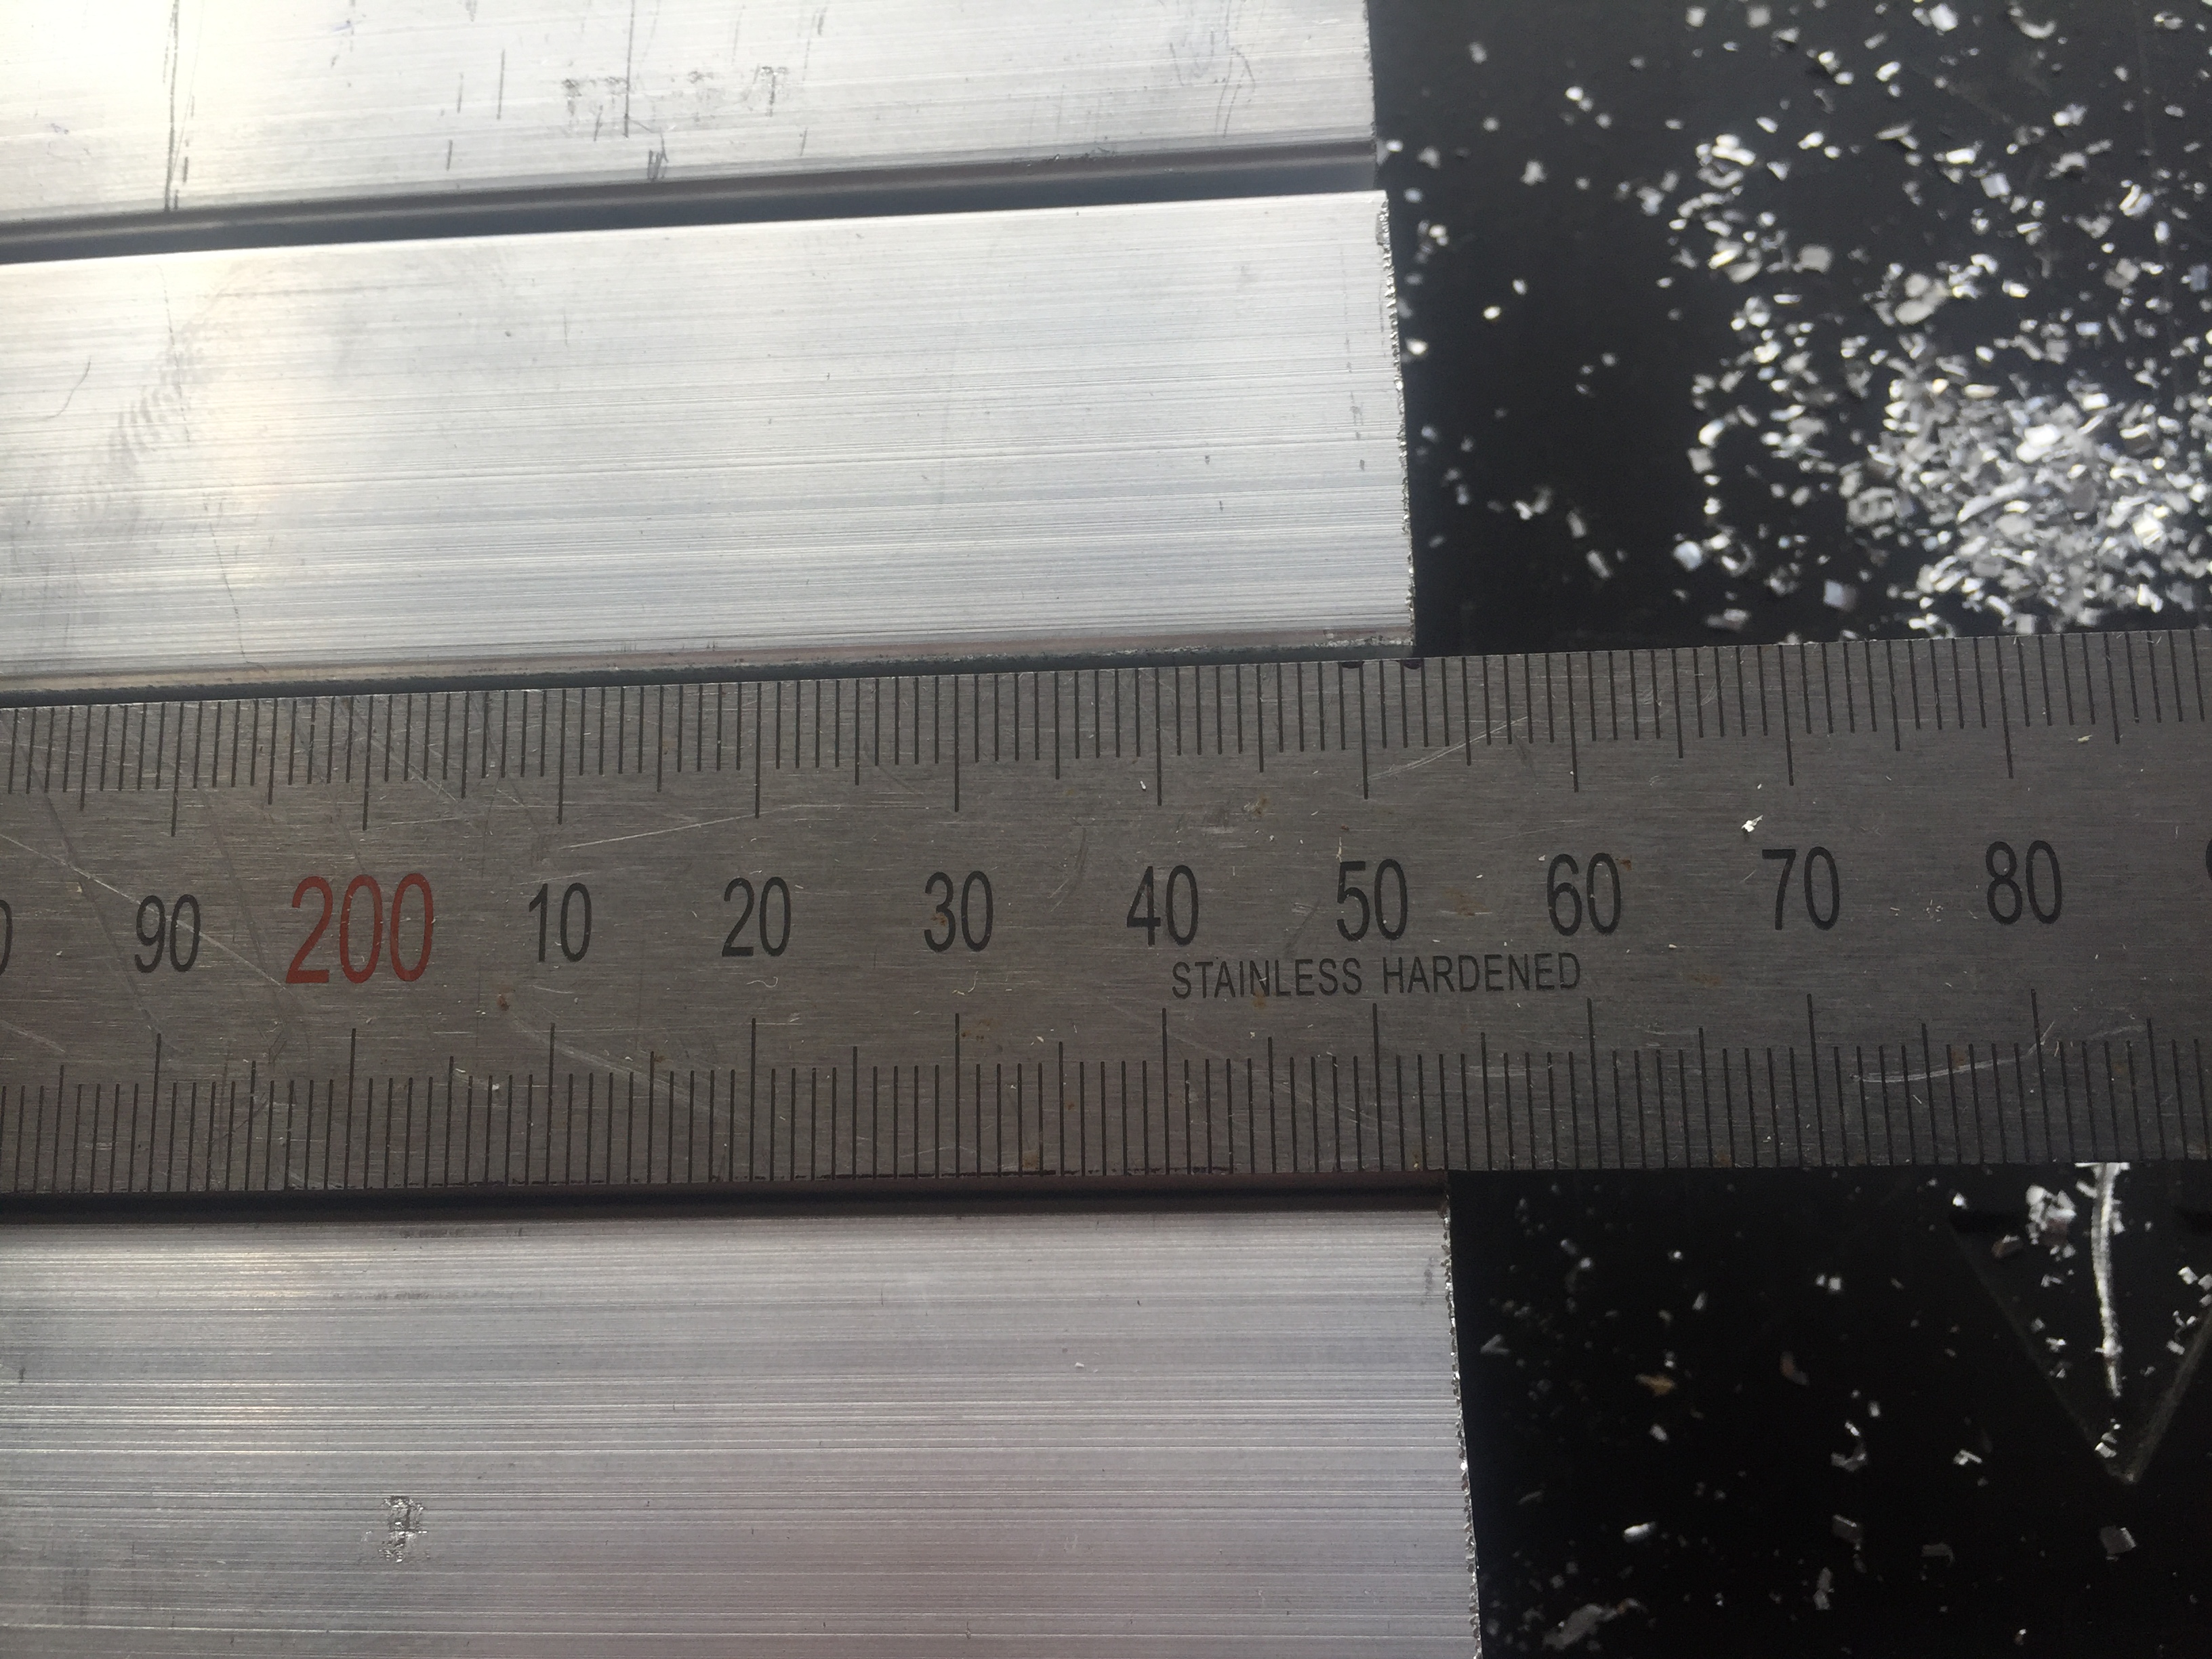 Time to sand down these tubes in order to make them ready to paint. Broke out my Ryobi orbital sander with 180 grit paper attached 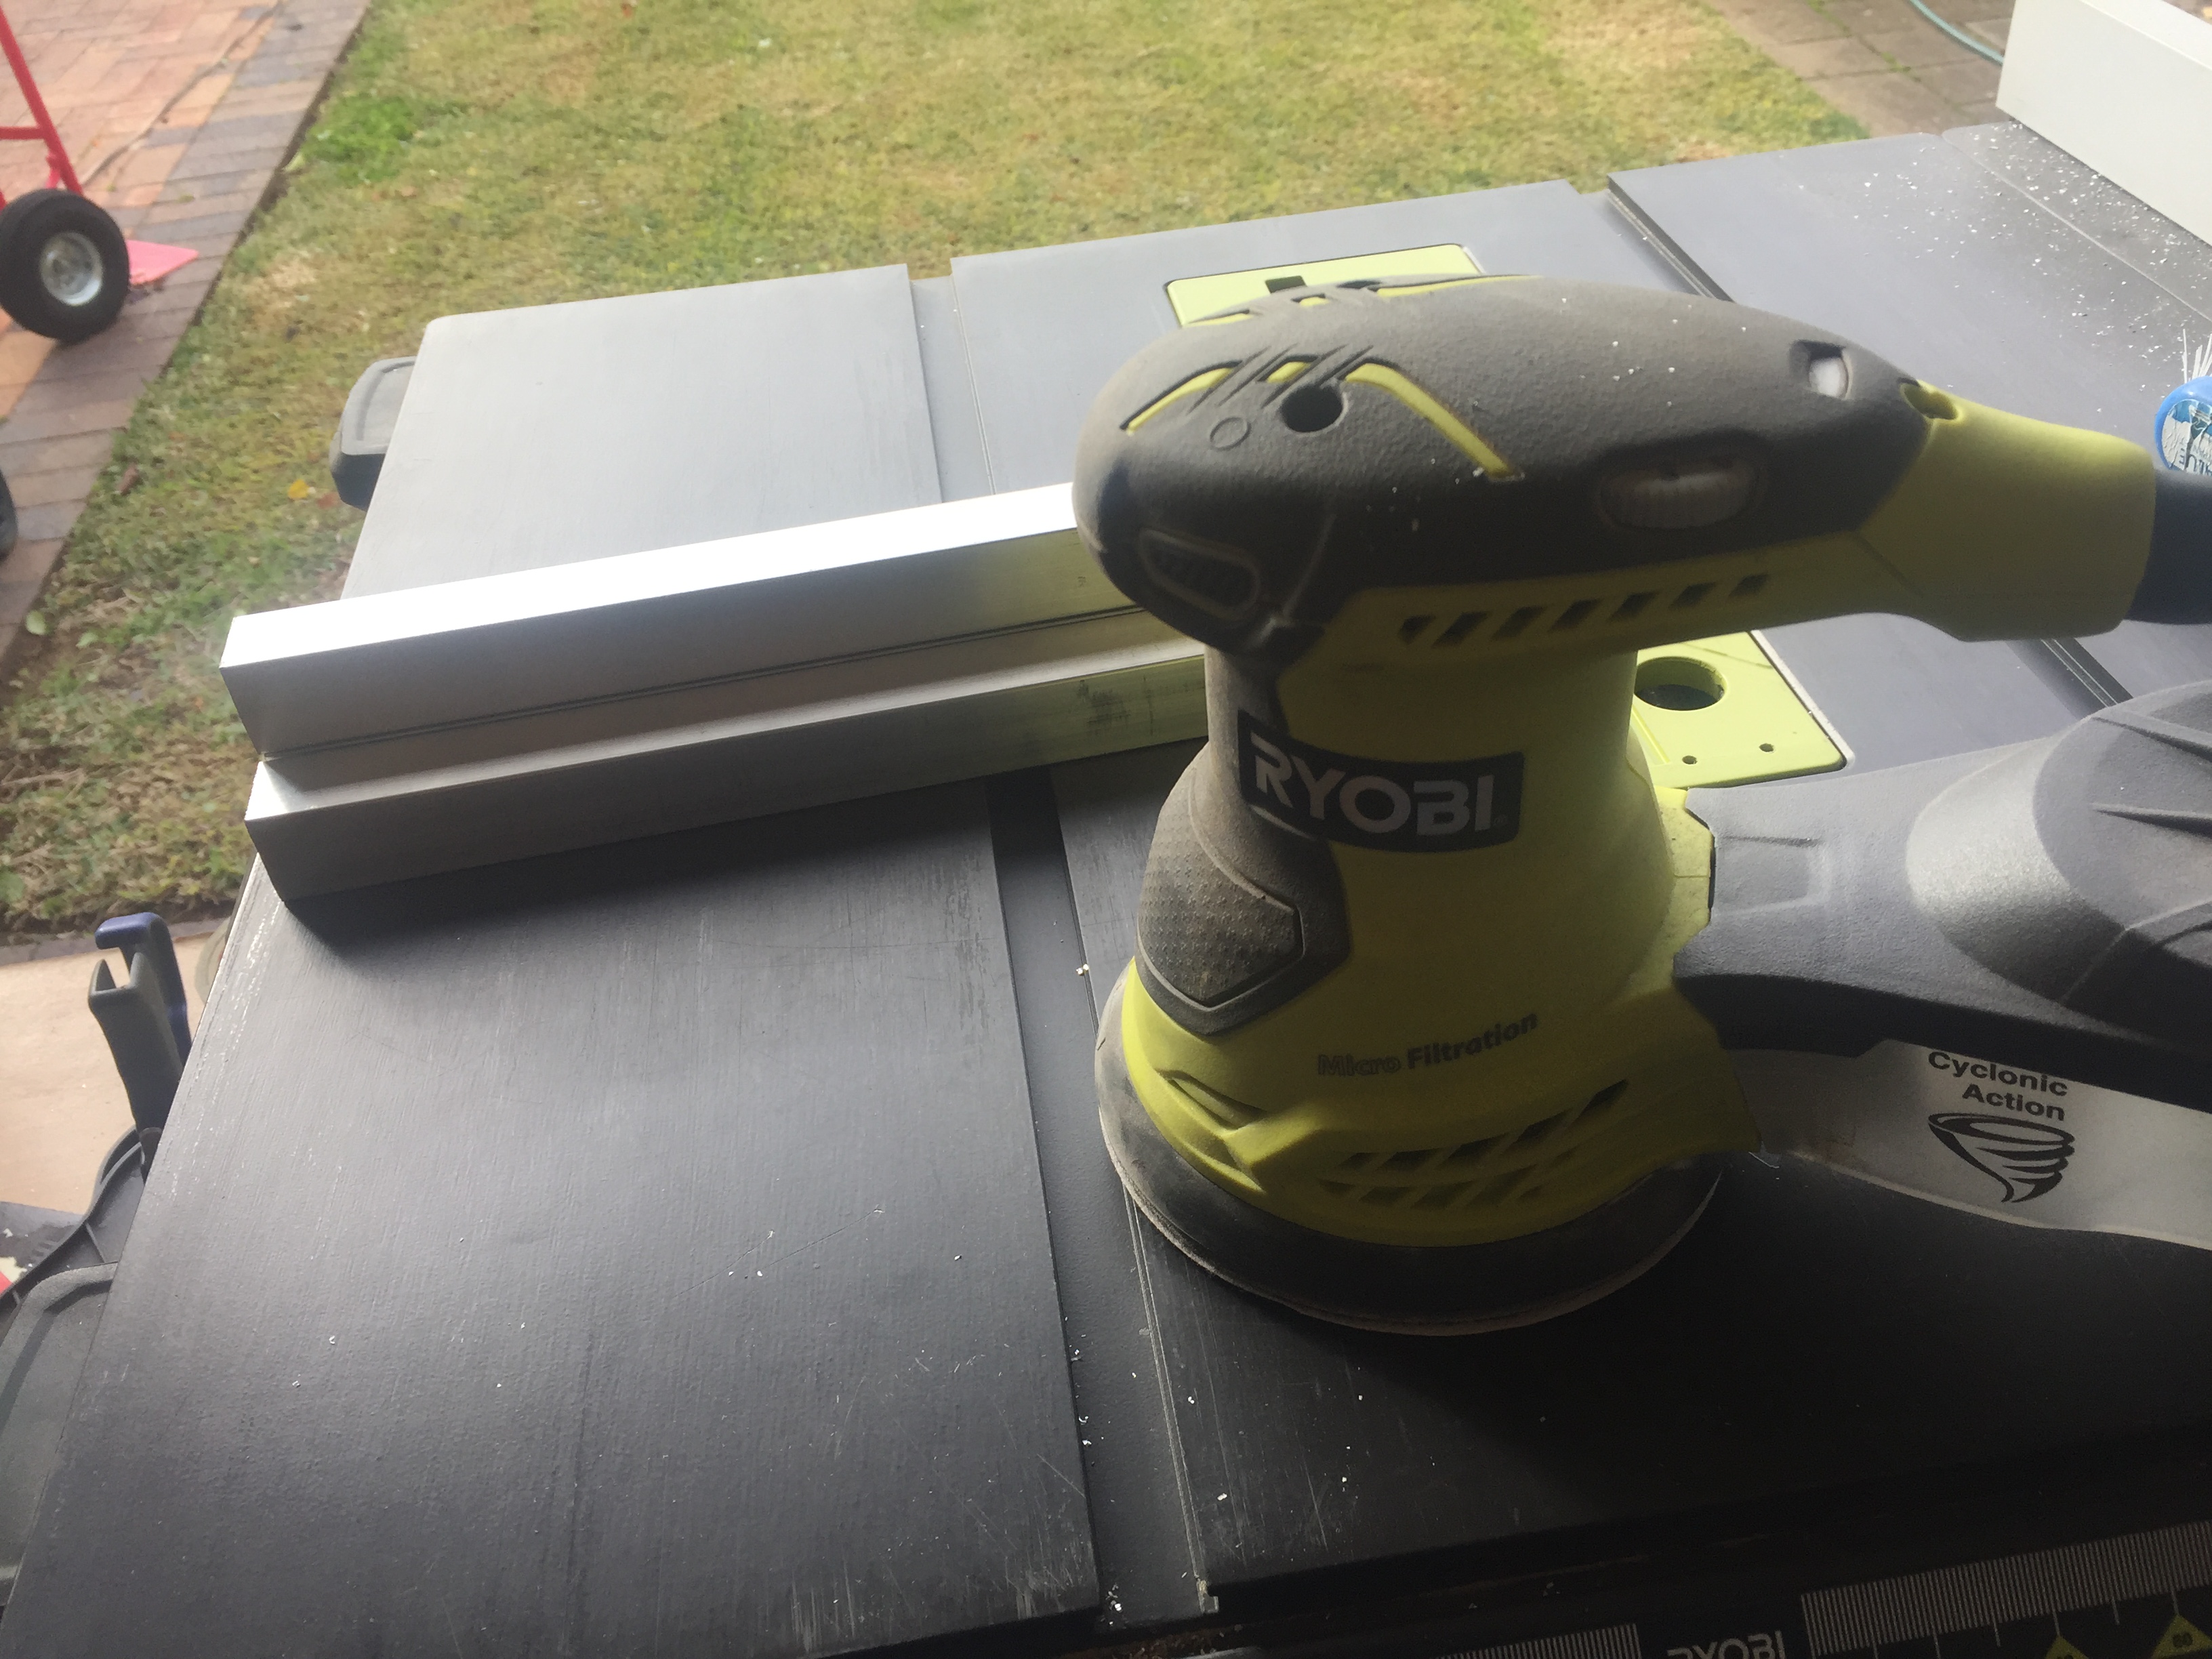 Now it was time to drill some holes using my drill press. Used a 3.2mm drill bit straight from the chineseium factory (cheap and nasty) 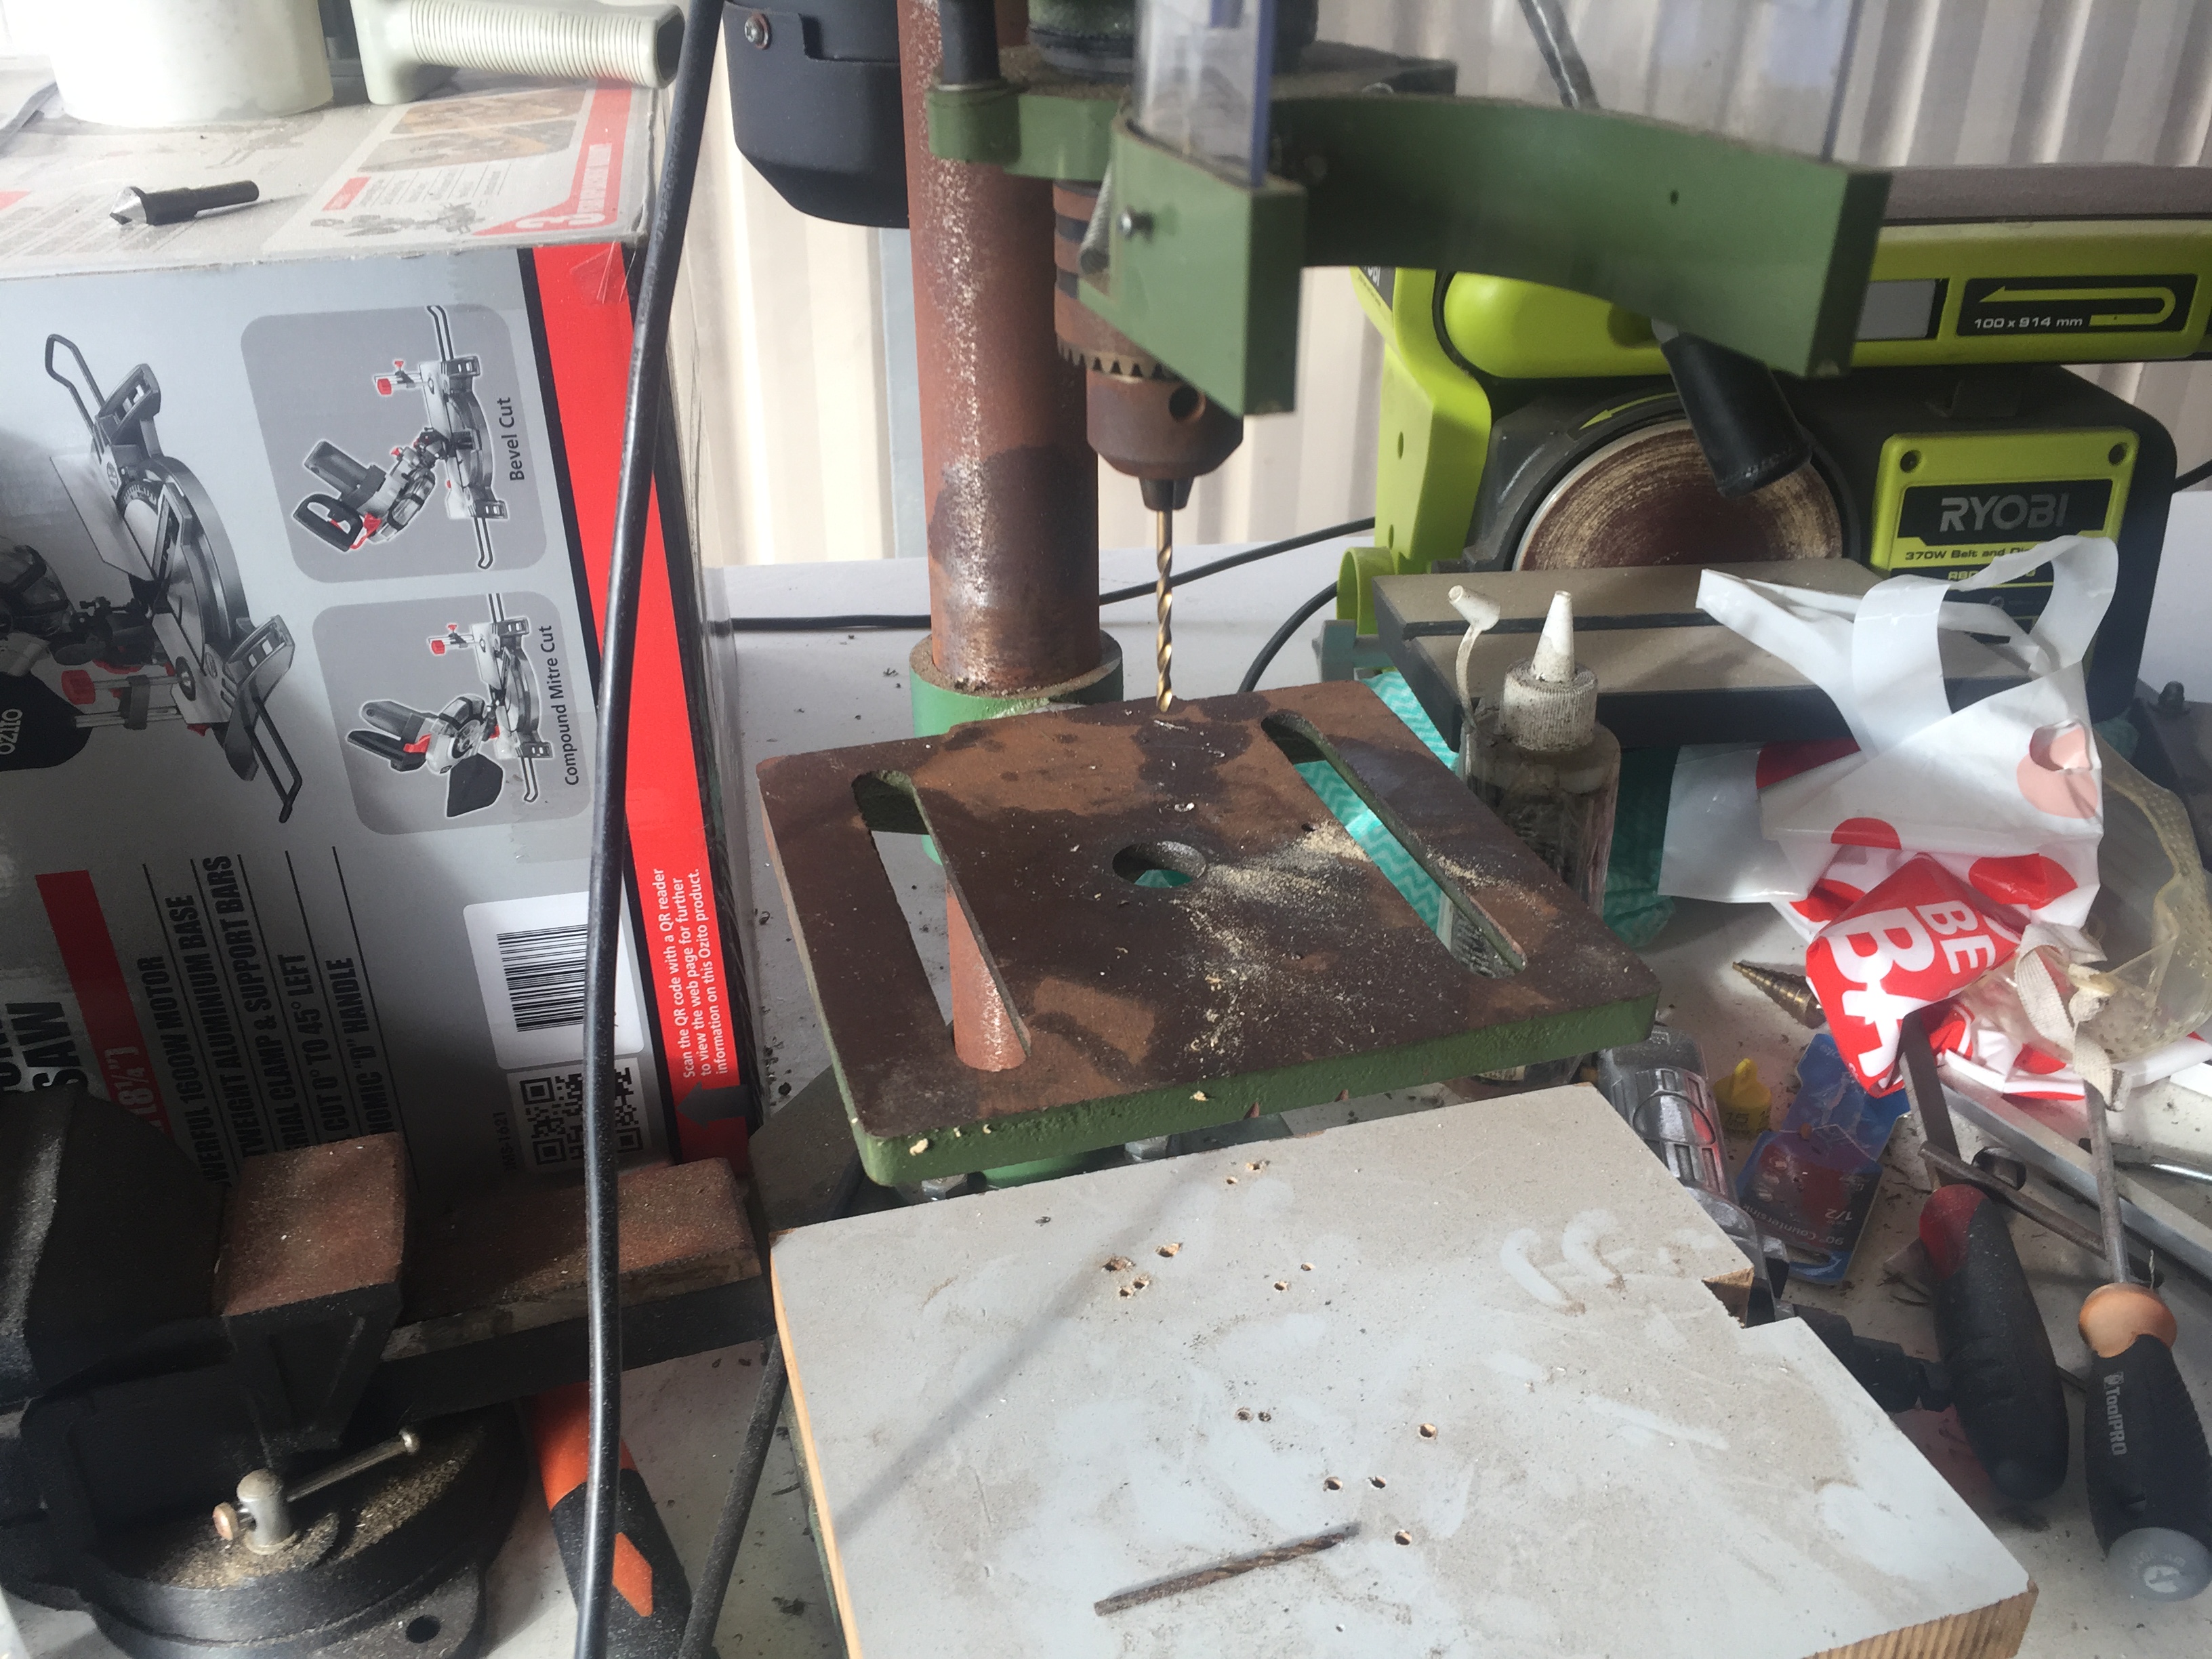 Marked the places that I wanted to drill the holes - 1/2" and 1" from each end 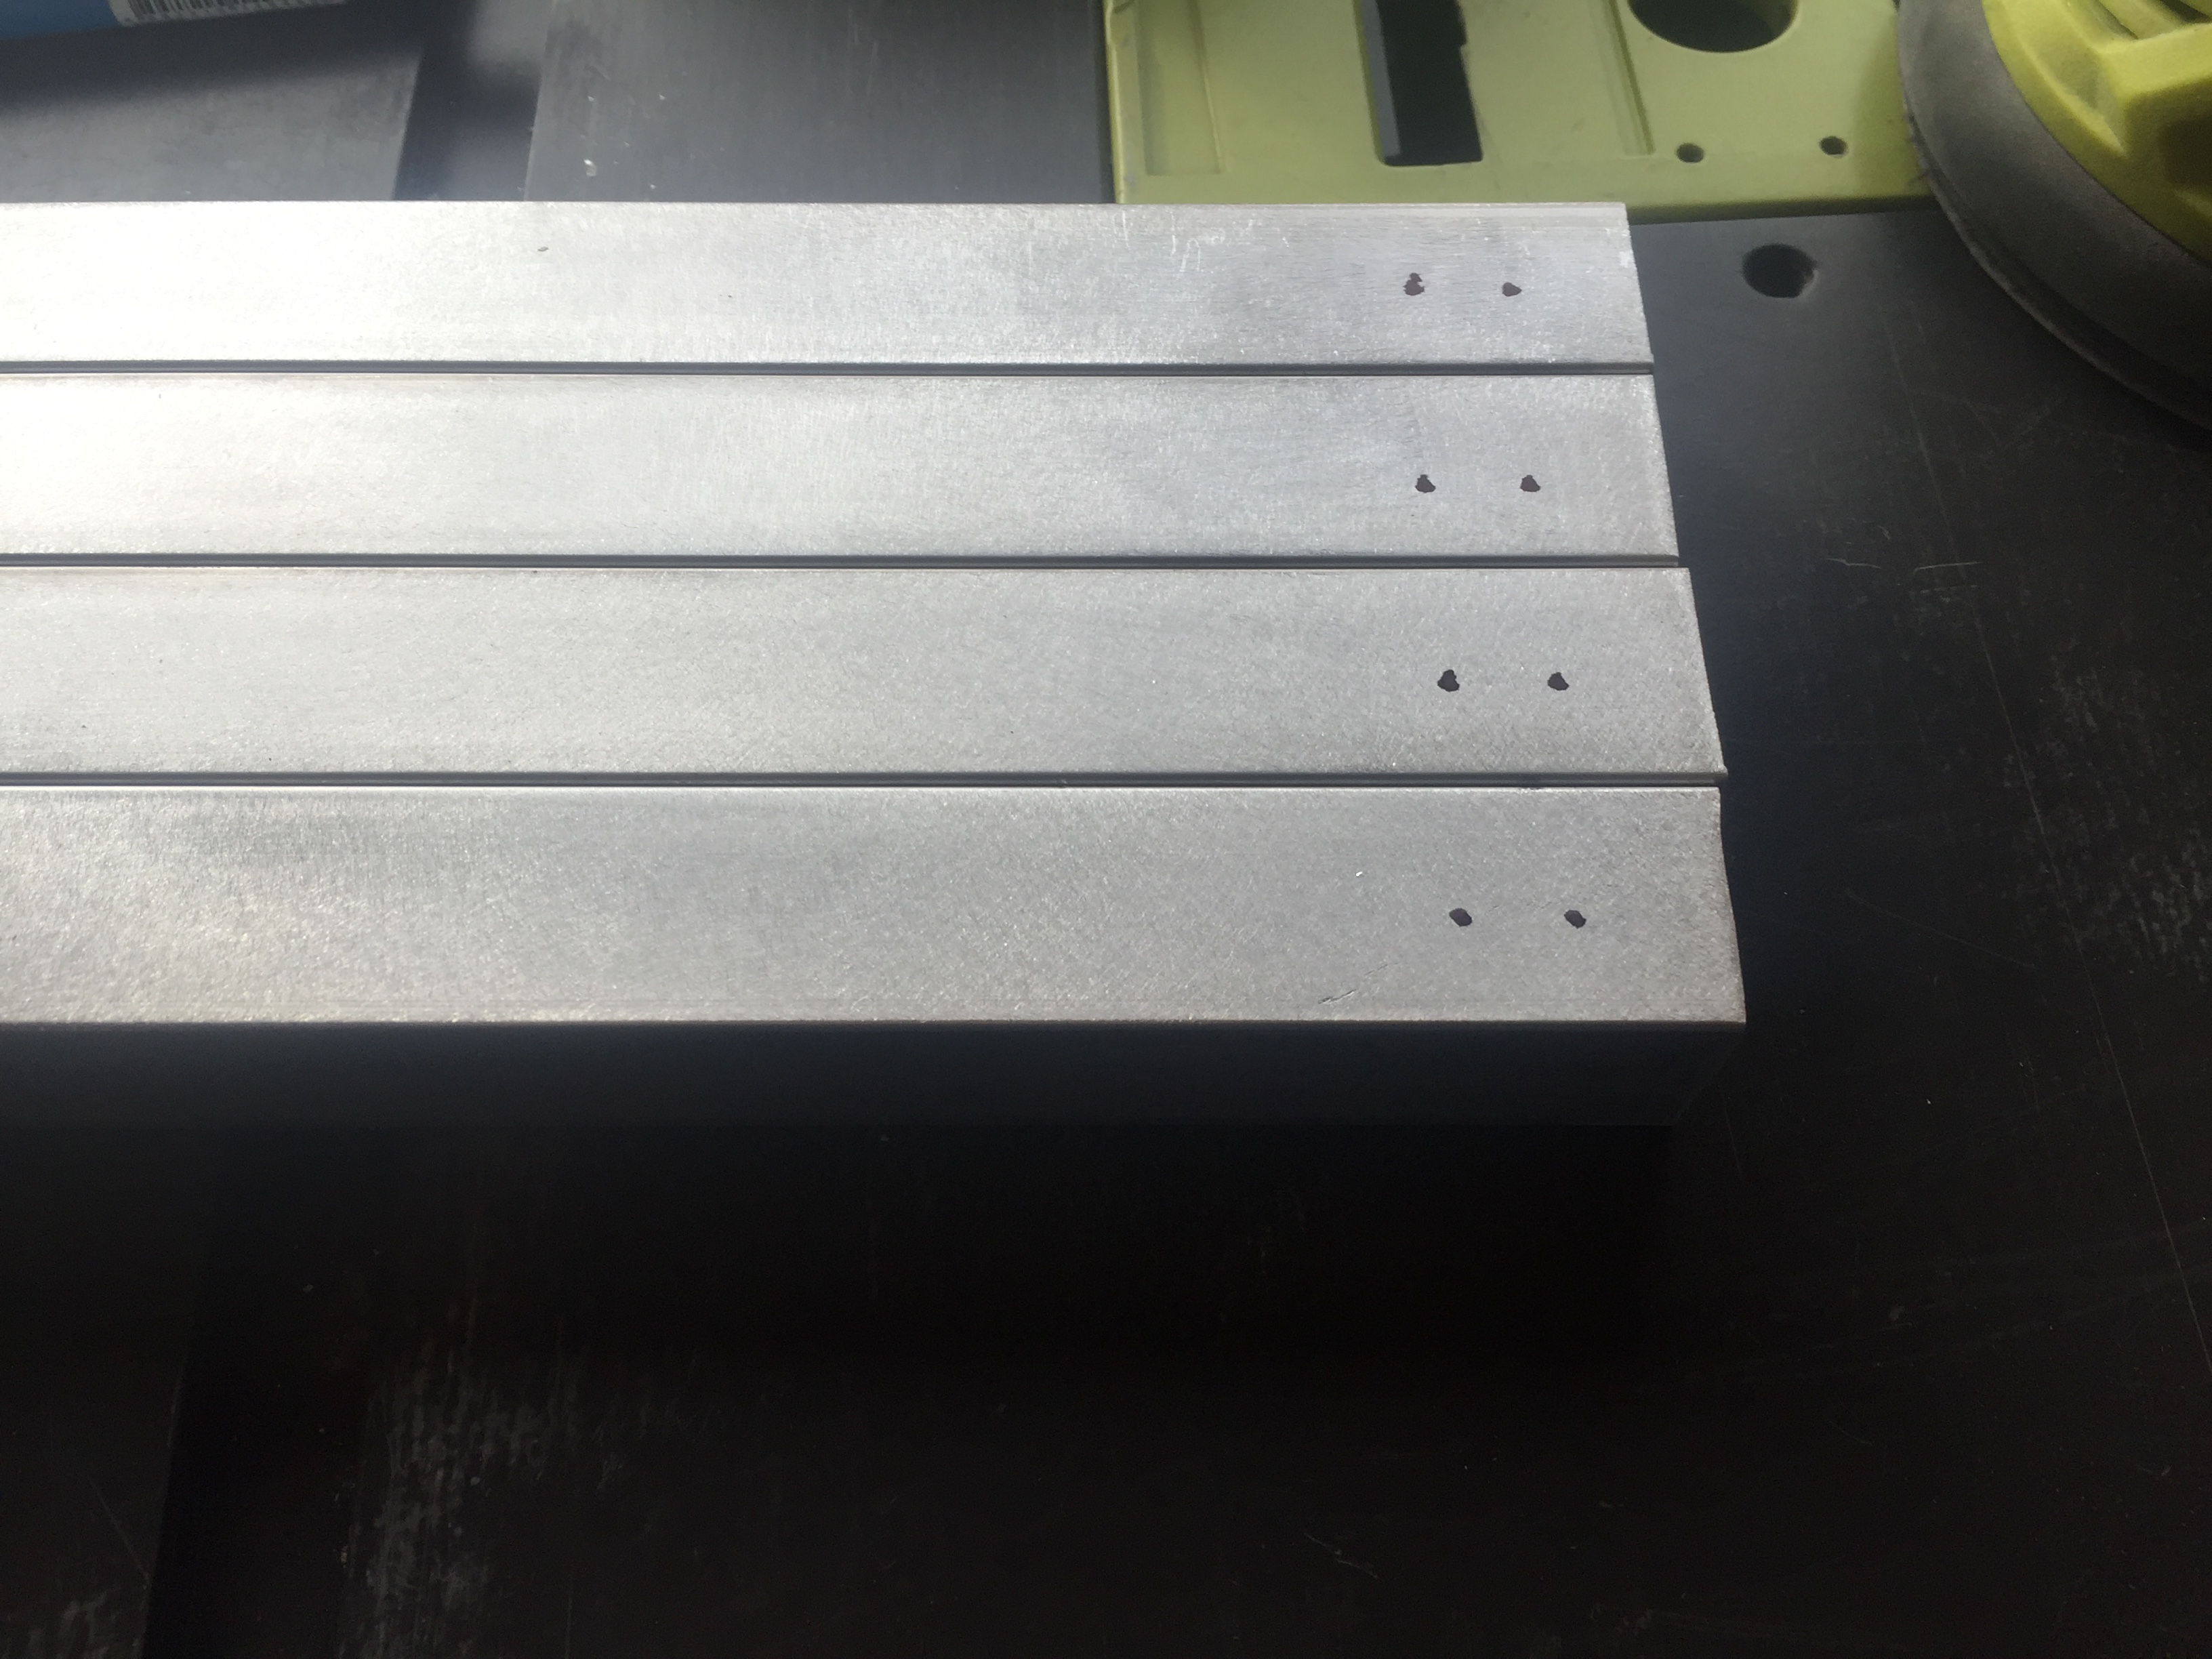 Time to drill the holes! 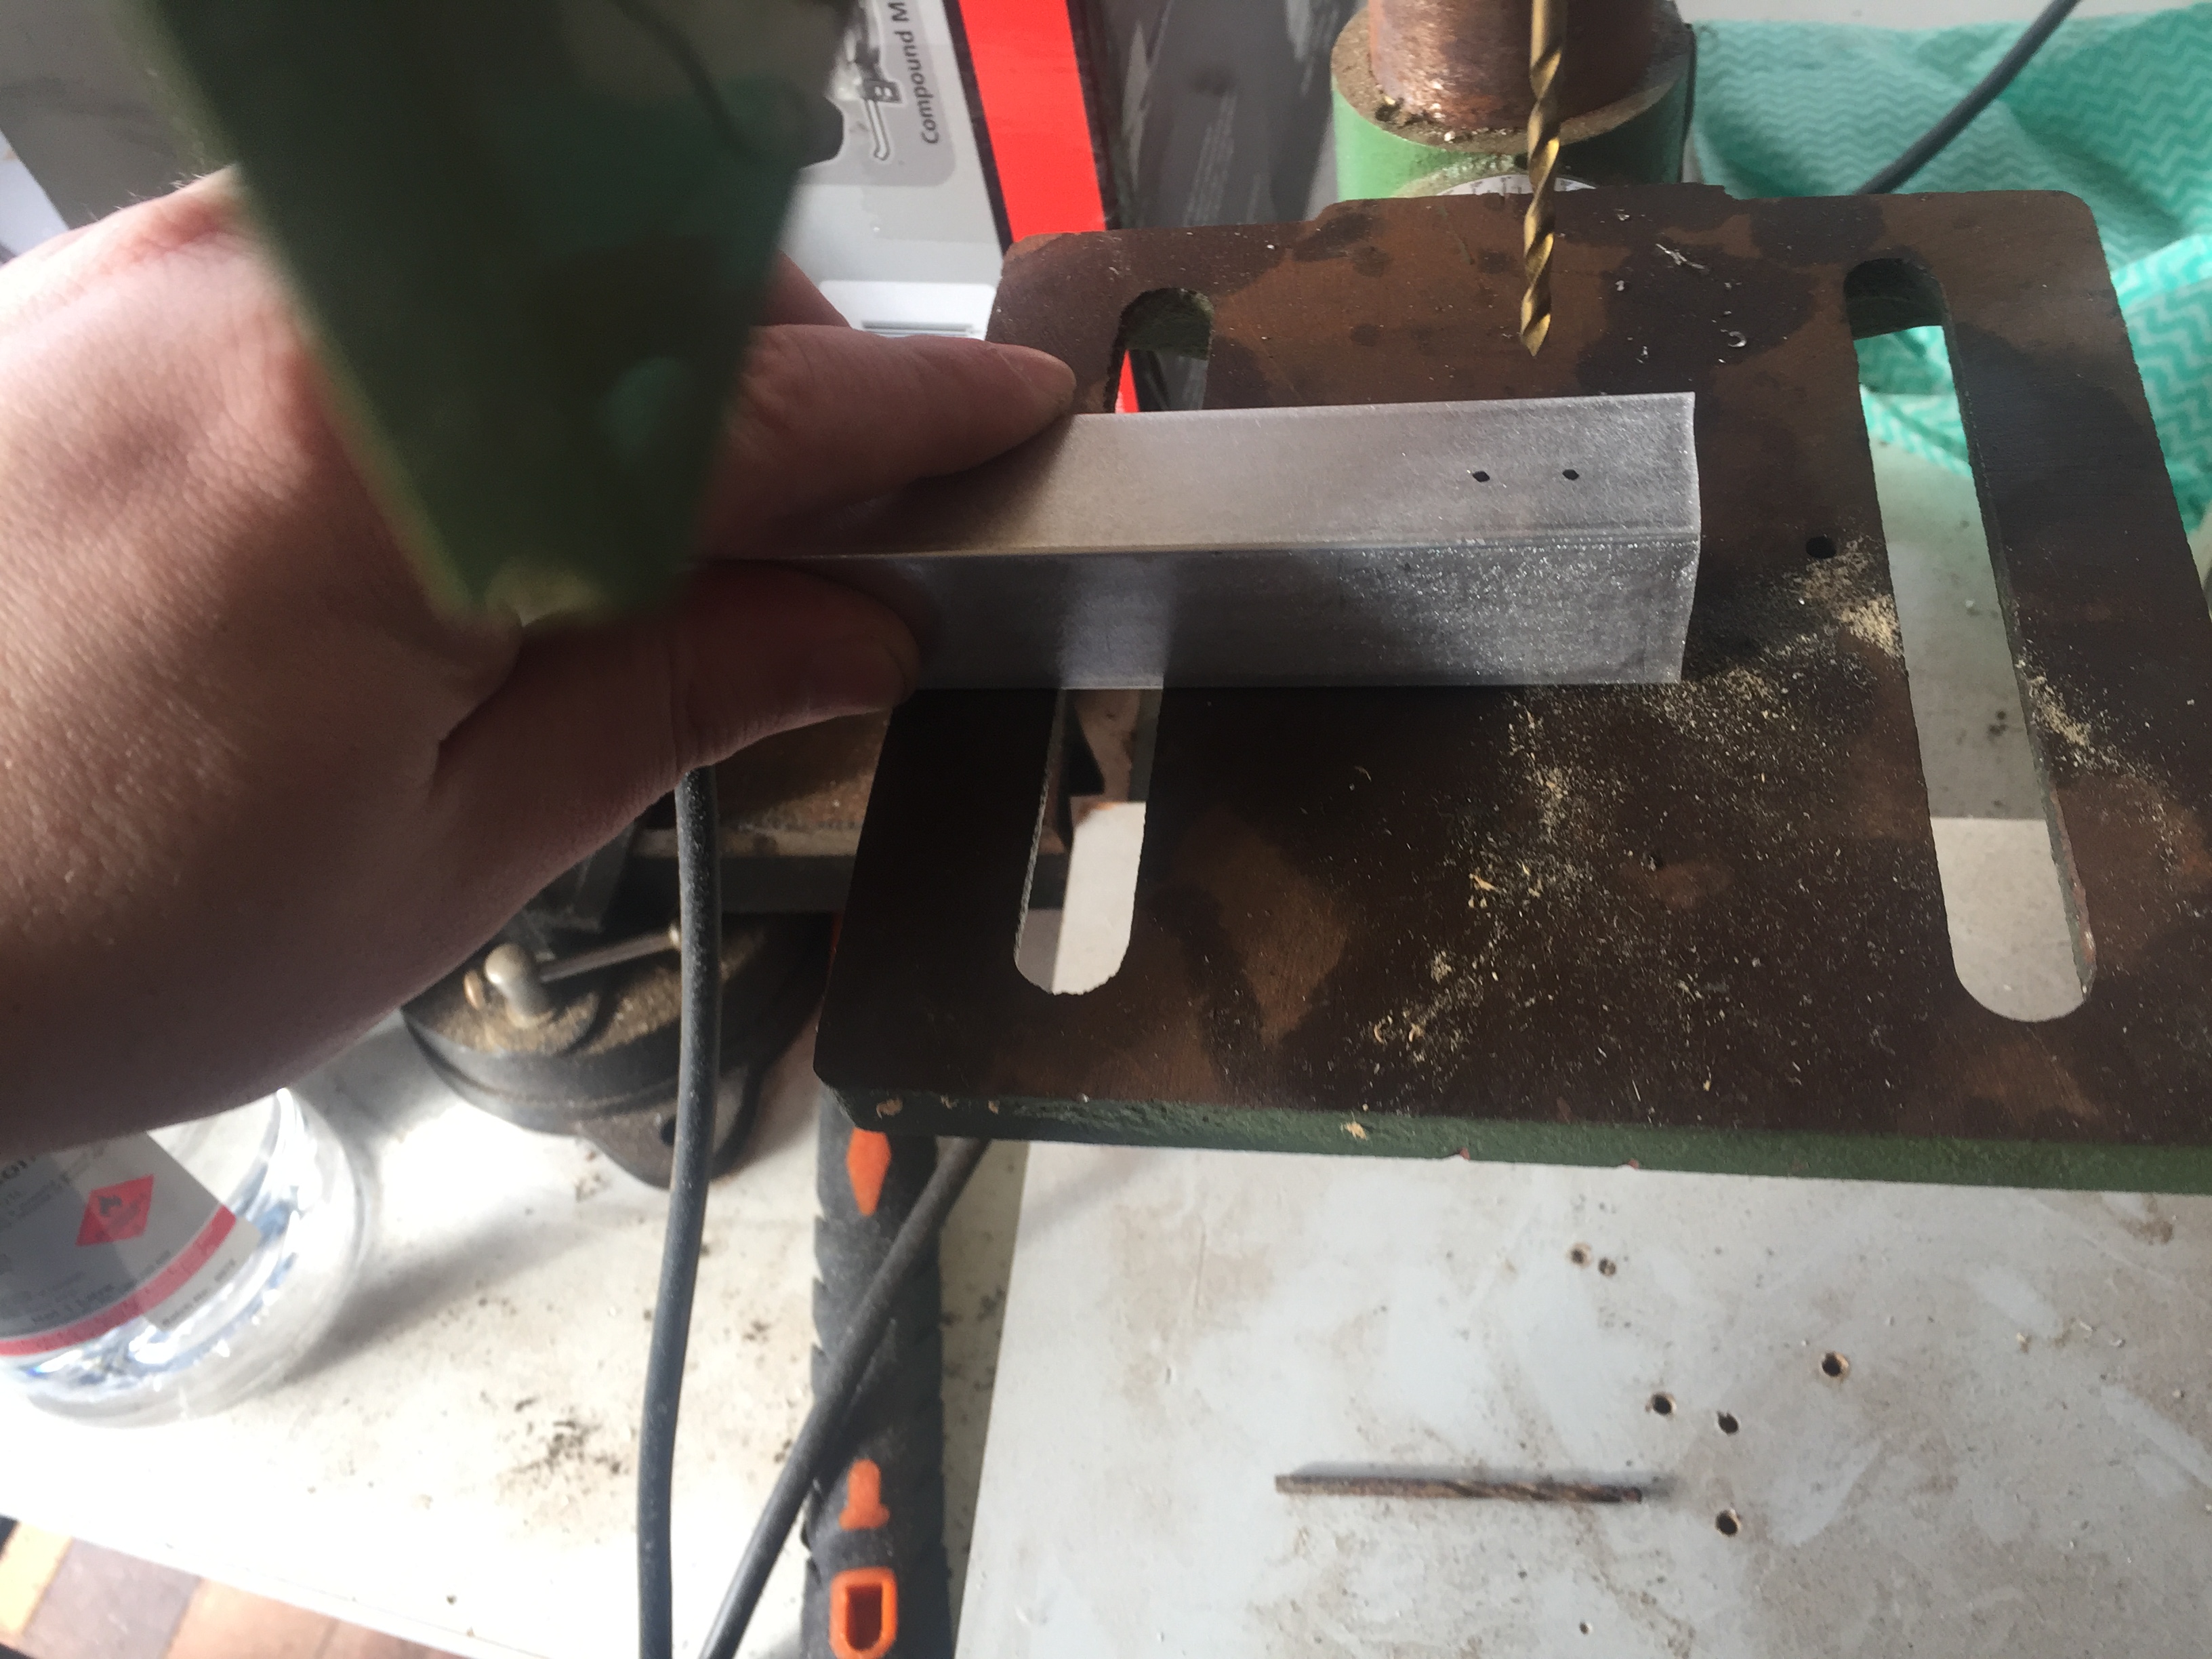 As you can see here these need to be cleaned up on the inside.. 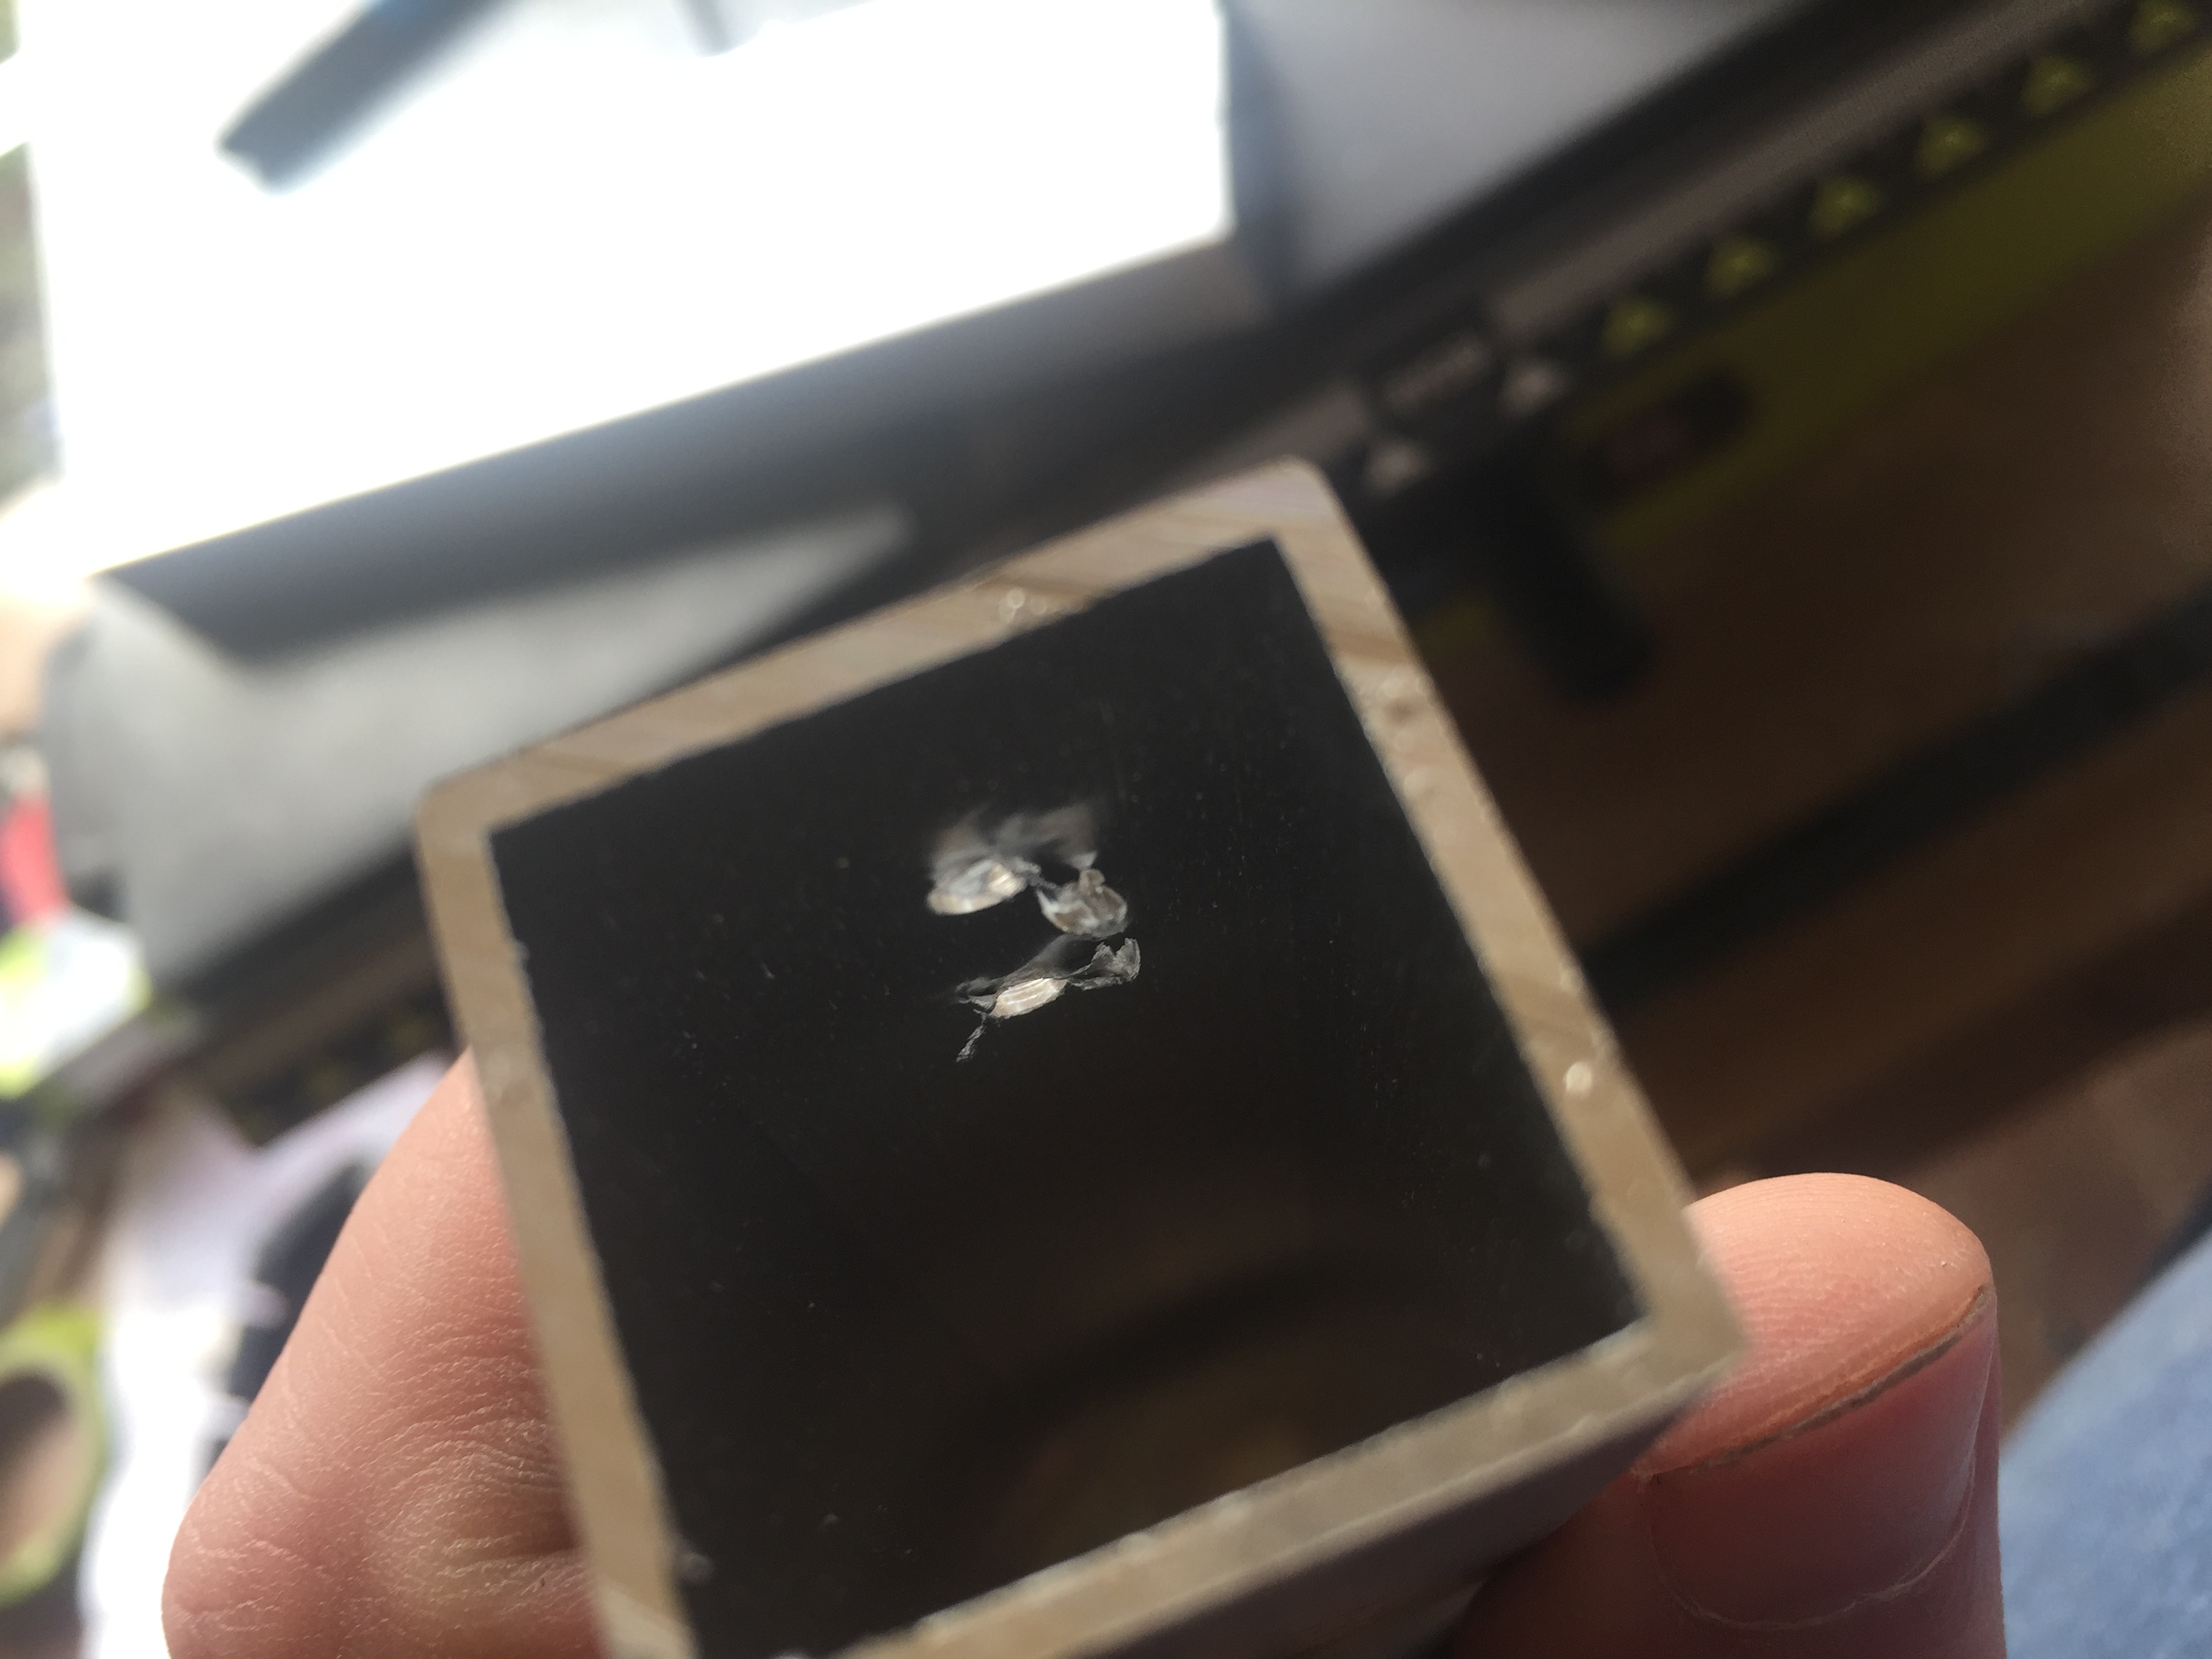 Time to break out an old file 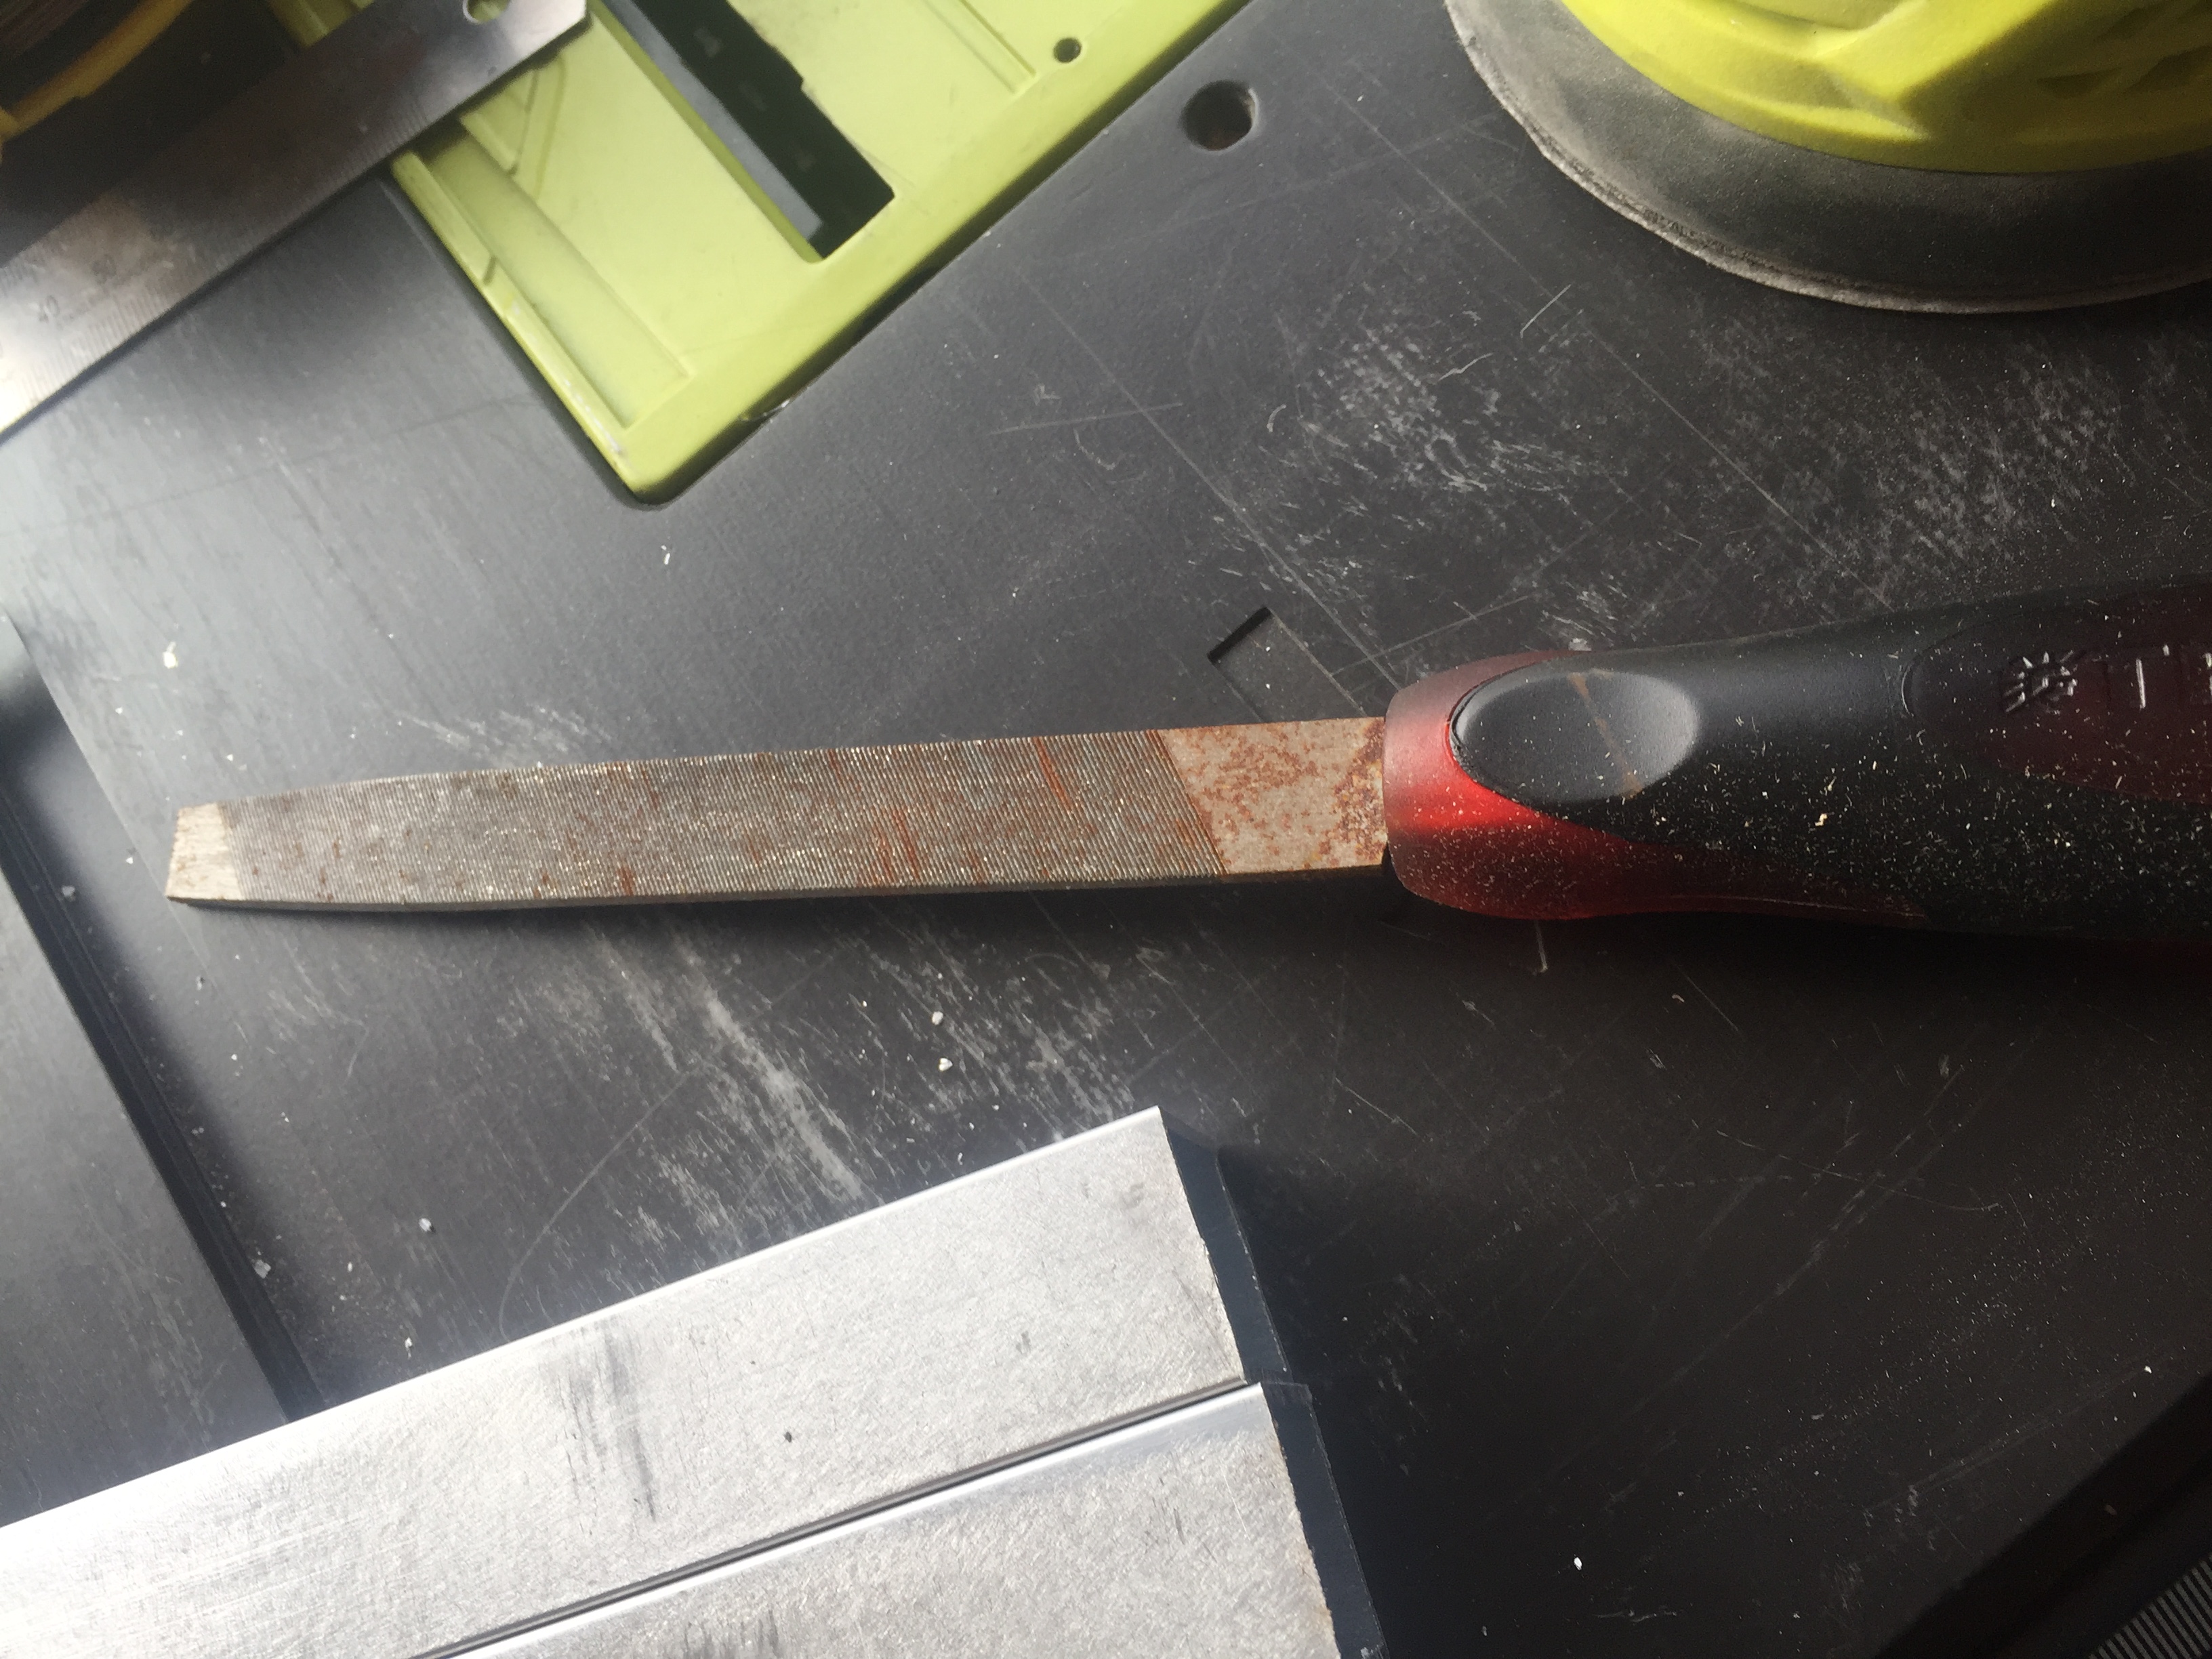 As you can see here, it cleans up nicely! 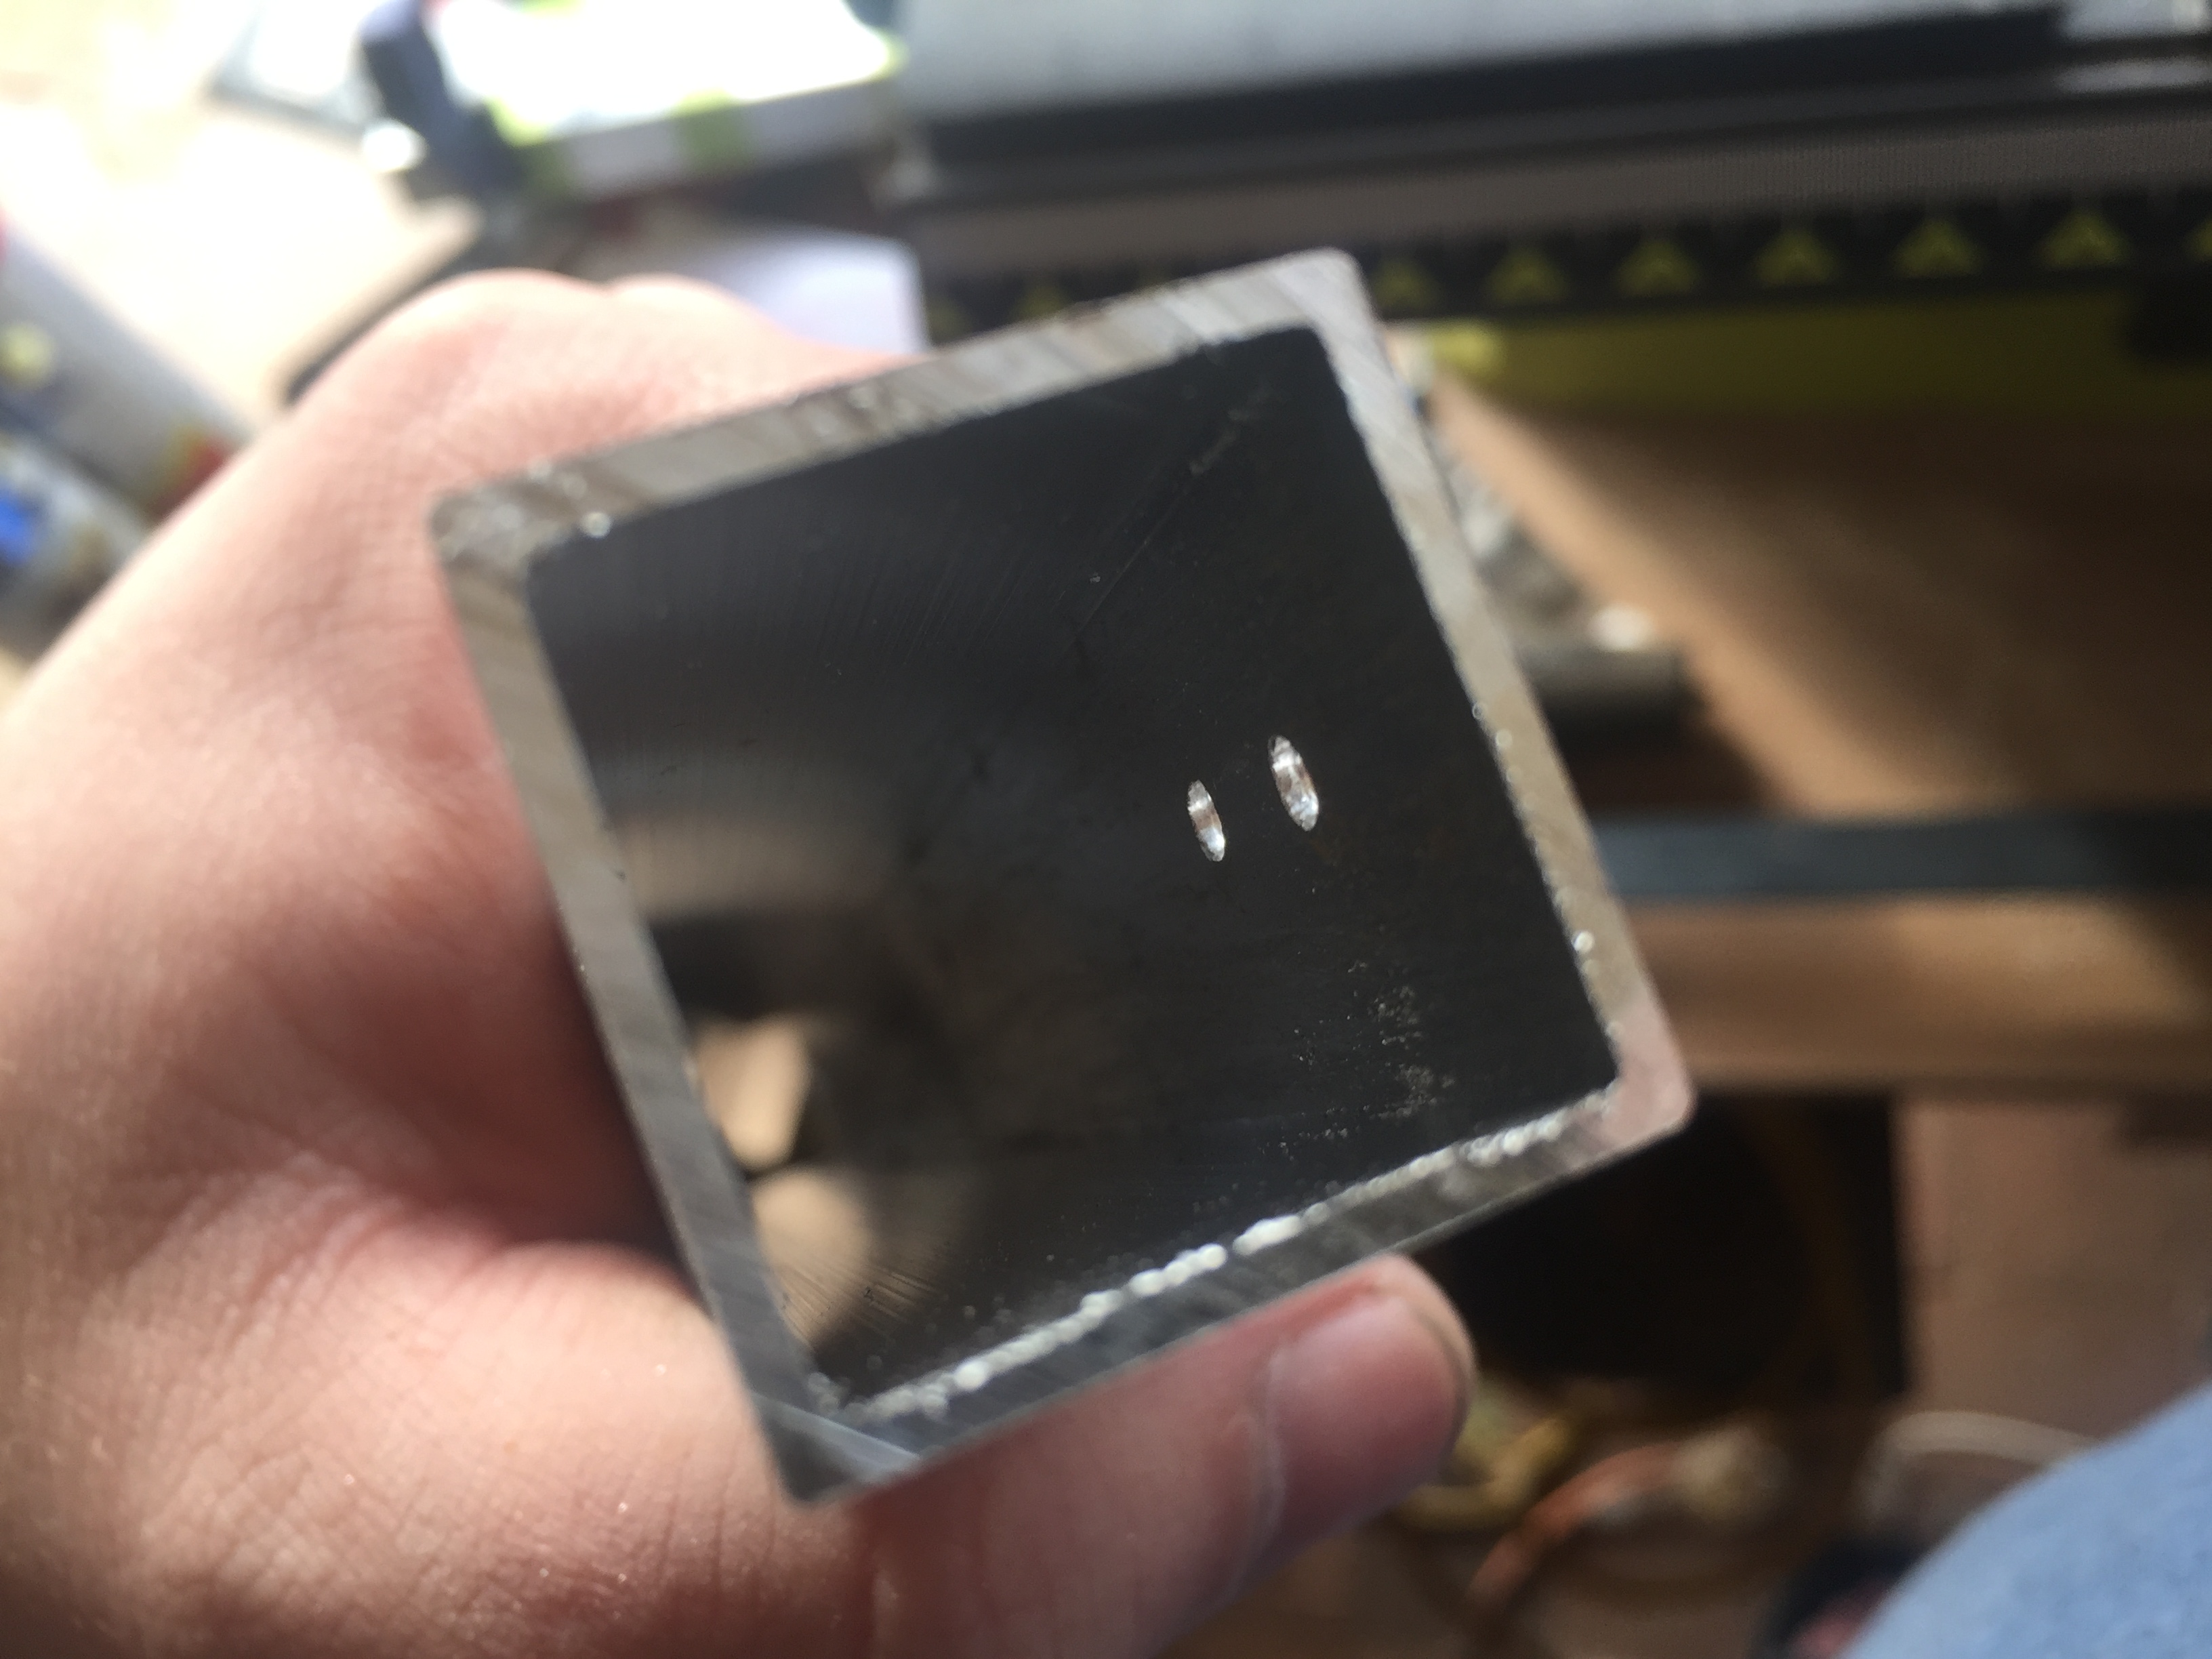 Time to prepare these to be painted.. Cut up an old coathanger.. well, actually it was one out of the warddrobe - hopefully my partner doesn't notice ;) Hung them up on the remaining piece of aluminium tube using a mini step ladder and a sack truck to hold it up 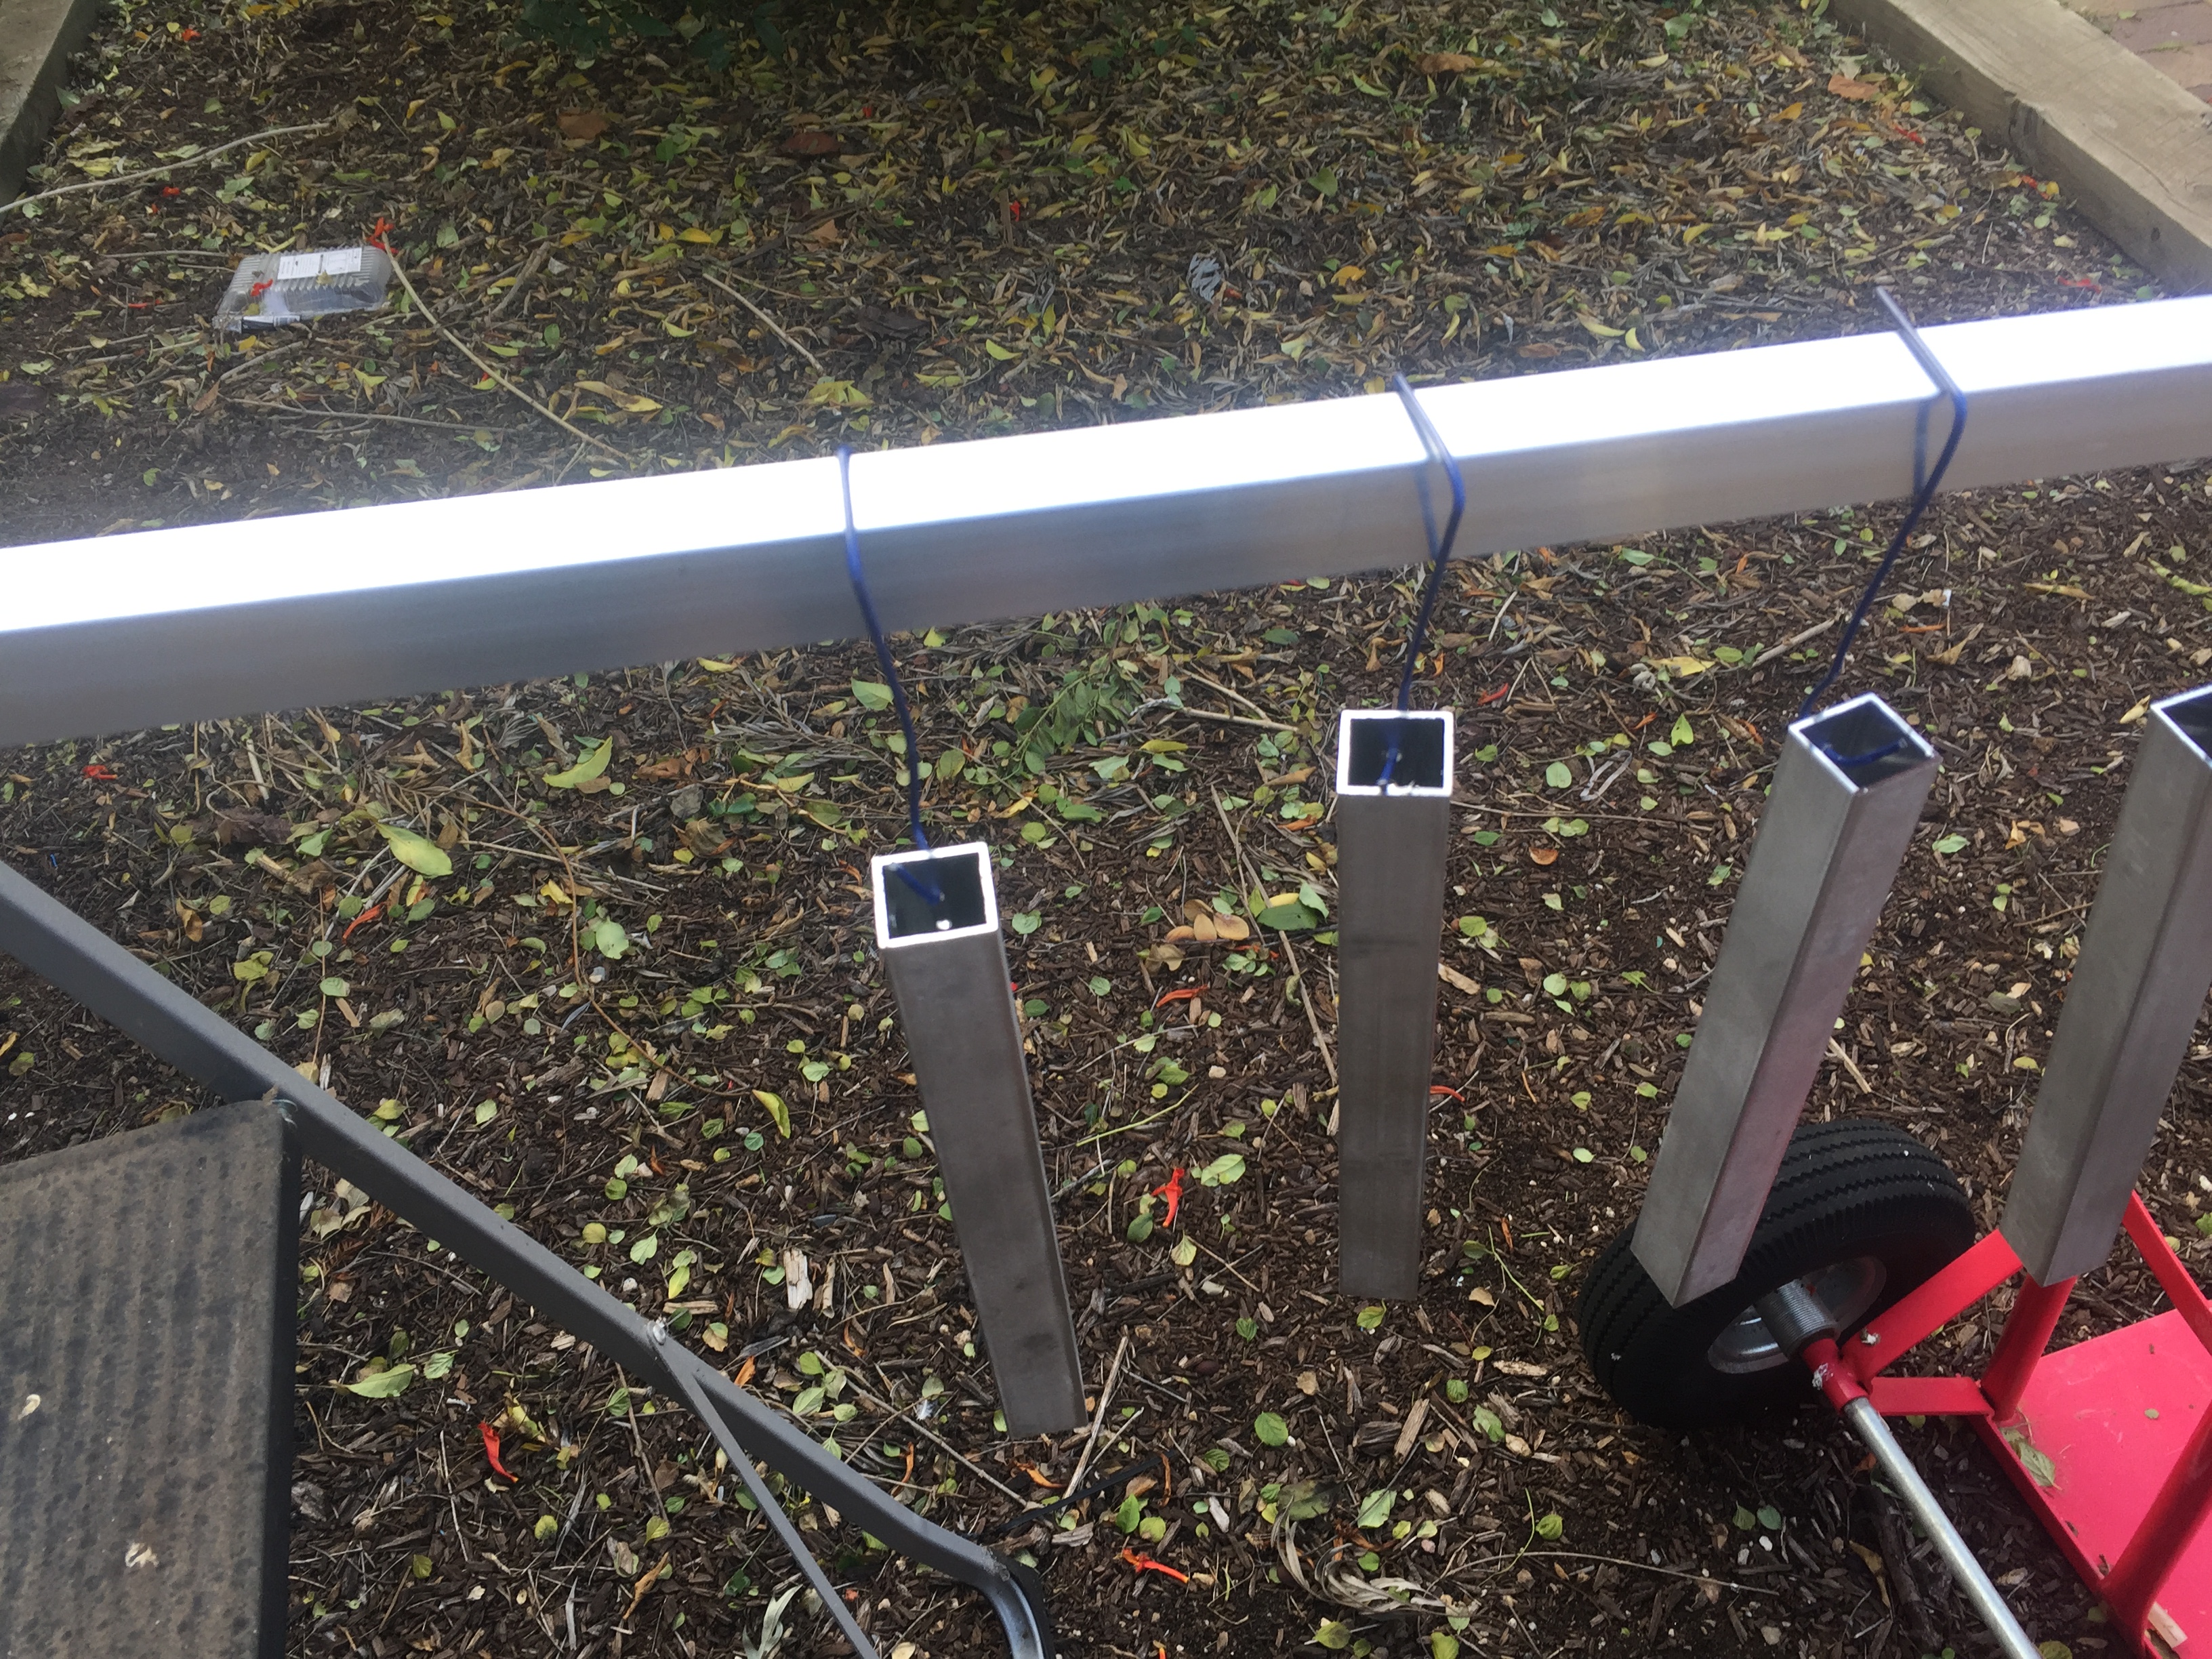 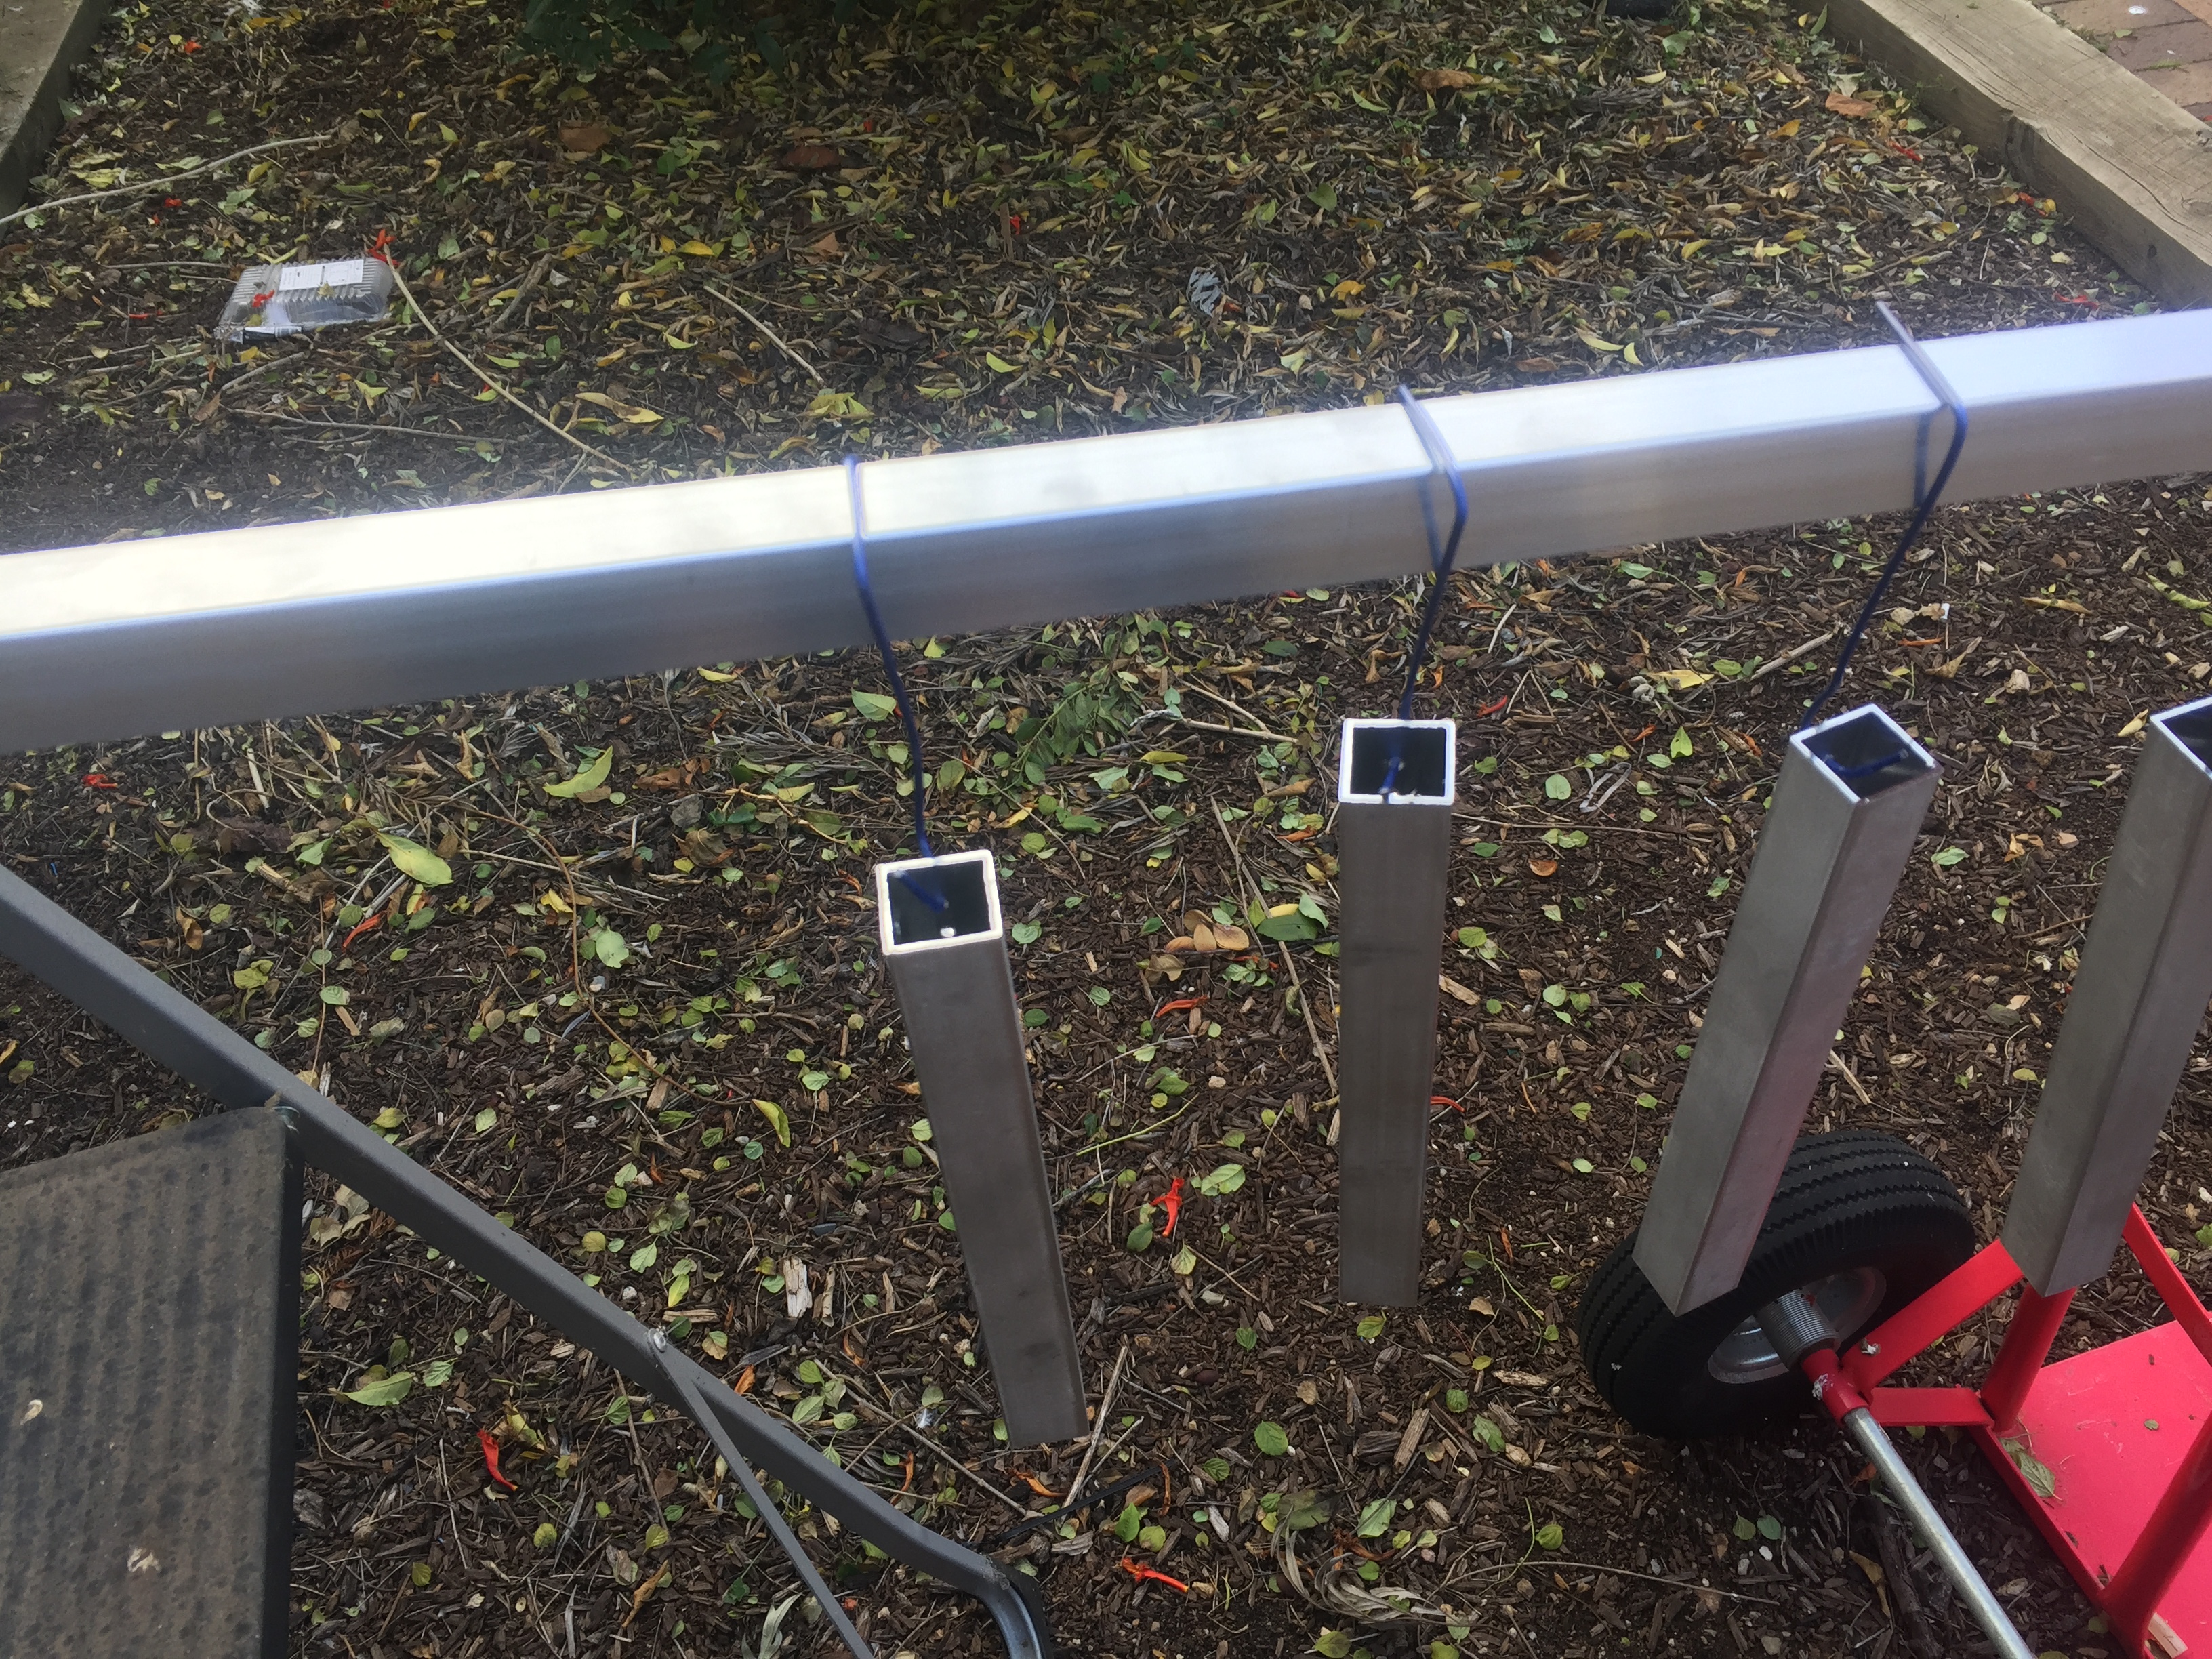 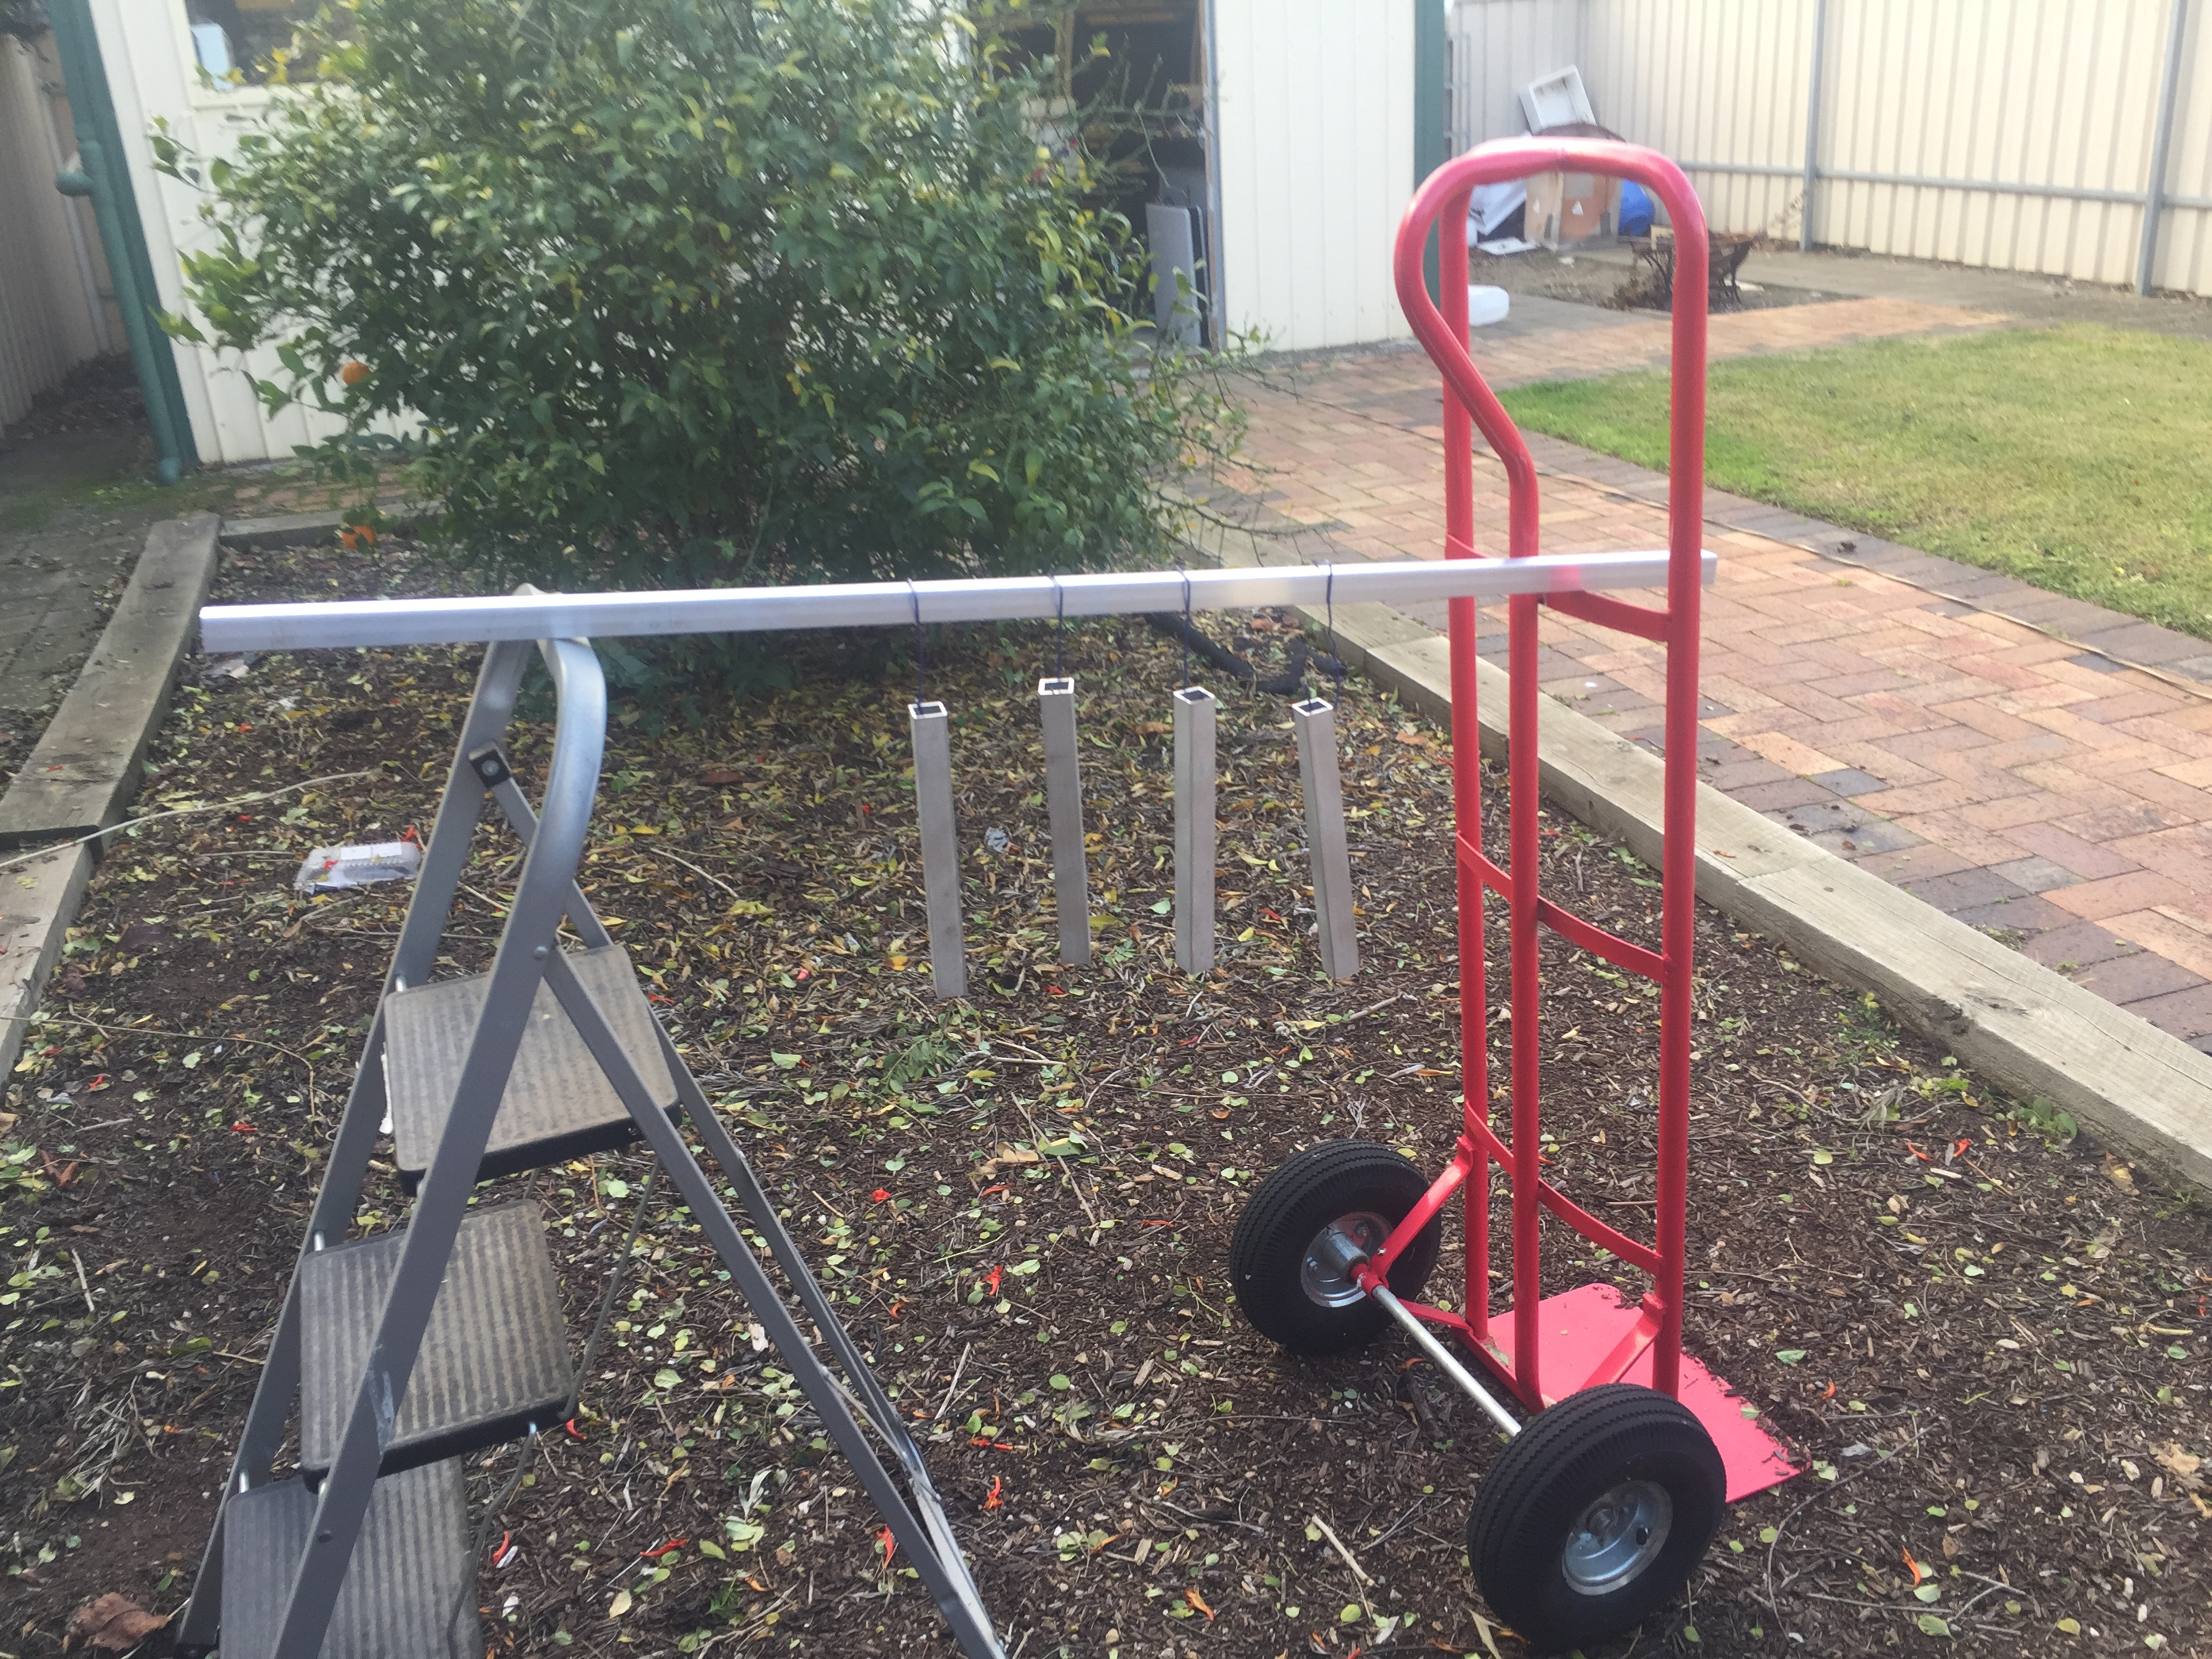 Time to paint! - Using some Rust-oleum paint and primer in Satin poppy red. This is something I had laying around 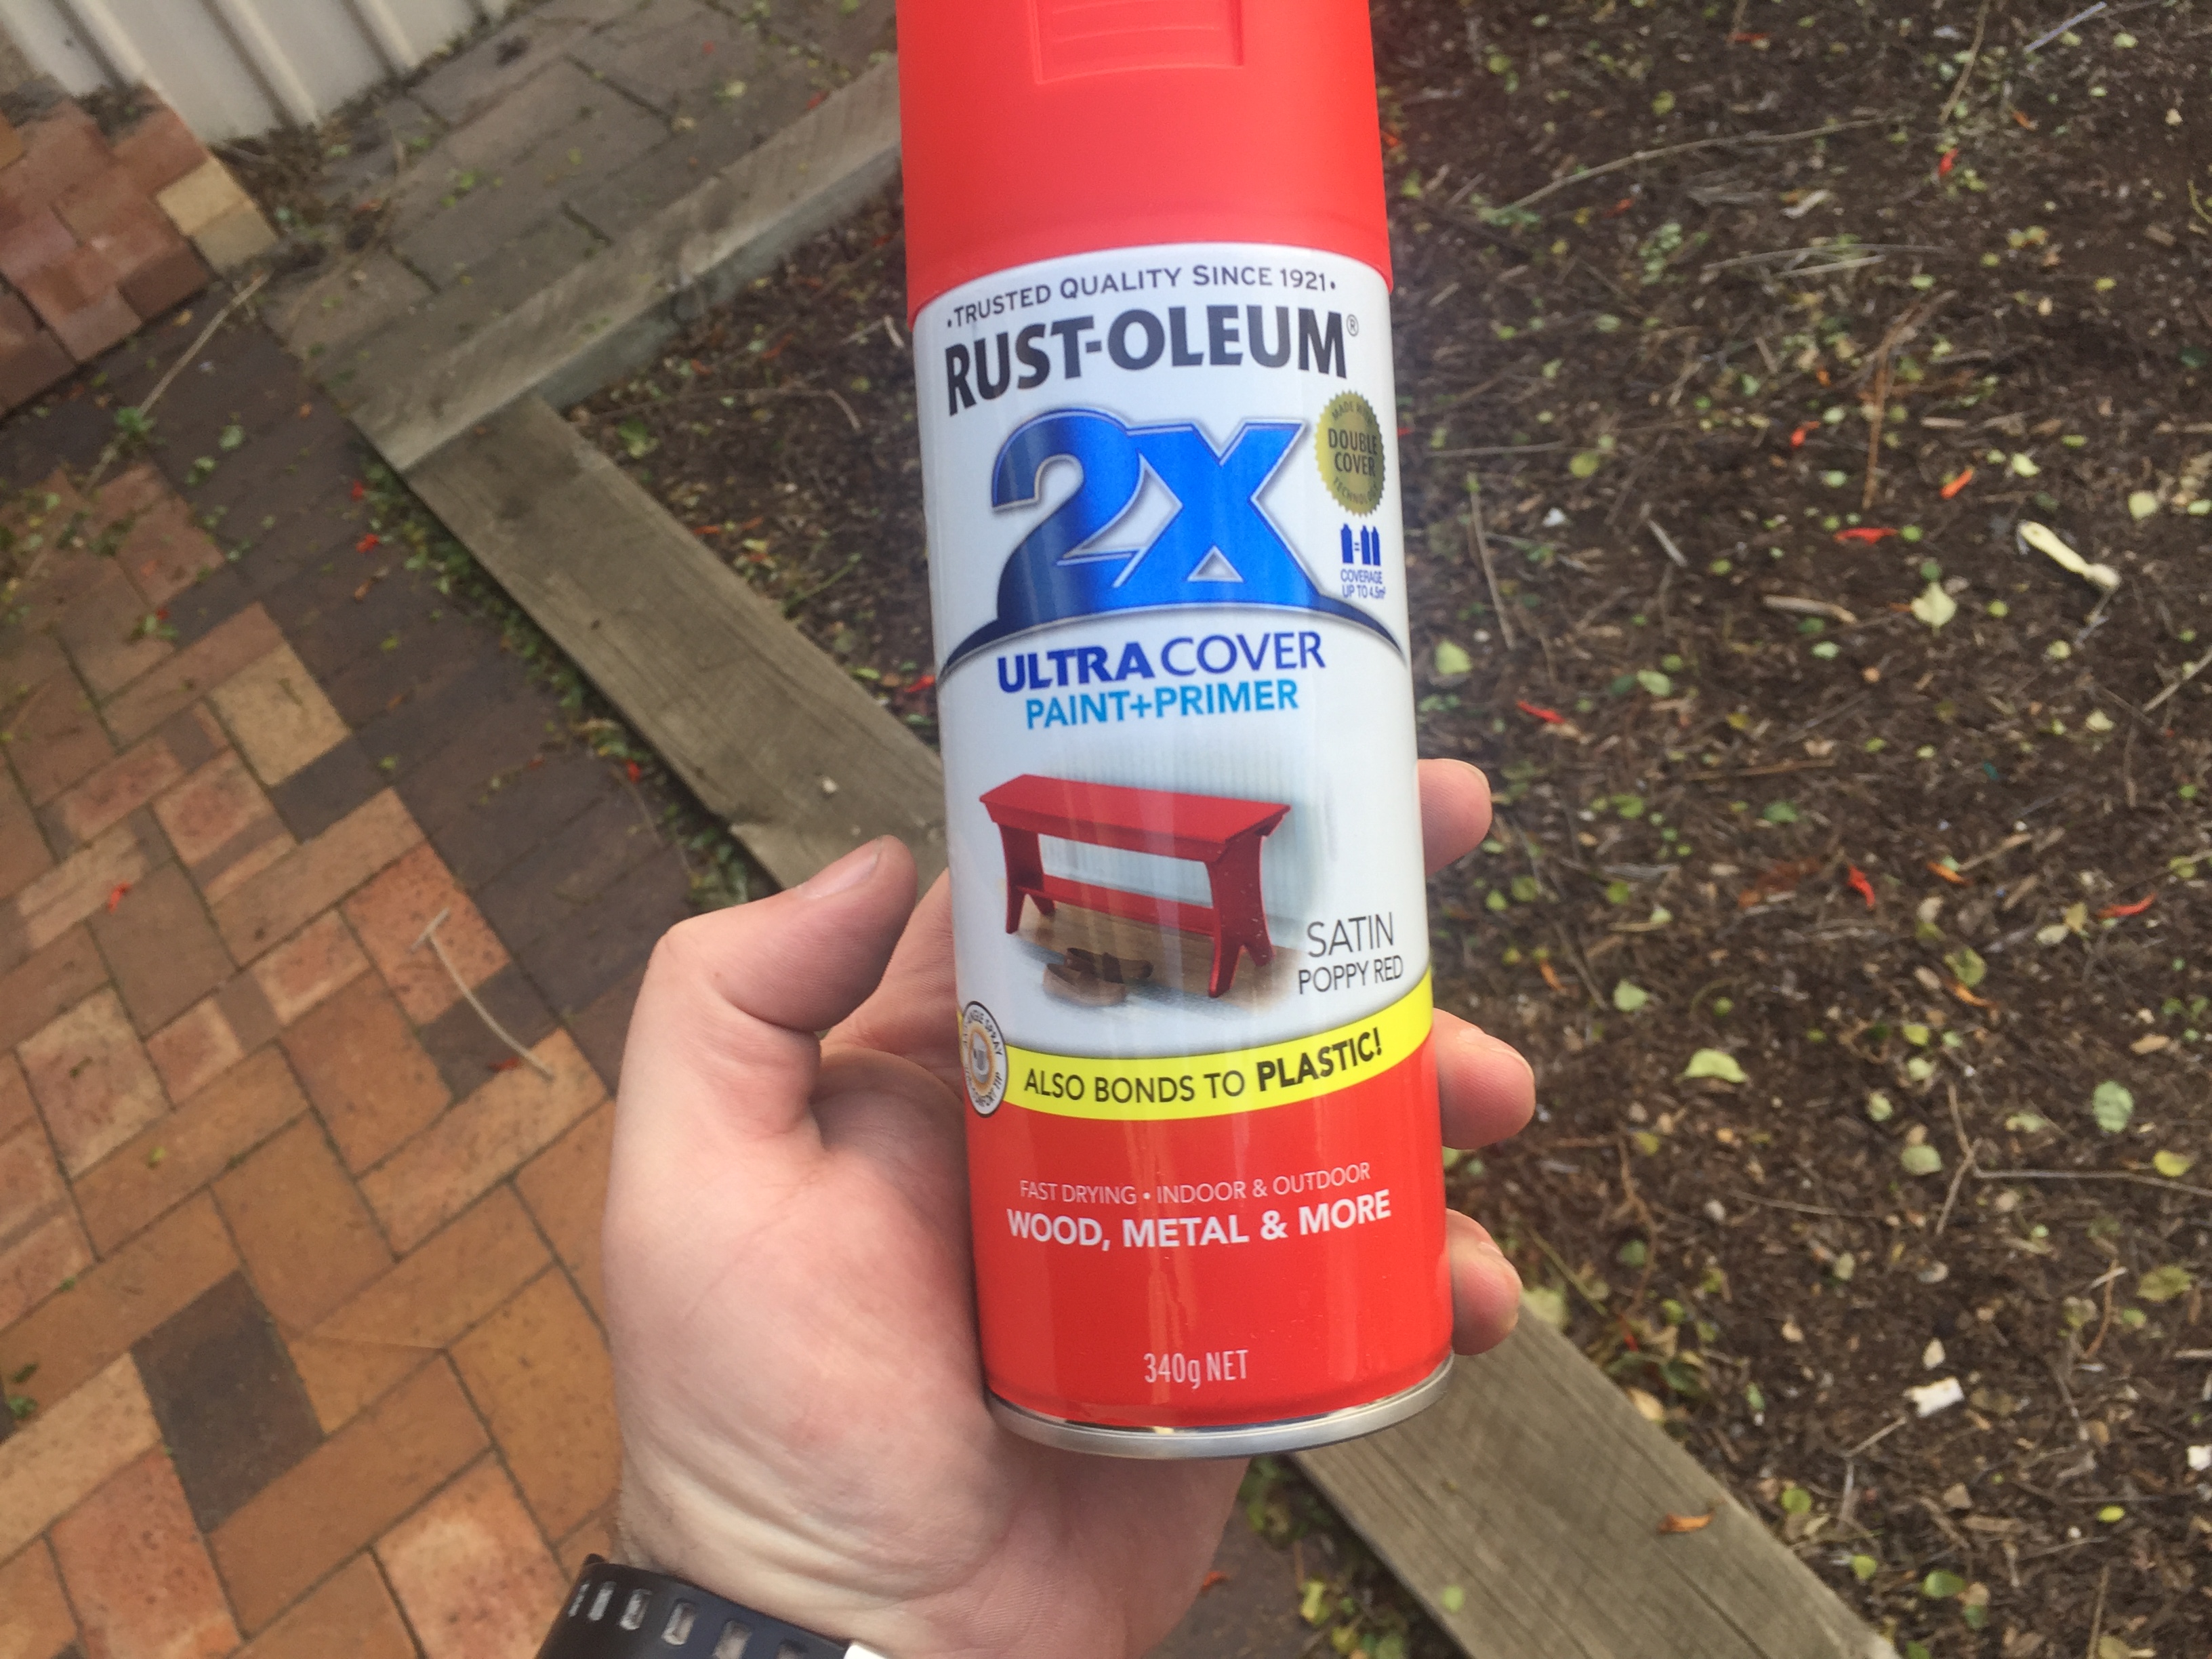 .. and painted - Yes, I suck at spray painting.. but who cares :)  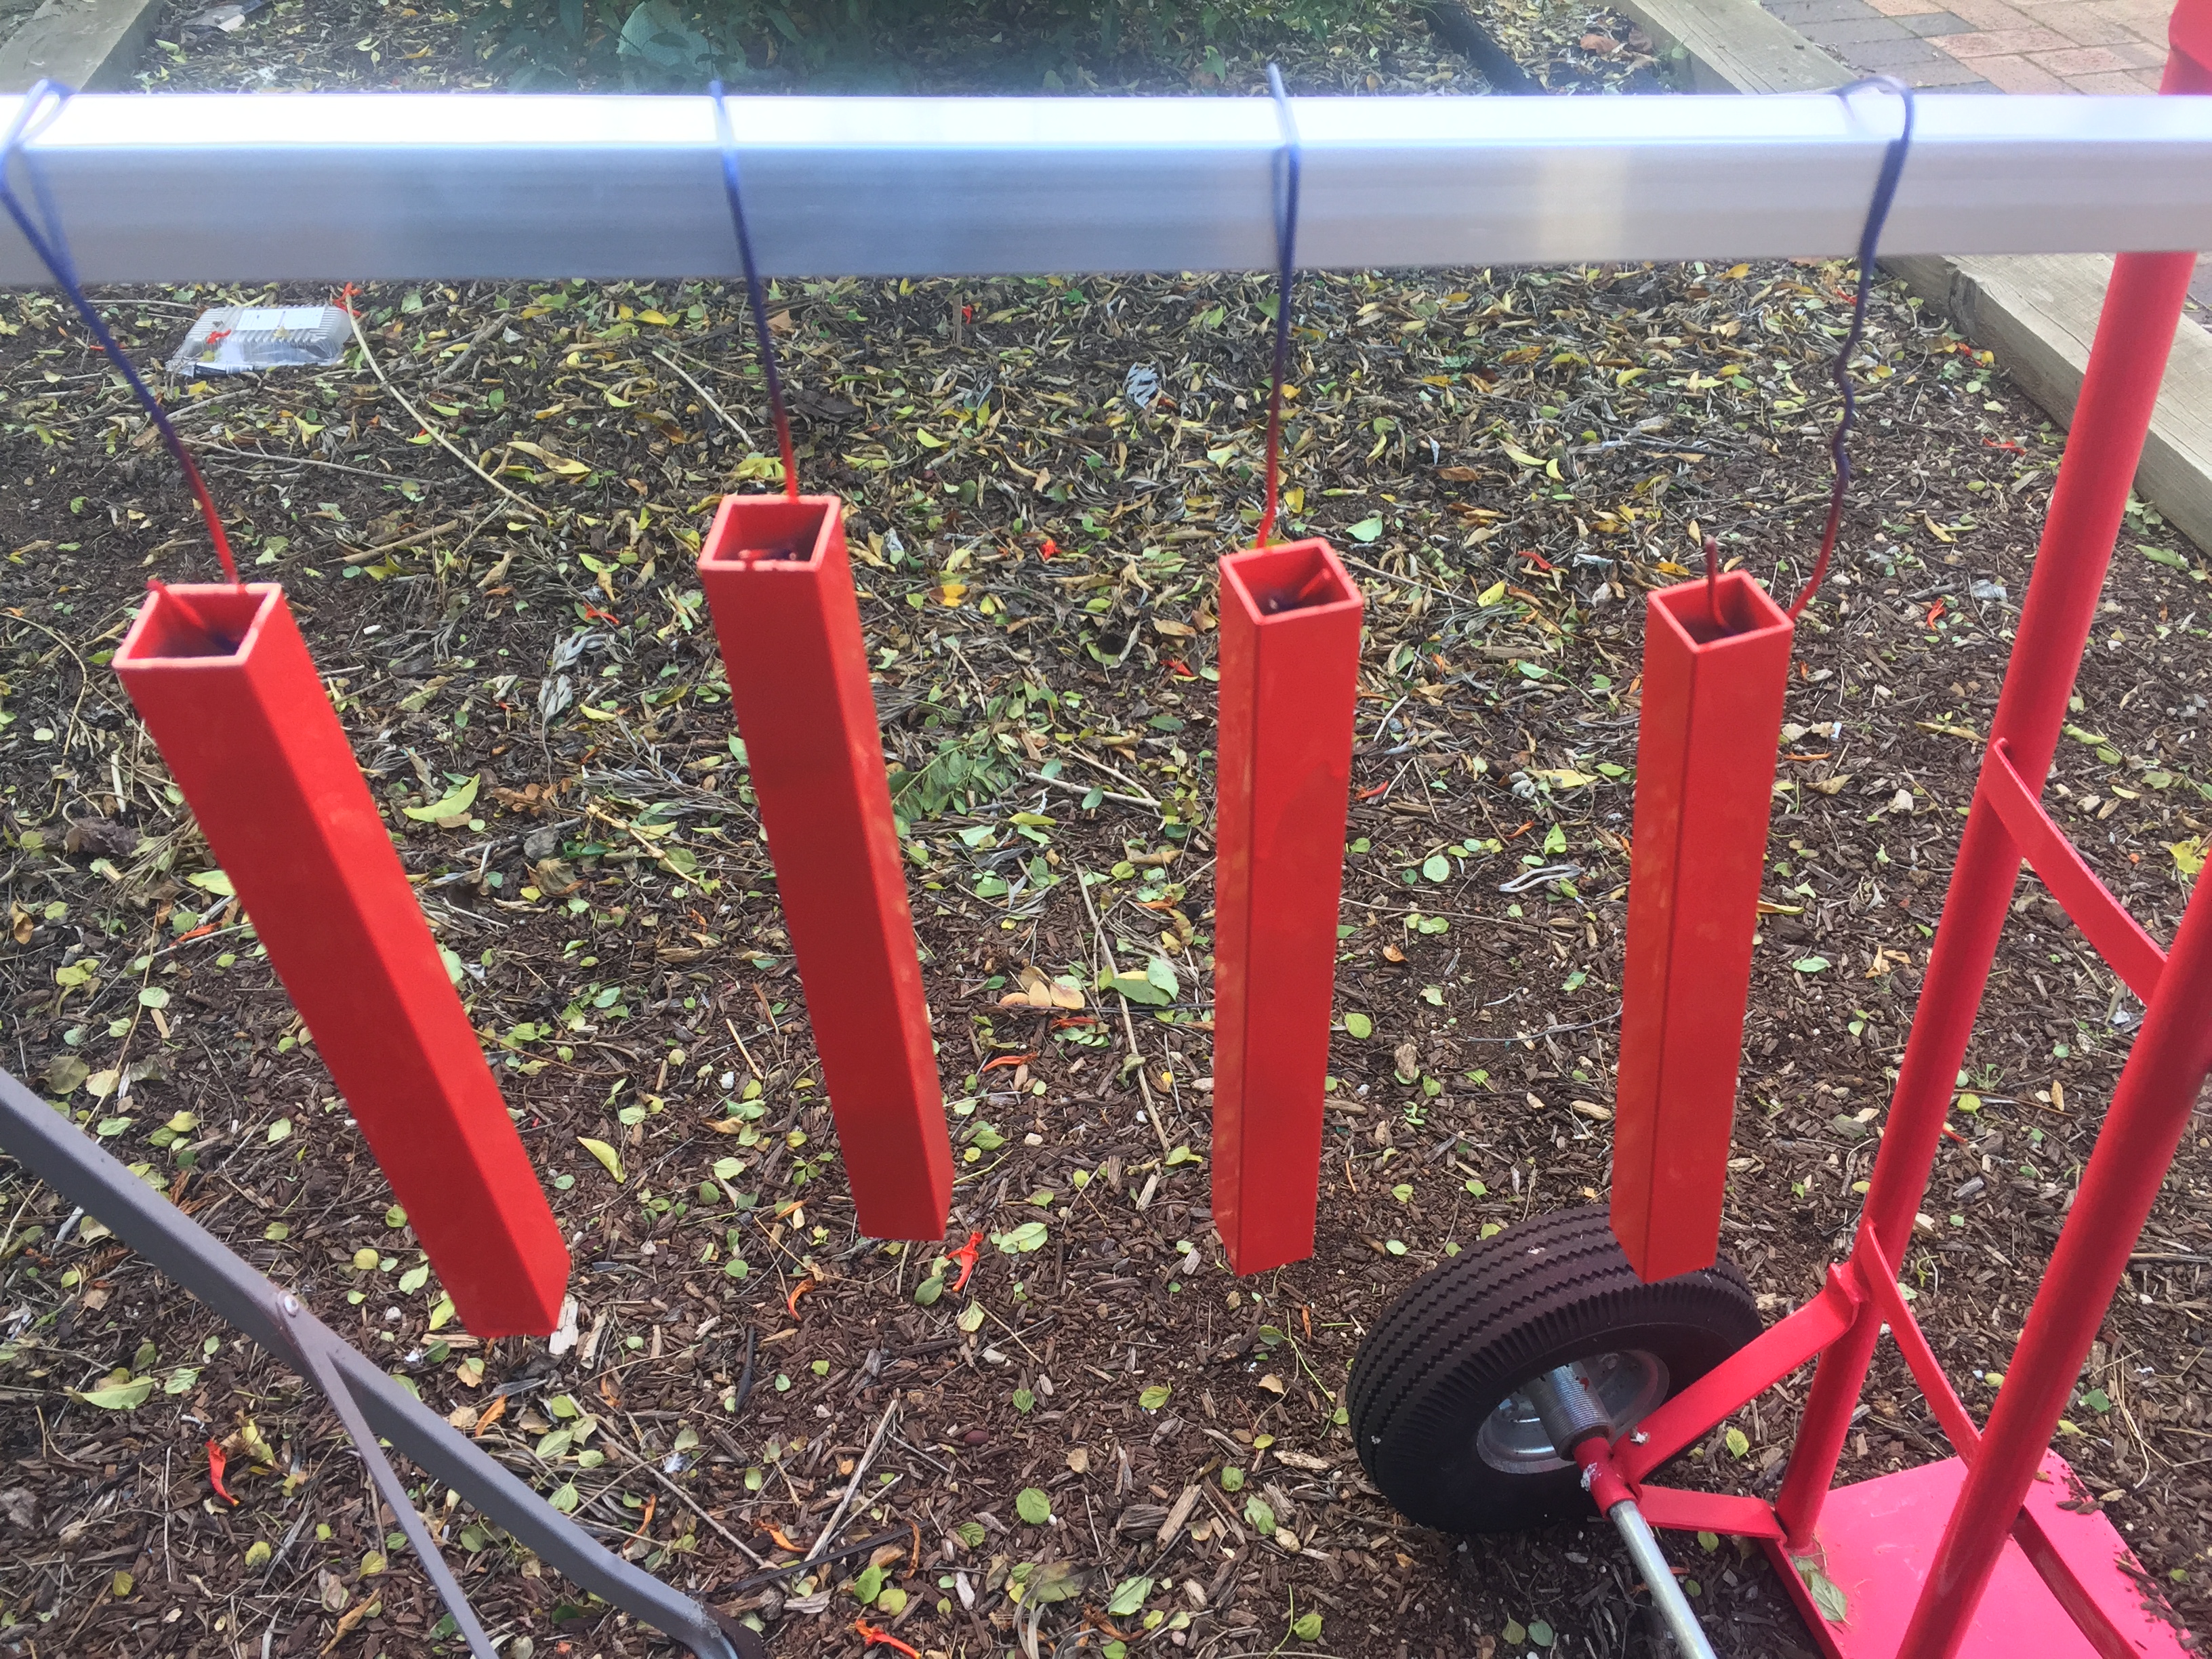 For the cross section - needed a piece of 25mm wide 3mm thick mild steel flat bar. Cut this to 260mm 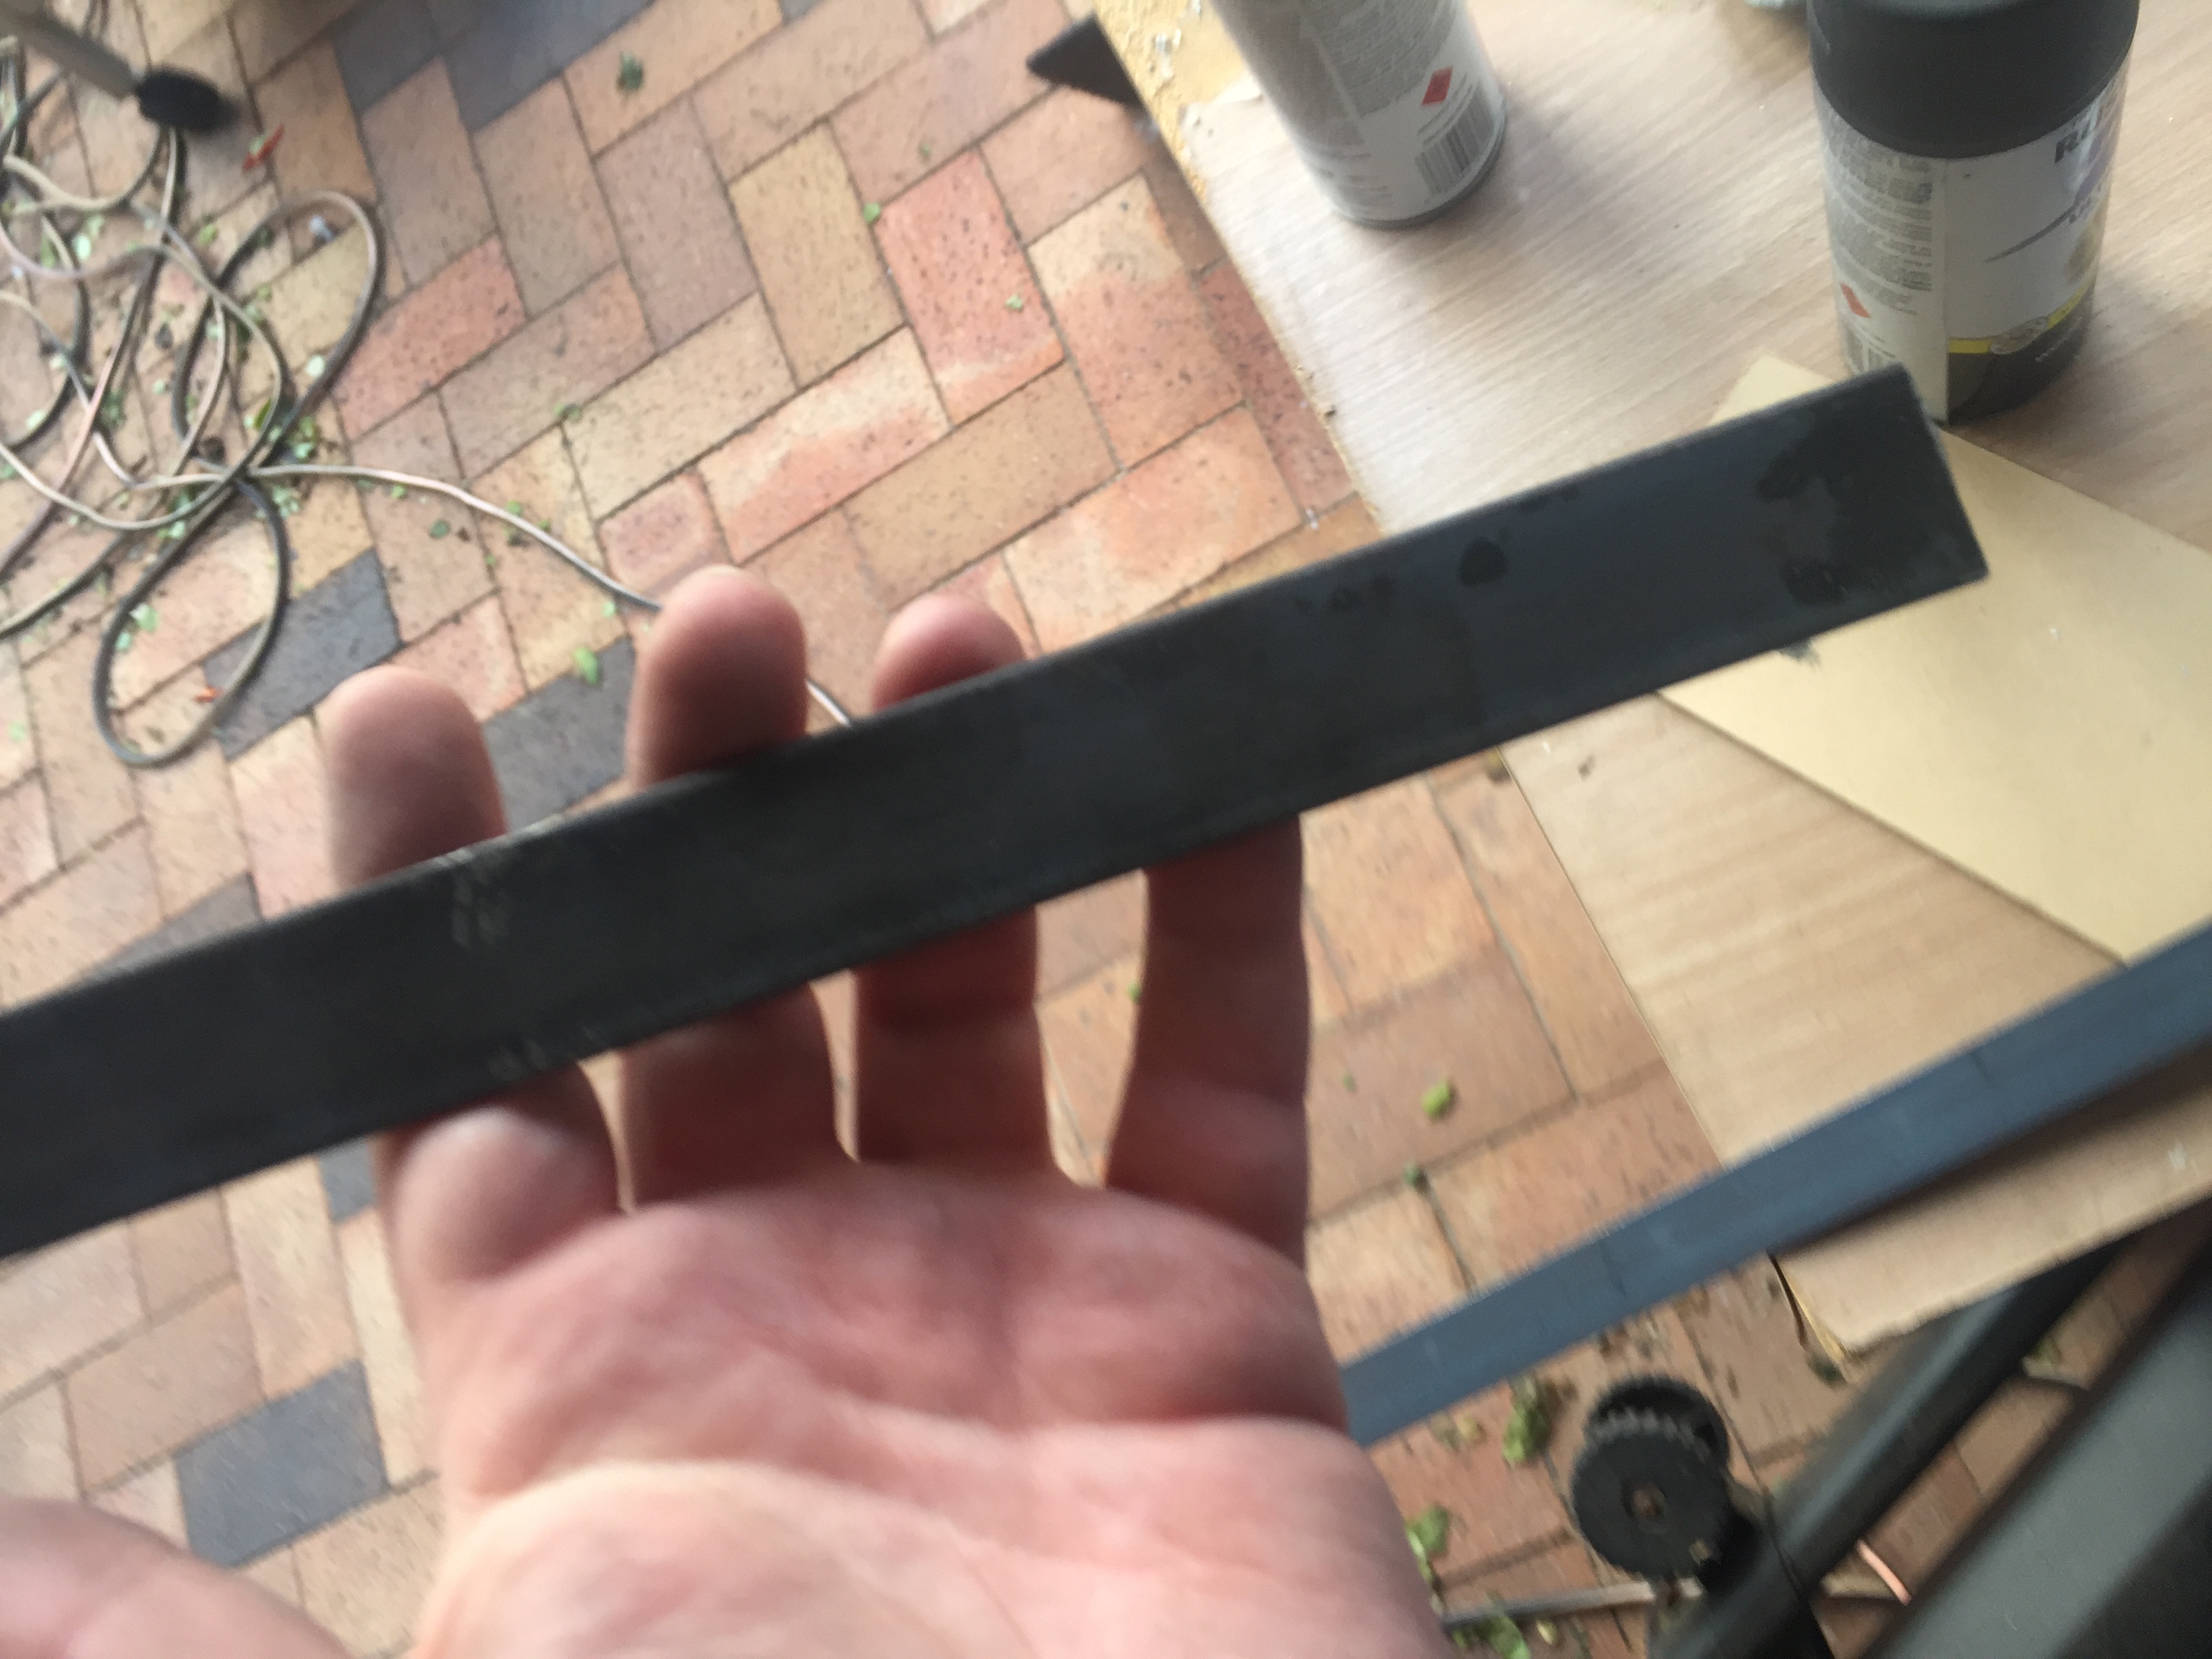 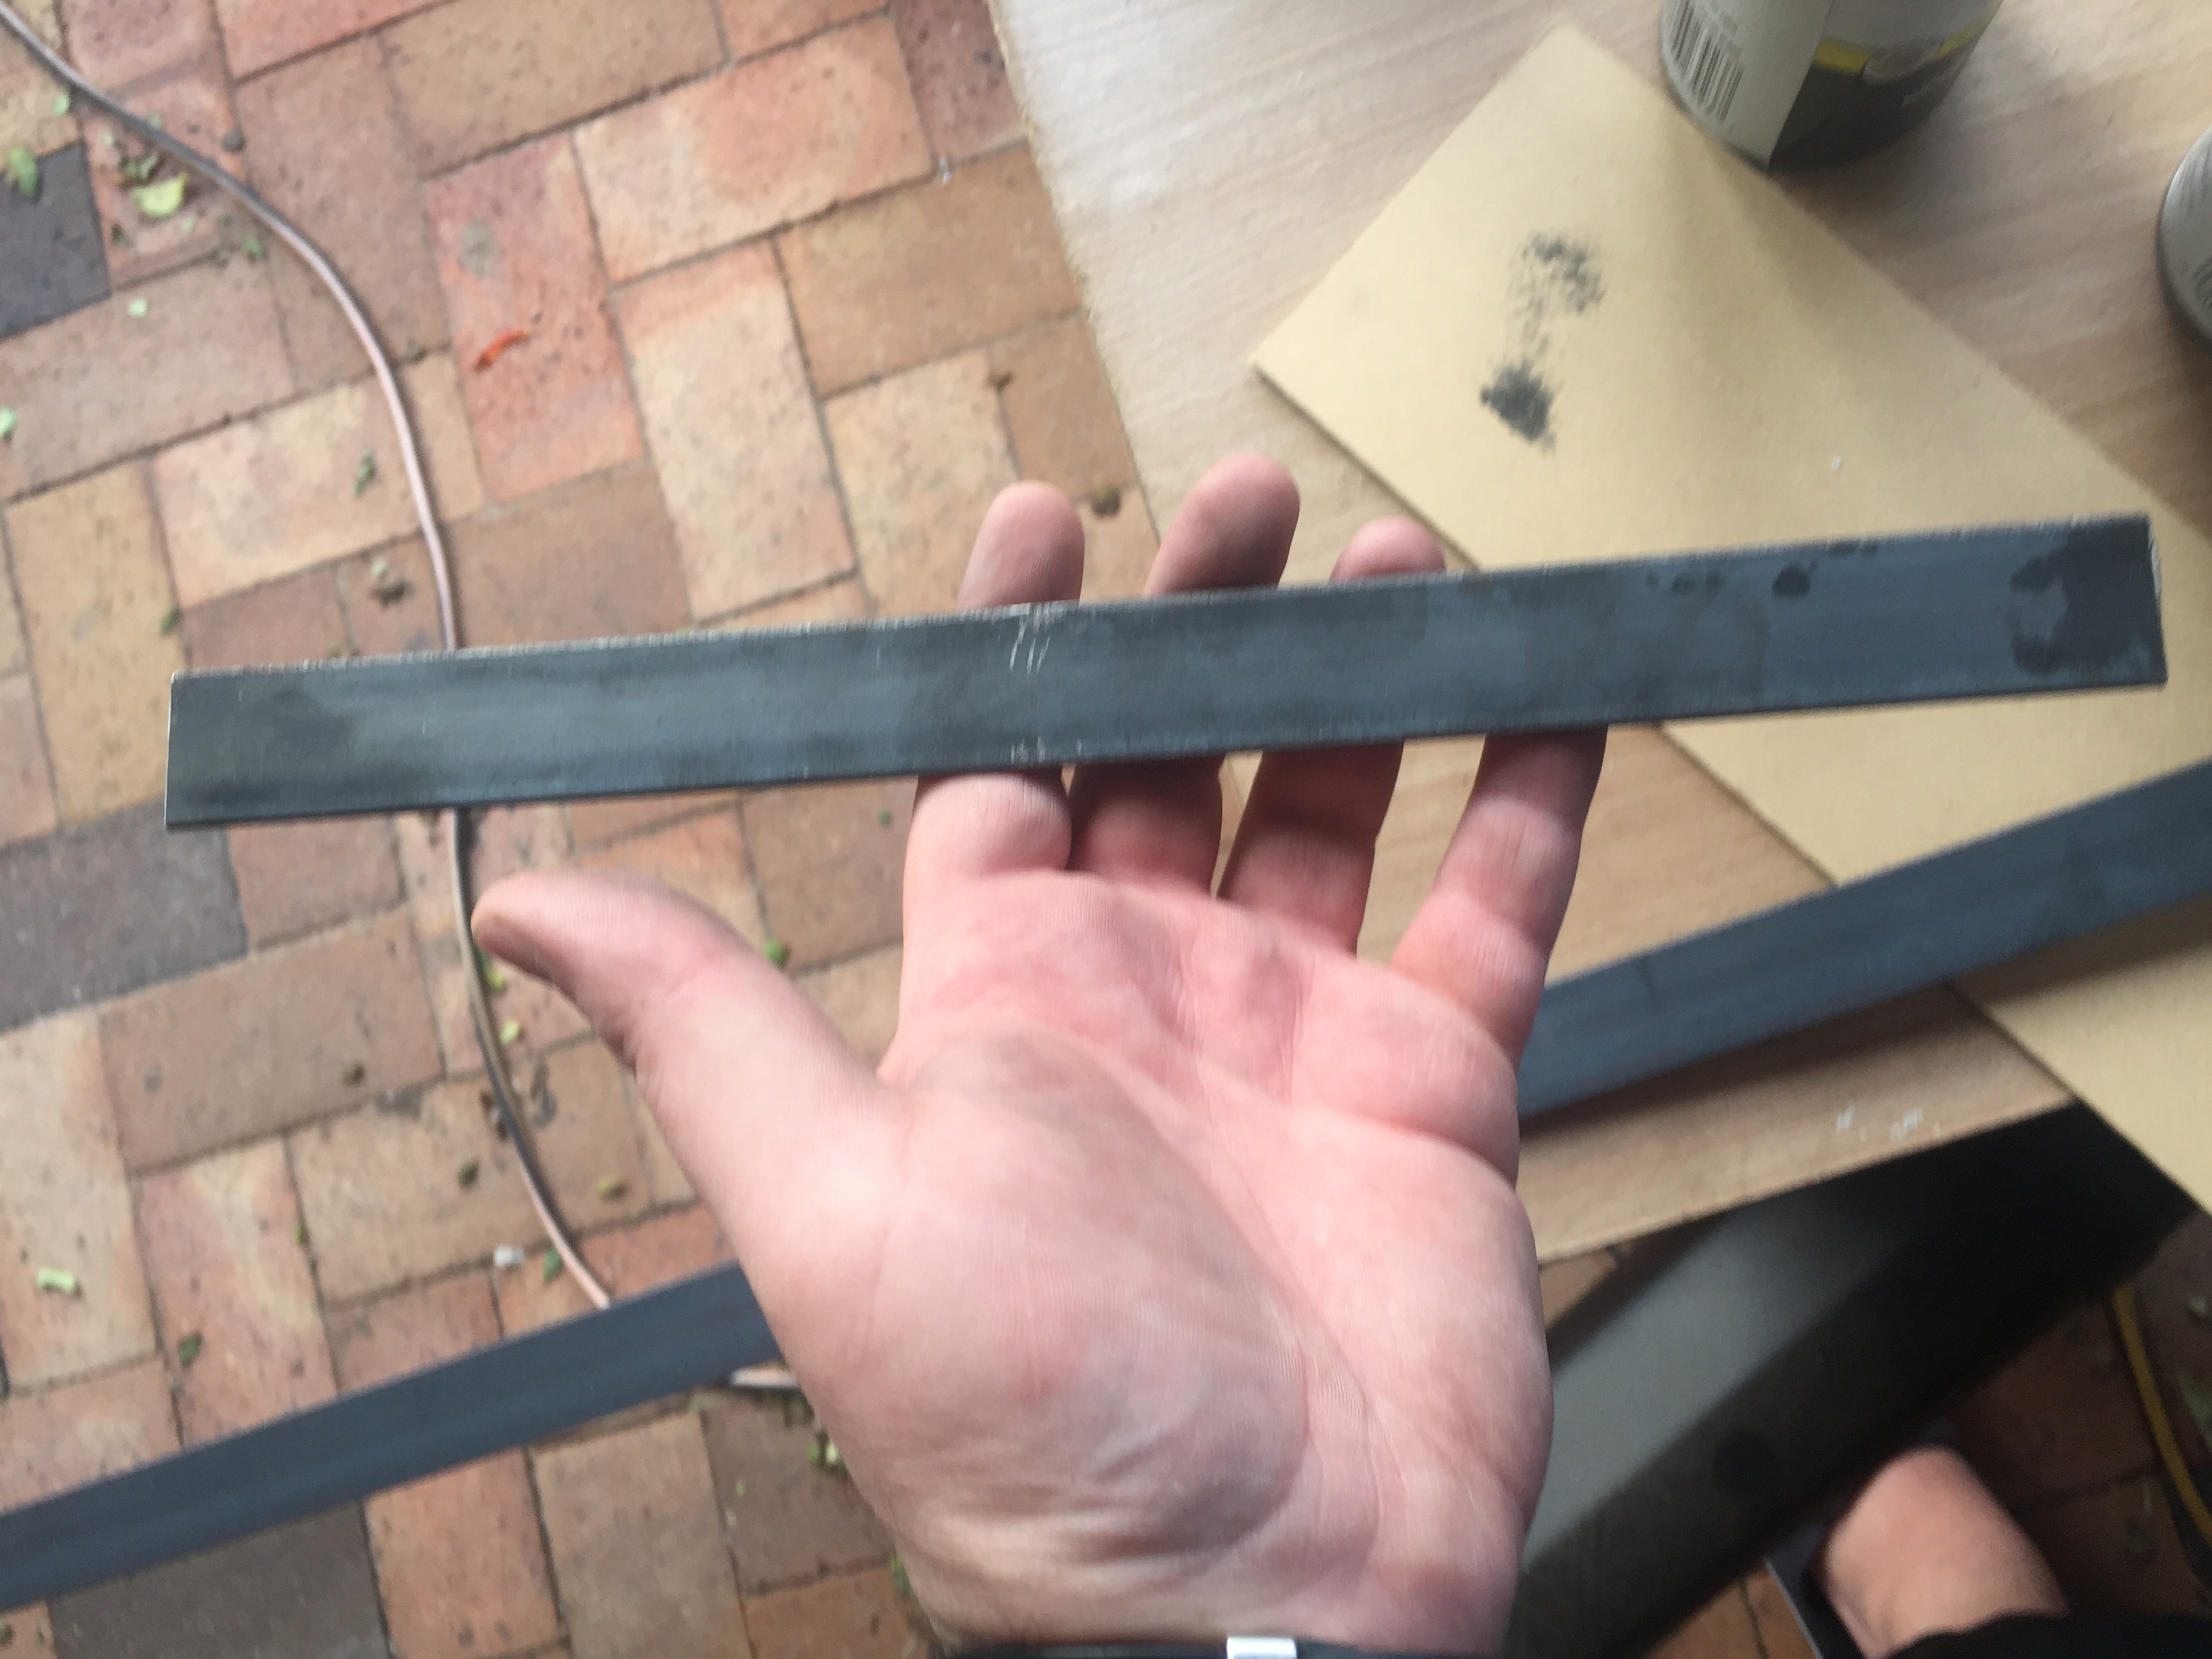 Once sanded down, this was ready to also be painted. 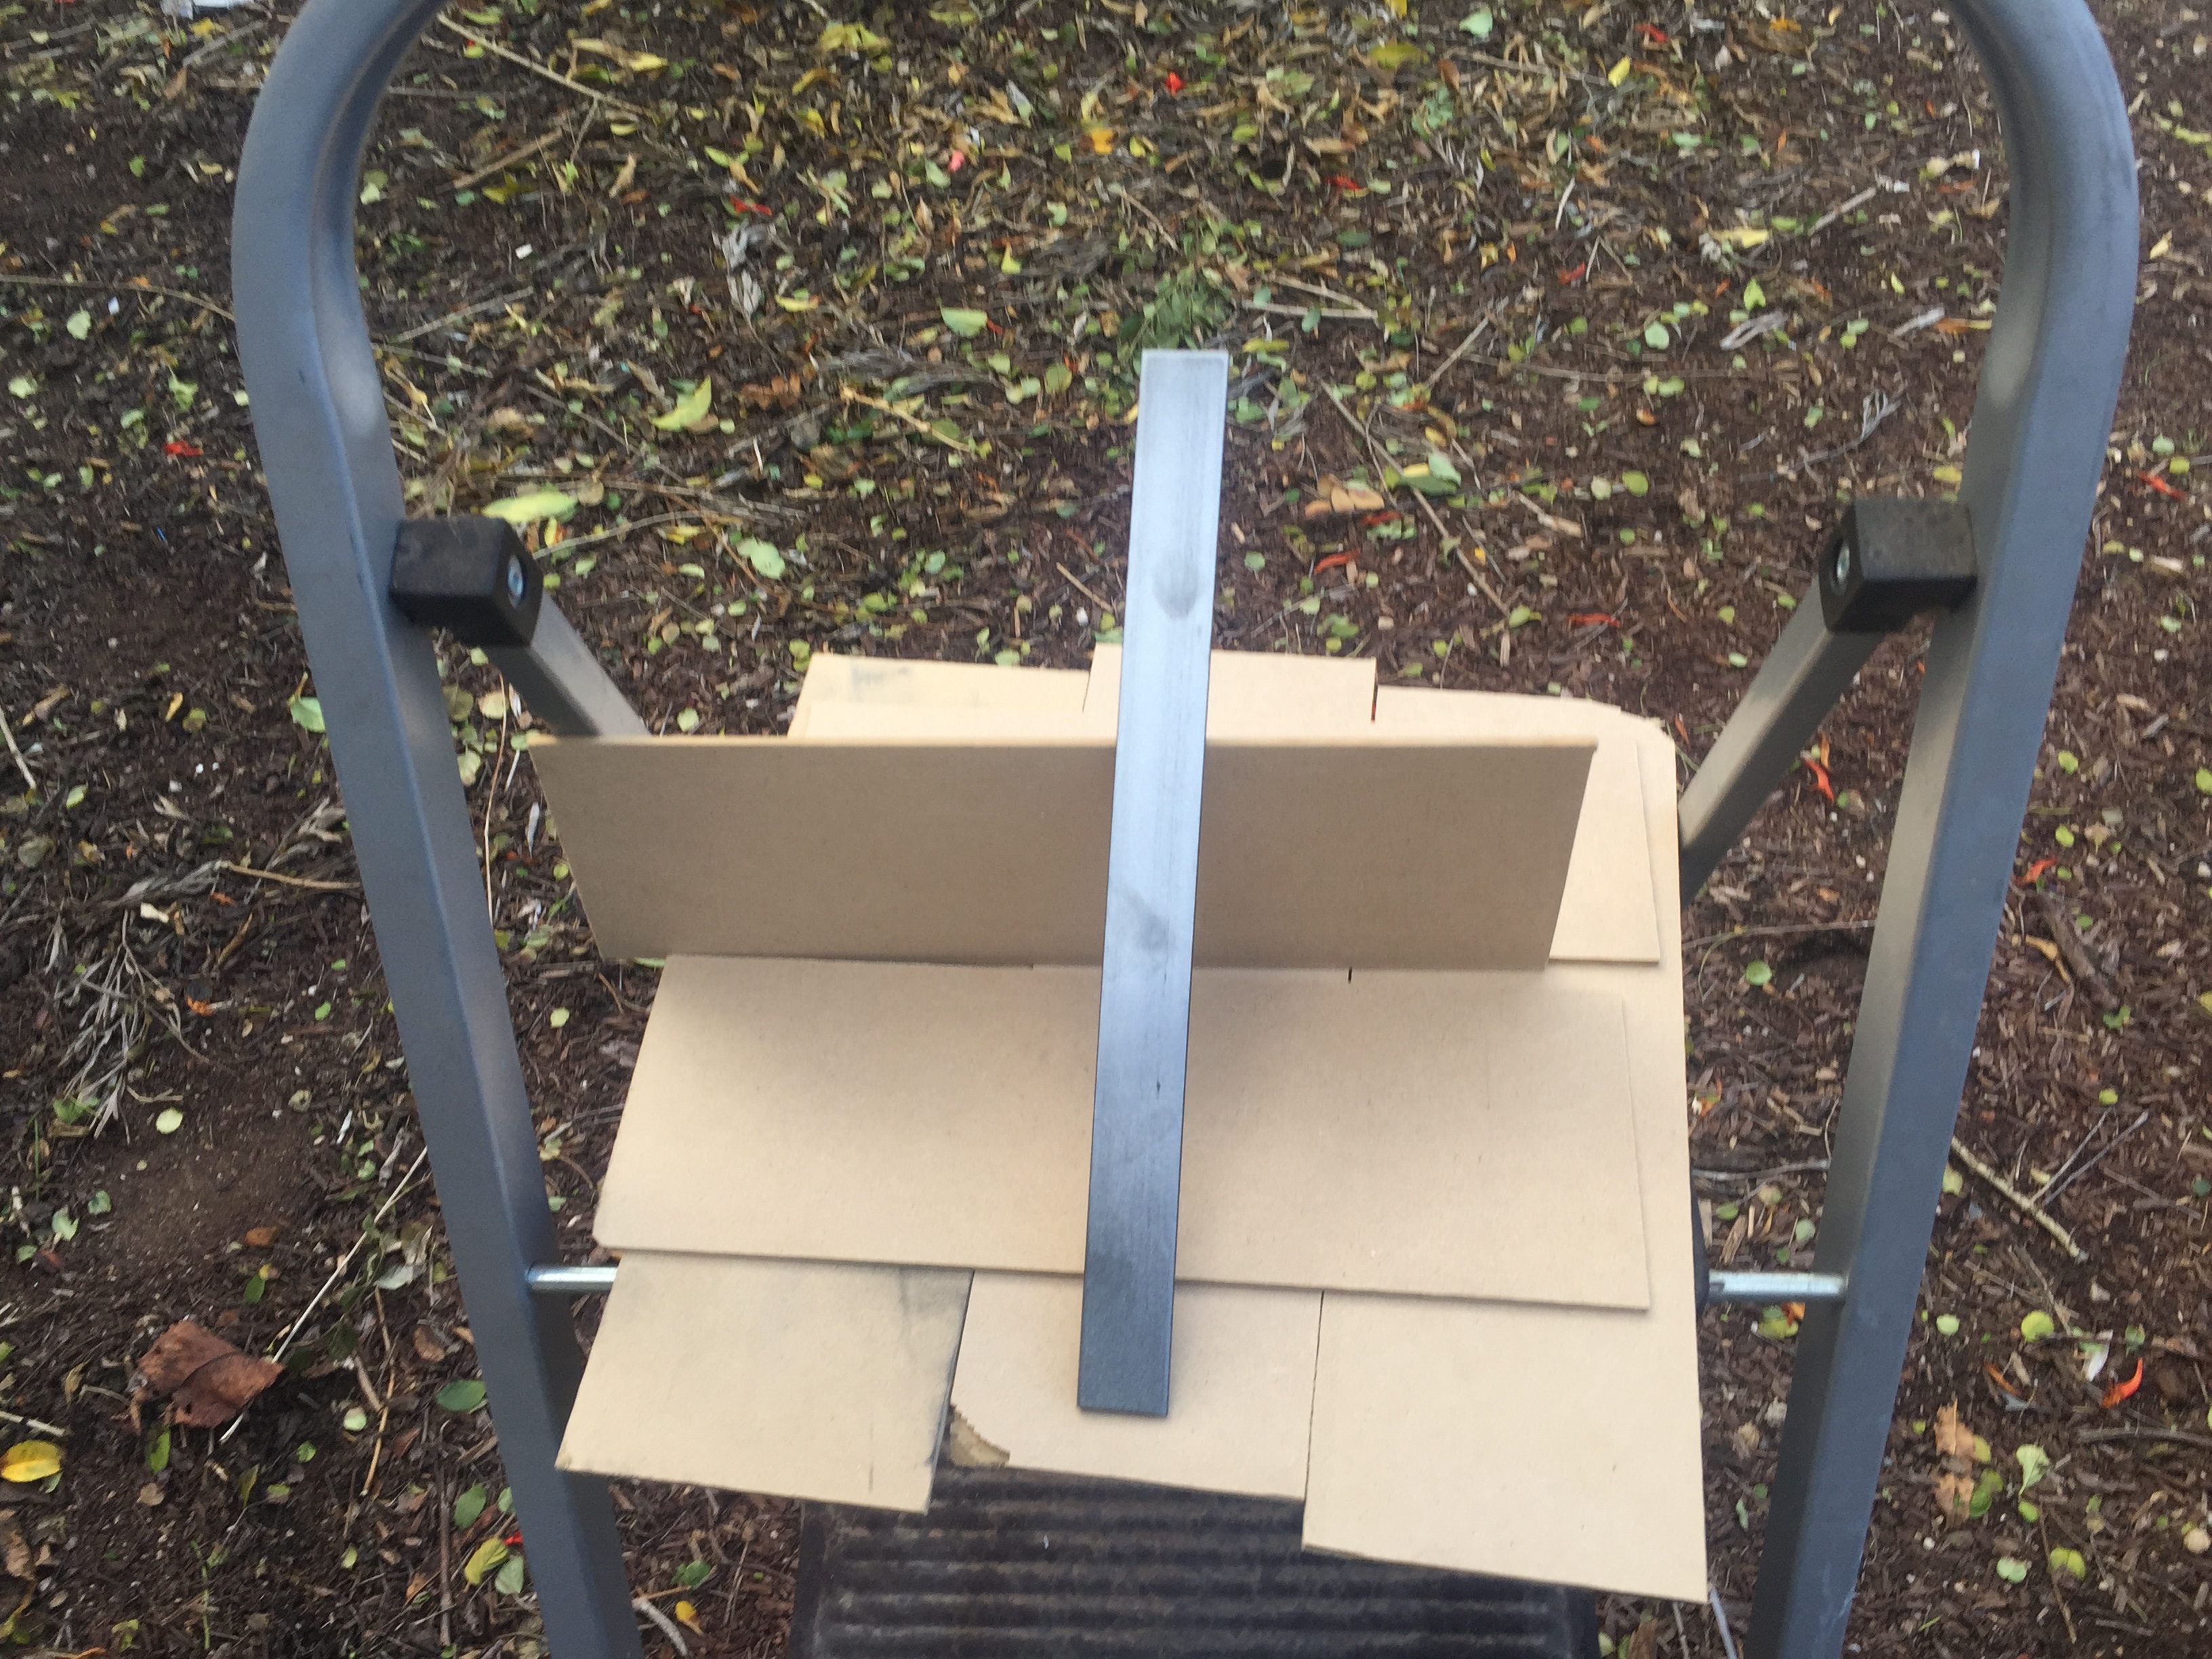 This concludes part 1 of this build... Need to wait for the paint to dry before continuing :)
| author | rativiv |
|---|---|
| permlink | making-a-powered-z-axis-table-for-my-k40-laser-cutter-holgamods-kit-part-1 |
| category | maker |
| json_metadata | {"tags":["maker","k40","holgamods","z-axis","diy"],"image":["https://cdn.steemitimages.com/DQmXPjvEfjEJUkNJPH9387nCgt5ZRHaHkxRJ8AsE5PWZEqH/IMG_1659.JPG","https://cdn.steemitimages.com/DQmTTJnGwfoJ6kLKjyVwuDoXvsjKUbTvG2hpKeQZEPZhBxN/IMG_1660.JPG","https://cdn.steemitimages.com/DQmX35ehxEceaECZsb556qAw4j7tRcPBSj67zVoawPYvDRb/IMG_1661.JPG","https://cdn.steemitimages.com/DQmQ7q5JbyeUeMtojUMnduaazjqSMG346TsY4krxJK9hGE7/IMG_1662.JPG","https://cdn.steemitimages.com/DQmaWhAuzadxL2qRmwcCmP3yWzn4qNboYkHdh7h53awTEBB/IMG_1663.JPG","https://cdn.steemitimages.com/DQmYHW1UPQB9hADVJU1xdcNP3U1tXUmiwGiimeXu7AXjAV6/IMG_1664.JPG","https://cdn.steemitimages.com/DQmbaav7iYKQQFUsKxT4x2TsnNxHNbxHbJUXDCoEh3YhcJj/IMG_1665.JPG","https://cdn.steemitimages.com/DQmZSGkFQ52wFUg1SW293Fs89KfjFDCgXKrjjJ2HGcdkhkQ/IMG_1666.JPG","https://cdn.steemitimages.com/DQmPkFzWKQ1VxdYieiR6noDRvQ94dqnAiFvQSfGVRX2j7G3/IMG_1667.JPG","https://cdn.steemitimages.com/DQmPMo4F1htJmkpqnBNQ1WmEbAtNJw5kTRYuZ1RhT13bbV7/IMG_1668.JPG","https://cdn.steemitimages.com/DQmaNLdCpCCnnyTnviM7wGDs1P1ZTyR6qBYRxjmjekUz67s/IMG_1669.JPG","https://cdn.steemitimages.com/DQme9GrKy64W2gNkbCZ8F9pLMbPvE5tBNQbkw2UmouAWMPW/IMG_1670.JPG","https://cdn.steemitimages.com/DQmRDeaYAAQMc5RLCVJy5dM46oBkAKSQh2MWaALvJNWhAWg/IMG_1672.JPG","https://cdn.steemitimages.com/DQmPNqMAKM4VczYZcVuvC5KMHXShPX3FpKoAugc2z1Qgu15/IMG_1673.JPG","https://cdn.steemitimages.com/DQmXHoMxgxf1H3XLU4pn24w2kJvd9P5LfecpcUmvAsgsym5/IMG_1675.JPG","https://cdn.steemitimages.com/DQmXfW8vYwwxQ8QP66tMMg1j8oupdK4o4vLesW5ZahTw65r/IMG_1676.JPG","https://cdn.steemitimages.com/DQmYJV7rupQu9G8zcKJdYfdWLXeMFBDwWjEPqvMdA8aGcYh/IMG_1677.JPG","https://cdn.steemitimages.com/DQmdn65p8Bzi8cp1DCoySA9MUrkjAEYpjXu9fkvL9RiS8qC/IMG_1678.JPG","https://cdn.steemitimages.com/DQmTrb4UFuWf2imFyMgDJWDjK3ZujJ61Cw9uqDXo5mPaiCQ/IMG_1679.JPG","https://cdn.steemitimages.com/DQmSQCBsLwHc8dnxdVN7G7p8YpXD2GtwjDDA4cmLPYGuADB/IMG_1680.JPG","https://cdn.steemitimages.com/DQmPoGQ3CLCoeyT3qfvXPmSWm2qDBQz8vEfPykmFny9wbEB/IMG_1681.JPG","https://cdn.steemitimages.com/DQmVWMxFTHgtEVDRZAX5DdLds5jFtB18Jo3fpR6D9rqewKv/IMG_1682.JPG","https://cdn.steemitimages.com/DQmaw5Prjs63WJy8eSLaSieV9TrerMpXfzroxo7g2yq1GWy/IMG_1683.JPG"],"app":"steemit/0.1","format":"markdown"} |
| created | 2018-07-08 06:58:18 |
| last_update | 2018-07-08 06:58:18 |
| depth | 0 |
| children | 3 |
| last_payout | 2018-07-15 06:58:18 |
| cashout_time | 1969-12-31 23:59:59 |
| total_payout_value | 31.303 HBD |
| curator_payout_value | 9.677 HBD |
| pending_payout_value | 0.000 HBD |
| promoted | 0.000 HBD |
| body_length | 4,364 |
| author_reputation | 20,179,312,472,101 |
| root_title | "Making a powered Z-Axis table for my K40 Laser Cutter - Holgamods Kit (Part 1)" |
| beneficiaries | [] |
| max_accepted_payout | 1,000,000.000 HBD |
| percent_hbd | 10,000 |
| post_id | 63,863,806 |
| net_rshares | 20,562,493,530,181 |
| author_curate_reward | "" |
| voter | weight | wgt% | rshares | pct | time |
|---|---|---|---|---|---|
| proctologic | 0 | 14,754,140,240 | 40.45% | ||
| team | 0 | 85,692,684,453 | 10% | ||
| framelalife | 0 | 78,055,142 | 40.45% | ||
| g-dubs | 0 | 90,448,122,873 | 40.45% | ||
| tim-rumford | 0 | 155,657,495 | 40.45% | ||
| trevonjb | 0 | 413,778,351,797 | 10% | ||
| grey580 | 0 | 36,279,659,942 | 40.45% | ||
| tripjammer | 0 | 8,514,021,004 | 10% | ||
| arcange | 0 | 13,464,872,518 | 2% | ||
| fiveboringgames | 0 | 14,894,150,570 | 40.45% | ||
| supermeatboy | 0 | 4,403,170,786 | 40.45% | ||
| raphaelle | 0 | 960,324,114 | 2% | ||
| jasonmiller2134 | 0 | 178,542,313 | 40.45% | ||
| rapp | 0 | 20,399,506,589 | 10% | ||
| transhuman | 0 | 4,087,214,308 | 40.45% | ||
| zentat | 0 | 186,696,791 | 40.45% | ||
| sethlinson | 0 | 919,426,795 | 40.45% | ||
| jimjam1210 | 0 | 2,145,562,348 | 40.45% | ||
| kralizec | 0 | 11,558,866,444 | 40.45% | ||
| allyouneedtoknow | 0 | 46,629,787,772 | 40.45% | ||
| dickdeepdog | 0 | 21,876,316,671 | 40.45% | ||
| lloyddavis | 0 | 949,783,678 | 2% | ||
| forever-gala | 0 | 5,641,399,317 | 40.45% | ||
| drakmin | 0 | 17,221,242,777 | 40.45% | ||
| geggi632 | 0 | 116,354,280 | 40.45% | ||
| decebal2dac | 0 | 2,717,521,148 | 40.45% | ||
| sqube | 0 | 1,267,158,065 | 40.45% | ||
| walhallo777 | 0 | 16,793,843,376 | 40.45% | ||
| steemcollator | 0 | 19,543,009,695 | 40.45% | ||
| wilbur | 0 | 19,404,166,786 | 40.45% | ||
| spurious-claims | 0 | 1,166,547,661 | 40.45% | ||
| steve123 | 0 | 52,212,103 | 40.45% | ||
| marcosespes1 | 0 | 1,768,634,418 | 40.45% | ||
| deaconlee | 0 | 12,457,899,019 | 40.45% | ||
| elgeko | 0 | 152,011,800,959 | 40.45% | ||
| eaposztrof | 0 | 1,081,357,818 | 40.45% | ||
| qxl | 0 | 1,464,154,567 | 40.45% | ||
| gmedley | 0 | 1,168,734,810 | 5% | ||
| abso | 0 | 320,087,230 | 40.45% | ||
| nicnicy | 0 | 4,250,954,868 | 40.45% | ||
| businesswri | 0 | 821,697,583 | 40.45% | ||
| treebuilder | 0 | 4,631,894,293 | 40.45% | ||
| boxmining | 0 | 114,371,731,767 | 40.45% | ||
| fernwehninja | 0 | 1,943,951,431 | 40.45% | ||
| brains1ck | 0 | 650,612,150 | 40.45% | ||
| nuad01 | 0 | 361,617,790 | 40.45% | ||
| evesick | 0 | 1,066,946,434 | 40.45% | ||
| adamhole | 0 | 16,609,690,191 | 10% | ||
| fatboyjames | 0 | 66,358,393 | 10% | ||
| mrright | 0 | 5,577,286,482 | 40.45% | ||
| outerground | 0 | 16,093,399,023 | 40.45% | ||
| olgavdovskikh | 0 | 255,747,056 | 40.45% | ||
| frankydoodle | 0 | 3,967,255,464 | 40.45% | ||
| itchykitten | 0 | 5,637,133,864 | 40.45% | ||
| kishan | 0 | 339,101,284 | 40.45% | ||
| thelordsfinest | 0 | 415,426,767 | 10% | ||
| vannfrik | 0 | 15,690,588,324 | 40.45% | ||
| joklahoma | 0 | 2,040,181,165 | 40.45% | ||
| vizualsamuri | 0 | 7,347,217,760 | 40.45% | ||
| beckenbauer | 0 | 20,974,773,933 | 40.45% | ||
| kingyus | 0 | 352,969,297 | 40.45% | ||
| shawnfishbit | 0 | 100,362,089 | 40.45% | ||
| ryanblue7s | 0 | 5,178,348,804 | 10% | ||
| cryptastic | 0 | 10,414,375,820 | 40.45% | ||
| jatinarora | 0 | 378,580,641 | 40.45% | ||
| jiujitsu | 0 | 103,384,438,398 | 40.45% | ||
| agoric.systems | 0 | 476,248,557 | 40.45% | ||
| realcodysimon | 0 | 4,204,495,549 | 40.45% | ||
| urs | 0 | 21,153,560,909 | 40.45% | ||
| senor | 0 | 784,782,154 | 40.45% | ||
| mikegun | 0 | 8,174,465,025 | 40.45% | ||
| epikcoin | 0 | 446,248,801 | 40.45% | ||
| deemarshall | 0 | 8,950,485,743 | 40.45% | ||
| abdulrehman | 0 | 194,353,050 | 40.45% | ||
| natra | 0 | 13,972,129,675 | 40.45% | ||
| reloadbeatbox | 0 | 957,152,291 | 10% | ||
| joey-cryptoboy | 0 | 695,465,249 | 10% | ||
| wishmaiden | 0 | 990,358,718 | 40.45% | ||
| cldgrf | 0 | 247,939,607 | 40.45% | ||
| benniebanana | 0 | 123,953,811 | 40.45% | ||
| booster | 0 | 8,740,237,060,123 | 21.41% | ||
| ragnartheking | 0 | 155,826,125 | 40.45% | ||
| hausbau | 0 | 356,187,052 | 40.45% | ||
| kenhudoy | 0 | 3,561,111,577 | 40.45% | ||
| mustafeez | 0 | 247,762,919 | 40.45% | ||
| zaiyn | 0 | 395,701,606 | 40.45% | ||
| moemanmoesly | 0 | 1,798,887,384 | 10% | ||
| mohsan0073 | 0 | 3,279,369,198 | 40.45% | ||
| chingpherd | 0 | 2,526,406,645 | 40.45% | ||
| satfit | 0 | 136,733,587 | 40.45% | ||
| mitchiesfoodrace | 0 | 13,631,779,964 | 40.45% | ||
| beyondthecrypto | 0 | 216,080,677 | 5% | ||
| agr8buzz | 0 | 12,524,454,800 | 40.45% | ||
| philip.willemse | 0 | 247,208,111 | 40.45% | ||
| funfacts | 0 | 96,413,871 | 40.45% | ||
| iamnotageek | 0 | 1,274,596,546 | 40.45% | ||
| cryptojake | 0 | 1,035,307,052 | 40.45% | ||
| rest100 | 0 | 23,083,090,324 | 40.45% | ||
| imredryan | 0 | 736,609,592 | 10% | ||
| bien | 0 | 927,324,646 | 40.45% | ||
| crypto2day | 0 | 21,705,294,178 | 40.45% | ||
| mrslauren | 0 | 22,566,542,955 | 40.45% | ||
| oregonpop | 0 | 53,740,771,232 | 40.45% | ||
| cedpete389 | 0 | 90,907,039 | 1% | ||
| onza | 0 | 481,147,691 | 40.45% | ||
| icedrum | 0 | 27,450,522,676 | 40.45% | ||
| allcapsonezero | 0 | 1,658,894,806 | 5% | ||
| reborn99 | 0 | 247,229,794 | 40.45% | ||
| animapaddy | 0 | 247,881,269 | 40.45% | ||
| mezmerizer9 | 0 | 247,902,300 | 40.45% | ||
| synrg | 0 | 10,292,717,769 | 40.45% | ||
| abenike | 0 | 693,711,143 | 40.45% | ||
| helmirenggrik | 0 | 85,772,123 | 40.45% | ||
| mmagreat | 0 | 915,845,998 | 40.45% | ||
| thelifestyler | 0 | 2,393,474,917 | 40.45% | ||
| kyawsantun | 0 | 1,980,339,003 | 40.45% | ||
| ladyrednails | 0 | 5,038,966,630 | 40.45% | ||
| madcool | 0 | 81,561,542 | 40.45% | ||
| mamata | 0 | 246,670,068 | 40.45% | ||
| ronnybat | 0 | 247,427,920 | 40.45% | ||
| ahmad.rezk | 0 | 247,208,111 | 40.45% | ||
| omrii | 0 | 247,146,638 | 40.45% | ||
| simplygorgeous | 0 | 210,442,853 | 40.45% | ||
| jonasthomas | 0 | 315,306,732 | 40.45% | ||
| amlehtnewo | 0 | 247,208,111 | 40.45% | ||
| showtime | 0 | 355,638,573 | 40.45% | ||
| pickled | 0 | 3,791,373,689 | 40.45% | ||
| bitfook | 0 | 779,195,473 | 10% | ||
| finesse203 | 0 | 998,873,879 | 40.45% | ||
| tonimarco | 0 | 15,636,082,026 | 40.45% | ||
| steemdrivingman | 0 | 676,761,761 | 40.45% | ||
| aek081969 | 0 | 351,771,328 | 40.45% | ||
| iliketoast | 0 | 140,954,717 | 40.45% | ||
| enjgold | 0 | 1,263,793,458 | 10% | ||
| tomtom87 | 0 | 246,670,068 | 40.45% | ||
| saini11 | 0 | 67,243,474 | 40.45% | ||
| hellmerlin | 0 | 247,788,622 | 40.45% | ||
| youngfuego | 0 | 101,726,163 | 40.45% | ||
| andysmancave | 0 | 473,487,176 | 40.45% | ||
| treasuregnome | 0 | 4,214,244,700 | 40.45% | ||
| frontrunner | 0 | 16,464,384,049 | 40.45% | ||
| ryanarcher | 0 | 76,296,948 | 40.45% | ||
| mustafa4101996 | 0 | 247,208,111 | 40.45% | ||
| maxbullion | 0 | 72,815,498,948 | 40.45% | ||
| tagsplanet | 0 | 3,580,576,500 | 40.45% | ||
| skyhooks | 0 | 2,191,150,061 | 40.45% | ||
| upvoted | 0 | 177,474,747 | 40.45% | ||
| ketikasharma | 0 | 247,719,870 | 40.45% | ||
| dorthmaen | 0 | 416,797,690 | 40.45% | ||
| gellany | 0 | 246,670,068 | 40.45% | ||
| bakhtiarzehri | 0 | 531,226,081 | 40.45% | ||
| scorpionking | 0 | 196,940,750 | 40.45% | ||
| coincutie | 0 | 851,597,545 | 10% | ||
| ganandoenbtc | 0 | 249,237,846 | 40.45% | ||
| eosint | 0 | 371,215,137 | 40.45% | ||
| hello.totoro | 0 | 4,154,983,368 | 10% | ||
| voltsrage | 0 | 247,652,232 | 40.45% | ||
| joulia | 0 | 244,048,978 | 40.45% | ||
| mightywarrior | 0 | 116,381,233 | 40.45% | ||
| tastytrade | 0 | 247,553,560 | 40.45% | ||
| merosalah | 0 | 83,708,438 | 40.45% | ||
| ravenrillay | 0 | 247,553,560 | 40.45% | ||
| jim-borasso-band | 0 | 246,670,068 | 40.45% | ||
| benjy87 | 0 | 345,963,008 | 40.45% | ||
| belgarath | 0 | 13,051,837,550 | 40.45% | ||
| failshub | 0 | 50,589,524 | 40.45% | ||
| alidervash | 0 | 478,619,011 | 40.45% | ||
| hoxly | 0 | 1,697,593,057 | 4.13% | ||
| pravda | 0 | 7,999,333,933 | 40.45% | ||
| corganmusic | 0 | 3,494,819,048 | 40.45% | ||
| coingyan | 0 | 75,457,538 | 40.45% | ||
| kimph | 0 | 153,774,777 | 40.45% | ||
| nakedtrader | 0 | 99,423,932 | 40.45% | ||
| jovial-grace | 0 | 12,361,530,396 | 40.45% | ||
| zuhrareza | 0 | 234,771,399 | 40.45% | ||
| whitedynasty | 0 | 2,187,810,478 | 10% | ||
| phuresh | 0 | 156,207,714 | 40.45% | ||
| erikkun28 | 0 | 203,261,589 | 40.45% | ||
| videogeek | 0 | 641,101,351 | 40.45% | ||
| s10 | 0 | 347,247,352 | 40.45% | ||
| upme | 0 | 4,955,531,973,996 | 7.77% | ||
| derkon | 0 | 8,638,700,214 | 40.45% | ||
| sku77-poprocks | 0 | 633,330,594 | 10% | ||
| da-primate | 0 | 247,637,169 | 40.45% | ||
| aser1111 | 0 | 1,146,512,960 | 40.45% | ||
| cryptocommand | 0 | 1,481,441,136 | 10% | ||
| mrpirated | 0 | 319,470,794 | 40.45% | ||
| hillstech | 0 | 246,738,857 | 40.45% | ||
| amanda46536 | 0 | 235,436,117 | 40.45% | ||
| jaforce | 0 | 687,550,028 | 10% | ||
| rksumanthraju | 0 | 306,726,906 | 40.45% | ||
| melvinlumacad | 0 | 1,621,112,203 | 40.45% | ||
| travelingdiva | 0 | 247,818,334 | 40.45% | ||
| dbooster | 0 | 1,780,087,558 | 10% | ||
| earningbot | 0 | 243,563,132 | 40.45% | ||
| happyclappy | 0 | 246,596,000 | 40.45% | ||
| whenhowwho | 0 | 643,787,530 | 10% | ||
| ianfreeman | 0 | 257,936,199 | 40.45% | ||
| chucknasty | 0 | 247,795,305 | 40.45% | ||
| arunavabiswas | 0 | 247,840,632 | 40.45% | ||
| tujan | 0 | 250,276,572 | 40.45% | ||
| lawyerup | 0 | 8,477,487,629 | 40.45% | ||
| failsafedata | 0 | 60,974,534 | 10% | ||
| liberta | 0 | 908,482,917 | 40.45% | ||
| jfkenndy | 0 | 1,626,403,415 | 40.45% | ||
| onhiatus | 0 | 106,664,345 | 10% | ||
| smartsteem | 0 | 4,329,473,085,320 | 3.72% | ||
| embomb701 | 0 | 23,367,269,052 | 40.45% | ||
| rikip94 | 0 | 145,978,685 | 40.45% | ||
| bjjworldtraveler | 0 | 8,336,133,573 | 40.45% | ||
| ant884 | 0 | 9,396,593,967 | 40.45% | ||
| silasdavid | 0 | 416,788,239 | 40.45% | ||
| reisronddewereld | 0 | 2,614,116,064 | 40.45% | ||
| cryptoclick | 0 | 3,962,300,630 | 40.45% | ||
| crypt0boy | 0 | 247,685,429 | 40.45% | ||
| futuredigicoin | 0 | 187,606,650 | 40.45% | ||
| genya.kharitonov | 0 | 247,553,560 | 40.45% | ||
| mitchadventures | 0 | 1,356,744,376 | 10% | ||
| co-op.blogs | 0 | 247,553,560 | 40.45% | ||
| emas-jiujitsu | 0 | 8,619,144,240 | 40.45% | ||
| eaglespirit | 0 | 26,587,634,851 | 40.45% | ||
| freemon | 0 | 247,230,524 | 40.45% | ||
| billibong | 0 | 204,015,685 | 40.45% | ||
| sahertanveer | 0 | 247,310,238 | 40.45% | ||
| vlasmp | 0 | 248,158,311 | 40.45% | ||
| suciululia | 0 | 4,681,938,928 | 40.45% | ||
| full-steam-ahead | 0 | 60,971,676 | 10% | ||
| r351574nc3 | 0 | 1,054,292,907 | 3% | ||
| kofibeatz | 0 | 639,844,781 | 40.45% | ||
| pllo3llo | 0 | 657,522,975 | 40.45% | ||
| graytor | 0 | 262,267,815 | 40.45% | ||
| ceyksparrow | 0 | 247,486,611 | 40.45% | ||
| anjkara | 0 | 14,606,174,612 | 40.45% | ||
| tomixdante | 0 | 7,779,108,838 | 40.45% | ||
| protomar | 0 | 247,127,218 | 40.45% | ||
| cryptotash101 | 0 | 1,951,386,237 | 40.45% | ||
| vivianka | 0 | 353,121,676 | 40.45% | ||
| numberofthingz | 0 | 4,420,888,659 | 10% | ||
| mirabdullah | 0 | 247,477,810 | 40.45% | ||
| dashdipak | 0 | 247,208,111 | 40.45% | ||
| stonechaisson | 0 | 247,312,638 | 40.45% | ||
| aylan | 0 | 2,757,176,678 | 40.45% | ||
| zulbahri | 0 | 454,859,041 | 40.45% | ||
| charliekerper | 0 | 82,032,390 | 5% | ||
| btcbaby | 0 | 247,474,251 | 40.45% | ||
| uxmanqaxim | 0 | 230,083,465 | 40.45% | ||
| enkel | 0 | 247,965,479 | 40.45% | ||
| terrenceh | 0 | 1,632,418,657 | 10% | ||
| randumb | 0 | 123,726,076 | 10% | ||
| ozywashere | 0 | 1,116,533,839 | 40.45% | ||
| osere | 0 | 246,733,461 | 40.45% | ||
| ashmodz | 0 | 2,016,187,607 | 10% | ||
| brunoaco91 | 0 | 247,559,795 | 40.45% | ||
| thaha1 | 0 | 536,181,325 | 40.45% | ||
| fturner19 | 0 | 99,329,237 | 10% | ||
| yamcha | 0 | 1,395,456,222 | 10% | ||
| hamza77 | 0 | 244,937,603 | 40.45% | ||
| rativiv | 0 | 22,016,360,819 | 100% | ||
| adzrobinson | 0 | 7,713,127,143 | 10% | ||
| jguzman394 | 0 | 458,188,574 | 40.45% | ||
| jackdub | 0 | 4,652,969,951 | 100% | ||
| fantomcee | 0 | 247,185,868 | 40.45% | ||
| historyfromworld | 0 | 247,984,607 | 40.45% | ||
| edgarr | 0 | 3,745,660,569 | 10% | ||
| mickeyvera | 0 | 203,602,571 | 40.45% | ||
| nicholasjohn | 0 | 188,519,928 | 40.45% | ||
| zulama28 | 0 | 232,041,886 | 40.45% | ||
| salty-mcgriddles | 0 | 1,222,931,316 | 3% | ||
| nenafit | 0 | 534,676,123 | 10% | ||
| truce | 0 | 913,026,463 | 10% | ||
| sourcherry | 0 | 1,907,844,723 | 10% | ||
| arantuil | 0 | 61,215,332 | 10% | ||
| rawn | 0 | 3,190,568,590 | 10% | ||
| mimidee74 | 0 | 849,552,517 | 10% | ||
| hafizalam5556 | 0 | 247,103,784 | 40.45% | ||
| minnowbootcamp | 0 | 13,510,045,887 | 40.45% | ||
| thomasbrown | 0 | 6,038,737,938 | 10% | ||
| eddy4king | 0 | 246,799,438 | 40.45% | ||
| bitmycoin | 0 | 824,632,217 | 40.45% | ||
| nova-nazirah | 0 | 246,891,141 | 40.45% | ||
| kurtringimages | 0 | 246,816,968 | 40.45% | ||
| stephanieangel | 0 | 244,561,802 | 40.45% | ||
| pasie15 | 0 | 1,749,928,727 | 10% | ||
| sabarniati.aceh | 0 | 246,617,071 | 40.45% | ||
| julypalma | 0 | 539,175,421 | 10% | ||
| zea | 0 | 1,068,852,541 | 100% | ||
| karega | 0 | 4,800,551,279 | 10% | ||
| theceltictraders | 0 | 1,005,856,118 | 10% | ||
| johhnnyturbo20 | 0 | 1,629,419,396 | 10% | ||
| eloniy | 0 | 314,929,590 | 40.45% | ||
| willjj85 | 0 | 230,492,367 | 10% | ||
| nauman944 | 0 | 247,146,638 | 40.45% | ||
| ocxie | 0 | 207,418,909 | 40.45% | ||
| battlemountain2k | 0 | 8,462,707,086 | 40.45% | ||
| lordgod | 0 | 326,162,318,928 | 5% | ||
| zappl-lottery | 0 | 403,066,366 | 40.45% | ||
| manfaluthi | 0 | 228,448,323 | 40.45% | ||
| rightwing670 | 0 | 2,280,352,028 | 10% | ||
| tehmi | 0 | 246,773,101 | 40.45% | ||
| photobomber | 0 | 247,763,603 | 40.45% | ||
| godsngh1 | 0 | 280,372,260 | 40.45% | ||
| aungmyinthu | 0 | 244,366,498 | 40.45% | ||
| taisa.gallery | 0 | 246,993,048 | 40.45% | ||
| merleeyq | 0 | 243,571,061 | 40.45% | ||
| barski | 0 | 2,150,882,617 | 40.45% | ||
| bitcoinmarketss | 0 | 231,812,952 | 40.45% | ||
| mlgcrypto | 0 | 4,765,407,454 | 40.45% | ||
| deusx | 0 | 221,184,847 | 40.45% | ||
| arithmatic | 0 | 241,207,565 | 40.45% | ||
| gnoori | 0 | 247,570,496 | 40.45% | ||
| trapcation | 0 | 3,694,455,788 | 10% | ||
| lilcryptita | 0 | 585,765,296 | 10% | ||
| henry.englert | 0 | 347,284,747 | 100% | ||
| vanoss | 0 | 4,705,715,143 | 10% | ||
| duval904 | 0 | 1,805,304,437 | 10% | ||
| lifenow | 0 | 4,188,374,296 | 10% | ||
| blockfreak | 0 | 1,250,361,566 | 10% | ||
| trevon | 0 | 28,543,040,341 | 10% | ||
| hiatus | 0 | 1,272,449,715 | 10% | ||
| ethnow | 0 | 19,023,943,854 | 40.45% | ||
| cgp | 0 | 468,576,512 | 5% | ||
| katcat | 0 | 898,498,720 | 10% | ||
| morethancrypto | 0 | 9,949,228,127 | 10% | ||
| genre | 0 | 889,757,916 | 10% | ||
| hers | 0 | 893,905,582 | 10% | ||
| bitches | 0 | 874,524,950 | 10% | ||
| lifefun | 0 | 1,221,798,976 | 10% | ||
| inature | 0 | 8,409,835,305 | 10% | ||
| wordofmouth | 0 | 212,894,193 | 5% | ||
| retrospect | 0 | 975,312,230 | 10% | ||
| steemitsarah | 0 | 955,325,536 | 10% | ||
| ghost-train | 0 | 973,335,778 | 10% | ||
| eldervoid | 0 | 1,416,997,102 | 100% | ||
| limefury | 0 | 1,332,411,047 | 100% | ||
| space-smx | 0 | 518,549,200 | 10% |
<p>This post has received a 21.42 % upvote from @booster thanks to: @rativiv.</p>
| author | booster |
|---|---|
| permlink | re-rativiv-making-a-powered-z-axis-table-for-my-k40-laser-cutter-holgamods-kit-part-1-20180708t091659086z |
| category | maker |
| json_metadata | {"tags":["maker"],"app":"drotto/0.0.5pre3"} |
| created | 2018-07-08 09:16:57 |
| last_update | 2018-07-08 09:16:57 |
| depth | 1 |
| children | 0 |
| last_payout | 2018-07-15 09:16:57 |
| cashout_time | 1969-12-31 23:59:59 |
| total_payout_value | 0.000 HBD |
| curator_payout_value | 0.000 HBD |
| pending_payout_value | 0.000 HBD |
| promoted | 0.000 HBD |
| body_length | 82 |
| author_reputation | 68,767,115,776,562 |
| root_title | "Making a powered Z-Axis table for my K40 Laser Cutter - Holgamods Kit (Part 1)" |
| beneficiaries | [] |
| max_accepted_payout | 1,000,000.000 HBD |
| percent_hbd | 10,000 |
| post_id | 63,874,472 |
| net_rshares | 0 |
You got a 7.77% upvote from @upme thanks to @rativiv! Send at least 3 SBD or 3 STEEM to get upvote for next round. Delegate STEEM POWER and start earning 100% daily payouts ( no commission ).
| author | upme |
|---|---|
| permlink | re-rativiv-making-a-powered-z-axis-table-for-my-k40-laser-cutter-holgamods-kit-part-1-20180708t083153087z |
| category | maker |
| json_metadata | {"app":"postpromoter/2.0.0"} |
| created | 2018-07-08 08:31:51 |
| last_update | 2018-07-08 08:31:51 |
| depth | 1 |
| children | 0 |
| last_payout | 2018-07-15 08:31:51 |
| cashout_time | 1969-12-31 23:59:59 |
| total_payout_value | 0.000 HBD |
| curator_payout_value | 0.000 HBD |
| pending_payout_value | 0.000 HBD |
| promoted | 0.000 HBD |
| body_length | 192 |
| author_reputation | 584,696,346,293 |
| root_title | "Making a powered Z-Axis table for my K40 Laser Cutter - Holgamods Kit (Part 1)" |
| beneficiaries | [] |
| max_accepted_payout | 1,000,000.000 HBD |
| percent_hbd | 10,000 |
| post_id | 63,870,837 |
| net_rshares | 0 |
Nice. Following.
| author | wstanley226 |
|---|---|
| permlink | re-rativiv-making-a-powered-z-axis-table-for-my-k40-laser-cutter-holgamods-kit-part-1-20180708t160725372z |
| category | maker |
| json_metadata | {"tags":["maker"],"app":"steemit/0.1"} |
| created | 2018-07-08 16:09:15 |
| last_update | 2018-07-08 16:09:15 |
| depth | 1 |
| children | 0 |
| last_payout | 2018-07-15 16:09:15 |
| cashout_time | 1969-12-31 23:59:59 |
| total_payout_value | 0.000 HBD |
| curator_payout_value | 0.000 HBD |
| pending_payout_value | 0.000 HBD |
| promoted | 0.000 HBD |
| body_length | 17 |
| author_reputation | 5,595,167,764,231 |
| root_title | "Making a powered Z-Axis table for my K40 Laser Cutter - Holgamods Kit (Part 1)" |
| beneficiaries | [] |
| max_accepted_payout | 1,000,000.000 HBD |
| percent_hbd | 10,000 |
| post_id | 63,915,844 |
| net_rshares | 0 |