<center></center>
This tutorial is part of a series where different aspects of quickly creating and deploying STEEM web applications by using the Django framework as well as Beem are discussed. Knowledge of programming with Python is advised, as well as HTML and CSS.
---
#### Repository
https://github.com/holgern/beem
https://github.com/django/django
#### What will I learn
- Extracting variables from the url
- Data collection inside a generic view
- Parsing data to a template
#### Requirements
- Python 3.7
- Django 2.1.5
- Beem 0.20.17
- Gunicorn 19.9.0
- Git
- Heroku
- Pipenv
#### Difficulty
- basic
---
### Tutorial
#### Preface
Django allows for quick development of web applications and since it uses Python as it's main programming language it also allows for easy combition with the Beem library to develop STEEM web applications. This part will showcase how the url can be used to pass variables to dynamically pull data via an API and parse this into a template. [Part 0](https://steemit.com/@steempytutorials/part-0-create-steem-web-applications-with-django-and-steem-python) is recommended to understand the workflow.
#### Setup
Create a new folder for the project and set up a virtual environment with all the required packages. Start a new Django project `steem_account`.
```
$ cd ~/
$ mkdir steem_account
$ cd steem_account
$ pipenv install django==2.1.5
$ pipenv shell
(steem_account) $ pip install beem==0.20.17
(steem_account) $ pip install gunicorn==19.9.0
(steem_account) $ django-admin startproject steem_account .
```
#### Extracting variables from the url
Create a new app called `posts`. This app will be used to show the last posts of a specific user, which username will be retrieved from the url. Like https://www.steemit.com/@steempytutorials does. This can be achieved by setting up url paths.
```
(steem_account)$ python manage.py startapp posts
(steem_account)$ touch posts/urls.py
```
First register the new app in `settings.py`.
```
INSTALLED_APPS = [
'django.contrib.admin',
'django.contrib.auth',
'django.contrib.contenttypes',
'django.contrib.sessions',
'django.contrib.messages',
'django.contrib.staticfiles',
'posts.apps.PostsConfig', # new
]
```
Configure the main `urls.py` to direct to `posts.urls` on a empty path `''` with `include()`.
```
# steem_account/urls.py
from django.contrib import admin
from django.urls import path, include
urlpatterns = [
path('admin/', admin.site.urls),
path('', include('posts.urls')),
]
```
Now set up `urls.py` in posts to capture anything after the `@` in the url. This is done by using `@<slug:account>/` which captures everything after the `@` and before a `/`. Slug tells Django to capture a string and `account` is the name of how the variable will be called to call it later on.
```
# posts/urls.py
from django.urls import path
from .views import HomePageView
urlpatterns = [
path('@<slug:account>/', HomePageView.as_view(), name='home')
]
```
#### Data collection inside a generic view
Django has several generic views which can be used to parse data to a html template. Normally this is set up by using models which refer to a database. In this case however `Beem` will be used to collect the data via an API.
```
# posts/views.py
from django.shortcuts import render
from django.http import HttpResponse
from django.views.generic import ListView
from django.http import HttpResponseNotFound
from .services import account_history
from beem.exceptions import AccountDoesNotExistsException
# View for the homepage that will display blog posts of the author
# in a list.
class HomePageView(ListView):
template_name = 'home.html'
context_object_name = 'all_posts_list'
# Try to get blog posts from account, if the account does exist
# return not found. Override the queryset with the obtained data.
def get(self, request, *args, **kwargs):
try:
self.queryset = account_history(kwargs['account'])
except AccountDoesNotExistsException:
print('Account does not exist')
return HttpResponseNotFound("Invalid account")
# Use the original function to generate the html reponse.
return super().get(request, *args, **kwargs)
```
`ListView` is a generic view to render lists. The `template_name` refers to the .html file the data will be parsed to. `context_object_name` refers to the name of the data list. More on this later on. By overriding `queryset` any data source can be used. The view gets called on `GET` request and the `account` variable captured is passed inside `kwargs`. Overriding the default `get()` method allows access to the `account` variable and call `account_history()`. Then the original `get()` method is called by returning `super().get(request, *args, **kwargs)`.
`services.py` still has to be created which contains the functions to interact with the STEEM nodes by using `Beem`.
```
(steem_account)$ touch posts/services.py
# posts/services.py
from beem.blockchain import Blockchain
from beem.account import Account
from beem.comment import Comment
from beem import Steem
# retrieve account blog history
def account_history(username):
stm = Steem("https://steemd.minnowsupportproject.org")
account = Account(username, steem_instance=stm)
return account.blog_history(limit=25, reblogs=False)
```
Calling `account_history()` return a generator which contains the blog posts inside `Comment()` objects.
```
<Comment @steempytutorials/part-0-create-steem-web-applications-with-django-and-steem-python>
<Comment @steempytutorials/steemautomated-0-0-4-trailing-has-been-enabled-several-minor-upgrades>
<Comment @steempytutorials/how-to-use-python-to-interact-with-steemconnect-s-access-tokens-refresh-tokens-and-perform-voting>
<Comment @steempytutorials/part-29-set-up-sms-notifications-for-the-usd-value-of-votes-made-to-an-account>
<Comment @steempytutorials/integrate-steemconnect-v2-user-authorisation-into-any-wordpress-website>
<Comment @steempytutorials/introducing-steem-automated-steem-curation-made-easy-reward-your-favourite-authors>
<Comment @steempytutorials/steemautomated-0-0-3-voting-is-live-added-server-side-voting-application>
<Comment @steempytutorials/steemdb-block-explorer-and-database-for-the-steem-blockchain>
```
#### Parsing data to a template
At the moment when a users enter a url with a `@` and some additional characters before a `/` a get request gets send to the server. The server then redirects to the `HomePageView` which extracts the account name to get the account blog history via `Beem`. The view then parses this data into `home.html`, which does not exist yet. The html files are referred to as templates and should be stored in a separate folder.
```
(steem_account) $ mkdir templates
(steem_account) $ touch templates/home.html
```
Register the new folder in `settings.py`
```
# steem_account/settings.py
TEMPLATES = [
{
'BACKEND': 'django.template.backends.django.DjangoTemplates',
'DIRS': [os.path.join(BASE_DIR, 'templates')], # new
```
Now add the following code to home.html
```
# templates/home.html
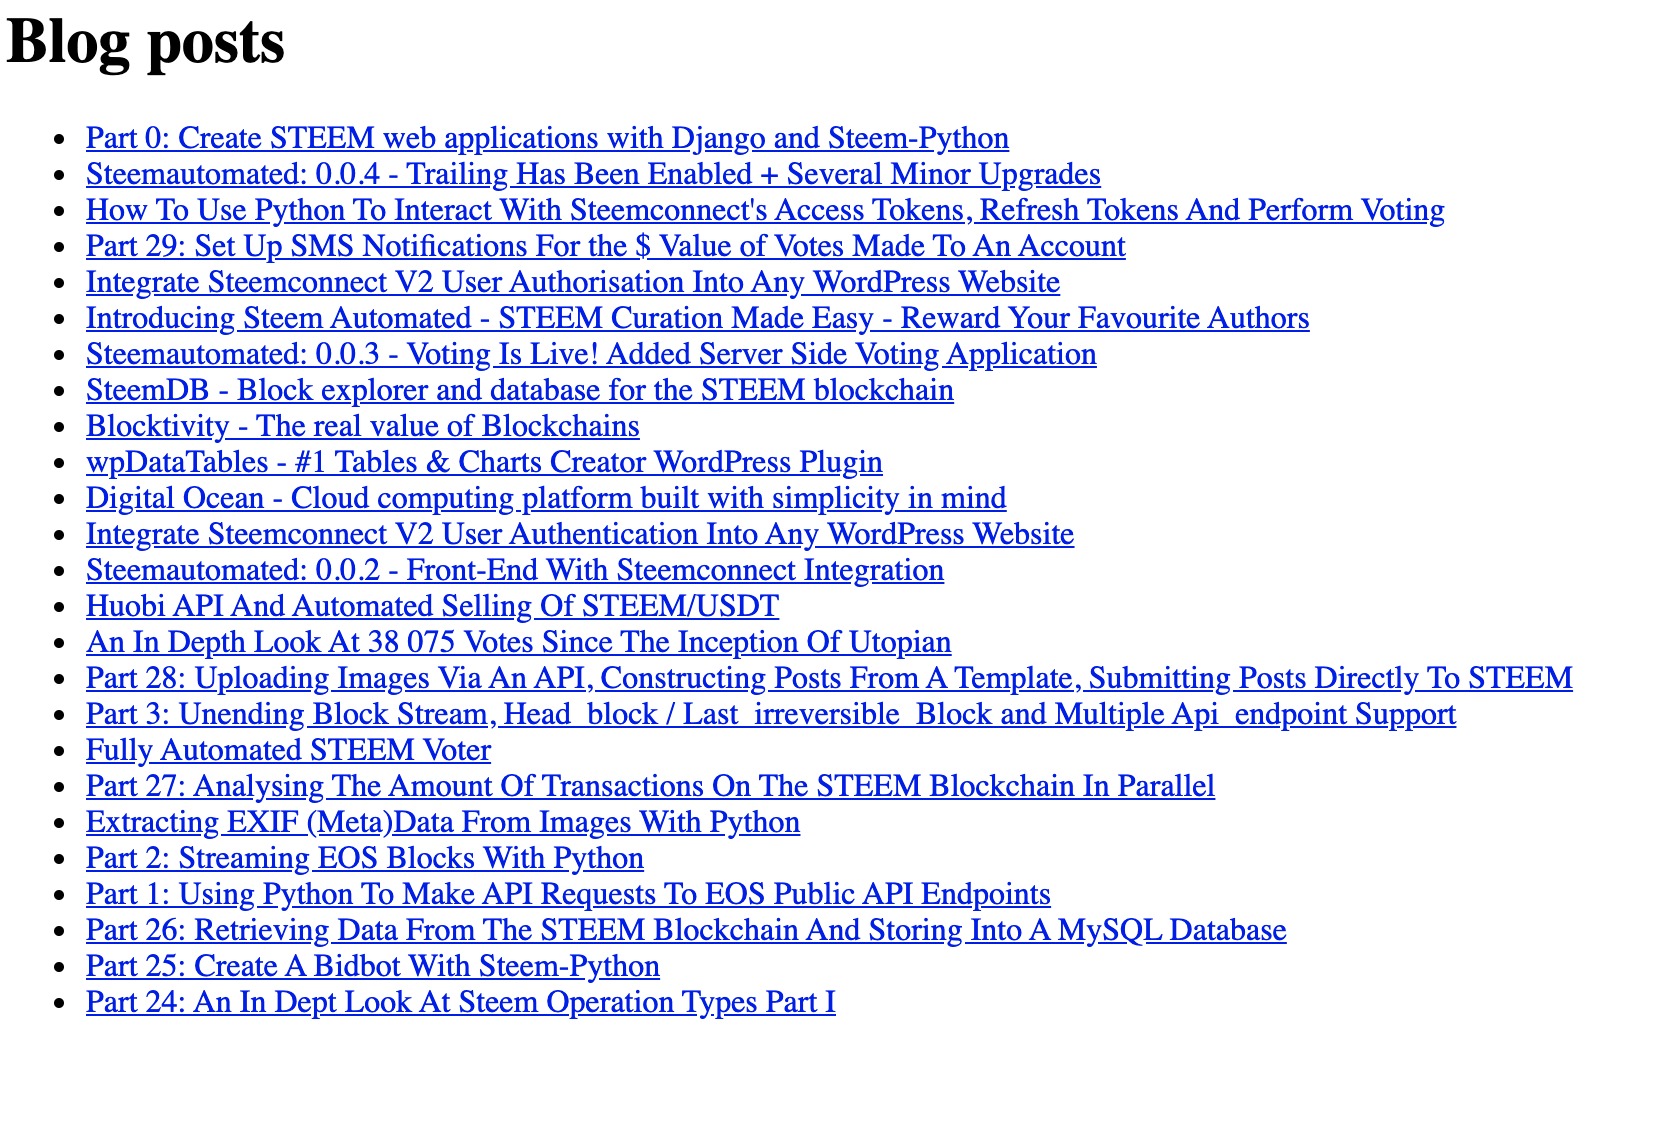
<h1>Blog posts</h1>
<ul>
{% for post in all_posts_list %}
<li><a href="https://www.steemit.com/{{ post.authorperm }}">{{ post.title }}</a></li>
{% endfor %}
</ul>
```
The Python code needs to be between `{% %}` for logic or `{{}}` for variables. This allows for easy creation of html which is repeated and dynamic. `all_posts_list` is the name set earlier in the view as `context_object_name`. This html file contains a simple list where each entry has a link to the blog post of the user and the title of the post. Both the `authorperm` and `title` are accessed within the `Comment()` object.
#### Version control and deployment
Make sure that the pipfile has the following packages and lock the file.
```
[packages]
django = "==2.1.5"
beem = "==0.20.17"
gunicorn = "==19.9.0"
pyyaml = "==4.2b4"
```
```
(steem_account) $ pipenv lock
```
Heroku requires a Procfile, create it and add the following line.
```
(steem_account) $ touch Procfile
# ./Procfile
web: gunicorn steem_account.wsgi --log-file -
```
Now set the `ALLOWED_HOSTS` in `settings.py` so the website can run from any ip.
```
# steem_account/settings.py
ALLOWED_HOSTS = ['*']
```
Create a git repository online. Now initiate git in the folder, add all the files, commit and push.
```
(django) $ git init
(django) $ git add -A
(django) $ git commit -m 'initial commit'
(django) $ git remote add origin https://github.com/Juless89/django-steem-stats.git
(django) $ git push -u origin master
```
When using git for the first time it is recommend to set the following variables.
```
$ git config --global user.name "Your Name"
$ git config --global user.email "yourname@email.com"
```
Create an Heroku app and link it.
```
(django) $ heroku login
(django) $ heroku create
Creating app... done, ⬢ guarded-crag-10235
https://guarded-crag-10235.herokuapp.com/ | https://git.heroku.com/guarded-crag-10235.git
(django) $ heroku git:remote -a guarded-crag-10235
set git remote heroku to https://git.heroku.com/guarded-crag-10235.git
```
Disable static files on Henroku and push the code.
```
(django) $ heroku config:set DISABLE_COLLECTSTATIC=1
(django) $ git push heroku master
```
Activate the Henroku app, set it to level 1. Level 1 is free to use. Then open the app to see it live. As this is a free service the apps get put to sleep when not used for 30 min.
```
(django) $ heroku ps:scale web=1
(django) $ heroku open
```
<center>
</center>
https://guarded-crag-10235.herokuapp.com/@steempytutorials
### Curriculum
- [Part 0: Create STEEM web applications with Django and Steem-Python](https://steemit.com/@steempytutorials/part-0-create-steem-web-applications-with-django-and-steem-python)
---
The code for this tutorial can be found on [Github](https://github.com/Juless89/django-steem-account)!
This tutorial was written by @juliank.