Playing with new OSes has always been one of my hobbies. So, a few days ago, I decided to play around a bit with FreeBSD. I am already a member of The NetBSD Foundation but I didn’t know much about any of the *BSDs until I participated in Google Summer of Code, 2017. Upon taking a closer look I realised that these Operating systems also carry their unique advantages. However, I won’t be talking about any of that in this article.
<h1>Choosing a machine</h1>
FreeBSD isn’t that demanding. Most of the RAM and CPU power is consumed by the skin on top of it. As with linux systems, you need to choose your window manager wisely. Thanks to the light footprint, I decided to install it on one of my older netbooks, Lenovo Ideapad S10. I got this netbook as a prize when I stood third all over India in National Cyber Olympiad, when I was in standard 7th (2008-09). Here’s a quick look at the specifications.
<table>
<tr>
<td>
CPU </td><td>Intel Atom N270 (1.6 GHz. with hyperthreading)</td></tr>
<tr><td>RAM</td> <td>1GB DDR2 (@667 MHz.)</td></tr>
<tr><td>HDD</td> <td>160GB (@5400 rpm)</td></tr>
<tr><td>Screen Size</td> <td>10.1”</td></tr>
<tr><td>Resolution</td> <td>1024x600</td></tr>
<tr><td>Wireless chip</td> <td>Broadcom BCM4312 (11a/b/g)</td></tr>
</table>
<h1>Choosing a window manager</h1>
The window manager of my choice in this case was XFCE. There were other contenders like i3, fluxbox etc. but to me XFCE looks more visually appealing while still being lightweight.
<h1>Installation</h1>
The installation procedure is pretty standard if you’re used to setting up linux. However, you might face some difficulty in setting it up if you’re a beginner. While the installer is interactive, you won’t really get a GUI to begin with, right after the installation. *BSD systems generally store all the X11 packages in `xsrc` set, but I’ll be assuming that you didn’t install that (Personally, I didn’t even look for it).
<h1>Setting up X11 and XFCE</h1>
Well, this was fairly simple. Here are the commands that I used (in order):
To install required packages, run
<code>pkg install xorg xf86-video-intel xfce4 lightdm dbus hal</code>
After this you need to take the following steps to automate everything at boot:
<code>echo ‘dbus_enable=“YES”’>>/etc/rc.conf</code>
<code>echo ‘hald_enable=“YES”’>>/etc/rc.conf</code>
<code>echo ‘lightdm_enable=“YES”’>>/etc/rc.conf</code>
And finally,
<code>dbus-uuidgen>/etc/machine-id</code>
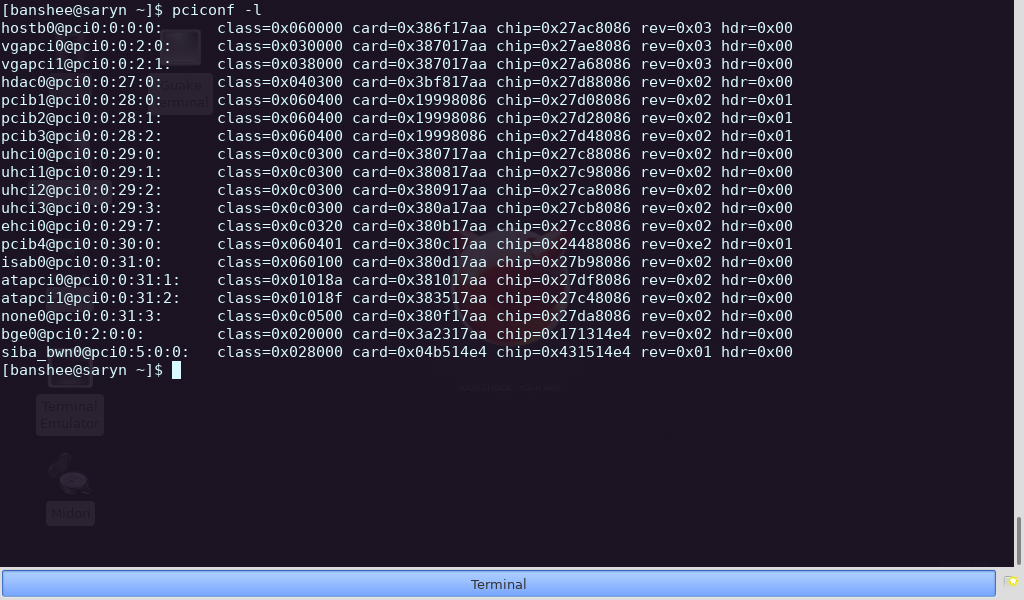
This should get you a working setup on rebooting. Fairly straight forward, eh? But now the fun part. Lenovo Ideapad S10 features Broadcom Inc. BCM4312 wireless chip, which, unfortunately (fortunately, for students like me :P), doesn’t work out of the box. For that, you need to set up the user port for it.
For this, you first need to get hold of the kernel sources for your particular OS version. You can directly download it from command line using the <code>fetch(1)</code> utility.
<code>fetch URL_OF_THE_FILE</code>
Then, you need to extract it to <code>/usr/src</code>. Then, navigate to <code>/usr/ports</code> and check if everything’s fully updated.
<code>cd /usr/ports && portsnap fetch extract</code>
Finally, you need to install <code>b43-fwcutter</code> and navigate to <code>net/bwn-firmware-kmod</code> and build the driver.
<code>pkg install b43-fwcutter && cd /usr/ports/net/bwn-firmware-kmod && make install</code>
This will build the driver as kernel modules and place them in the appropriate directory.
Then, you need to load the modules at startup by issuing these commands:
<code>echo ‘if_bwn_load=“YES”’>>/boot/loader.conf</code>
<code>echo ‘bwn_v4_lp_ucode_load=“YES”’>>/boot/loader.conf</code>
Do note that, In our case the device is a low power device (Hence, lp), which might not always be the case. Next, we need to make sure that a <code>wlan</code> device is created out of <code>bwn0</code> device.
<code>echo ‘wlans_bwn0=“wlan0”’>>/etc/rc.conf</code>
This, brings us to the final section of this article.
<h1>Conclusion</h1>
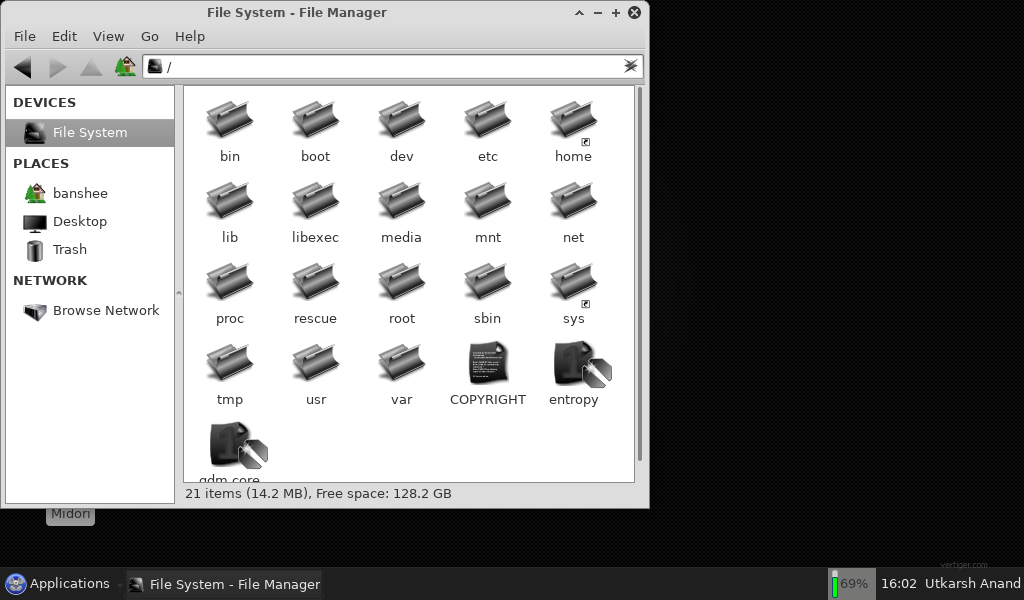
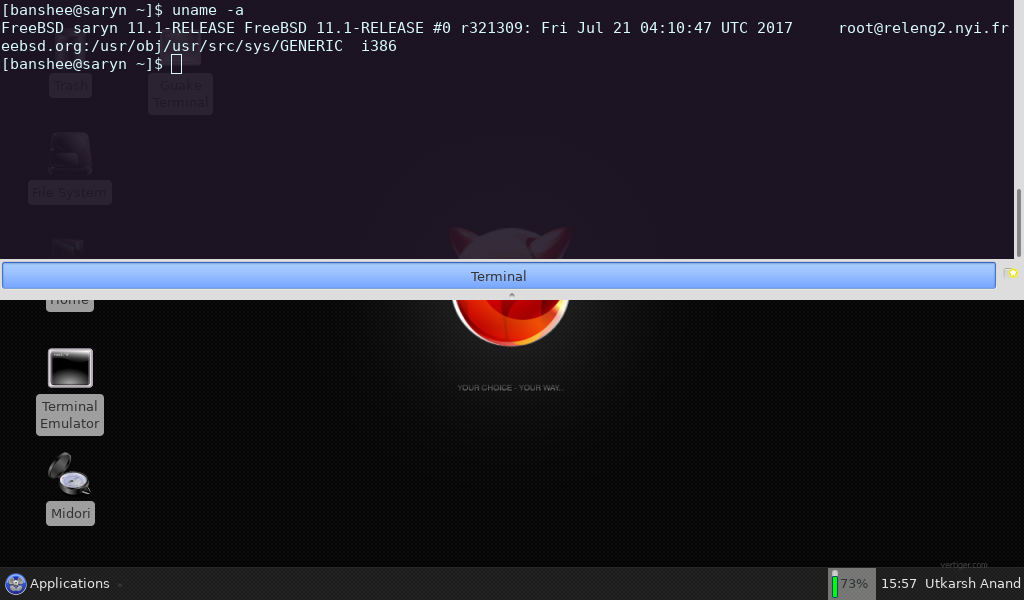
While setting up the wireless card was a bit tricky (It looks easy, because I collected all the information and put that in one place), it is what sparks interest in passionate students like me. Here are a few screenshots, that you might want to look at (one of them contains the resource usage):
https://steemitimages.com/DQmU7zizbZ6aoL9ez52Q7B7hq5457RhLLXMjYE6N1oJ7CgX/Screenshot%20from%202017-12-28%2015-56-26.png
https://steemitimages.com/DQmXohJTY6fXutjA7z9KsEQM9TAw1NDNN6KkrdztrcPZUSg/Screenshot%20from%202017-12-28%2015-55-00.png