<center>
Este post es bilingüe / This post is bilingual
<br />
.jpeg)
</center>
<div class="text-justify">
Hola mi gente de Hive, espero que estén muy bien, el día de hoy les traigo un post de maquillaje. ¡Estoy muy nerviosa!.
<br />
Los que han leído mis post anteriores saben que no soy una maquilladora profesional, más bien una aficionada que todavía tiene mucho que aprender, y la idea de formar parte de esta familia es aprender juntas (os).
Últimamente en mis redes sociales, @yuleisy_bmg en Twitter e instagram, Yuleisy Matheus en Facebook, y @yuleisymatheus en tik tok, he estado subiendo los maquillajes que me realizado y al parecer han gustado mucho.
Mi familia y amigos siempre me dicen que, porque no hago videos de maquillaje, o tutoriales para mis redes sociales, y la verdad es que me da mucha pena, aunque les confieso que la idea ha estado rondando mi cabeza estos últimos días, pero mientras me decido o no (les estaré contando por aquí), me anime a mostrarles como normalmente me haría un maquillaje.
En esta oportunidad vamos con un maquillaje en blanco.
>Hello my people of Hive, I hope you are very well, today I bring you a makeup post. I am very nervous!.
>Those who have read my previous posts know that I am not a professional make-up artist, but rather an amateur who still has a lot to learn, and the idea of being part of this family is to learn together.
>Lately on my social networks, @yuleisy_bmg on Twitter and instagram, Yuleisy Matheus on Facebook, and @yuleisymatheus on tik tok, I've been uploading the make-ups I've done and apparently they've been very popular.
>My family and friends always tell me that, because I don't do makeup videos, or tutorials for my social networks, and the truth is that I feel very sorry for them, although I confess that the idea has been going around in my head these last days, but while I decide or not (I'll be telling them here), I encouraged myself to show them how I would normally do a makeup.
>In this opportunity we go with a blank makeup.
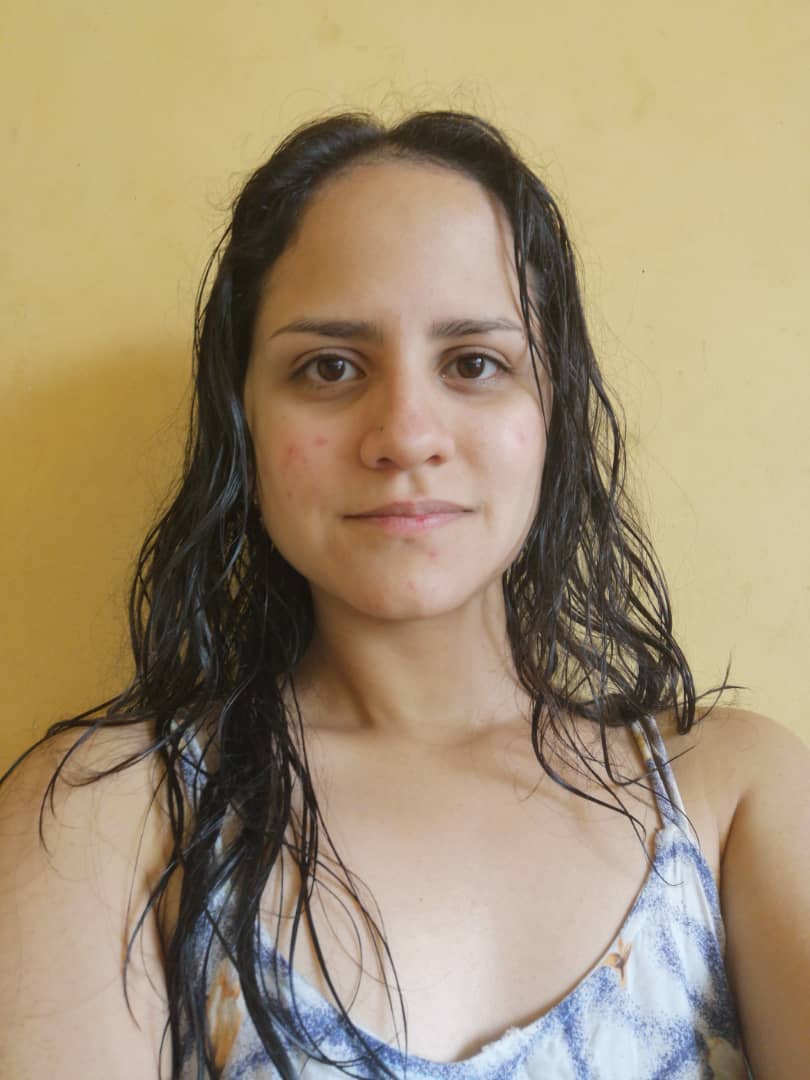
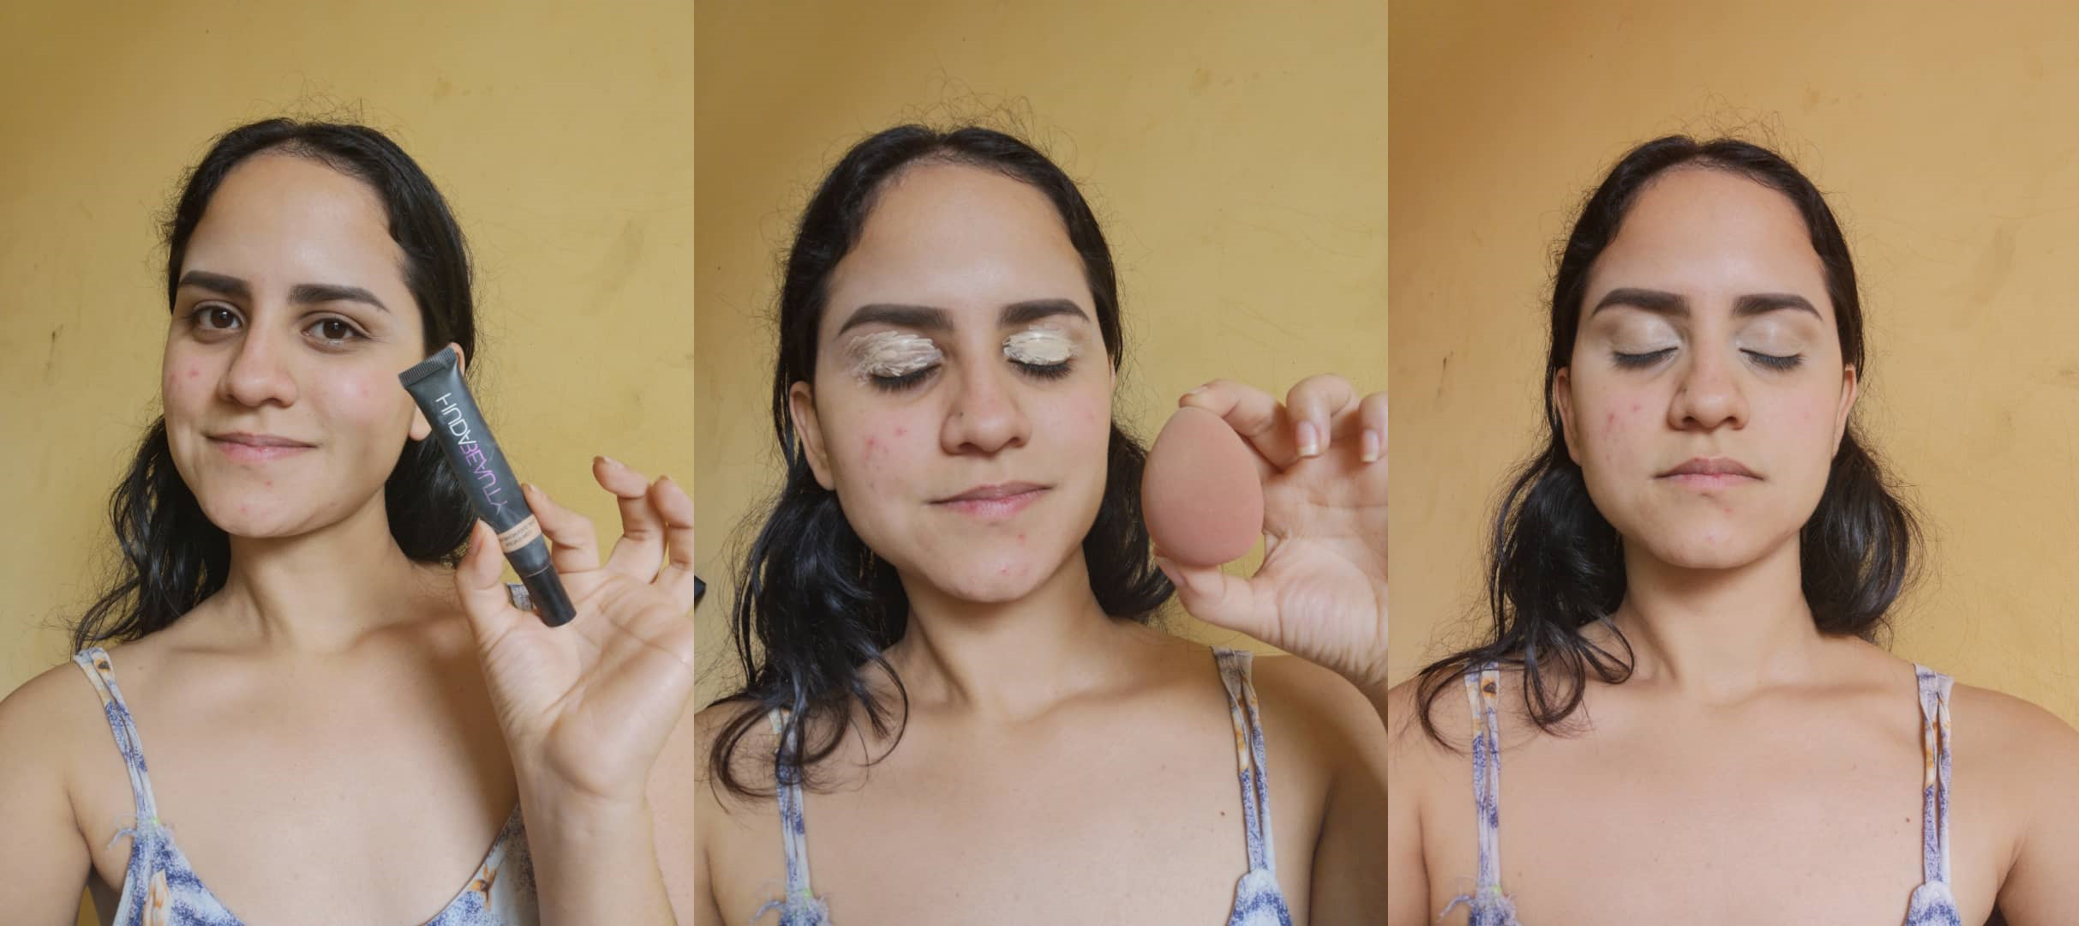
**PASO 1**
Lo primero que hice antes de maquillarme, fue preparar mi piel, limpiarla e hidratarla. En mi caso tengo piel grasa y he aprendido que este paso es muy importante.
>**STEP 1**
>The first thing I did before I put on my makeup was to prepare my skin, clean it and moisturize it. In my case I have oily skin and I have learned that this step is very important.
</div>
<center>
</center>
<div class="text-justify">
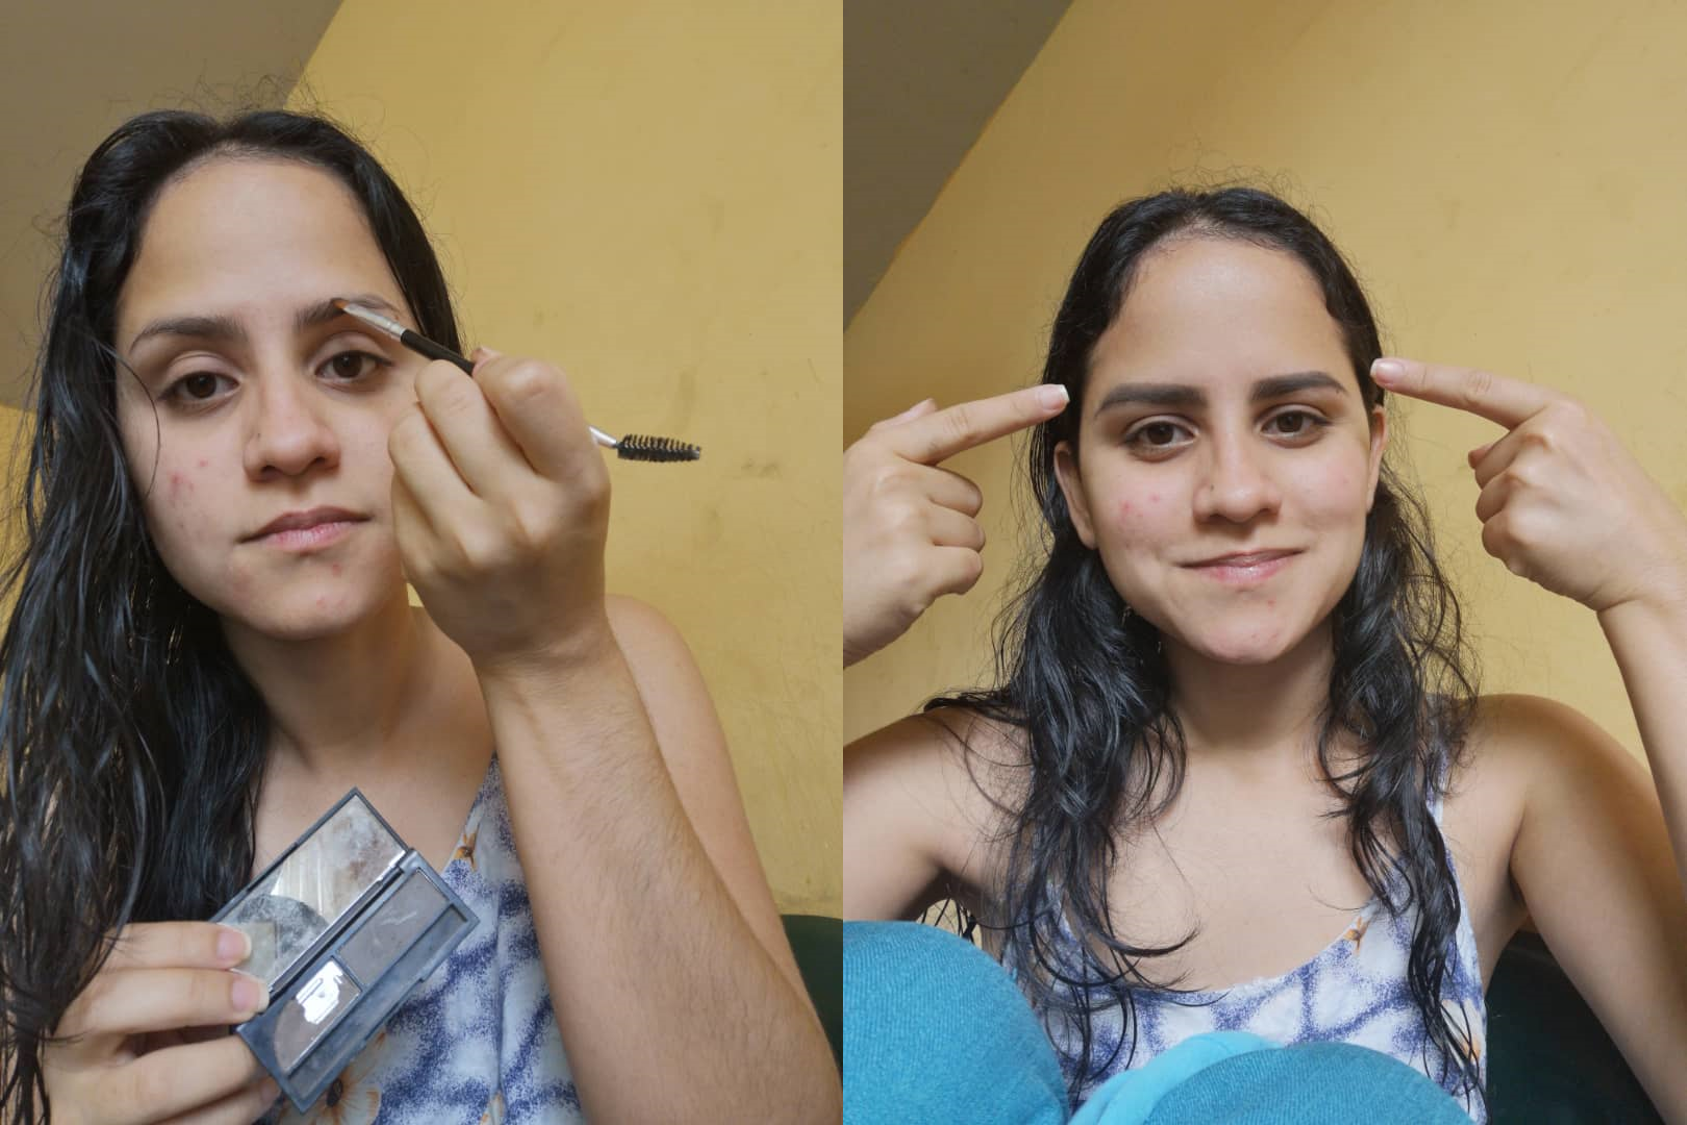
**PASO 2**
Luego realicé mis cejas, para esto usé una sombra marrón oscuro, con la cual rellené los huecos que tengo y di forma.
Este paso es muy importante ya que las cejas enmarcan el rostro, así que para mí es indispensable este paso.
>**STEP 2**
>Then I made my eyebrows, for this I used a dark brown shadow, with which I filled the holes I have and gave shape.
>This step is very important since the eyebrows frame the face, so for me this step is indispensable.
</div>
<center>
</center>
<div class="text-justify">
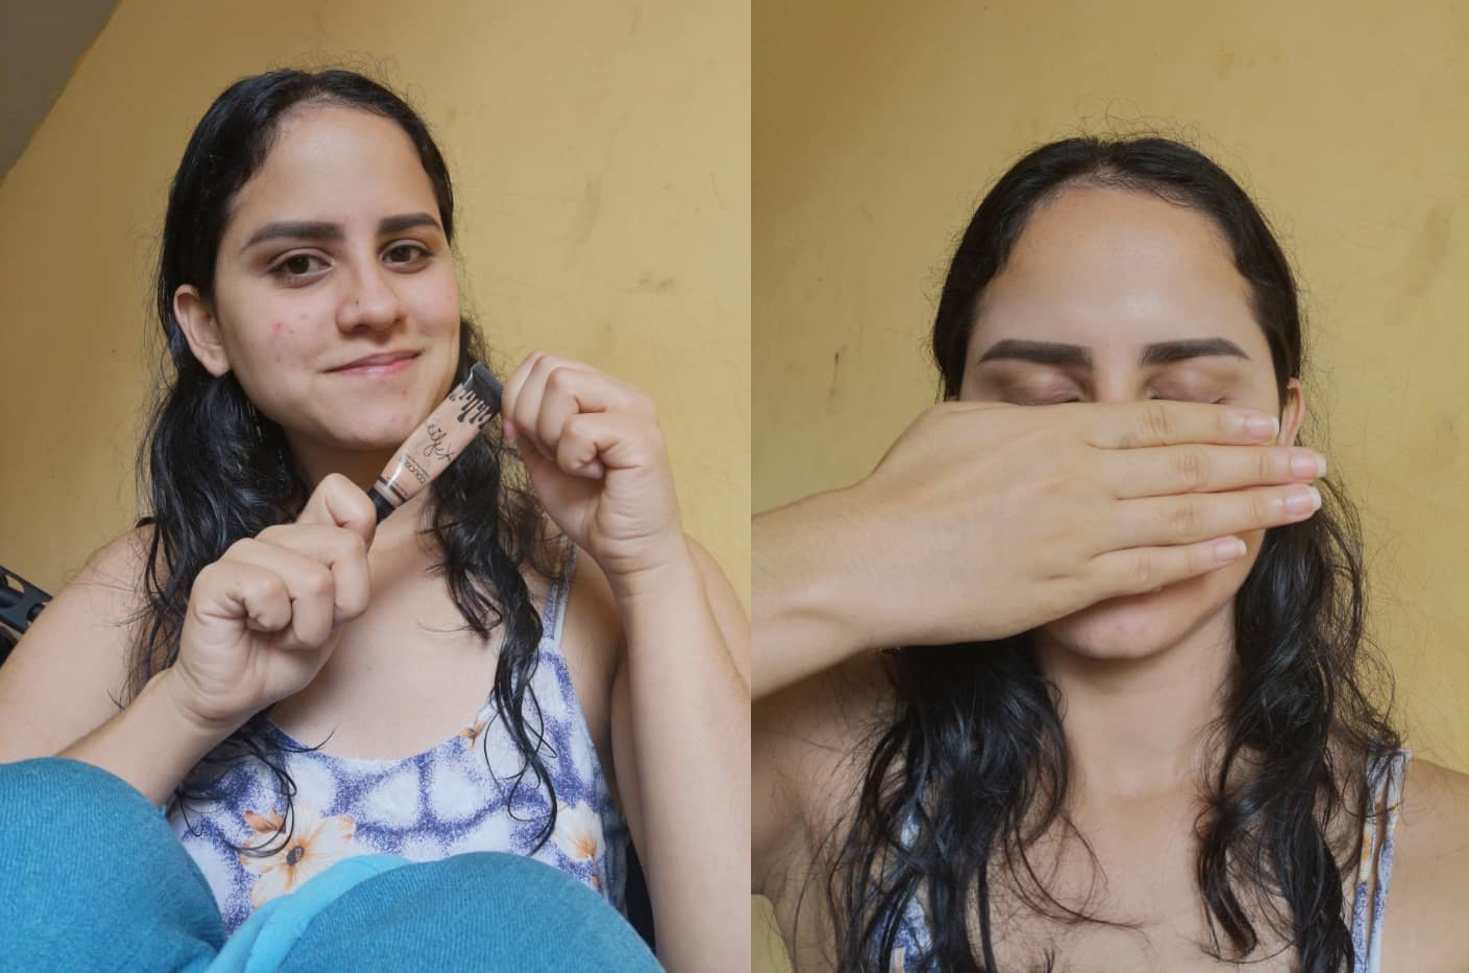
**PASO 3**
Con un corrector limpié el borde de las cejas. Esto las deja mucho más pulidas y bonitas.
>**STEP 3**
>I used concealer to clean the edge of the eyebrows. This leaves them much more polished and beautiful.
</div>
<center>
</center>
<div class="text-justify">
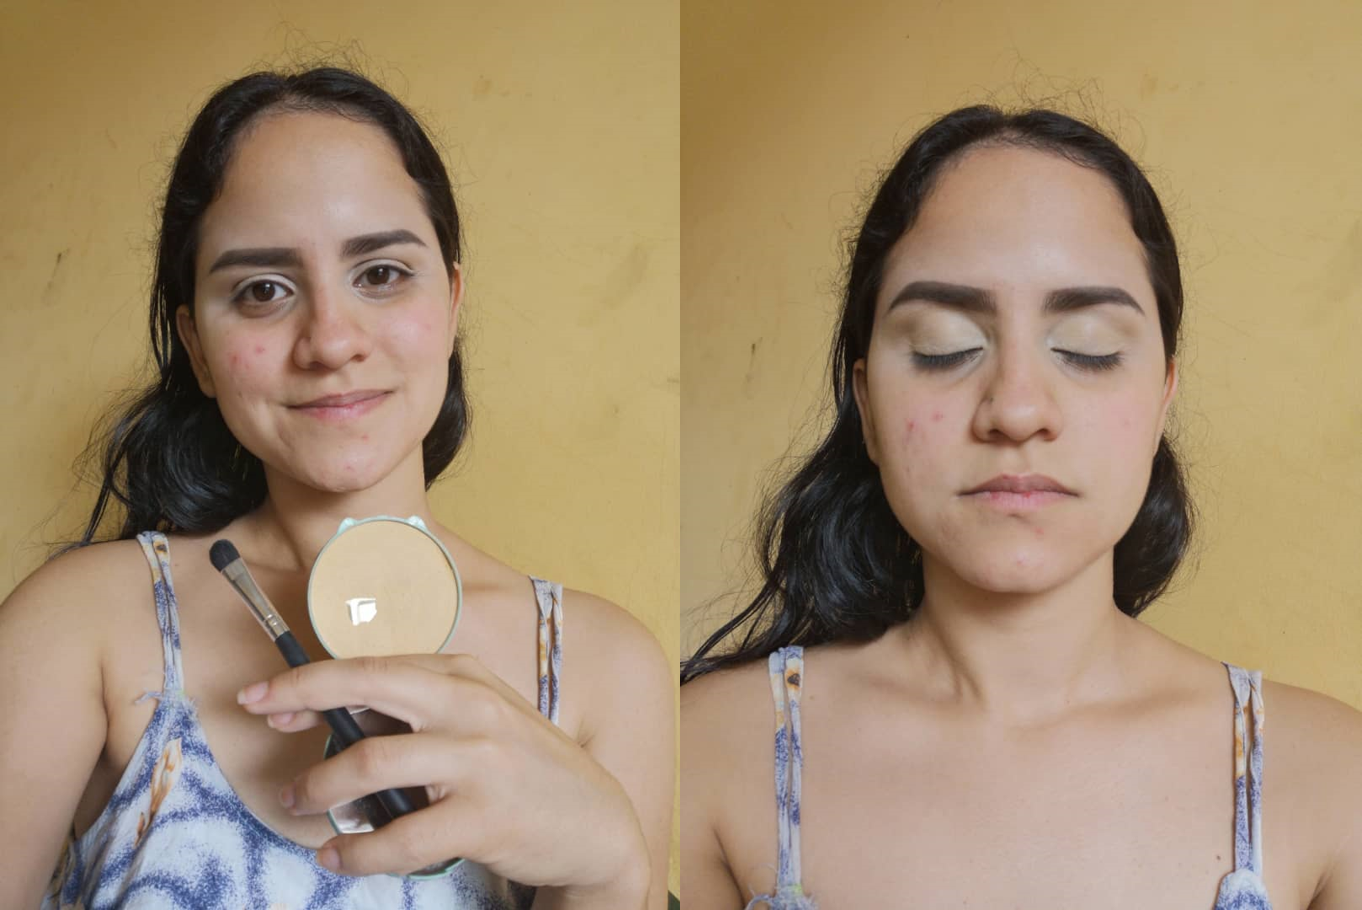
**PASO 4**
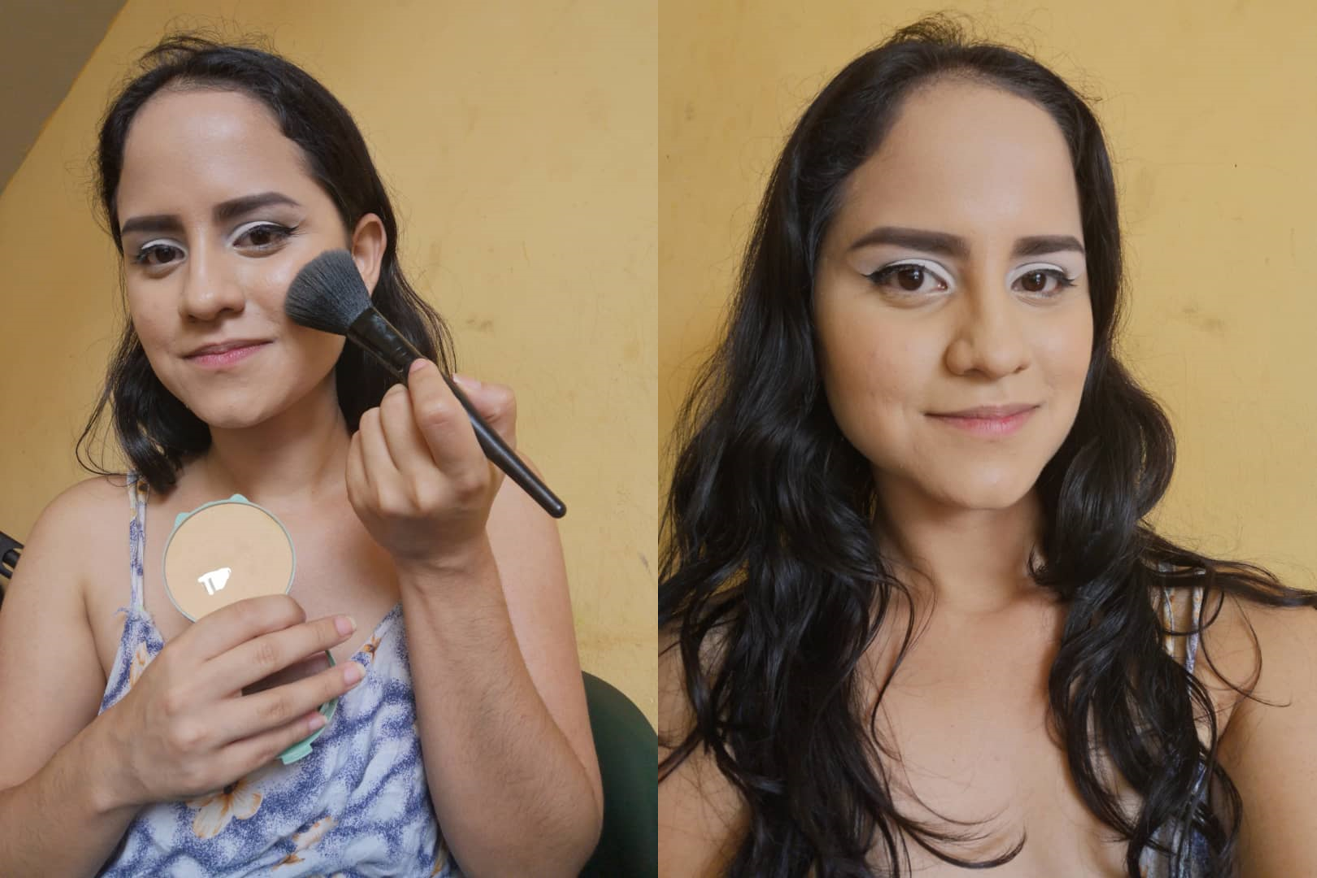
Al terminar, preparé mis párpados para la aplicación de las sombras, para esto, apliqué corrector y difuminé con mi beauty blender. Después sellé con mi polvo compacto y una brocha suelta.
>**STEP 4**
>When I finished, I prepared my eyelids for the application of the shadows, for this, I applied concealer and blended with my beauty blender. Then I sealed with my compact powder and a loose brush.
</div>
<center>
</center>
<div class="text-justify">
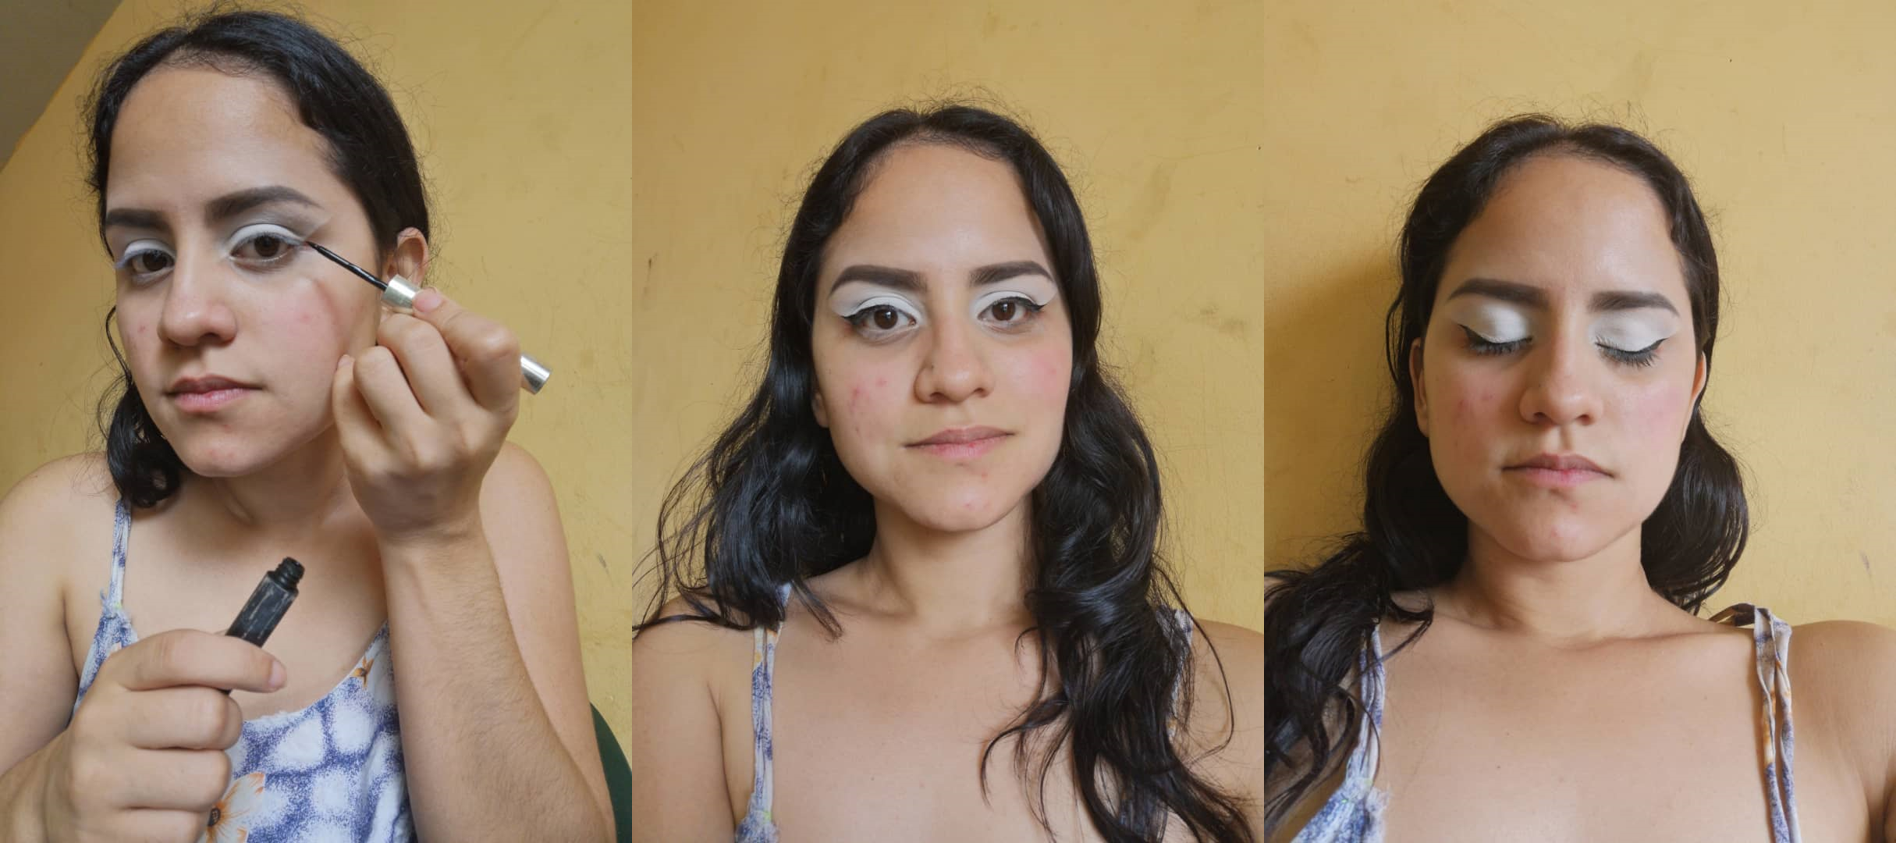
**PASO 5**
Para este maquillaje utilicé dos brochas, una suelta para difuminar y una plana para aplicar la sombra.
Primero concentré la sombra blanca en mi párpado y poco a poco la fui difuminado hacia las cejas. Después con un poco de desmaquillante y un algodón limpié la parte externa del ojo para crear un corto desde mis pestañas hasta las cejas.
>**STEP 5**
>For this makeup I used two brushes, one loose to blur and one flat to apply the shade.
>First I concentrated the white shadow on my eyelid and little by little I blurred it towards the eyebrows. Then with a little make-up remover and a cotton ball I cleaned the outside of the eye to create a short from my eyelashes to my eyebrows.
</div>
<center>

</center>
<div class="text-justify">
**PASO 6**
Realicé un delineado de gato, con la ayuda de un delineador negro. Yo tengo el párpado encapotado así que cuando me hago un delineado trato siempre de realizar un delineado un poco grueso, de la mitad del párpado hacia afuera, y hacer una línea delgada del centro hacia dentro. Espero que puedan detallarlo en la foto.
>**STEP 6**
>I made a cat outline, with the help of black eyeliner. I have a hooded eyelid, so when I do my eyeliner I always try to do a little thick eyeliner, from the middle of the eyelid out, and a thin line from the center in. I hope you can detail it in the picture.
</div>
<center>
</center>
<div class="text-justify">
**PASO 7**
Posterior a esto, pasé a preparar mi rostro, para todo lo que es base, corrector, contorno, iluminados y demás productos. Para esto utilicé un primer.
>**STEP 7**
>After this, I went on to prepare my face, for everything that is base, concealer, contour, illuminated and other products. For this I used a primer.
</div>
<center>
.jpeg)
</center>
<div class="text-justify">
**PASO 8**
Luego apliqué la base con la ayuda de una brocha lengua de gato y difuminé con mi beauty blender.
Con un corrector en crema cubrí mis ojeras y di iluminación a mi barbilla, frente y nariz, igualmente difuminé con mi esponjita, por último, sellé todo con mi polvo compacto y una brocha suelta.
>**STEP 8**
>Then I applied the base with the help of a cat tongue brush and blended it with my beauty blender.
>With a cream concealer I covered my dark circles and gave light to my chin, forehead and nose, I also blended with my sponge, finally, I sealed everything with my compact powder and a loose brush.
</div>
<center>

</center>
<div class="text-justify">
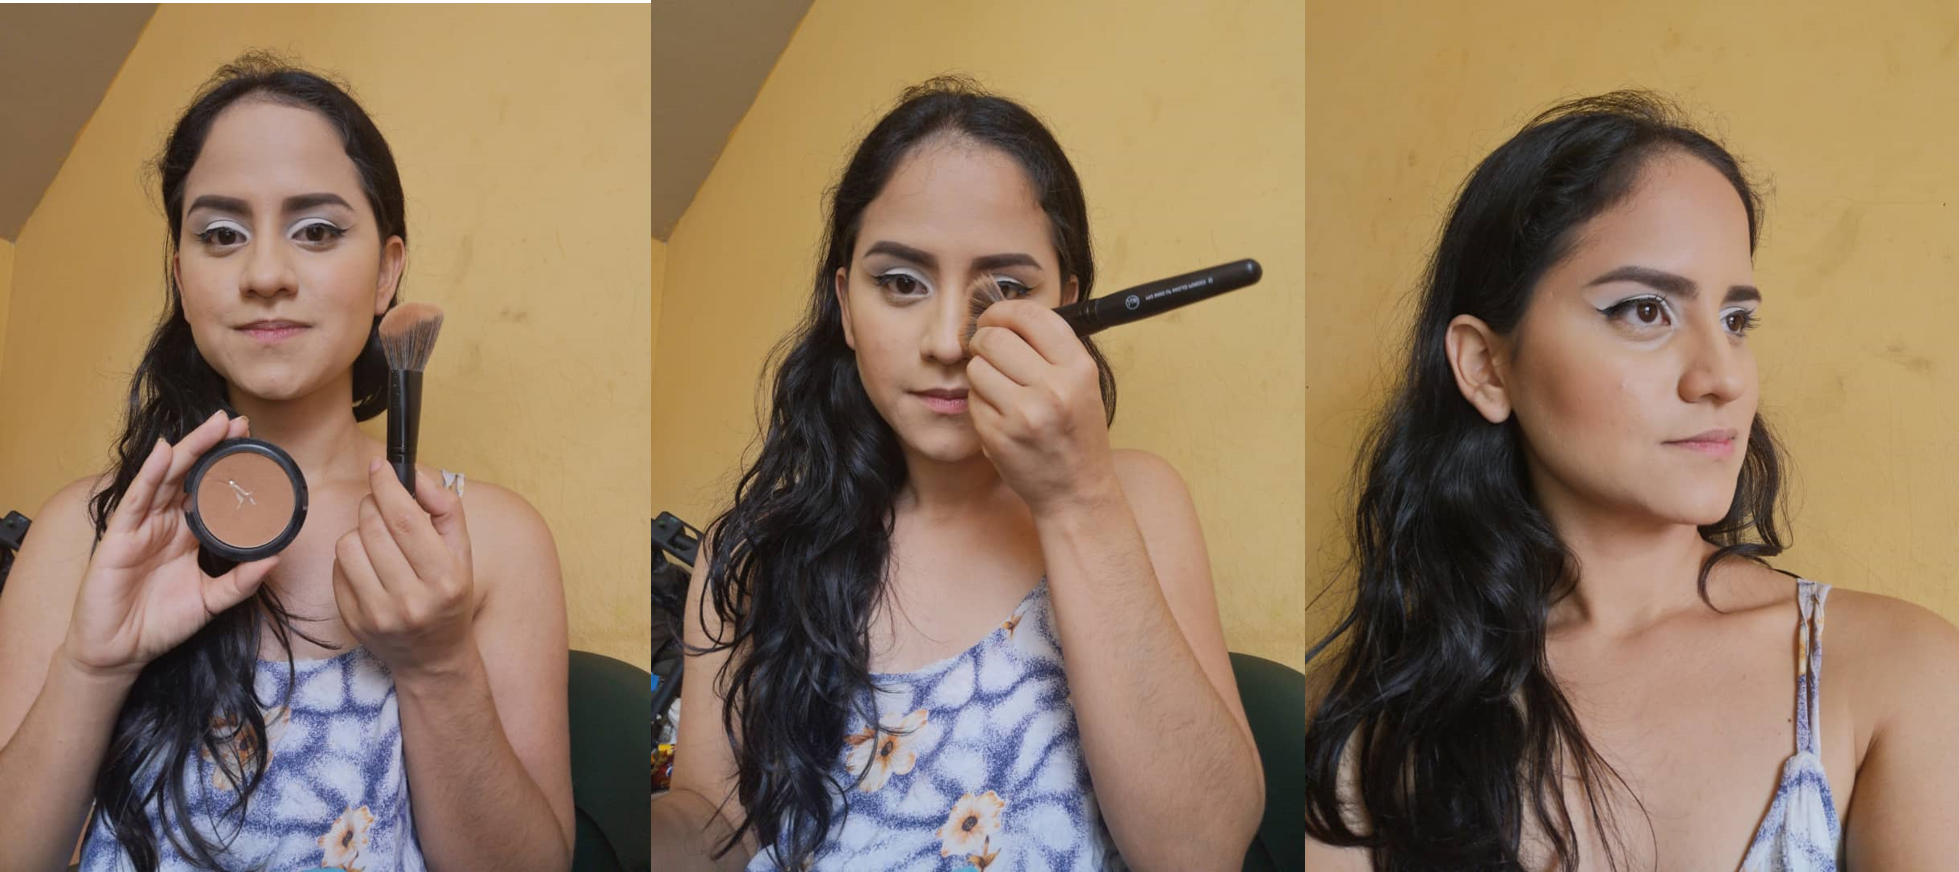
**PASO 9**
Continué con la realización del contorno, para esto usé un polvo compacto más oscuro que mi tono de piel y una brocha de corte diagonal.
En la zona de la nariz usé la misma brocha para contornear, solo la aplané con la mano y listo.
Por último, usé un rubor bastante rosita, este lo apliqué con una brocha suelta.
>**STEP 9**
>I continued with the contouring, for this I used a compact powder darker than my skin tone and a diagonal cut brush.
>In the nose area I used the same brush for contouring, I just flattened it with my hand and that was it.
>Finally, I used a rather pink blush, this one I applied with a loose brush.
</div>
<center>
</center>
<div class="text-justify">
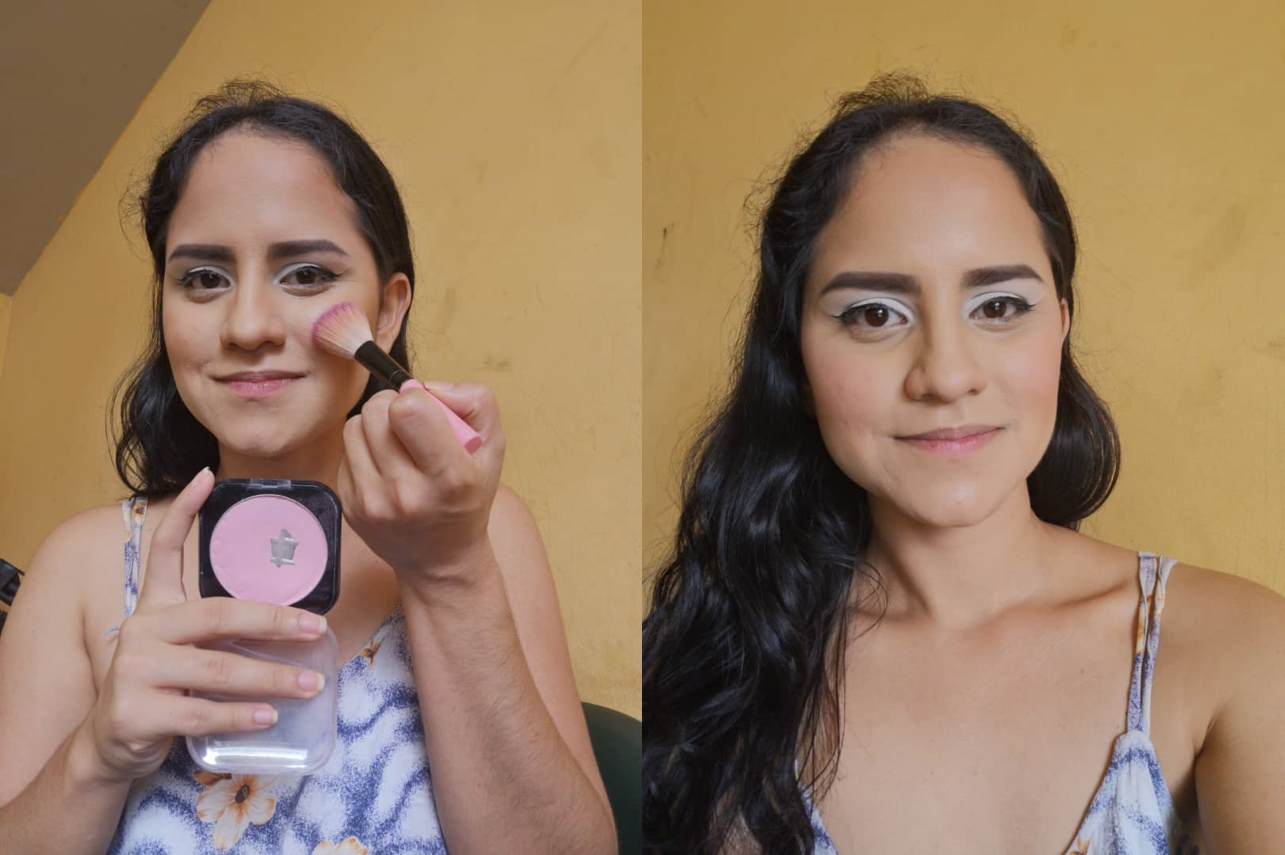
**PASO 10**
Luego volví con los ojos. Usé un delineador negro en la marca de agua inferior, ricé mis pestañas y apliqué rímel.
>**STEP 10**
Then I came back with my eyes. I used black eyeliner on the lower watermark, richened my lashes and applied mascara.
</div>
<center>

</center>
<div class="text-justify">
**PASO 11**
Apliqué iluminador en la zona alta de los pómulos, el tabique, la punta de la nariz, la parte inferior de mis cejas y en el arco de cupido.
>**STEP 11**
>I applied illuminator to the upper cheekbones, the septum, the tip of the nose, the lower eyebrows and the Cupid's bow.
</div>
<center>

</center>
<div class="text-justify">
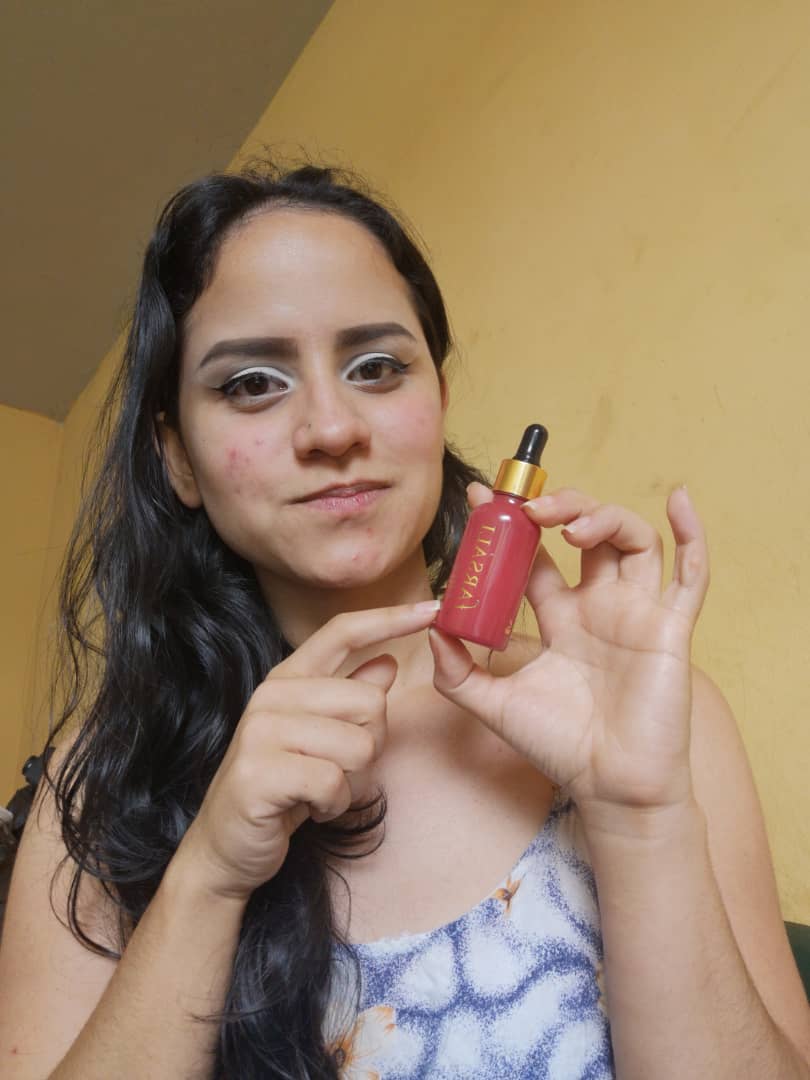
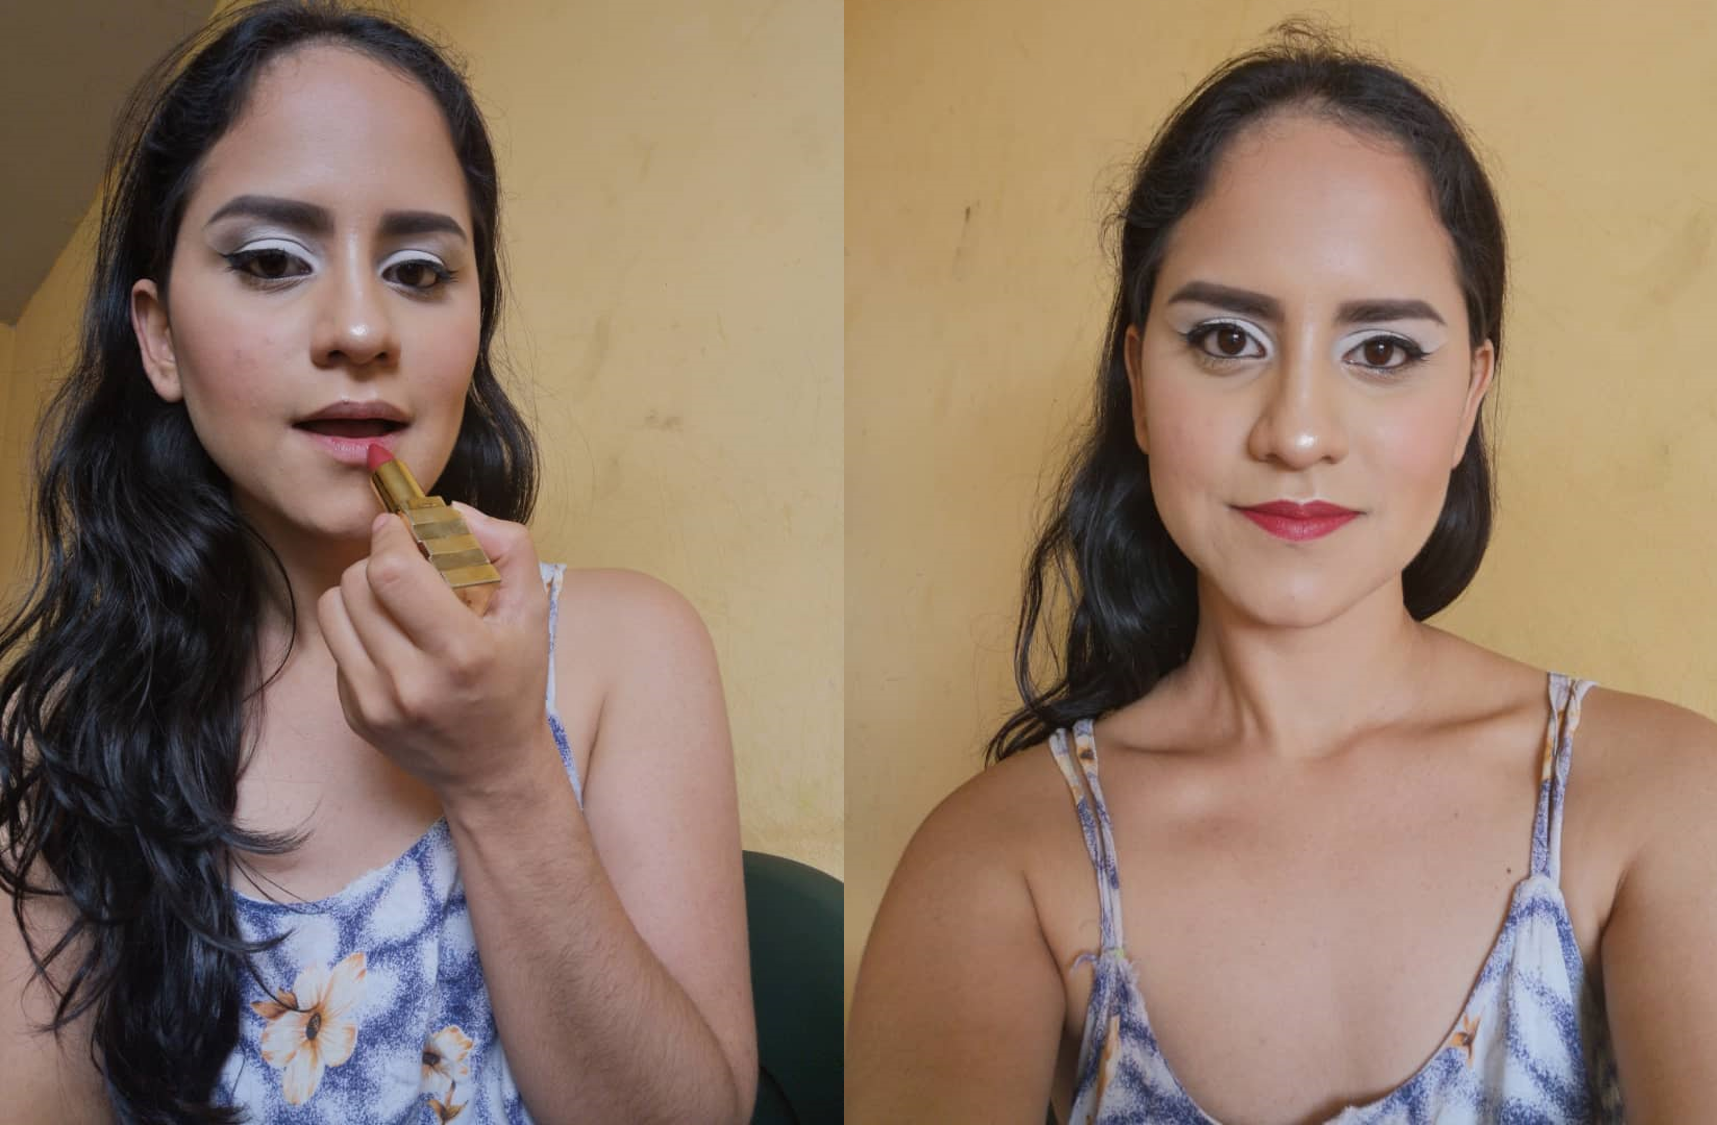
**PASO 12**
Para finalizar y darle intensidad al maquillaje utilicé un labial rojo.
>**STEP 12**
>To finish and give intensity to the makeup I used a red lipstick.
</div>
<center>
</center>
<div class="text-justify">
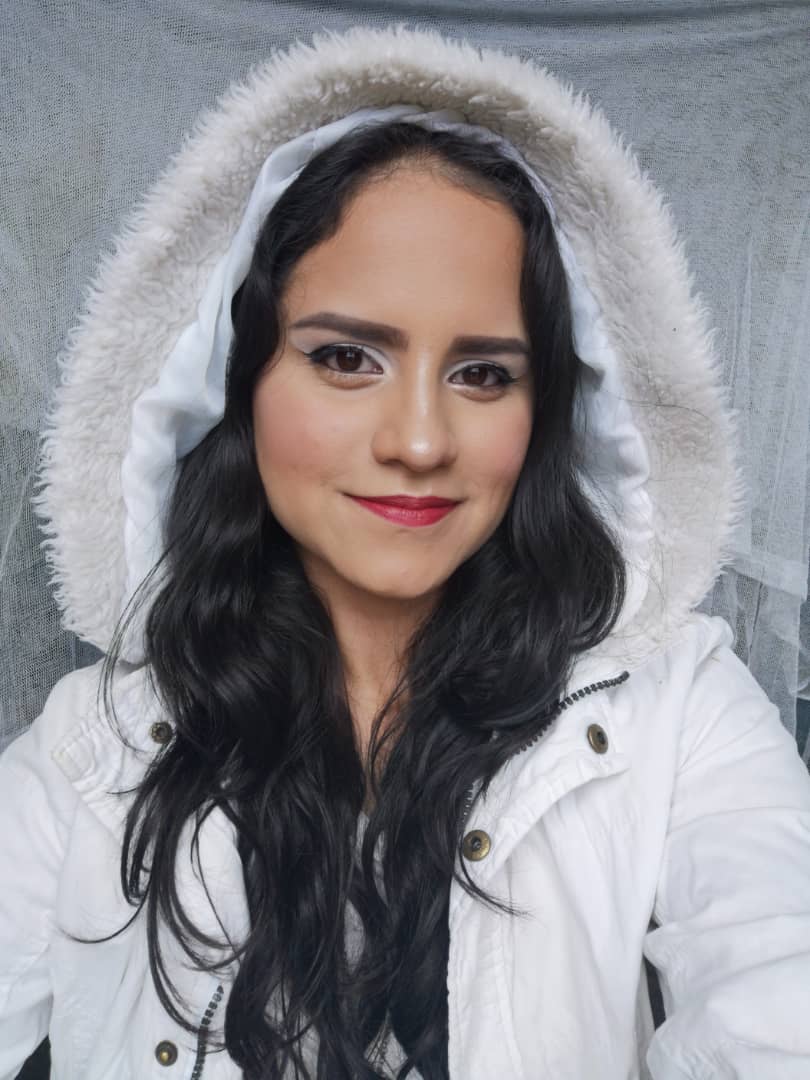
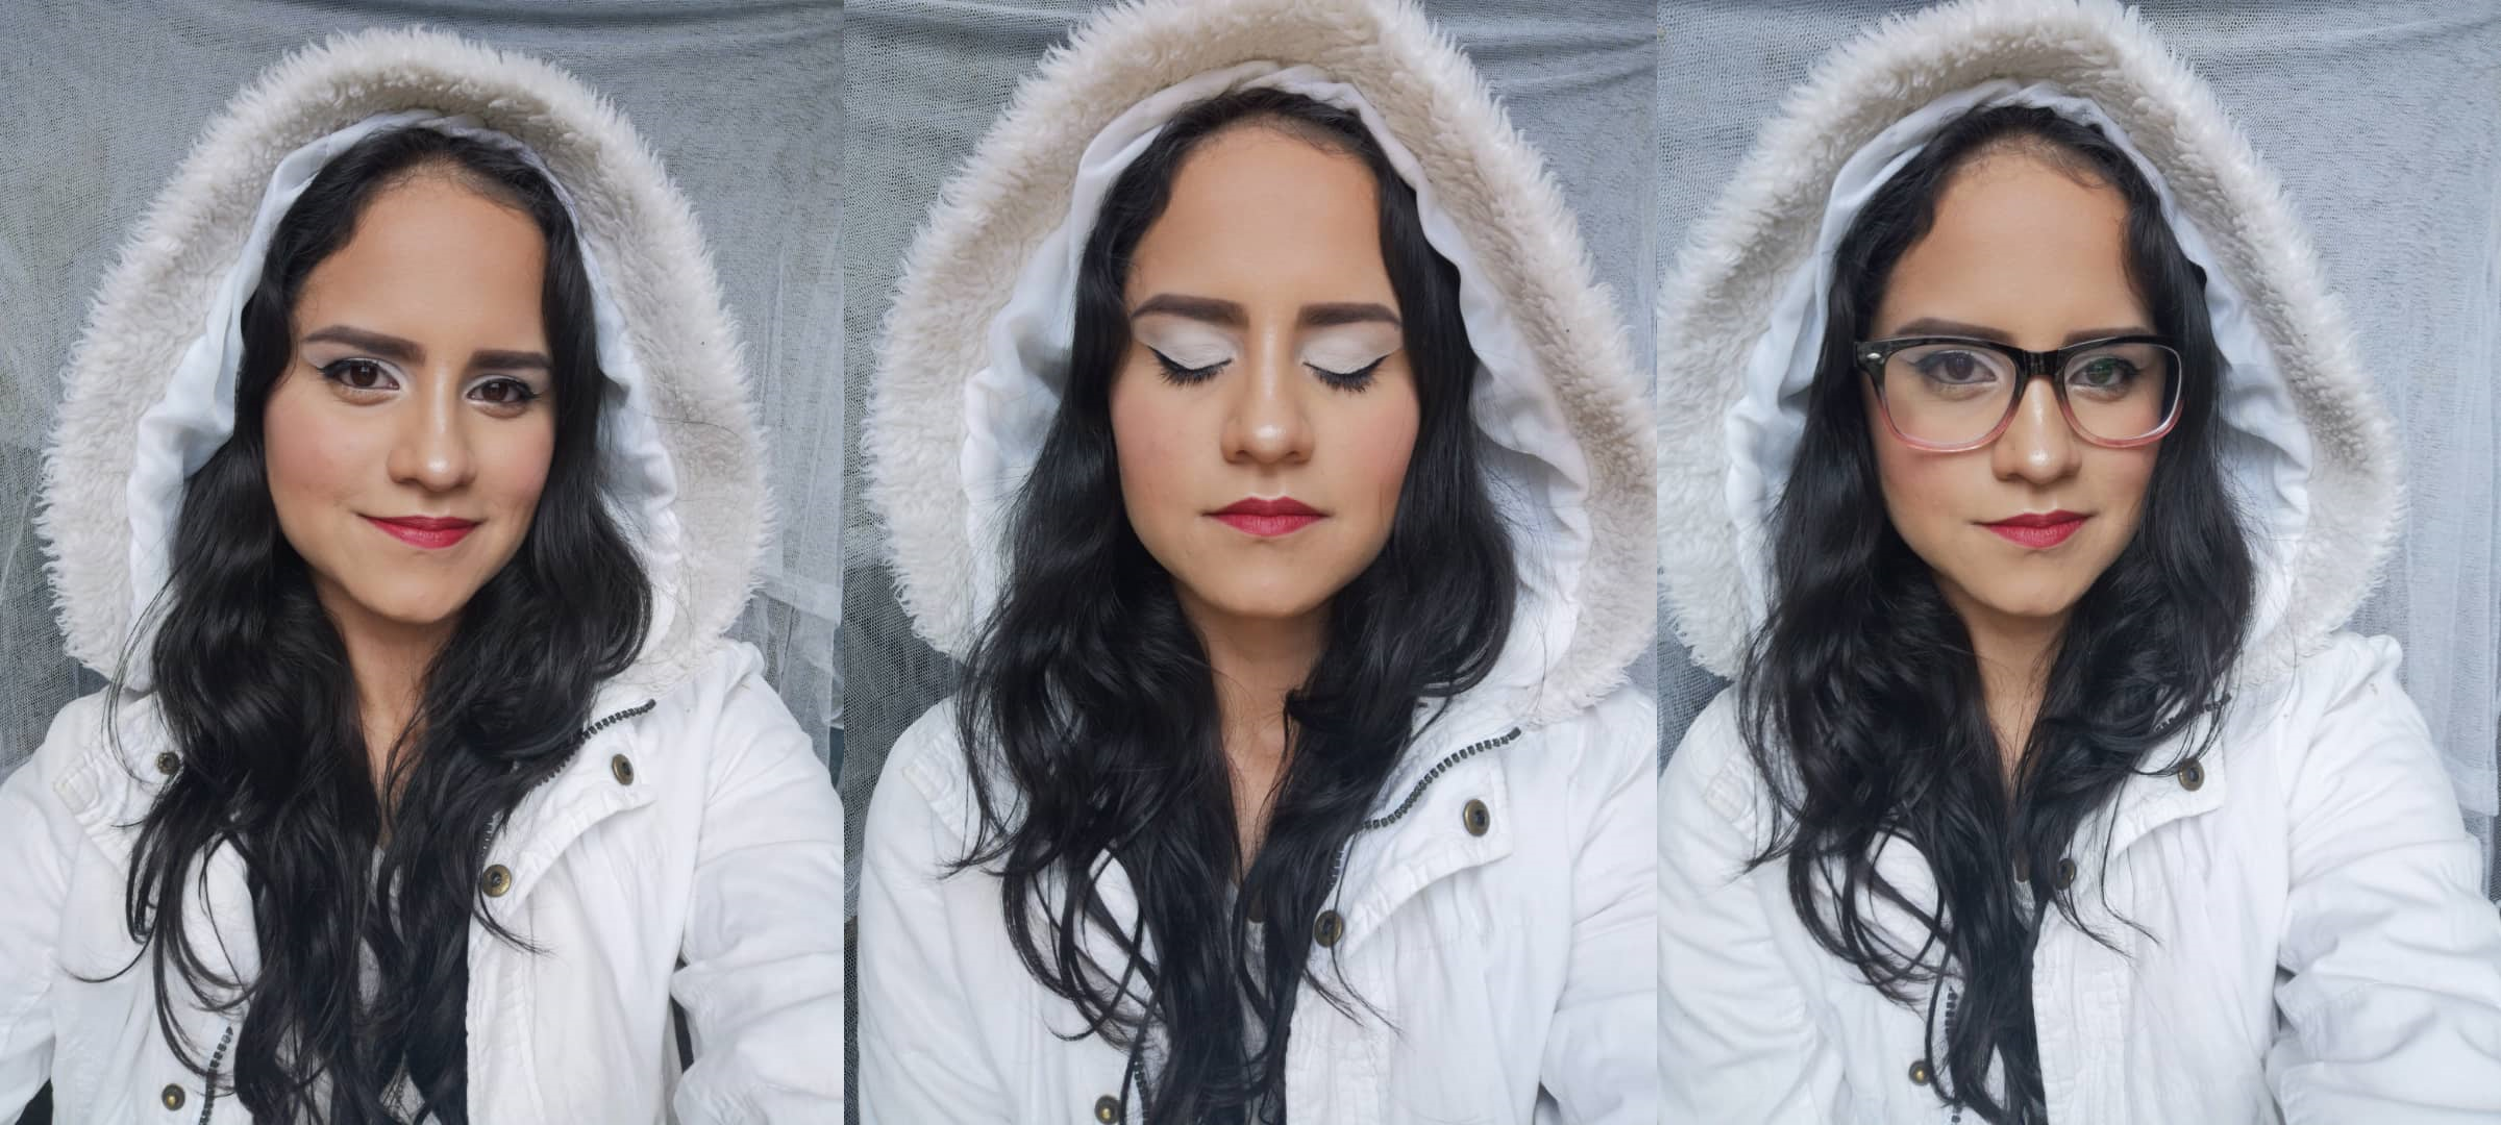
Este es el resultado del maquillaje ya listo, con todo y outfit
>This is the result of the ready-made makeup, with everything and outfit
</div>
<center>
</center>
<div class="text-justify">
Me divertí mucho haciendo este maquillaje y tomándome las fotos, les confieso que no soy para nada buena con las poses, pero estas fotos me encantaron, por aquí igual les dejo otras fotos que realice aprovechando el momento.
>I had a lot of fun doing this makeup and taking the pictures, I confess that I'm not good at posing at all, but I loved these pictures, here I leave you other pictures I took taking advantage of the moment.
</div>
<center>

</center>
<div class="text-justify">
NOTA: Como estamos en cuarentena no he podido salir a comprar, así que usé los productos que tenía en casa.
>NOTE: Since we are in quarantine I couldn't go out to buy, so I used the products I had at home.
</div>

# Todas las fotos son de mi propiedad
> # All the pictures are my property
# Gracias por visitar mi blog
> # Thank you for visiting my blog